
Transferring embroidery designs, especially intricate ones, can often feel like the most daunting part of any project. The desire for perfection, particularly with detailed patterns, can turn the simple act of transferring into a mountain of stress. If you’ve ever felt that looming dread, you’re not alone. Many embroiderers, even experienced ones, understand the hesitation that comes before tackling this crucial step. But what if there was a way to bypass the anxiety and achieve precise Embroidery Printing directly onto your fabric with minimal fuss?
For a recent project – a delicate prayer book cover for my niece’s First Communion – I faced just this challenge. The design, beautiful but intricate, needed to be scaled down significantly, amplifying the difficulty of traditional transfer methods. Simply tracing felt too imprecise, and freehand sketching the details seemed too risky. The thought of simplifying the design crossed my mind, but the vision of the original intricate pattern persisted.
This is the design that captured my niece’s heart, and mine too:
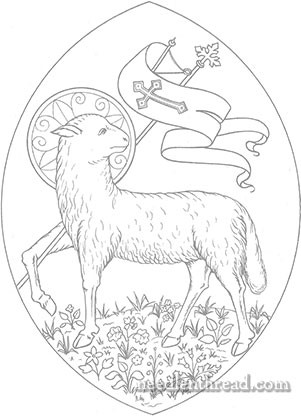 Intricate embroidery design for a prayer book cover
Reducing this design to fit a small prayer book cover highlighted the challenge. Traditional transfer methods suddenly seemed inadequate for capturing the fine details accurately. That’s when I considered a less conventional approach: embroidery printing directly onto the fabric using my home printer.
The idea sparked from a realization about size. The entire book cover design, including seam allowances, neatly fit within a standard letter-sized piece of paper. This opened up the possibility of using my everyday printer to transfer the design. Could freezer paper, a common household item, be the key to successful embroidery printing?
Embarking on this experiment required a few key materials and a leap of faith. Here’s how to achieve precise embroidery printing at home:
Materials You’ll Need for Embroidery Printing:
- Freezer Paper: This is crucial. The paper side accepts printing, and the plastic-coated side adheres temporarily to fabric when ironed.
- Fabric: A closely woven, lighter-weight linen works best for feeding through a home printer. Heavier fabrics might be too thick. I opted for ecclesiastical linen for its fine weave and manageable weight.
- Iron: For adhering the freezer paper to the fabric.
- Scotch Tape: To secure the edges of the freezer paper and linen, preventing fraying and ensuring smooth printer feeding.
- Home Printer: An inkjet printer is ideal. Laser printers might use heat that could affect the freezer paper adhesive.
- Computer and Design Software (like Photoshop): To resize and adjust your embroidery design for printing.
Step-by-Step Guide to Embroidery Printing:
-
Prepare Your Fabric and Freezer Paper: Begin by ironing your chosen fabric to remove any wrinkles. Wrinkle-free fabric is essential for smooth printing. Cut a piece of freezer paper slightly larger than your fabric piece. Place the freezer paper shiny (plastic-coated) side down onto the back of your fabric.
 Linen and freezer paper ready for ironing
 -
Iron Freezer Paper to Fabric: Using a hot, dry iron, press the freezer paper onto the fabric. The heat will temporarily bond the plastic coating to the fabric, creating a stable surface for printing. Ensure the freezer paper is firmly adhered to prevent shifting during printing.
 Ironing freezer paper onto linen for fabric printing
 -
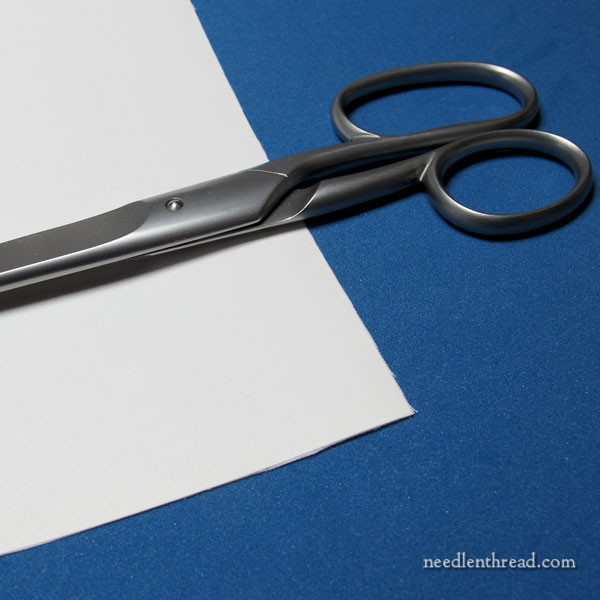
Trim Excess Fabric: Carefully trim any excess fabric extending beyond the freezer paper edges. This ensures a clean edge that won’t snag in the printer.
 Trimming excess linen from freezer paper
 -
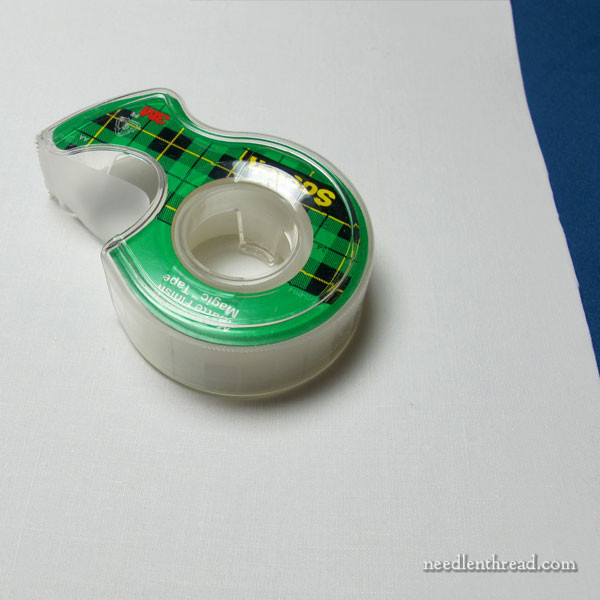
Secure Edges with Tape: Use Scotch tape to neatly tape down all edges of the freezer paper and fabric. Fold the tape over the edges to create a smooth, sealed border. This prevents loose threads or fabric fibers from causing printer jams and ensures a clean feed.
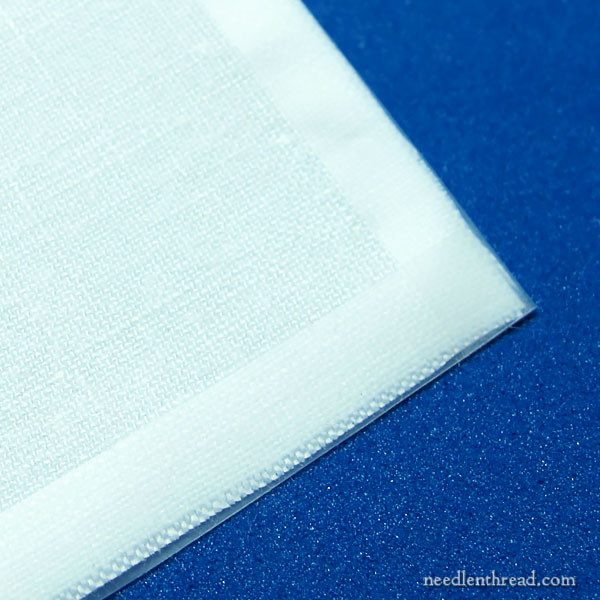 Taping edges of freezer paper and linen for printer
 -
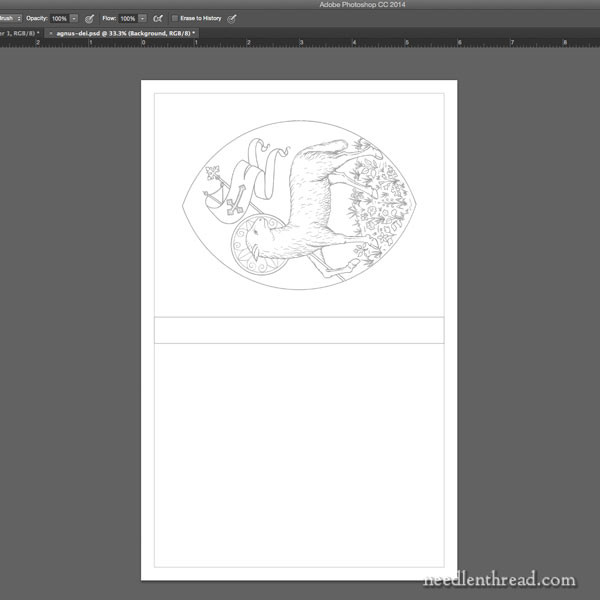
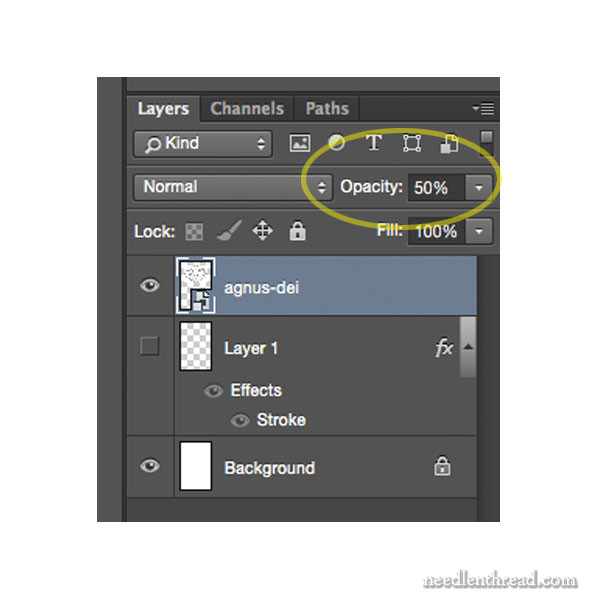
Prepare Your Design Digitally: Open your embroidery design in image editing software like Photoshop. Resize the design to your desired dimensions, ensuring it fits within your project area and the printable area of your paper size. For light-colored fabrics, reduce the opacity of the design layer to around 50% to print in a lighter gray. This creates a subtle guideline that’s easy to stitch over and less visible afterward.
 Fabric prepared for embroidery printing process
 -
Print Your Design: Load the prepared fabric and freezer paper sheet into your printer’s rear feed tray, paper-face up. Rear feed trays are generally better for thicker or specialty papers. Print your design.
 Loading linen and freezer paper into printer for embroidery pattern printing
Troubleshooting Tip: If your printer hesitates or rejects the fabric sheet, try gently encouraging it. A little pat on the printer (and reloading the sheet) might sometimes do the trick!
 Printer successfully feeding linen for embroidery printing
 -
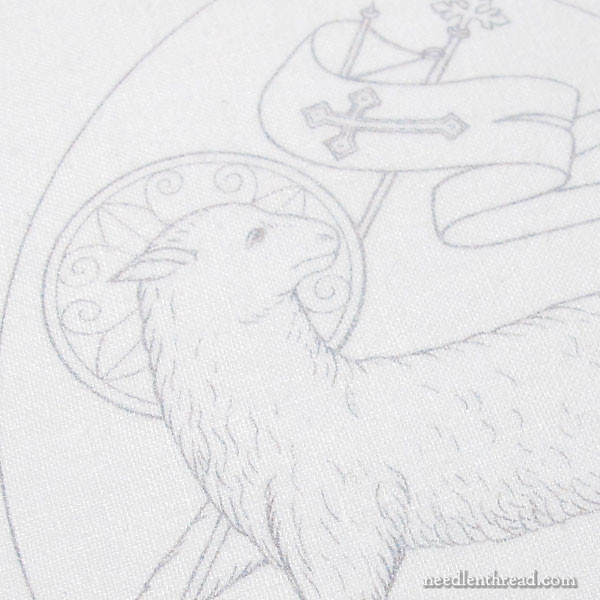
Admire Your Printed Design: Once printed, carefully remove the freezer paper from the fabric. You should have a perfectly printed embroidery design directly on your linen, ready for stitching!
 Perfectly printed embroidery design on linen
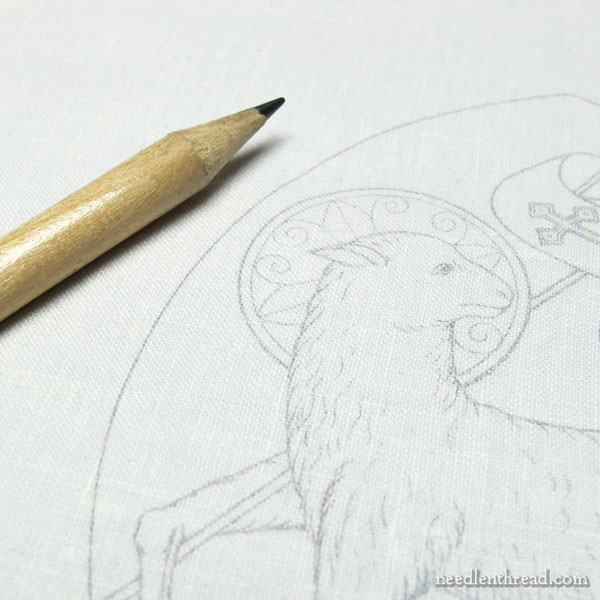
The precision is remarkable, especially for intricate details. To appreciate the scale, here’s the printed design next to a pencil tip:
 Scale of printed embroidery design next to pencil tip
 -
Set the Ink (Optional): If desired, lightly iron the back of the fabric to set the ink further, especially if using inkjet. This can help prevent smudging, particularly if the fabric might get damp during stitching.
Tips for Successful Embroidery Printing:
- Fabric Choice Matters: Opt for tightly woven, lighter-weight fabrics like linen or cotton. Avoid thick or heavily textured fabrics that might not feed smoothly through your printer.
- Printer Compatibility: Inkjet printers generally work best. Always check your printer manual for compatible paper types and thickness.
- Test Prints: Before printing on your final fabric, do a test print on regular paper to ensure design size and placement are correct.
- Opacity Adjustment: Printing in a lighter gray is preferable, especially on light fabrics. It provides a clear guideline without being overly visible in the finished embroidery.
- Gentle Handling: Handle the printed fabric with care to avoid smudging the ink before you start stitching.
Embroidery printing opens up exciting possibilities for intricate and detailed embroidery projects. It eliminates the struggle of traditional transfer methods, offering precision and ease, especially when working with complex designs or scaled-down patterns. While I initially used this method for a delicate prayer book cover, the applications are endless – from detailed floral motifs to intricate lettering and beyond.
This technique empowers you to bring even the most ambitious embroidery visions to life with accuracy and, most importantly, with the least amount of grief possible. So, embrace the ease of embroidery printing and unlock a new level of detail in your needlework!