
Transferring images onto fabric can often be a time-consuming process, often involving lengthy drying periods that test your patience. However, a quicker method exists! By using a heat gun, you can drastically reduce the waiting time and achieve fantastic results in just about 10 minutes. This guide will walk you through the steps to effortlessly print pictures on material and create unique fabric crafts in no time.
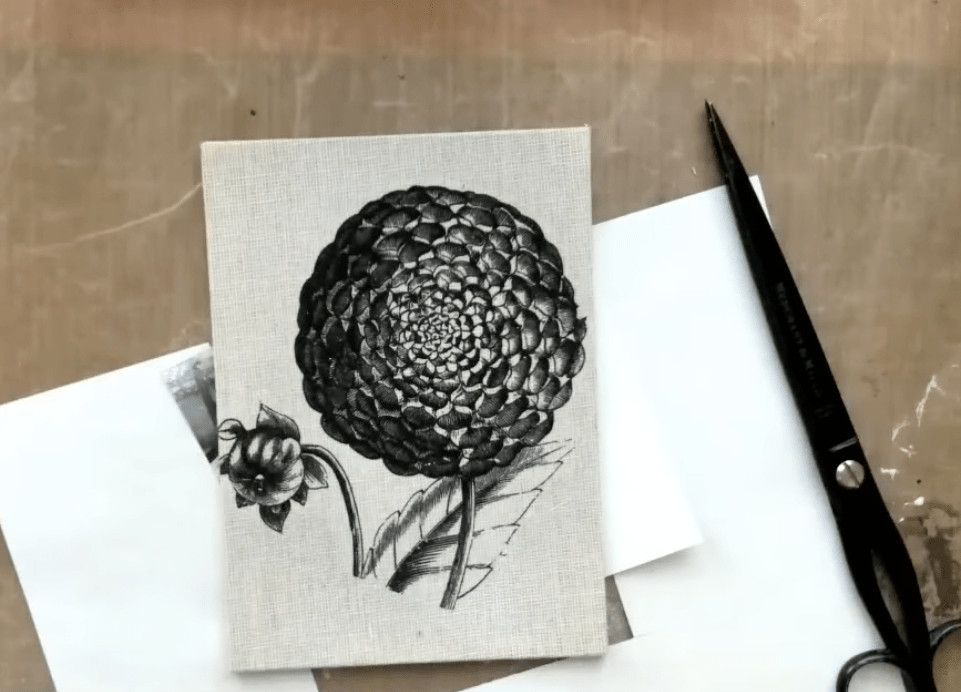 High contrast image printed for fabric transfer
Ready to learn how to Print Picture On Material rapidly? Here’s a step-by-step process to achieve quick image transfers onto your favorite fabrics:
Materials You’ll Need:
- High contrast image printed with a laser or inkjet printer
- Fabric of your choice
- Matte medium
- Heat gun
- Non-stick surface (plastic or silicone mat works well)
- Water
- Bone folder or fingers
- Rag
- Magic eraser (for removing haze – optional)
Step-by-Step Guide for 10-Minute Fabric Image Transfer:
-
Prepare Your Image: Begin by printing your chosen high-contrast image. Ensure you are using either a laser or inkjet printer for best results when you print picture on material. Cut out the image, removing any excess paper from the edges to ensure a clean transfer.
-
Set Up Your Workspace: Place your non-stick surface down. This will protect your work area and prevent the image from sticking to your table. Position your cut-out image on this surface, ready for the next step in the print picture on material process.
-
Apply Matte Medium: Apply a thin, even layer of matte medium to the front side of your printed image. Matte medium acts as the adhesive that will help print picture on material effectively. Ensure complete coverage, especially around the edges of the image.
-
Adhere Fabric to Image: Take your chosen fabric and carefully place it face down onto the wet matte medium on your image. Smooth the fabric gently but firmly over the image using a bone folder or your fingers. This step is crucial to ensure good contact between the fabric and the image for a successful print picture on material. Smooth from the center outwards to eliminate air bubbles.
-
Dry with Heat Gun: Now, using your heat gun, dry the image and fabric for several minutes. Move the heat gun continuously over the surface to ensure even drying and prevent scorching. This rapid drying technique is what allows you to print picture on material in just 10 minutes, significantly speeding up the traditional image transfer method.
-
Soak in Water: Once dried with the heat gun, carefully soak the fabric and image in water for about 3 minutes. This soaking process helps to loosen the paper backing, making it easier to reveal your transferred image when you print picture on material.
-
Rub Away Paper Layer: After soaking, gently rub the top layer of paper off the fabric with your finger. Start from the edges and work your way inwards. Be patient and gentle to avoid damaging the transferred image.
-
Remove Remaining Paper: Use a rag to continue removing the paper from the center outwards. As the paper pieces become smaller and harder to remove, use your heat gun again to dry the area. Drying helps to lift the remaining paper residue and makes it easier to completely print picture on material, revealing a clearer transferred image.
-
Final Touches: For any remaining haze or stubborn paper residue, you can gently use a magic eraser product. Lightly dab the magic eraser over the transferred image to clean up any imperfections and finalize your print picture on material project.
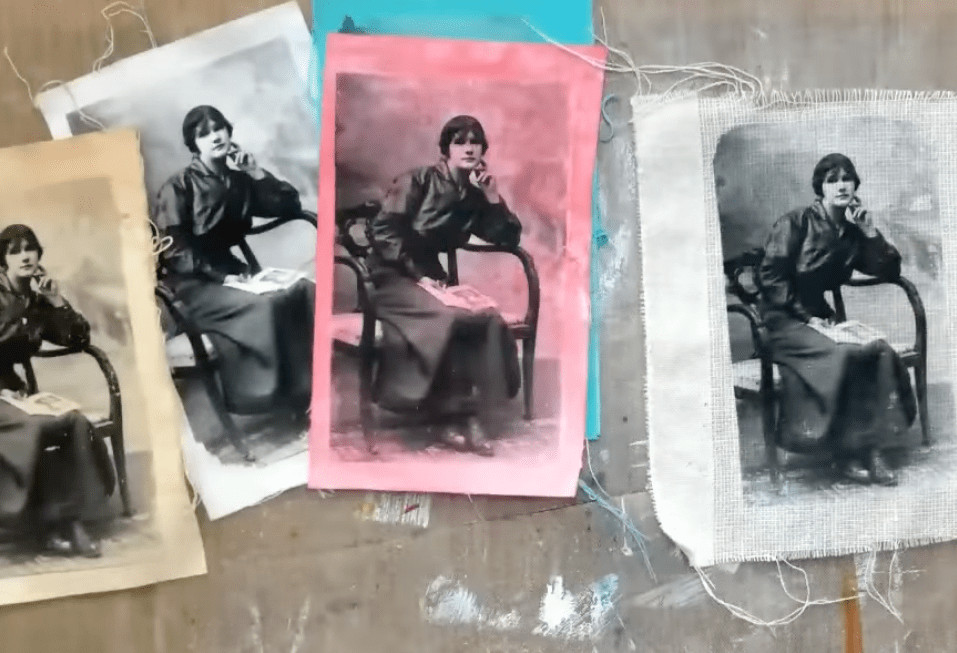 Image after heat transfer onto fabric
Experiment and Share!
Have you tried transferring images onto fabric before? This heat gun method is a game-changer for anyone looking to print picture on material quickly and efficiently. Experiment with different fabrics and images, and don’t hesitate to share your results! Exploring the world of fabric image transfers opens up a realm of creative possibilities for personalized gifts, unique home décor, and custom clothing.
