Printing on fabric opens up a world of creative possibilities, from personalized home décor to custom clothing and unique gifts. You might think you need specialized equipment, but with a simple freezer paper method and your home inkjet printer, you can easily transfer designs onto fabric. This economical and fun technique is perfect for crafters of all levels.
What You’ll Need to Print on Fabric
Before you begin your fabric printing adventure, gather these essential supplies:
-
Freezer Paper: This is the star of the show! Freezer paper has a shiny plastic coating on one side and a dull paper side. It’s readily available in most grocery stores. Make sure it is freezer paper and NOT wax paper or parchment paper.
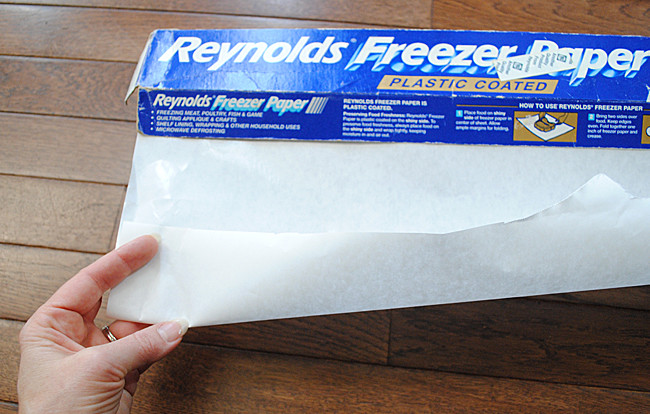 Close-up of a roll of freezer paper showcasing its shiny and dull sides
 -
Fabric: Natural fabrics like cotton, linen, and canvas work best for inkjet printing. For beginners, canvas drop cloth is an excellent and budget-friendly option. It absorbs ink well and feeds smoothly through most printers. Ensure your fabric is light-colored for best print visibility.
-
Iron: A household iron is needed to adhere the freezer paper to the fabric.
-
Scissors or Rotary Cutter: For precise cutting of fabric and freezer paper.
-
Inkjet Printer: Your standard home inkjet printer is all you need. For projects that require washability, consider using pigment inks, which are more water-resistant than dye-based inks.
-
Printer Cardstock (Optional): Using a piece of cardstock as a template helps ensure accurate sizing of your fabric and freezer paper sheet to standard printer paper dimensions (8.5″ x 11″ or A4).
Step-by-Step Guide to Printing on Fabric Using Freezer Paper
Follow these easy steps to print your designs onto fabric:
Step 1: Prepare Your Fabric and Freezer Paper
Start by ironing your fabric to remove any wrinkles. This ensures a smooth surface for printing. Cut a piece of freezer paper slightly larger than your desired print size. Place the fabric on your ironing board with the right side up. Position the freezer paper on top of the fabric with the shiny side facing down towards the fabric.
Step 2: Iron the Freezer Paper to the Fabric
Using a medium heat setting on your iron (no steam), gently iron the freezer paper onto the fabric. The shiny side of the freezer paper will temporarily adhere to the fabric when heated. Ensure all edges are firmly sealed to prevent ink bleeding.
 Ironing freezer paper onto a piece of canvas fabric on an ironing board
Step 3: Trim to Printer Paper Size
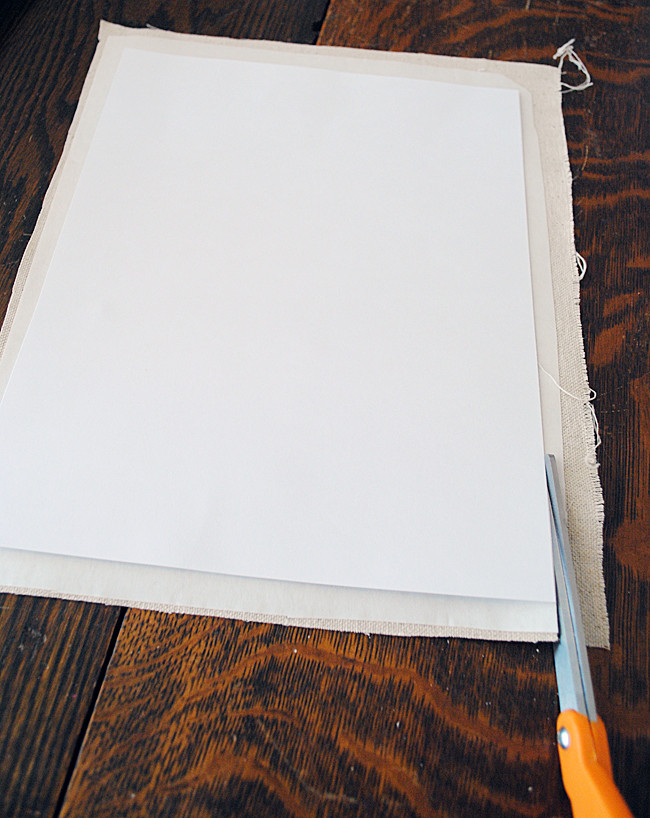
For best results and to avoid printer jams, trim the fabric and freezer paper to the exact size of standard printer paper (8.5″ x 11″ inches or A4). Using a piece of printer cardstock as a template can help achieve precise dimensions. Make sure there are no frayed fabric edges or overhangs, as these can cause paper jams in your printer.
Step 4: Load the Fabric Sheet into Your Inkjet Printer
Carefully load the fabric sheet into your printer’s paper tray. Ensure you are loading it correctly so that the ink will print on the fabric side and not the freezer paper side. You may need to consult your printer manual to determine the correct paper orientation for manual feed or paper tray loading.
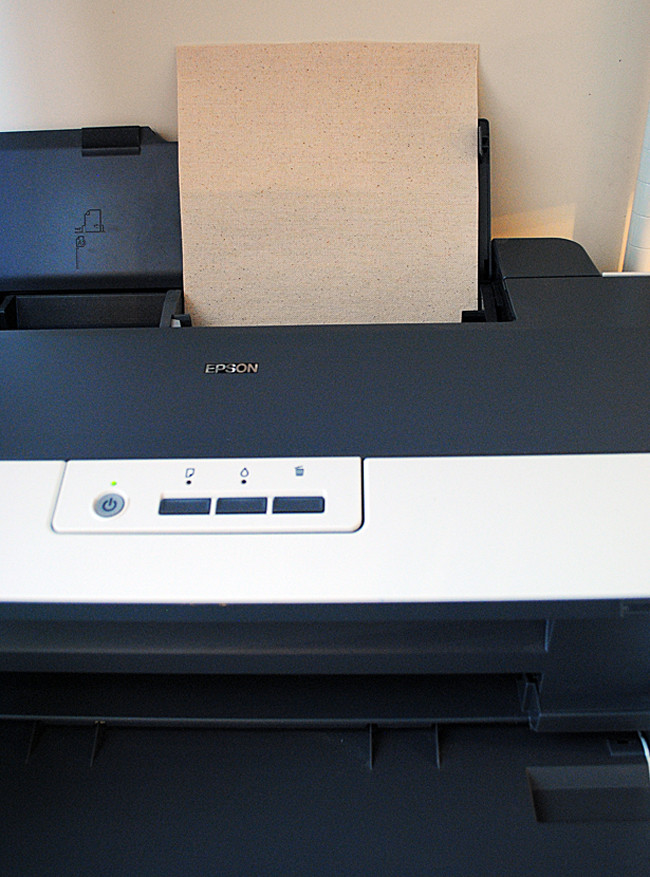 A hand placing a fabric sheet backed with freezer paper into an inkjet printer tray
Step 5: Adjust Your Printer Settings for Best Quality
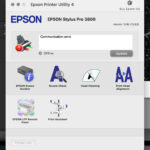
Before printing, access your printer settings. Typically, you can find “Printer Preferences” or “Print Quality” options in the print dialog box. Select “Best Photo” or “High Quality” print settings. This will ensure a richer ink deposit on the fabric, resulting in a more vibrant and durable print.
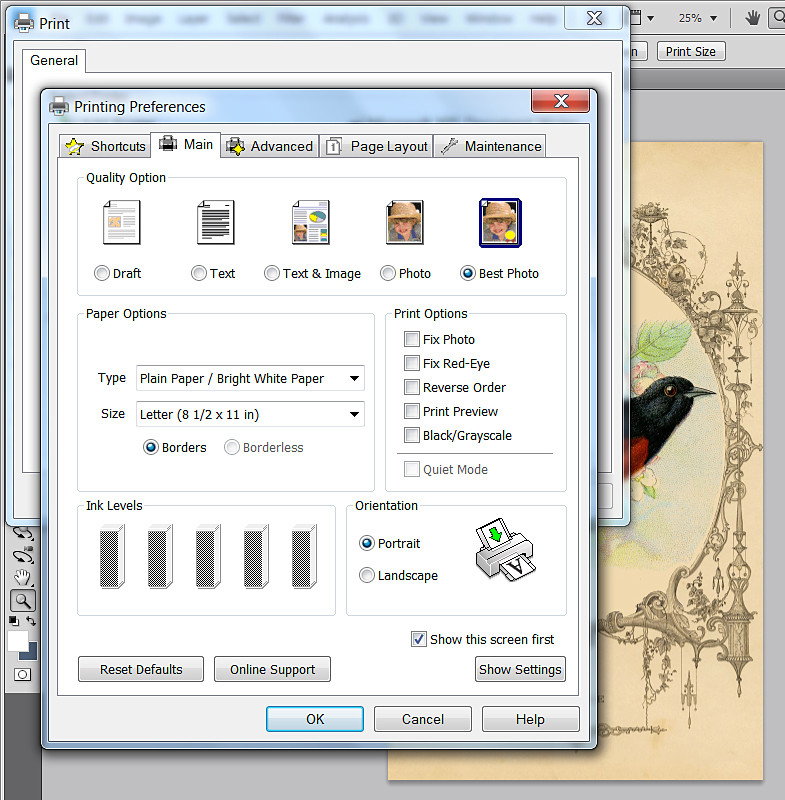 Screenshot of printer settings showing "Best Photo" quality selected
Step 6: Print Your Design
Send your design to print. Stay close to your printer during the printing process. You may need to gently guide the fabric sheet as it feeds through the printer, especially if your printer model is sensitive to thicker media. Some printers might hesitate to recognize the fabric sheet initially; be patient and re-feed if necessary.
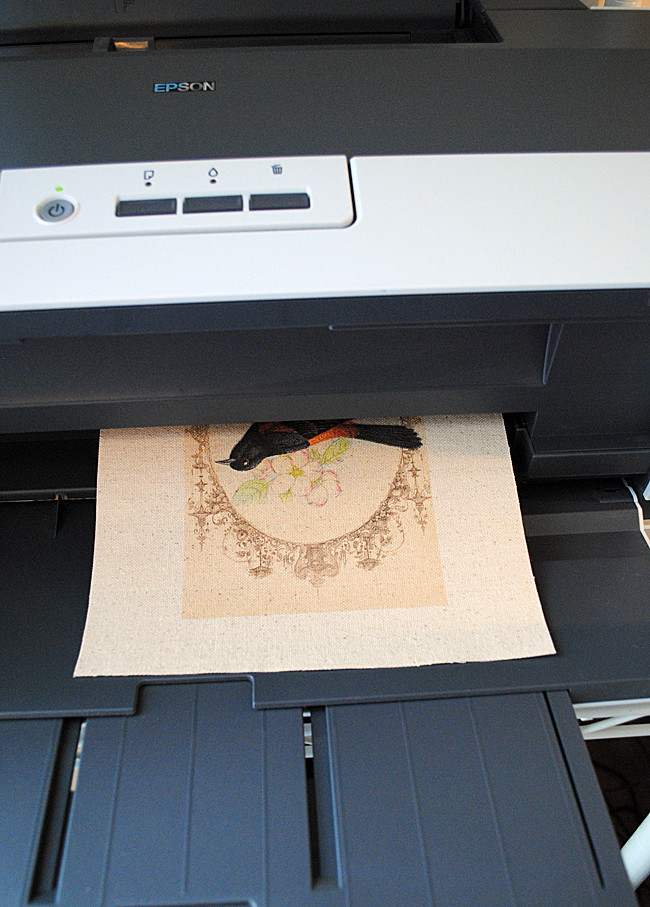 Fabric with a printed design emerging from an inkjet printer
Step 7: Peel Off the Freezer Paper
Once printing is complete, carefully peel off the freezer paper backing. The freezer paper can often be reused multiple times (up to 10 times or more), so you can save it for future projects.
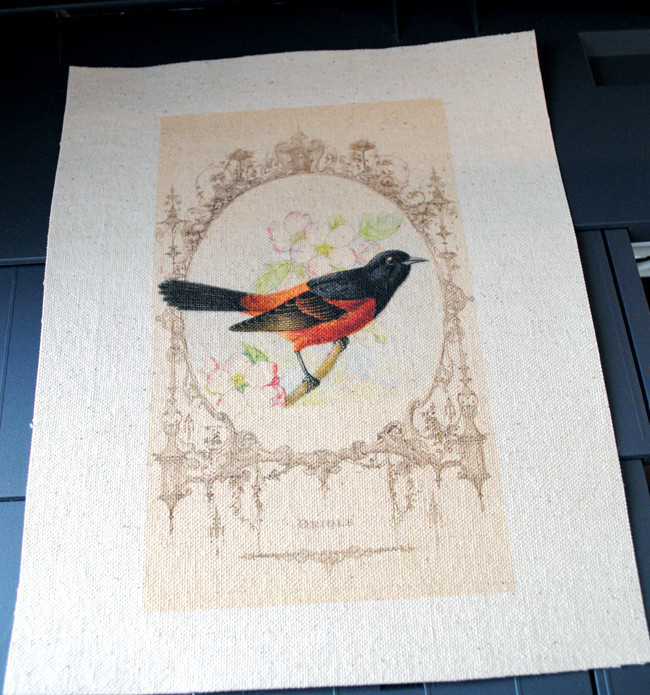 Close-up of a detailed print on fabric after freezer paper removal
Tips for Success When Printing on Fabric
- Test Print: Always do a test print on regular paper first to check your design, size, and printer settings before printing on fabric.
- Ink Type: Pigment inks offer better water resistance and lightfastness for fabric printing compared to dye-based inks. If using dye-based inks, consider using a fabric sealant spray to improve washability and prevent ink bleeding.
- Fabric Choice: Tightly woven, light-colored natural fabrics yield the best printing results. Avoid stretchy or heavily textured fabrics for this method.
- Ironing is Key: Ensure the freezer paper is securely adhered to the fabric to prevent ink from bleeding under the edges.
- Printer Compatibility: While most home inkjet printers are compatible, check your printer manual for recommendations on handling thicker or specialty media.
Troubleshooting Common Issues
- Printer Jams: Ensure the fabric and freezer paper sheet is trimmed to the exact paper size and has no frayed edges. Gently guide the fabric through the printer if needed.
- Ink Smearing: Allow the printed fabric to dry completely before handling. Avoid excessive rubbing or folding immediately after printing.
- Faded Prints: Use “Best Photo” or “High Quality” print settings and consider using pigment inks for more vibrant and lasting colors.
Unleash Your Creativity with Fabric Printing
Printing on fabric at home using the freezer paper method is a fantastic way to personalize your crafts and home décor. From custom tea towels and tote bags to unique quilt blocks and personalized clothing patches, the possibilities are endless. Experiment with different designs, fabrics, and ink types to discover the exciting world of DIY fabric printing!