
Printing documents and photos directly from your iPad is incredibly convenient, especially with AirPrint. This built-in Apple technology allows for seamless wireless printing to compatible printers. This guide will walk you through the simple steps to print from your iPad, ensuring you can easily get your digital files onto paper.
Before you begin, ensure a couple of things are in place. First, confirm that your printer is AirPrint-enabled. You can usually find this information on the printer manufacturer’s website or product documentation. Secondly, make sure both your iPad and printer are connected to the same Wi-Fi network. This is crucial for AirPrint to function correctly and for your devices to communicate.
To start printing, open the application containing the document, photo, or content you wish to print. Most apps, such as Safari, Photos, Mail, and Pages, support printing. Look for the Share button, often depicted as an upward-pointing arrow in a box, or an Actions button, which might appear as three dots or lines.
After tapping the Share or Actions button, scroll through the options until you find “Print” or the Print icon. The Print icon typically resembles a printer. If you are unable to locate the print option, it’s worth checking the app’s help section or user guide, as some apps may have printing capabilities located in different menus, or may not support AirPrint at all.
Once you tap “Print,” you’ll be prompted to select a printer if one isn’t already chosen. Tap “No Printer Selected” to view a list of available AirPrint-enabled printers on your network. Choose your printer from the list. Following printer selection, you can adjust print settings such as the number of copies, page range, and paper size, depending on the app and your printing needs. Finally, tap “Print” located in the upper-right corner to send your print job to the selected printer.
While your document or photo is printing, you can easily monitor or cancel the print job if needed. Apple provides a handy way to manage print tasks directly from your iPad. To access the Print Center, open the App Switcher by swiping up from the bottom of the screen and holding, or double-clicking the Home button on older models. Then, look for and tap “Print Center.”
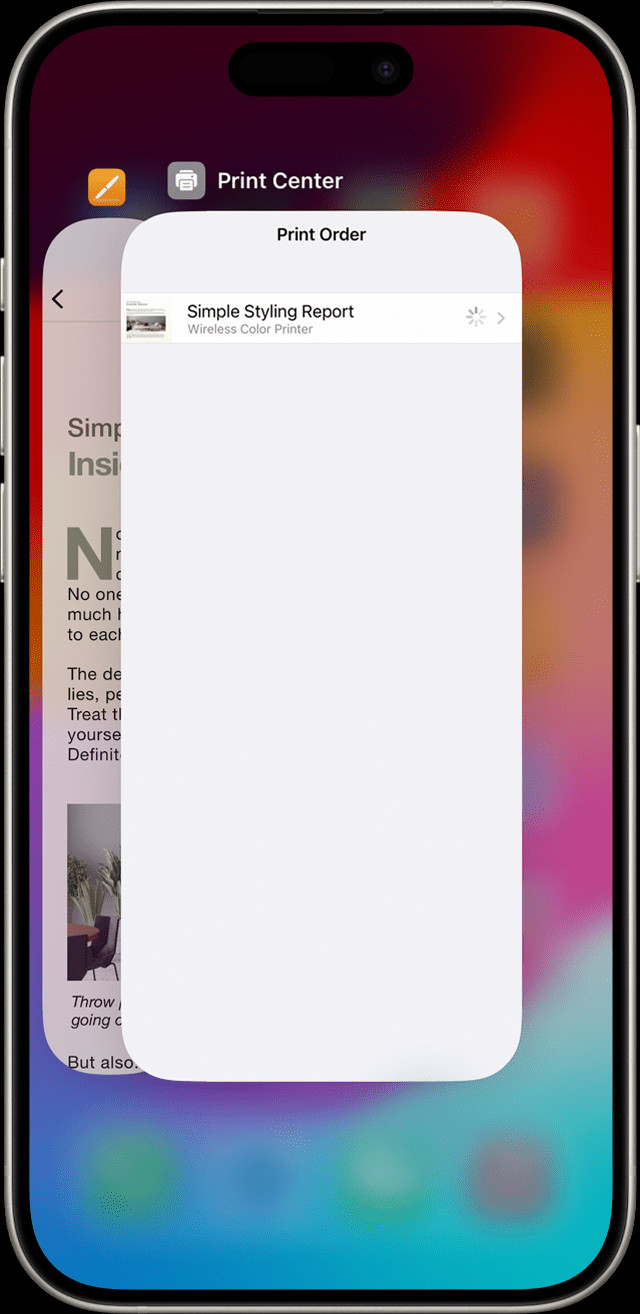 View active print jobs in Print Center app on iPad
In the Print Center, you can view the status of your current print job. If you need to cancel printing for any reason, simply tap “Cancel Printing” within the Print Center interface.
Keep in mind that AirPrint is designed to work over Wi-Fi or wired network connections. Printers connected via USB to an Apple AirPort Base Station, AirPort Time Capsule, or to your computer using Bluetooth are not compatible with AirPrint. Ensure your printer is properly connected to your Wi-Fi network for seamless wireless printing from your iPad.
Printing from your iPad using AirPrint offers a straightforward and efficient way to get hard copies of your important documents and cherished photos. By following these simple steps, you can take full advantage of your iPad’s capabilities and streamline your printing tasks.