
Plaid Print, also known as buffalo plaid or checkered print, is a timeless design that brings a touch of rustic charm to any project. Whether you’re looking to personalize home décor, revamp accessories, or add flair to craft projects, mastering the plaid print technique opens up a world of creative possibilities. This guide will walk you through the easy steps to create your own plaid print, perfect for beginners and seasoned crafters alike.
Materials You’ll Need
To get started on your plaid print project, gather these simple materials:
- Two Paint Colors: Choose two colors that contrast well. Classic black and white offer a striking look, but feel free to experiment with color combinations to match your style.
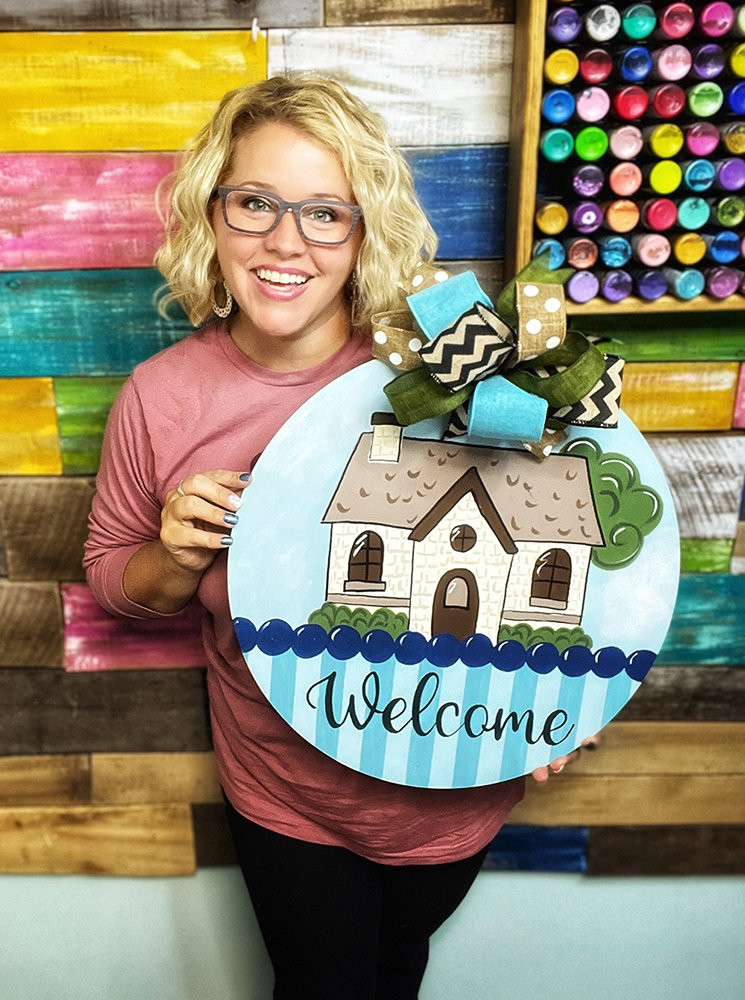
- Base Surface: Select the item you wish to paint. In this example, we’ll focus on a door hanger, but this technique works wonderfully on wood signs, canvas, fabric, and more.
- Painter’s Tape (1-inch width): This is crucial for creating crisp, clean lines for your plaid pattern.
- Baby Wipes: Surprisingly, baby wipes are the secret tool to achieving a soft, textured plaid effect.
- Paint Brushes or Sponges: For applying paint.
- Optional: Ruler or Measuring Tape: To ensure even spacing of lines.
Step-by-Step Guide to Creating Your Plaid Print
Follow these straightforward steps to paint a beautiful plaid pattern:
1. Prepare the Background
Begin by painting your entire base surface with your lighter paint color. For a classic plaid, white is an excellent choice as a background. Ensure the paint is applied evenly and allow it to dry completely before moving on to the next step. This base coat sets the stage for your plaid design.
2. Create Vertical Stripes
Once the base coat is dry, it’s time to create the vertical stripes of your plaid print.
-
Apply 1-inch painter’s tape vertically across your surface, spacing each strip one inch apart. Use the width of the tape itself as a guide to ensure consistent spacing between the stripes. This technique simplifies the process and ensures uniform lines.
-
With your darker paint color (like black in our example), lightly dip a baby wipe into the paint. The key is to use a minimal amount of paint to achieve the desired textured effect.
-
Gently dab the paint-soaked baby wipe between the taped stripes. The baby wipe application creates a softer, more textured line than a traditional brush stroke, giving your plaid print a unique and charming character.
-
Allow the vertical stripes to dry completely before proceeding.
3. Add Horizontal Stripes for the Plaid Effect
After the vertical stripes are dry, it’s time to add the horizontal lines that will complete your plaid pattern.
-
Apply painter’s tape horizontally across your surface, again using 1-inch tape and spacing each strip one inch apart, similar to the vertical stripes.
-
Using a clean baby wipe and even less of the darker paint than before, lightly paint across the horizontal lines. The goal here is to create a lighter, gingham-like effect where the horizontal stripes intersect with the vertical ones. This layering is what gives plaid its distinctive look.
-
Let the horizontal paint dry completely.
4. Reveal Your Plaid Masterpiece
Once all the paint is dry, carefully peel off the painter’s tape to reveal your 완성된 plaid print! The crisp lines and textured effect from the baby wipes will give your project a professional yet handcrafted appearance.
 Materials and tools for creating a DIY plaid print on a door hanger, including painter's tape and paint.
Tips for Perfecting Your Plaid Print
- Experiment with Colors: While black and white is classic, plaid print looks fantastic in various color combinations. Try red and black for a traditional buffalo plaid, or explore softer hues like pastel pink and white for a more delicate look.
- Vary the Texture: For a more distressed or rustic plaid, experiment with different application techniques. You can use dry brushing or layering to add depth and character to your print.
- Seal Your Design: To protect your painted plaid print, especially on items that will be handled or exposed to the elements, apply a sealant or varnish after the paint is fully dry.
Beyond Door Hangers: Plaid Print Applications
The versatility of plaid print extends far beyond door hangers. Consider using this technique to embellish:
- Home Décor: Pillows, blankets, tablecloths, and even walls can be transformed with a plaid print.
- Fashion Accessories: Personalize bags, shoes, or clothing with hand-painted plaid accents.
- Seasonal Crafts: Plaid is particularly popular for fall and winter décor. Think pumpkins, ornaments, and festive signs.
Creating your own plaid print is a rewarding DIY project that adds a personal and stylish touch to countless items. With these simple steps and a bit of practice, you’ll be crafting beautiful plaid designs in no time. Embrace the charm of plaid and let your creativity flourish!