
Sometimes, a simple change can make a big difference. If you’re looking to refresh your footwear, consider transforming a plain pair of shoes into trendy Leopard Print Shoes. Those rose gold shoes you’ve been eyeing? They could be the perfect base for a striking animal print makeover! Leopard print is a fantastic way to add a bold statement to your style. With just a few supplies and a bit of creativity, you can easily achieve this look at home. Using Tulip Slick Dimensional Paint, you can give your shoes a painted upgrade in under an hour. Leopard print is surprisingly forgiving and fun to create because each spot is unique – making it perfect for DIY projects. Whether you choose classic brown and black spots or experiment with vibrant colors like in a rainbow leopard design, you can create a unique pair of shoes to showcase your personal style any time of year.
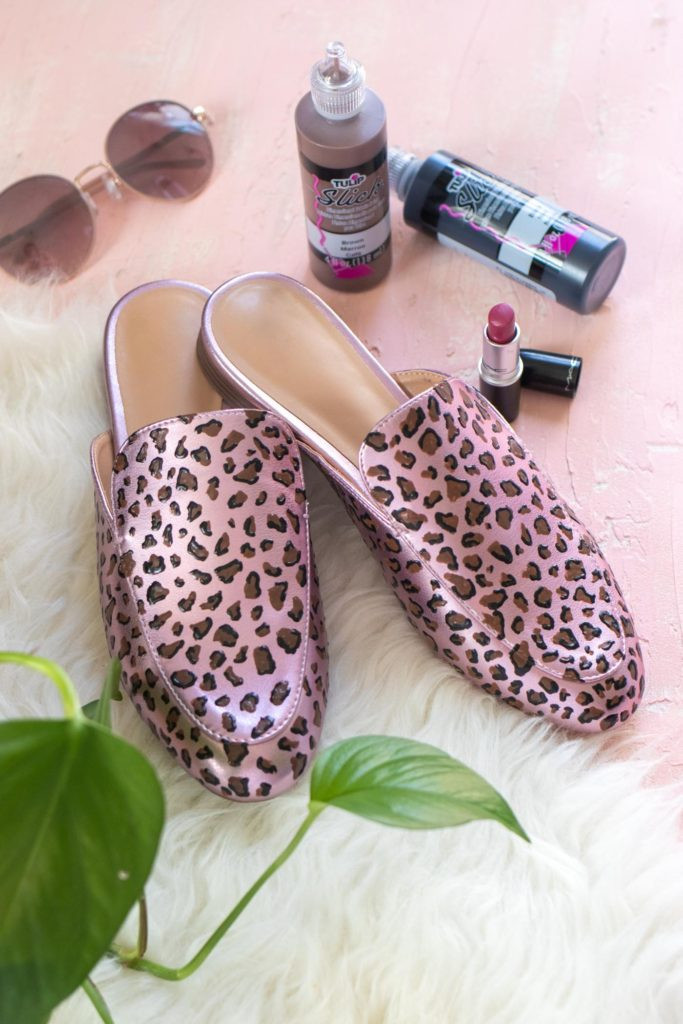 Rose gold shoes ready for a leopard print DIY makeover
Tulip Dimensional Paints are ideal for this DIY leopard print shoes project because their fine tips allow for detailed and controlled application. Creating a leopard print pattern on shoes is straightforward: simply paint irregular shapes and then partially outline them with a contrasting color to make the spots pop. For a visual guide, check out the video tutorial available online to see the process in action.
 Close-up of brown paint splotches being applied to a shoe for a DIY leopard print design
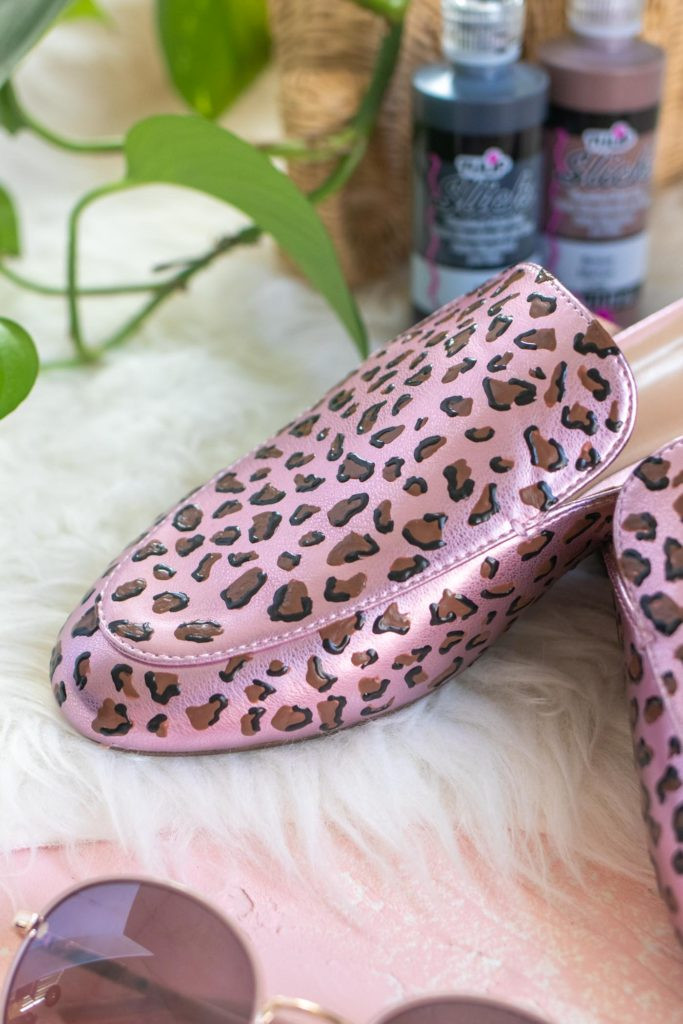
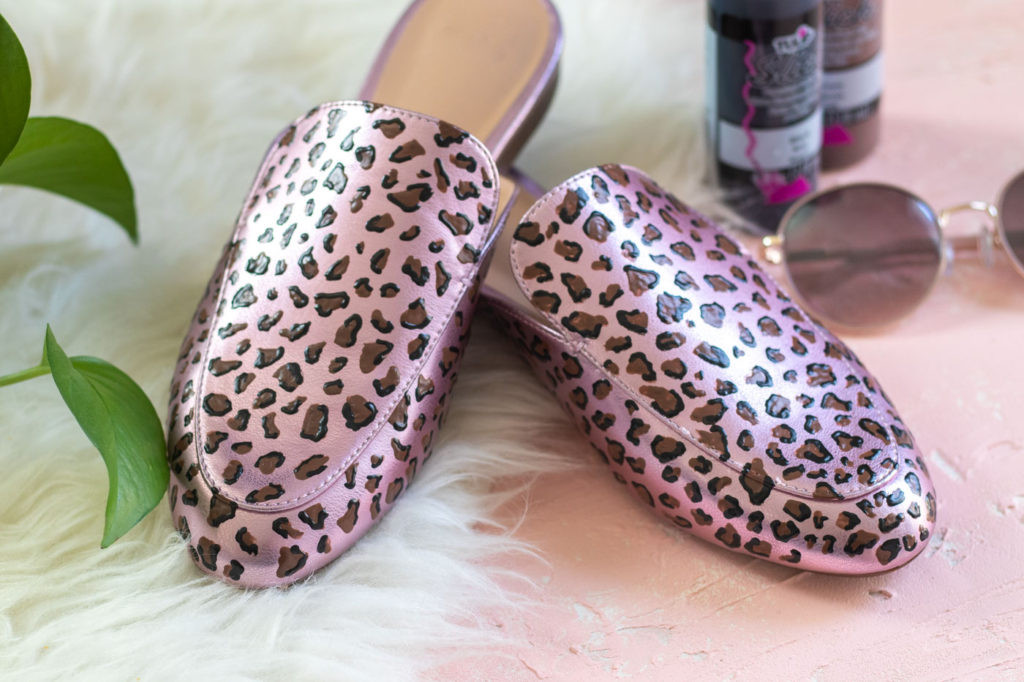 Pair of shoes with brown splotches partially outlined in black to create a leopard print pattern
Materials You’ll Need:
- A pair of shoes ready for a stylish upgrade
- Tulip Slick Dimensional Paint in black and brown – the key to easy leopard spots
Easy Steps to Create Your Own Leopard Print Shoes:
Step 1: Begin by using the brown Tulip paint to create freeform “splotches” across the surface of your shoe. Vary the shapes and sizes of these spots for a more natural animal print look, extending them down to the shoe’s base.
Step 2: While the brown paint is still wet, take the black Tulip paint and partially outline the brown shapes you’ve just created. The trick to a realistic leopard print is not to fully trace each shape; instead, add random, partial outlines to mimic the natural pattern.
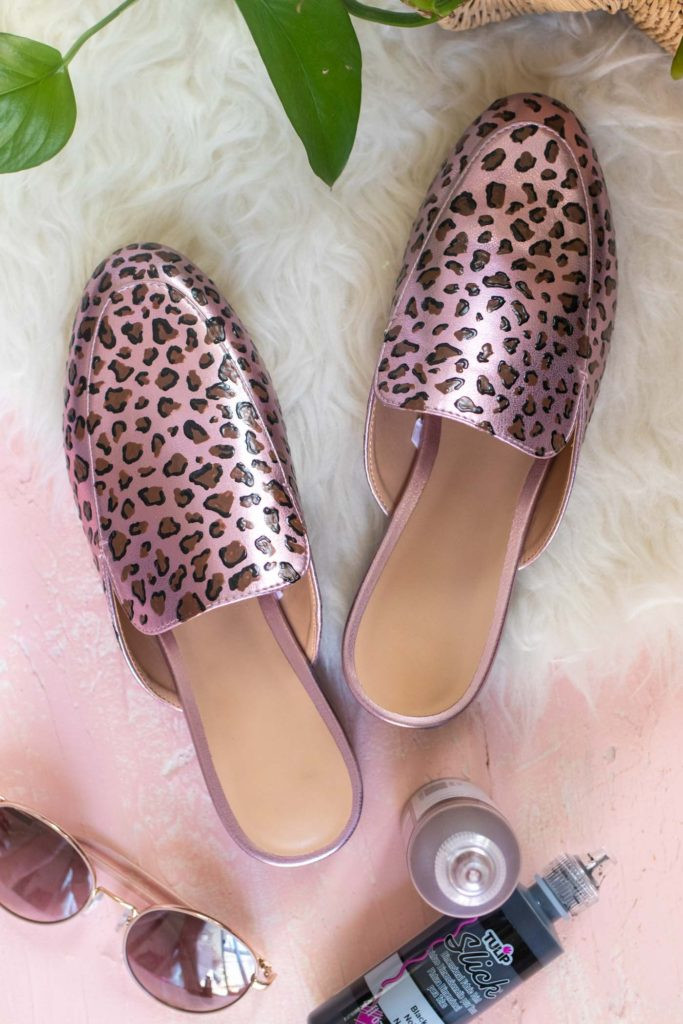 Applying black outline to brown spots on DIY leopard print shoes
Repeat these steps on the second shoe. Once both shoes are painted, allow them to dry completely overnight. This drying time ensures the paint sets properly, making your leopard print shoes ready to wear.
That’s all there is to it! These DIY leopard print shoes are genuinely one of the easiest and most impactful ways to transform a pair of shoes. Now that you know how simple it is to paint leopard print, you might find yourself wanting to add this chic pattern to everything!