
Printing with leaves on fabric is a simple yet stunning way to bring the beauty of nature into your home and wardrobe. You’ll be amazed at the intricate patterns and textures hidden within ordinary leaves, and how effortlessly they transform into unique prints. This beginner-friendly craft requires no special skills, making it perfect for creating personalized table runners, elegant tablecloths, or charming tea towels and bags for thoughtful, handmade gifts. Embrace the perfectly imperfect beauty of nature and add a touch of handcrafted elegance to your life with Leaves To Print.
Imagine a festive holiday table adorned with a tablecloth you printed yourself, adding a warm, personal touch to your gatherings. This project is not only rewarding but also a wonderful way to connect with nature and unleash your creativity.
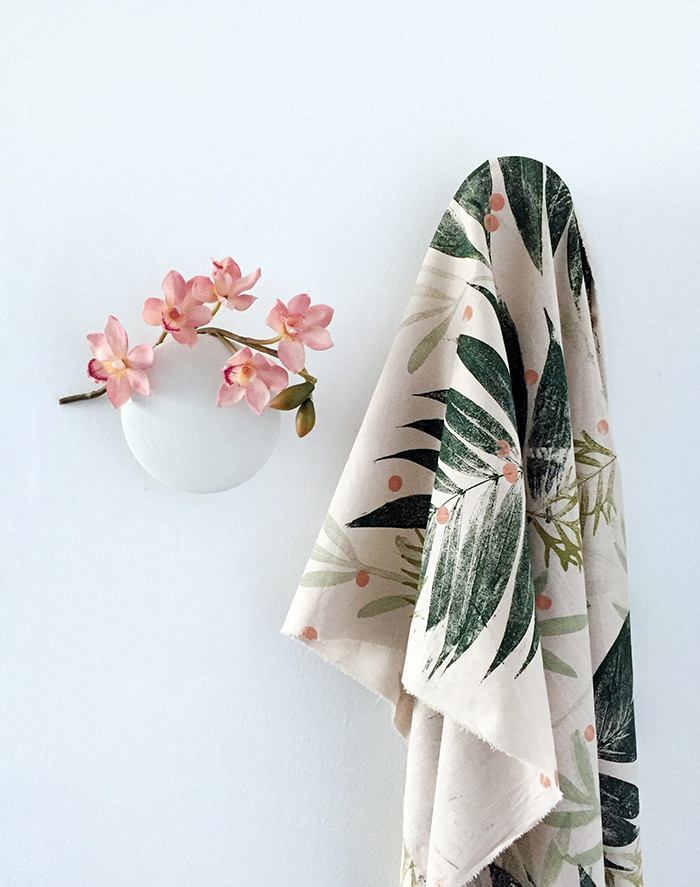
 How to print with leaves onto fabric to make a tablecloth or runner
 Step-by-step instructions for printing leaves on fabric to create unique designs
Materials You’ll Need for Leaves to Print Projects
Before you begin your leaf printing adventure, gather these simple supplies:
- Fabric Paint or Acrylic Paint with Fabric Medium: Choose fabric paints specifically designed for textiles, or use acrylic paints mixed with a fabric medium to ensure durability and washability on fabric.
- Plastic Takeaway Containers: These are ideal for mixing your paints and keeping them readily accessible during your printing process.
- Cotton or Cotton/Linen Blend Fabric: Opt for natural fabrics like cotton or linen blends. Pre-wash the fabric to remove any sizing or coatings that may hinder paint absorption.
- Small Paint Tray: A small tray will hold your paint and make it easy to load your sponge roller evenly.
- Small Sponge Roller: This tool is perfect for applying a thin, even layer of paint to your leaves.
- Paper Towel: Keep paper towels handy for blotting excess paint and cleaning up any spills.
- Brayer or Rolling Pin: Use a brayer or rolling pin to apply even pressure and ensure a clear, crisp leaf print on your fabric.
- Leaves: The stars of the show! Gather a variety of leaves in different shapes and sizes to add visual interest to your designs.
- Round Stamp (Optional): A round sponge stamp can be used to add decorative elements like dots or confetti to your printed fabric.
- Plastic Drop Cloth: Protect your work surface by covering it with a plastic drop cloth.
- Newspaper: Use newspaper to create a dedicated painting area for your leaves and to prevent paint from getting on unwanted surfaces.
- Iron: An iron is needed to heat-set the fabric paint, making your designs permanent and washable.
Step-by-Step Guide to Printing with Leaves
Follow these straightforward steps to create your own beautiful leaf prints on fabric:
1. Gather Your Leaves: Nature’s Art Supplies
Step outside and explore your garden or local park for leaves with interesting shapes and distinct veins. Using a variety of leaf types and sizes will create a more dynamic and visually appealing finished product. Ensure your chosen leaves are clean and free of debris or insects. Arrange them on your workspace to visualize your design and how the different shapes will interact.
2. Prepare Your Paint: Choosing Colors for Your Leaves to Print
Squeeze your chosen fabric paints or acrylic paints (mixed with fabric medium) into your plastic containers. Feel free to mix colors to create custom shades that complement your fabric and desired aesthetic. For example, you can lighten a darker color by adding white paint, as demonstrated with the sage green in the original example.
3. The Printing Process: Bringing Leaves to Print on Fabric
Before printing on your final fabric piece, it’s a good idea to practice on scrap fabric or paper. This will help you get a feel for the right amount of paint to use and the pressure needed to achieve clear prints with different leaf types.
Setting Up Your Workspace: Cover your work table with a plastic drop cloth to protect it from paint. Designate a separate area covered with newspaper for painting the leaves.
Preparing the Fabric: Lay your pre-washed fabric flat on your prepared table.
Painting the Leaves: Select your largest leaf and place it underside up on the newspaper. The veins are more prominent on the underside and will result in more detailed prints. Pour a small amount of paint into your paint tray and use the sponge roller to apply an even coat of paint to the underside of the leaf. Avoid applying too much paint, which can cause the print to smudge.
Creating the Print: Carefully place the painted leaf, paint-side down, onto your fabric. Ensure it’s positioned exactly where you want the print, as moving it can blur the image. Cover the leaf with a piece of paper towel. Using the brayer or rolling pin, roll over the paper towel with firm, even pressure. The pressure needed may vary depending on the leaf’s thickness, paint amount, and fabric texture. Remember, the beauty of hand-printing lies in its unique imperfections.
Revealing Your Leaf Print: Gently remove the paper towel and carefully peel the leaf away from the fabric to reveal your leaf print. You can reuse the same leaf multiple times, especially if it’s larger and sturdier.
Building Your Design: Start by printing all your large leaves, spacing them out to leave room for smaller leaves. Rotate the leaves in different directions with each print to create a more random and natural-looking pattern. Allow the first color to dry completely before adding subsequent colors or leaf sizes to prevent smudging.
Adding Layers and Details: Once the first color is dry, begin printing with your medium-sized leaves, overlapping some of the larger prints for depth and visual interest. Repeat this process with your smallest leaves to fill in any gaps and create a layered, intricate design.
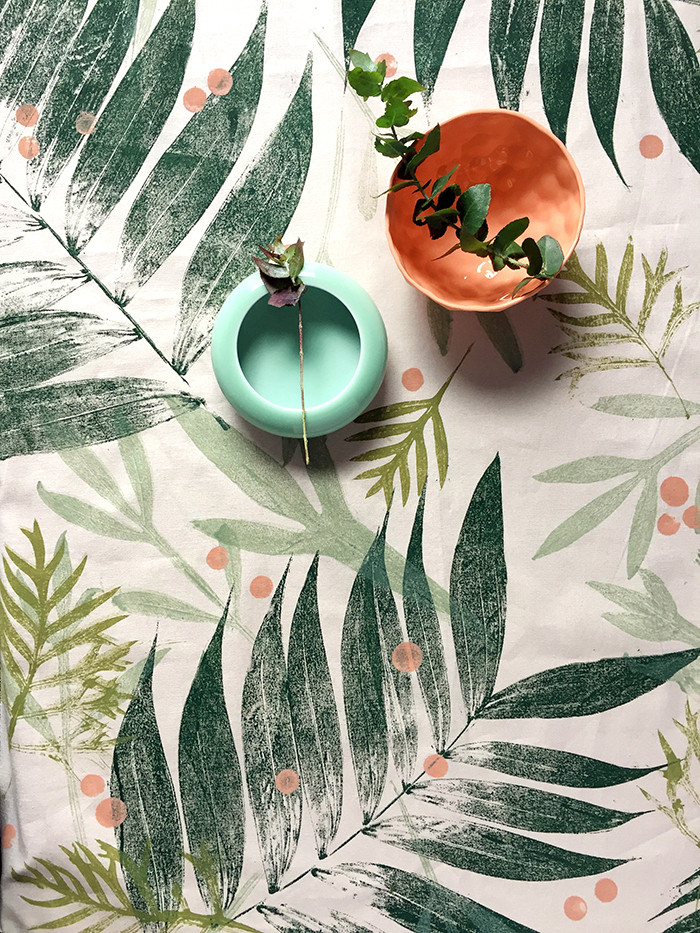
4. Optional Embellishments: Adding Confetti Dots
To add an extra layer of visual interest, consider using a round sponge stamp and a contrasting paint color to create confetti dots, as demonstrated in the original example. This adds a playful touch to your leaf print design.
5. Heat Setting Your Design: Making Your Leaves to Print Last
Allow the fabric paint to dry completely. Once dry, heat-set the paint according to the manufacturer’s instructions to make your design permanent and washable. Typically, this involves ironing the fabric on the reverse side using a dry iron at the appropriate setting for the fabric type.
 Print with leaves onto fabric – step by step instructions
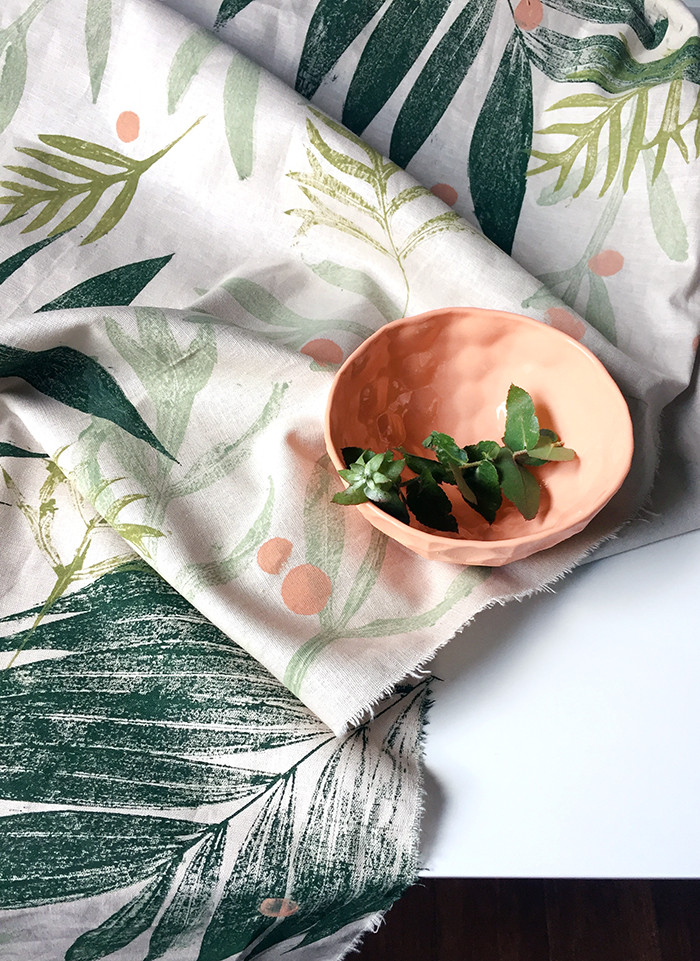
You can finish your project in various ways. The original table runner was left with frayed edges for a casual, rustic look. You can also hem the edges for a more polished finish. This technique works equally well on fabric yardage or pre-hemmed items like tablecloths or tea towels.
 How to print with leaves. Make a beautiful hand printed tablecloth for holiday entertaining
 Make a leaf printed tablecloth
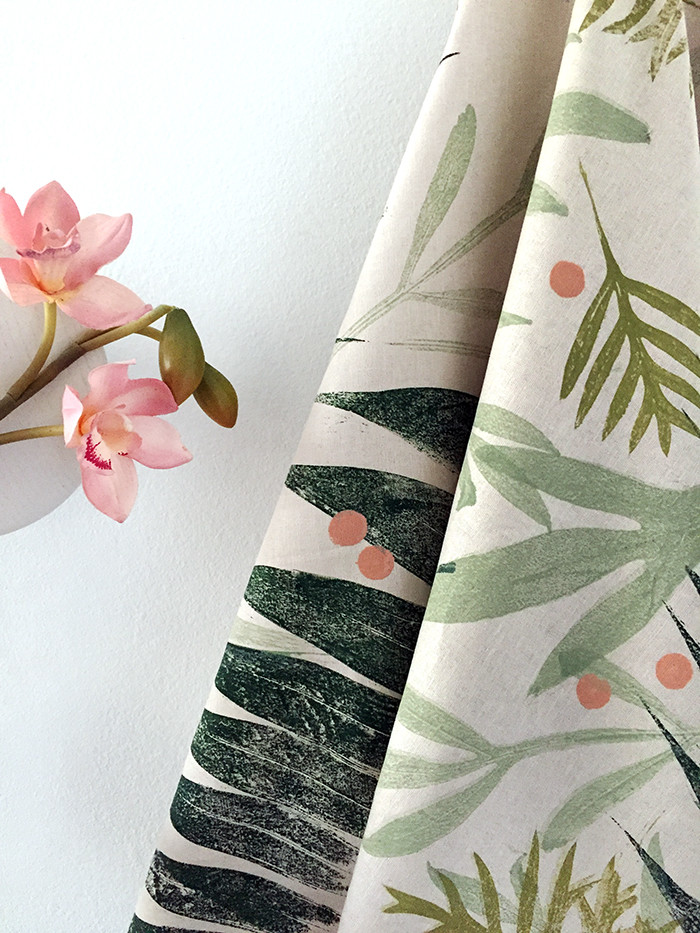
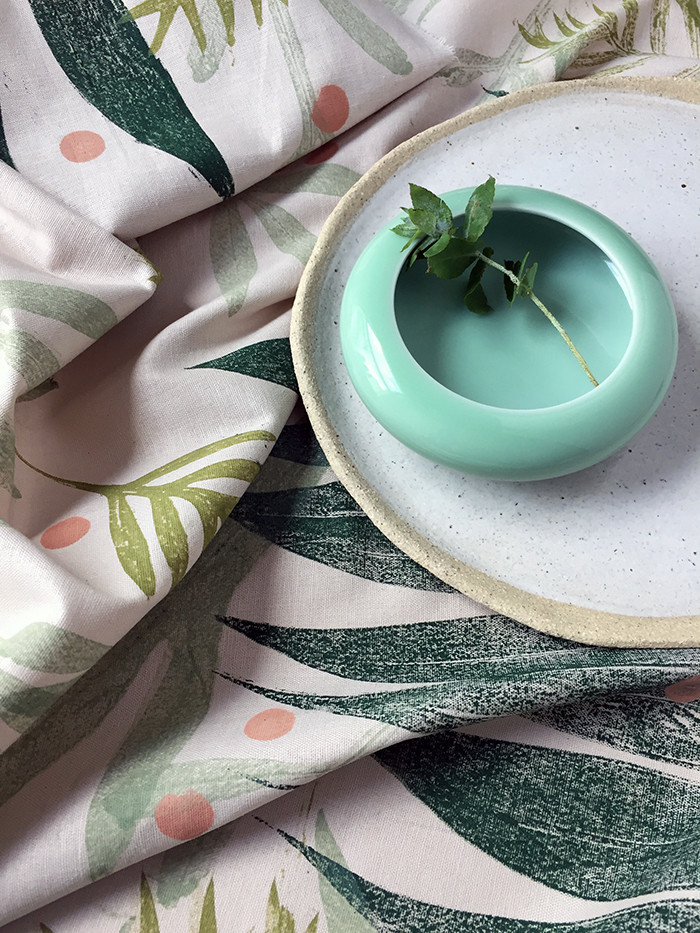 Print with leaves onto fabric – make a tablecloth or runner.
This leaf printing technique is perfect for creating custom décor and unique handmade gifts. Imagine the possibilities for holiday table settings, personalized home accents, or thoughtful presents for friends and family. Embrace the simplicity and beauty of nature and try printing with leaves to create your own stunning fabric art. Share your creations on social media and inspire others with the hashtag #wearescoutcraft – we’d love to see what you make!
Explore more creative craft and DIY projects on our We Are Scout craft and DIY page and discover new ways to express your creativity.