
Printing on fabric at home can open up a world of creative possibilities, from personalized gifts to unique home décor and custom clothing. If you’ve ever wondered how to transfer your digital designs onto textiles, you might be surprised to learn just how easy and accessible it is. This guide will walk you through a simple and economical method using freezer paper and your inkjet printer, perfect for beginners eager to explore the world of fabric printing.
Supplies You’ll Need for Textile Printing
Before you start, gather these essential supplies to ensure a smooth and successful fabric printing experience:
- Freezer Paper: The star of this method! Freezer paper has a shiny, plastic-coated side that adheres to fabric when ironed, making it printable.
- Fabric: Choose a tightly woven, light-colored fabric like cotton, linen, or canvas. Canvas drop cloth is a budget-friendly option that works exceptionally well.
- Iron: A household iron is necessary to bond the freezer paper to the fabric.
- Scissors or Rotary Cutter: For precise cutting of both fabric and freezer paper.
- Inkjet Printer: Your home inkjet printer will bring your designs to life on fabric.
- Printer Cardstock (Optional): Useful as a template for accurate sizing of fabric and freezer paper.
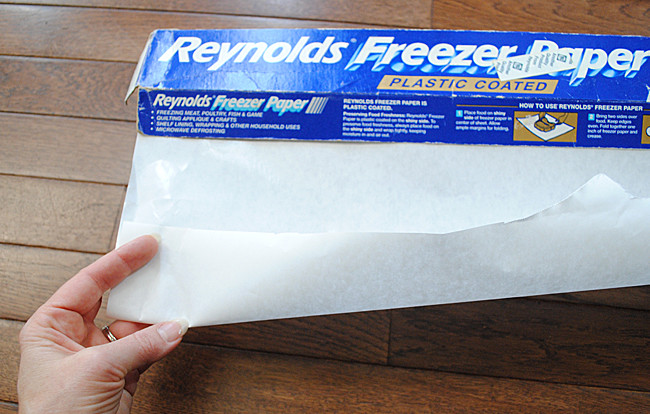 Close-up of freezer paper roll, a key supply for printing on textile.
Step-by-Step Guide to Printing on Textile with Freezer Paper
Follow these simple steps to print your favorite designs onto fabric using the freezer paper method:
Step 1: Prepare Your Fabric
Begin by ironing your chosen fabric to remove any wrinkles or creases. A smooth surface is crucial for achieving crisp and clear prints. Pre-washing the fabric is also recommended to prevent shrinkage after printing.
Step 2: Iron Freezer Paper to Fabric
Cut a piece of freezer paper slightly larger than your desired print size. Place the shiny side of the freezer paper down onto the back of your fabric. Using a medium heat setting on your iron (no steam), press the freezer paper onto the fabric. Ensure the shiny side is facing the fabric; this is what creates the temporary bond. Iron until the freezer paper is firmly adhered to the fabric.
 Ironing freezer paper onto cotton fabric, demonstrating the adhesion process for textile printing preparation.
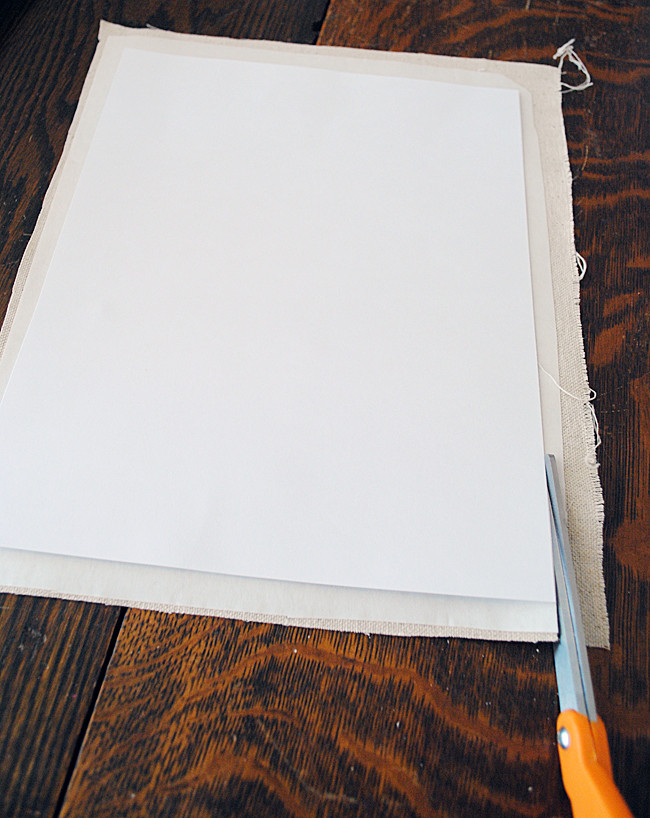
Step 3: Trim Fabric and Freezer Paper to Size
For optimal printer feeding, trim the fabric and freezer paper to the standard printer paper size (8.5″ x 11″ or A4). Use a piece of cardstock as a template for precise cutting, or carefully measure and cut. It’s essential to have clean, straight edges and to ensure no fabric overhangs the freezer paper, as frayed edges can cause paper jams in your printer.
Step 4: Load Fabric into Your Printer
Place the fabric sheet, freezer paper side down, into your inkjet printer’s paper tray. Make sure to orient it correctly so that the ink will print on the fabric side. You might need to experiment to determine which way your printer feeds paper.
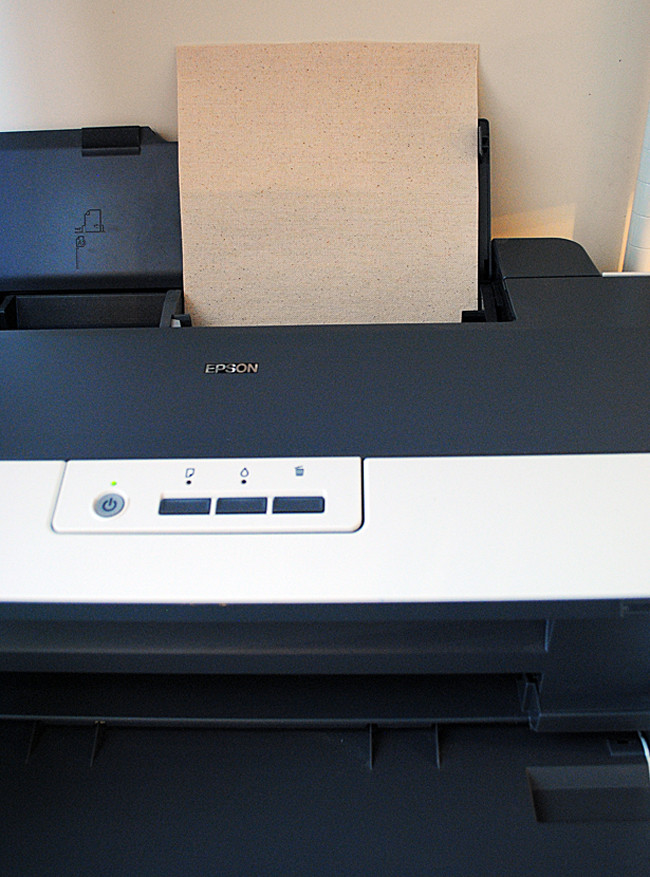 Correctly loading fabric backed with freezer paper into an inkjet printer for textile printing.
Step 5: Adjust Printer Settings for Best Results
Before printing, access your printer settings. Look for “Printer Preferences” or similar options in the print dialog box. Select “Best Photo” or a high-quality print setting. This setting will ensure a richer ink deposit on the fabric, resulting in a more vibrant and durable print.
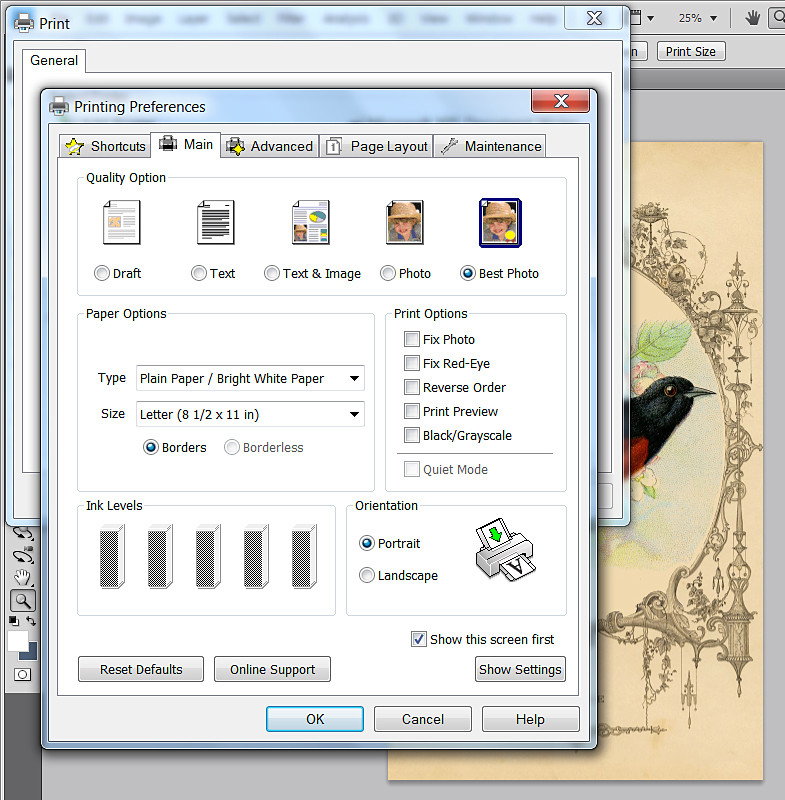 Screenshot of printer settings dialog, highlighting options for 'Printer Preferences' and 'Best Photo' quality for textile printing.
Step 6: Print Your Design on Textile
Initiate the printing process from your computer. Keep an eye on the printer as it feeds the fabric. Due to the added thickness, you might need to gently guide the fabric sheet as it goes through the printer to prevent misfeeds. Be patient; some printers may take a moment to recognize the fabric.
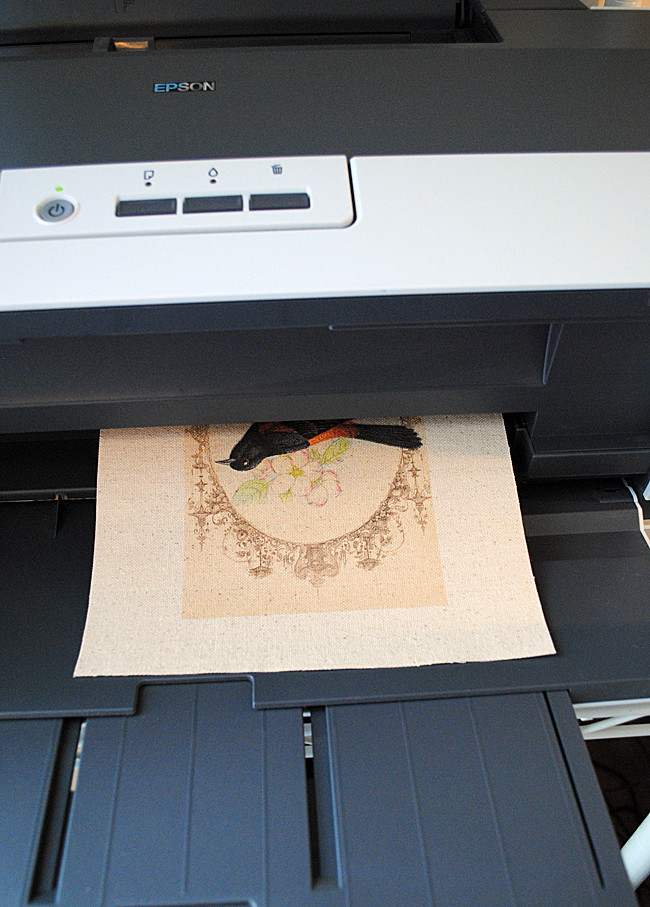 A printed fabric piece emerging from the inkjet printer, showcasing a successful DIY textile printing outcome.
Step 7: Peel Away the Freezer Paper
Once printing is complete, carefully peel off the freezer paper from the fabric. The freezer paper can sometimes be reused up to a few times, so you can save it for future projects if desired.
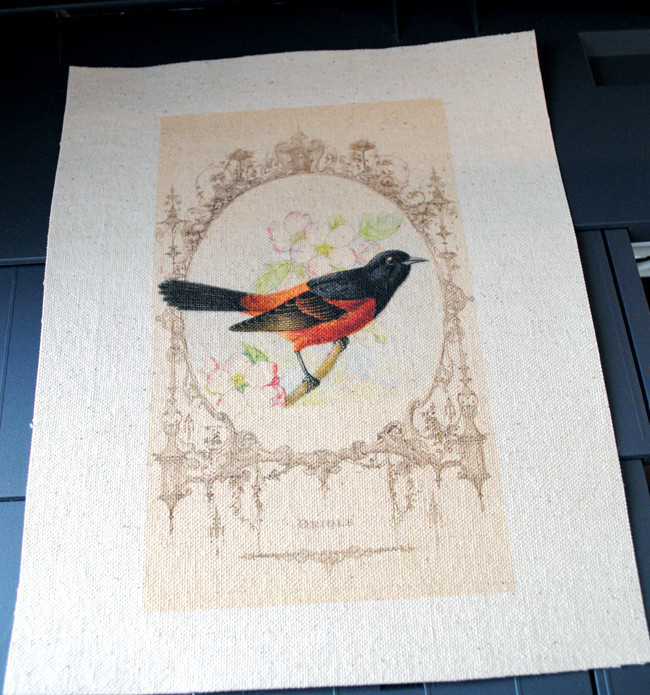 Close-up of a hand peeling away freezer paper from printed fabric, revealing the design transferred onto the textile.
Tips for Enhancing Your Textile Printing Projects
- Ink Longevity: For increased washability and durability, especially if your printer uses dye-based inks, consider using pigment inks which are naturally more waterproof. Alternatively, you can explore heat-setting methods or fabric sealants to help set the ink.
- Fabric Choice: Experiment with different fabric types to achieve varied textures and print effects. Tightly woven fabrics generally yield the best results for inkjet printing.
- Design Selection: Choose high-resolution images for printing to ensure clarity and detail on your fabric.
- Practice Makes Perfect: Don’t be discouraged if your first attempt isn’t flawless. Like any craft, textile printing gets easier and more refined with practice.
 A collection of creatively printed fabric pieces, inspiring ideas for DIY textile projects.
Conclusion: Unleash Your Creativity with Textile Printing
Printing on textile using the freezer paper method is a fantastic way to personalize fabric for various projects. It’s an accessible, budget-friendly technique that allows you to bring your digital designs into the tangible world of fabric crafts. So gather your supplies, choose your favorite images, and start exploring the exciting possibilities of DIY textile printing today!