
Planning a wedding or sending out a large batch of invitations or holiday cards? Addressing envelopes can quickly become a time-consuming and tedious task. While handwritten addresses can add a personal touch, achieving a neat and consistent look across many envelopes can be challenging. Fortunately, printing addresses directly onto your envelopes at home is an efficient and cost-effective solution. This guide will walk you through the process of How To Print Addresses On Envelopes, ensuring a professional and stylish finish without breaking the bank.
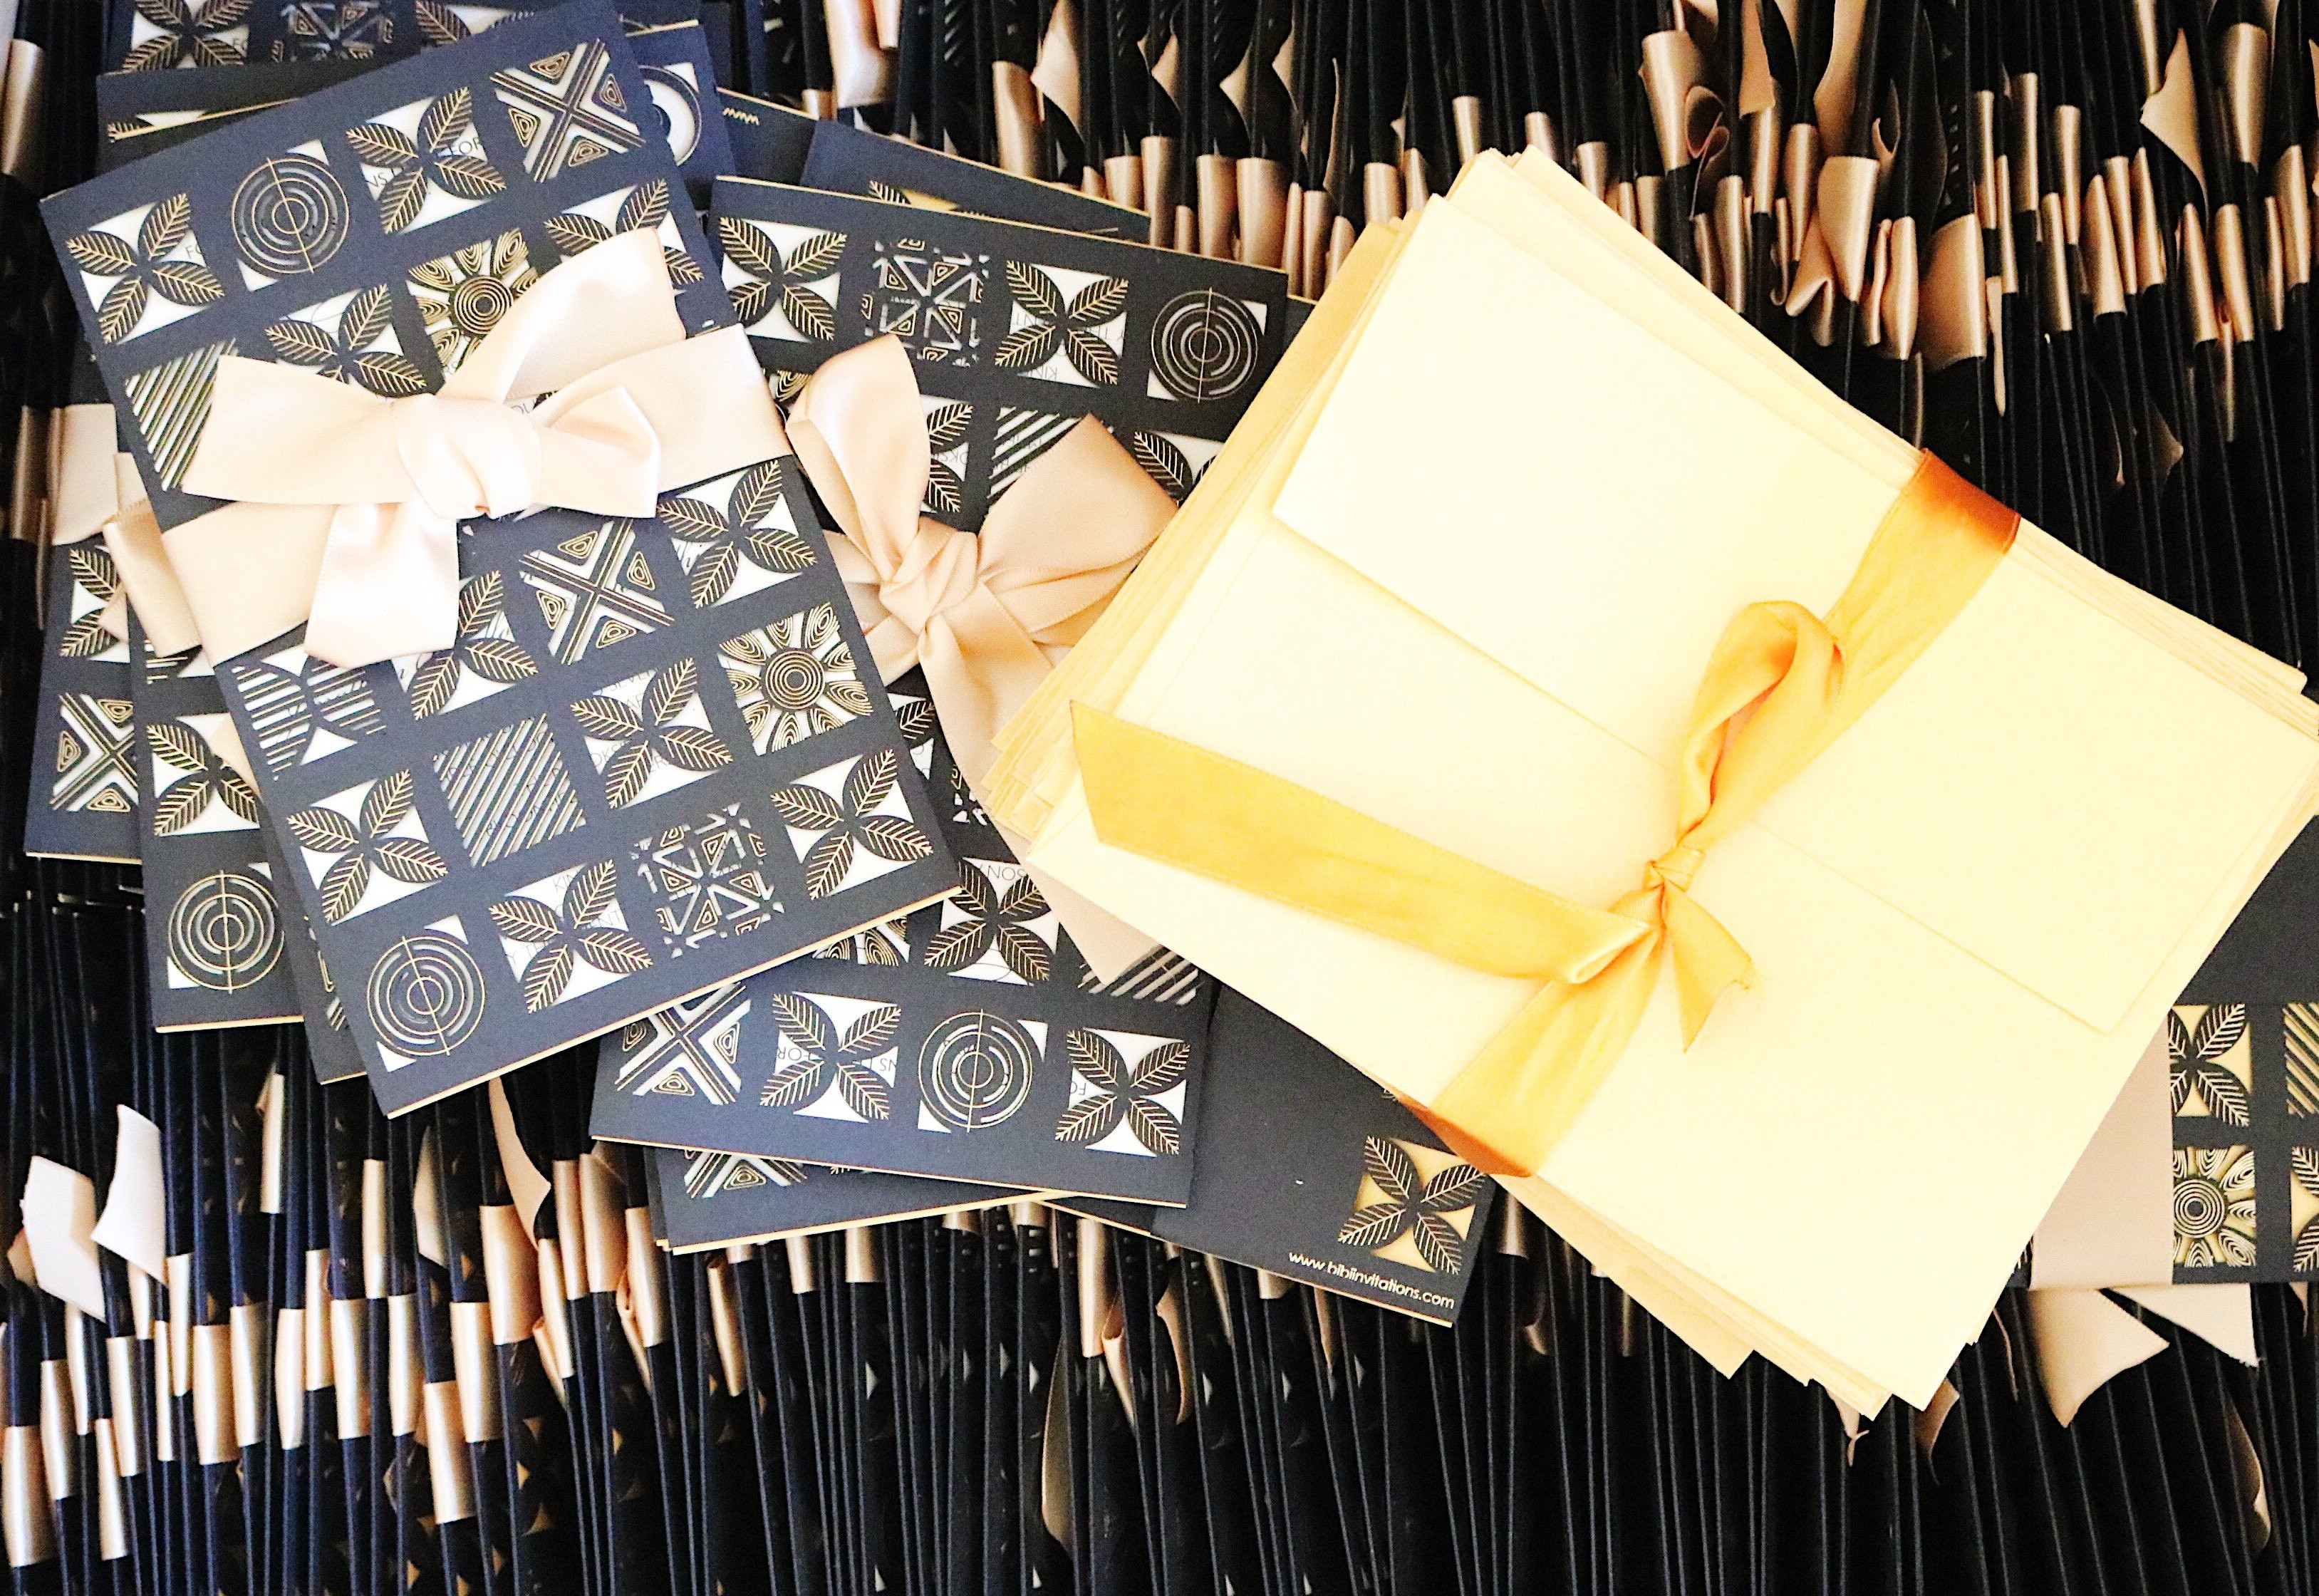 Wedding invitation suite with gold envelope
Printing addresses on envelopes at home offers numerous benefits. It saves significant time compared to handwriting each address, ensures legibility and consistency, and allows for customization with various fonts and layouts to match your event’s theme. Moreover, it’s a budget-friendly alternative to hiring professional calligraphers or using online printing services, especially when dealing with a large guest list. Whether you’re preparing wedding invitations, holiday greetings, or business mailings, mastering envelope printing at home is a valuable skill.
What You’ll Need to Print Addresses on Envelopes
Before you begin, gather the necessary supplies to ensure a smooth printing process:
- Printer: An inkjet or laser printer that can handle various paper weights and sizes is essential. Check your printer’s specifications to confirm its envelope compatibility.
- Envelopes: Purchase envelopes of your desired size, color, and material. Consider the type of event and choose envelopes that complement your stationery.
- Computer: A computer with word processing software (like Microsoft Word, Google Docs, or LibreOffice Writer) is needed to create your template and perform the mail merge.
- Spreadsheet Software: Microsoft Excel, Google Sheets, or similar software is required to organize your addresses into a database for the mail merge function.
- Address List: Compile a digital list of your recipient addresses in a spreadsheet format.
- Template (Optional): While you can create a template from scratch, using a pre-designed template can save time and ensure proper formatting.
Step-by-Step Guide to Printing Addresses on Envelopes
Follow these steps to effectively print addresses on your envelopes at home:
Step 1: Prepare Your Address List in a Spreadsheet
Begin by organizing your recipient addresses in a spreadsheet. This is crucial for the mail merge process.
- Open your spreadsheet software (e.g., Microsoft Excel or Google Sheets).
- Create columns for each part of the address. Recommended columns include:
- Recipient Name (e.g., Mr. and Mrs. John Smith, Jane Doe)
- Street Address
- Apartment/Suite Number (if applicable)
- City
- State
- Zip Code
- Country (for international addresses)
- Enter your address data into the respective columns, ensuring accuracy and consistency in formatting.
- Save your spreadsheet as a CSV (.csv) or XLSX (.xlsx) file, as these formats are compatible with mail merge features in word processors.
 Excel spreadsheet for wedding invitation addresses
Step 2: Create Your Envelope Template in Word Processing Software
Next, set up your envelope template in your chosen word processing program.
- Open your word processing software (e.g., Microsoft Word or Google Docs).
- Create a new document.
- Set the page size to match your envelope size. In Microsoft Word, go to the “Layout” tab, click on “Size,” and select “More Paper Sizes.” Enter the width and height of your envelopes. In Google Docs, go to “File,” “Page setup,” and choose your envelope size under “Paper size” or customize the dimensions.
- Design your template. Consider the following:
- Font: Choose legible and aesthetically pleasing fonts. A combination of a formal font for names and a simpler font for addresses can look elegant. Script fonts can add flair but ensure readability.
- Layout: Decide on the placement of the address. Centered addresses are common for invitations, while left-aligned addresses are standard for business mail.
- Return Address: If you want to print a return address, create a separate text box or area for it, typically in the top left corner or on the back flap of the envelope.
- “Kindly Deliver To” (Optional): For a touch of formality, you can add “Kindly Deliver To” above the recipient’s name in a smaller, elegant font.
- Use Text Boxes: Inserting text boxes for the recipient address and return address allows for easier manipulation and precise placement on the envelope template.
Step 3: Set Up the Mail Merge
Now, link your address spreadsheet to your template using the mail merge feature.
- In your word processing document, navigate to the “Mailings” tab (in Microsoft Word) or “Add-ons” > “Mail Merge” (in Google Docs – you may need to install a Mail Merge add-on).
- Start Mail Merge: Select “Envelopes” as the document type (if available, otherwise, start with a normal document).
- Select Recipients: Choose “Use an Existing List” and locate the spreadsheet file you saved in Step 1. Select the correct sheet if your file has multiple sheets.
- Insert Merge Fields: In your template’s text box for the recipient address, insert the merge fields corresponding to your spreadsheet columns. Typically, you’ll insert fields in this order:
- Recipient Name
- Street Address
- Apartment/Suite Number (on a new line, if applicable)
- City, State, Zip Code
- Country (if applicable, on a new line)
- Preview Results: Use the “Preview Results” option to see how the addresses will appear on your template. Check for formatting issues and make adjustments as needed to your template layout and font sizes.
Step 4: Configure Printer Settings and Perform a Test Print
Before printing on your actual envelopes, perform a test print on plain paper to ensure everything aligns correctly.
- Load Envelopes into Your Printer: Refer to your printer manual for instructions on how to properly load envelopes. This often involves adjusting paper guides and selecting the correct paper source (e.g., manual feed tray).
- Adjust Printer Settings: In the print dialog box, select the correct paper size (your envelope size) and paper type (e.g., heavy paper or envelopes).
- Test Print: Print a test envelope on plain paper first. Hold the test print against a real envelope to check alignment and positioning. Make any necessary adjustments to your template or printer settings based on the test print. It’s crucial to get the alignment right to avoid wasting envelopes.
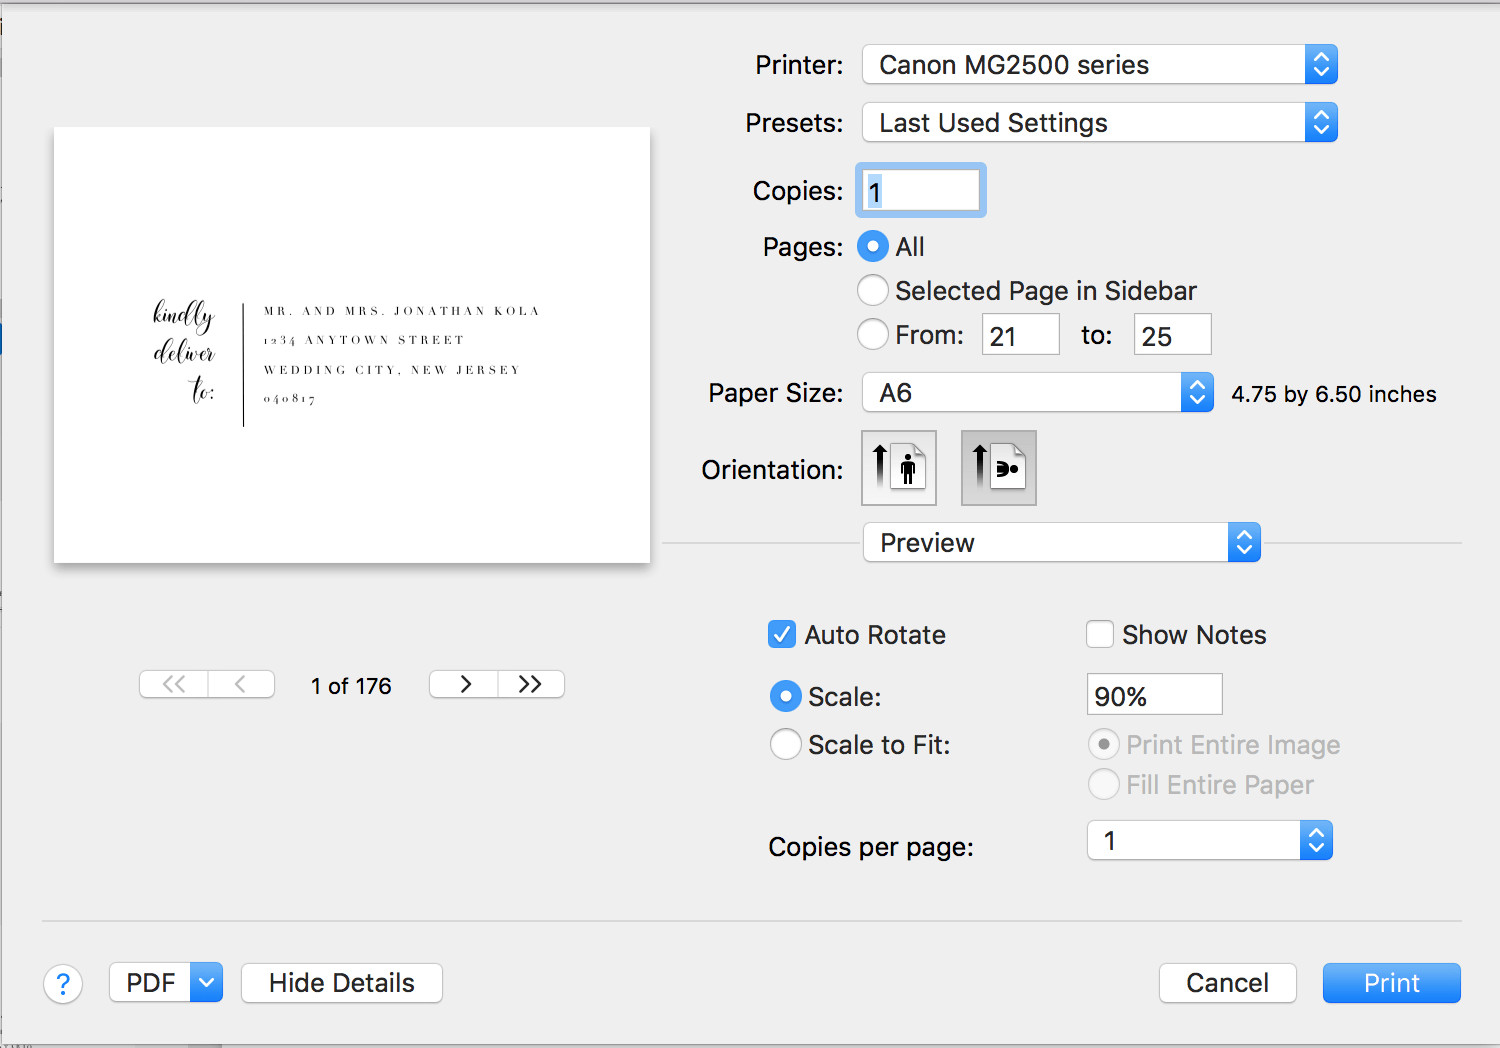 Printer settings for envelope printing
Step 5: Print Your Envelopes in Batches and Handle with Care
Once you’re satisfied with your test prints, proceed to print on your actual envelopes.
- Print in Batches: Depending on your printer and envelope type, it’s often best to print in smaller batches (e.g., 10-20 at a time) to prevent paper jams and ensure consistent print quality.
- Monitor Printing: Observe the printing process closely. Some printers may require you to manually feed each envelope or guide them to prevent smudging or misprints, especially with inkjet printers where ink can be wet initially.
- Allow Ink to Dry: If using an inkjet printer, allow the ink to dry completely before stacking or handling the envelopes to avoid smudging.
- Troubleshooting: If you encounter issues like misaligned printing or paper jams, consult your printer manual for troubleshooting tips. You may need to adjust paper guides, clean printer rollers, or refine your template layout.
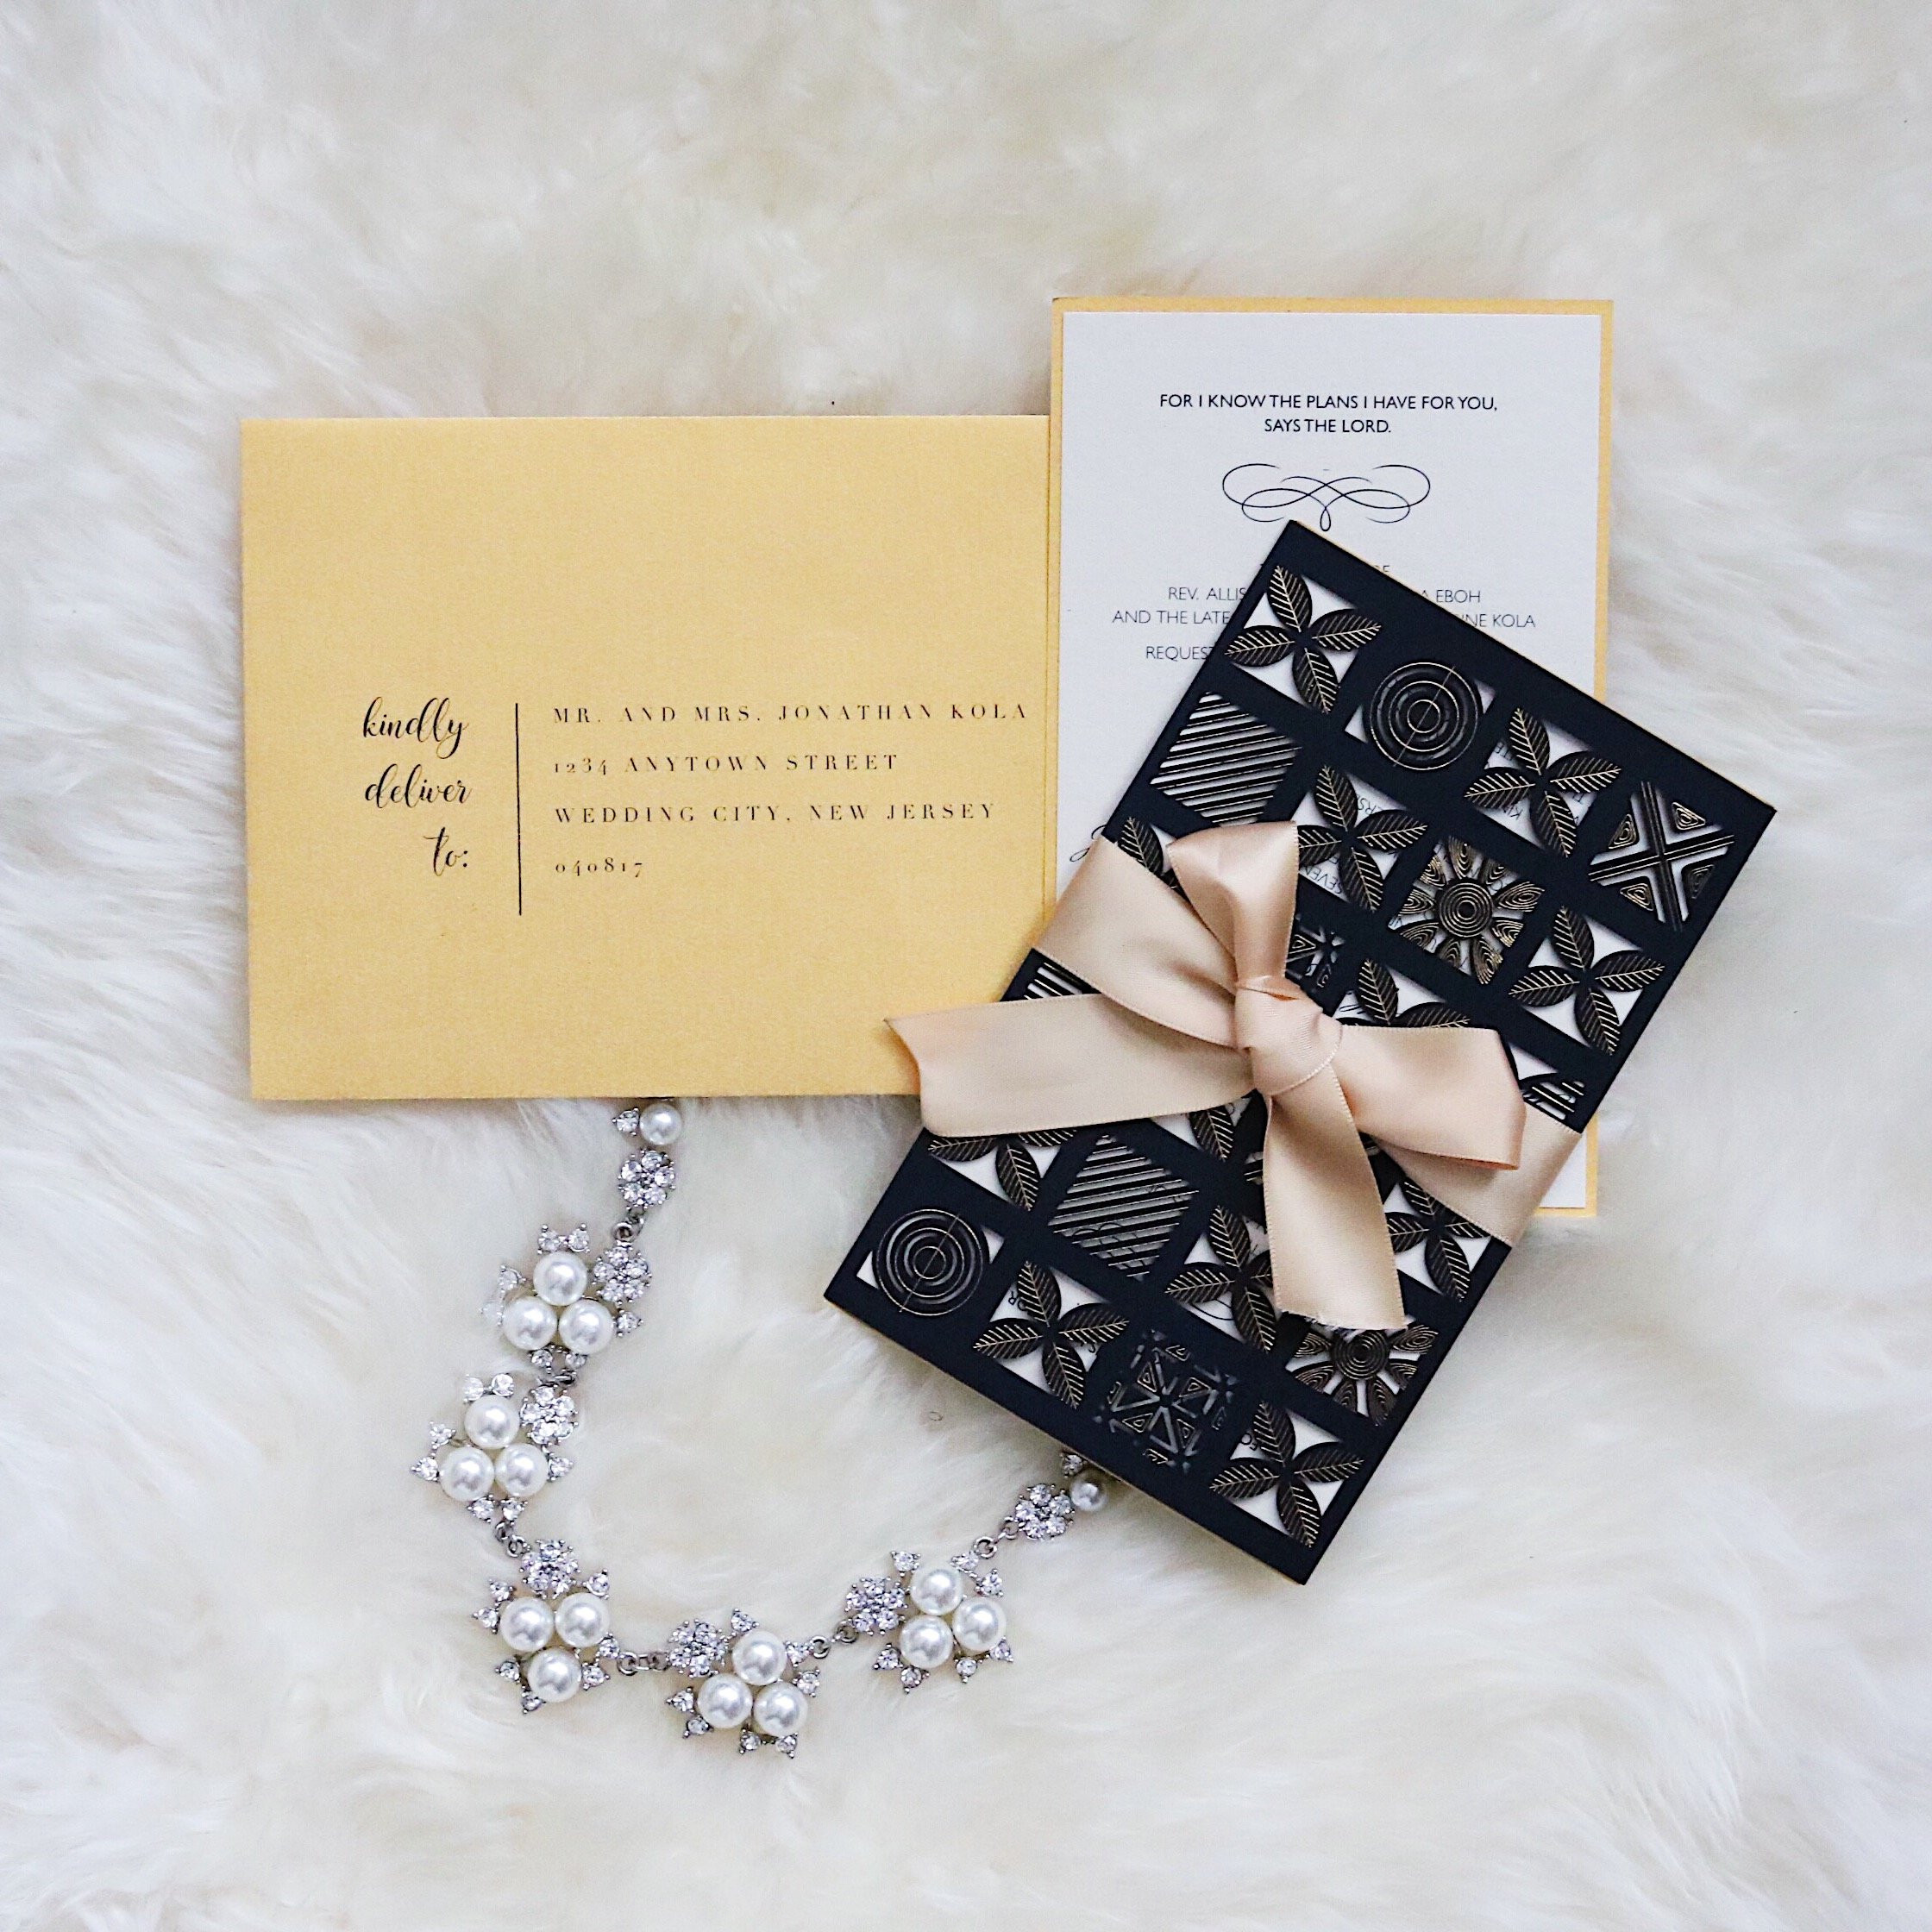
 Printed wedding invitation envelope with elegant fonts
Tips for Perfect Envelope Printing
- Choose the Right Envelopes: Opt for envelopes that are compatible with your printer type. Some printers may struggle with very thick, textured, or glossy envelopes.
- Font Selection Matters: Select fonts that are both stylish and easy to read. Avoid overly decorative or thin fonts that may not print clearly.
- Ink Drying Time: Be mindful of ink drying time, especially with inkjet printers. Allow sufficient drying time to prevent smudging, or consider using laser printers for faster drying.
- Test, Test, Test: Always perform multiple test prints on scrap paper before printing on your good envelopes. This saves you from wasting valuable materials.
- Consider Envelope Liners: If you are using thin envelopes and worried about show-through, consider using envelope liners for a more professional and opaque finish.
Conclusion
Printing addresses on envelopes at home is a straightforward and rewarding DIY project. By following these steps, you can efficiently create beautifully addressed envelopes for any occasion, saving time and money while adding a personalized touch. Whether for wedding invitations or any bulk mailing, mastering this skill will streamline your preparation process and impress your recipients with professionally addressed envelopes.
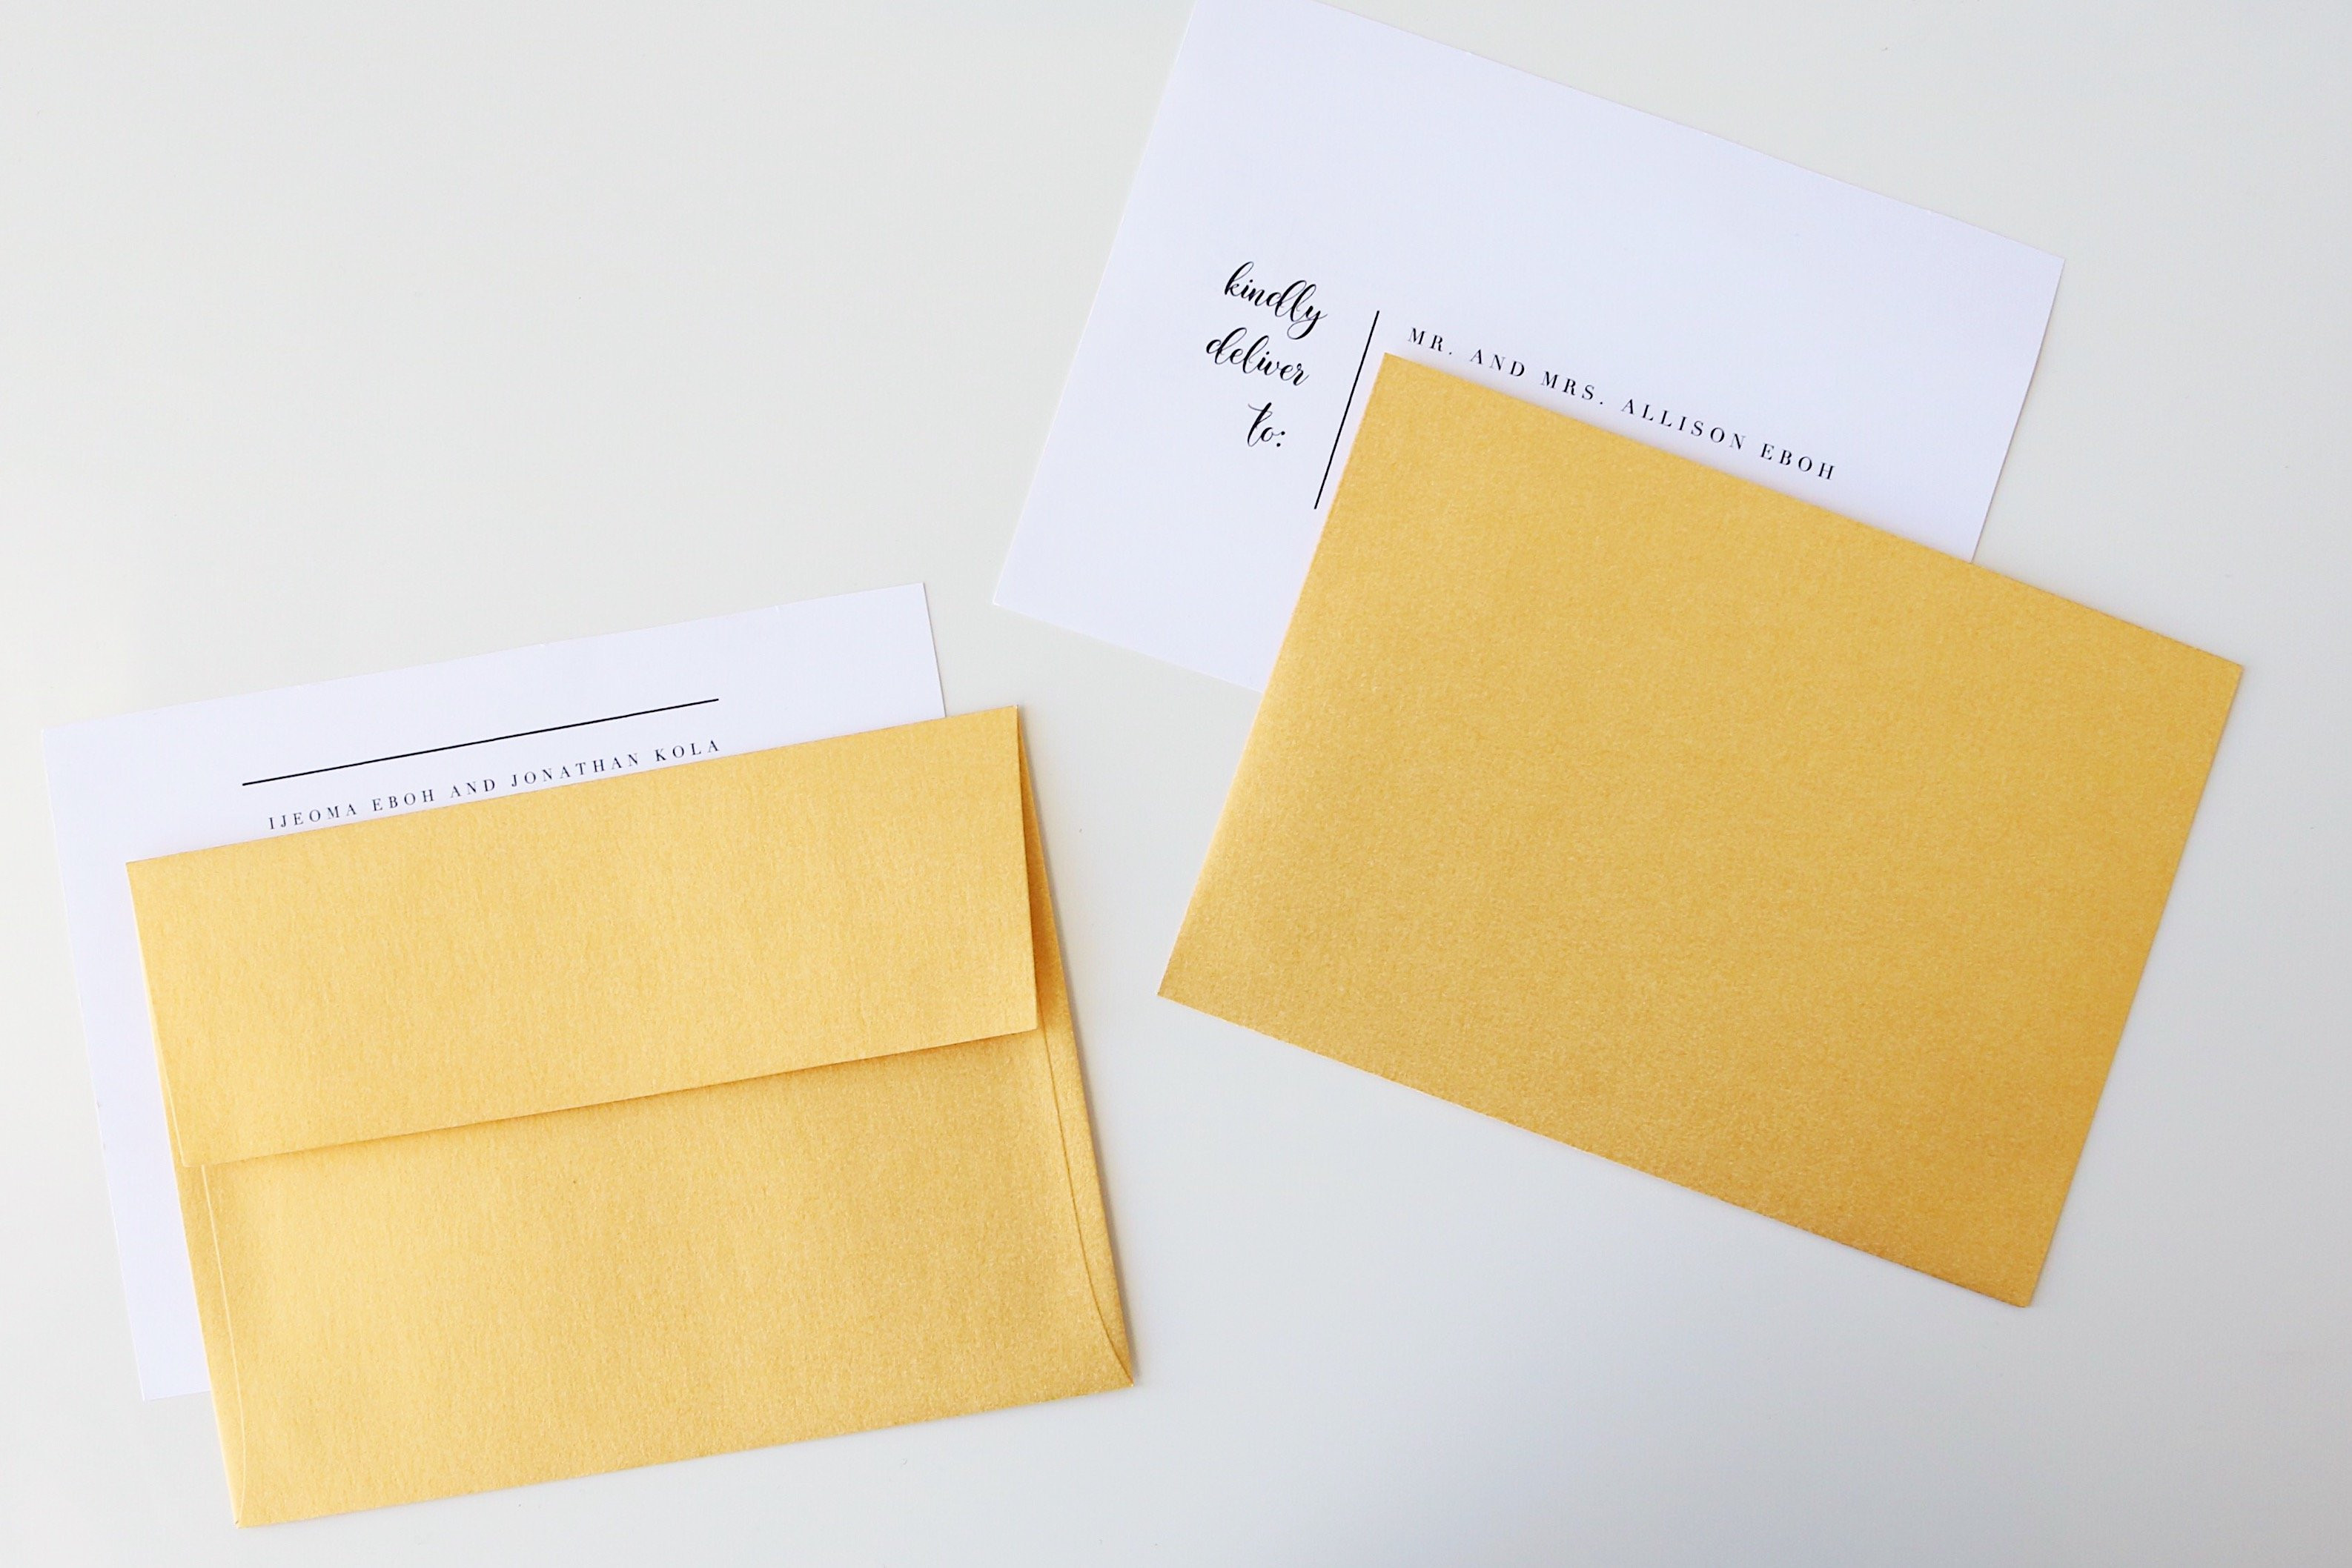
 Flat lay of wedding invitation envelopes and stationery