
Printing on fabric opens up a world of creative possibilities, from personalized home décor to unique apparel. If you’ve ever wondered How Can You Print On Fabric at home, you’re in the right place. This guide will walk you through a surprisingly easy and cost-effective method using freezer paper and your inkjet printer. Get ready to transform plain fabric into custom creations!
First, let’s gather everything you’ll need for this exciting project.
SUPPLIES:
- Freezer Paper: The star of this method! Freezer paper has a shiny side (plastic coated) and a dull side (paper). It’s essential for temporarily stiffening the fabric for smooth printing.
- Fabric: Canvas drop cloth is an excellent and budget-friendly choice. It holds ink well and feeds through most printers easily. However, you can experiment with other tightly woven fabrics like cotton or linen.
- Iron: For adhering the freezer paper to the fabric.
- Scissors or Rotary Cutter: For precise cutting.
- Printer: An inkjet printer is required for this method.
- Cardstock (Optional): For creating a template to ensure accurate paper size.
Now that you have your supplies, let’s dive into the step-by-step process of printing on fabric.
Step 1: Prepare Your Fabric
Begin with a piece of fabric that is free of wrinkles. Ironing your fabric ensures a smooth surface for the freezer paper to adhere to and for the print to be crisp. Cut a piece of your chosen fabric slightly larger than standard printer paper (8.5″ x 11″).
Step 2: Iron Freezer Paper to Fabric
Cut a piece of freezer paper to roughly the same size as your fabric. Place the fabric on your ironing board with the wrong side facing up. Position the freezer paper on top of the fabric with the shiny side facing DOWN towards the fabric. Iron the freezer paper onto the fabric using a medium heat setting. The shiny side of the freezer paper will temporarily adhere to the fabric, making it stiff and printable. Ensure all edges are firmly sealed.
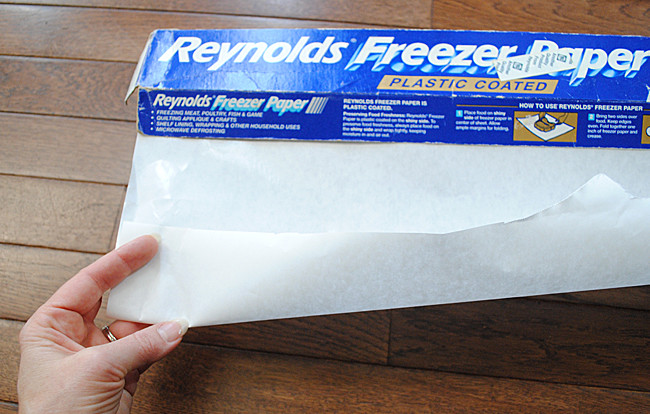 Freezer paper box showing brand and product name
Step 3: Trim to Printer Paper Size
For best results and to prevent printer jams, trim the fabric and freezer paper precisely to 8.5″ x 11″ (standard printer paper size). Using a piece of cardstock as a template can help achieve clean, accurate edges. Sharp scissors or a rotary cutter will work best. Make sure there are no frayed edges or fabric overhang, as these can cause problems in your printer.
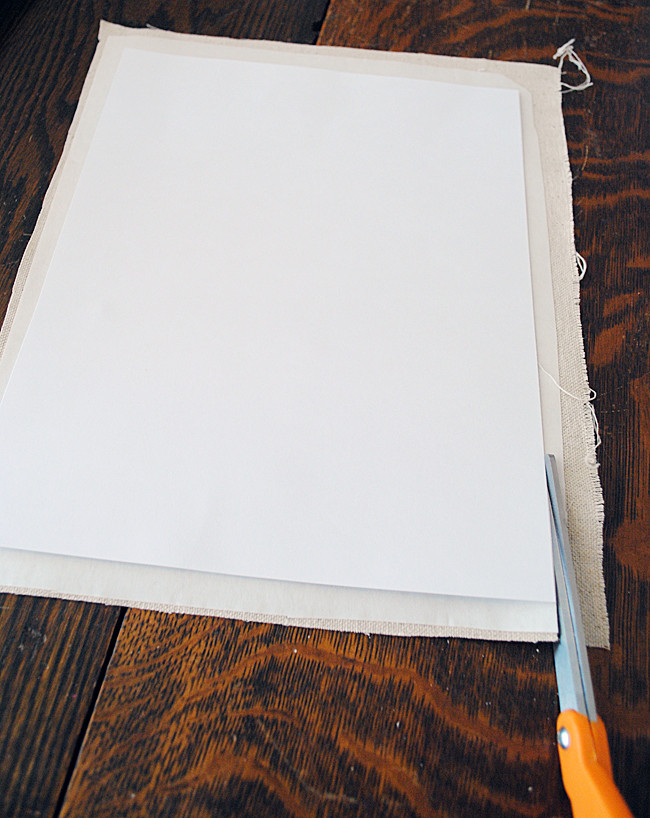 Cutting fabric attached to freezer paper to 8.5×11 inch size
Step 4: Load into Your Inkjet Printer
Carefully place the fabric sheet into your printer’s paper tray. The crucial step here is to ensure you load it so that the ink will print on the FABRIC side, not the freezer paper side. You may need to experiment with your printer to determine the correct orientation (face up or face down). Usually, you want the fabric side to be facing the print head.
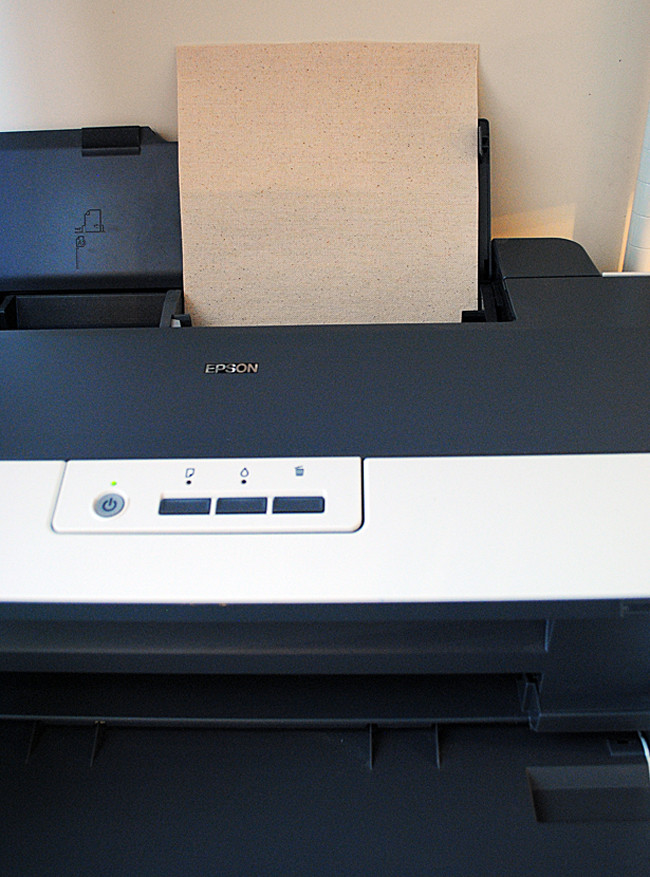 Hands placing fabric with freezer paper into printer tray
Step 5: Adjust Printer Settings and Print
Before printing, access your printer settings. Look for “Printer Preferences” or “Print Quality” options. Select “Best Photo” or a similar high-quality setting. This will ensure a richer ink deposit on your fabric, resulting in a more vibrant and detailed print. Now, send your design to print!
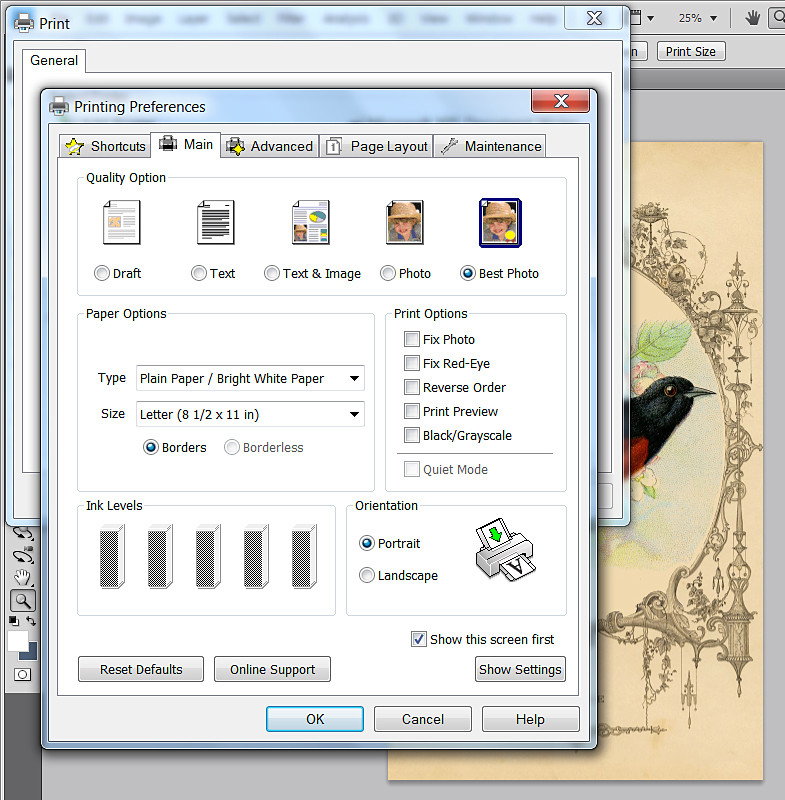 Printer settings window showing "Best Photo" quality selected
Step 6: Guide the Fabric During Printing (If Necessary)
Keep a close eye on your printer during the printing process. Sometimes, the fabric-backed paper might need a little guidance to feed smoothly. If your printer hesitates, gently guide the paper from the back to encourage it to go through. Be patient; it might take a couple of tries for your printer to recognize the fabric sheet.
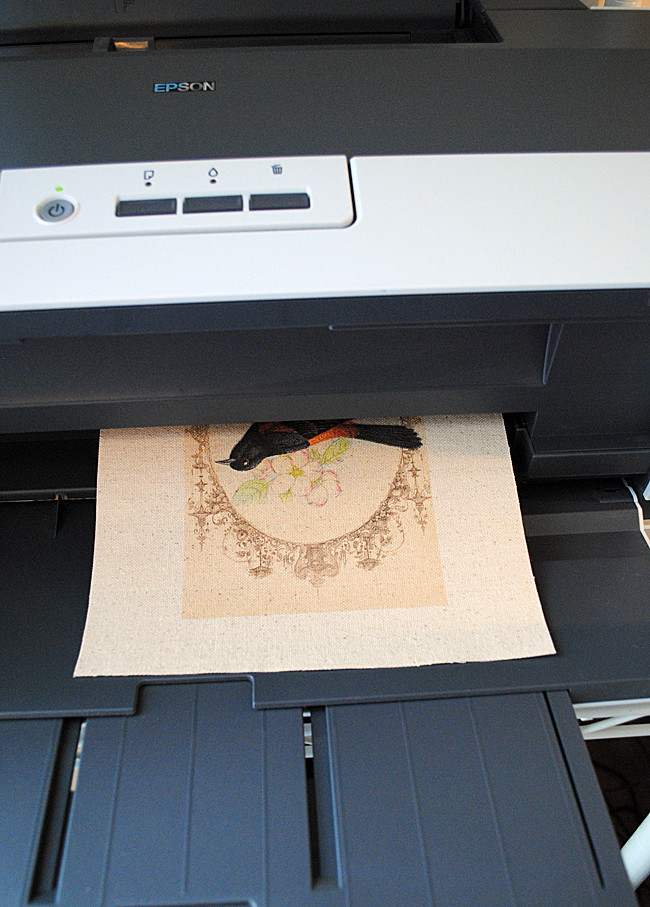 Fabric emerging from inkjet printer with printed design
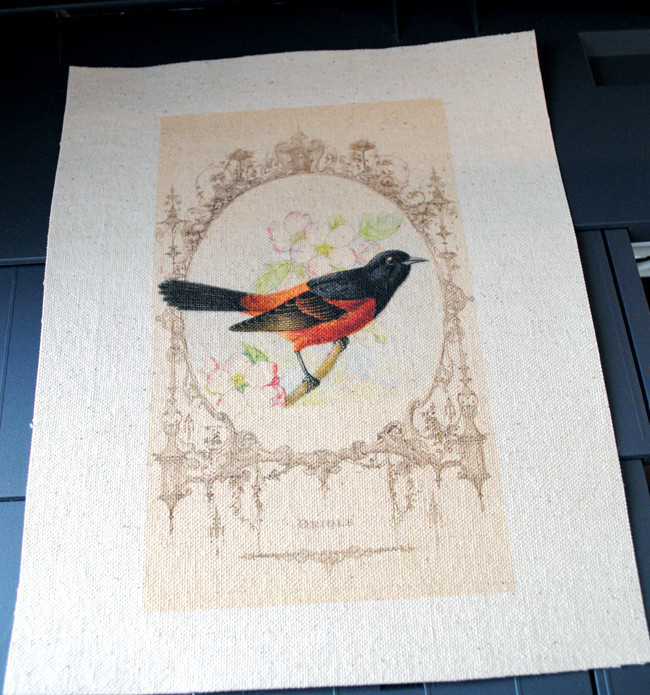
Step 7: Admire Your Printed Fabric and Remove Freezer Paper
Once printed, carefully remove the fabric sheet from your printer. Let the ink dry for a few moments. Then, gently peel away the freezer paper from the fabric. The freezer paper can often be reused multiple times (up to 10 times!), so save it for future projects!
 Close up of hand peeling freezer paper from printed fabric revealing design
You now have beautifully printed fabric ready to be incorporated into your sewing, crafting, or décor projects! The freezer paper method delivers surprisingly crisp and clear prints, making it ideal for transferring intricate designs, photos, and text onto fabric.
Setting the Ink for Washability
For projects that will require washing, like clothing or bags, it’s important to set the ink to prevent fading or bleeding. If you are using a printer with pigment ink, the ink is generally more water-resistant. However, for dye-based inks, you can improve washability by using a vinegar soak method or fabric sealant. Research “setting inkjet ink on fabric” for detailed tutorials on these techniques.
Explore Further Fabric Printing Techniques
The freezer paper method is just one way to explore the world of fabric printing. There are many other exciting techniques to try, including using fabric markers, stencils, screen printing, and more advanced methods like direct-to-garment (DTG) printing.
 Collage of different fabric printing examples and finished fabric projects
Ready to Get Started?
Printing on fabric at home is an accessible and rewarding way to personalize your creative projects. With just a few simple supplies and your inkjet printer, you can easily learn how can you print on fabric and unlock a new dimension of DIY possibilities. Experiment with different fabrics, designs, and inks to discover your own unique fabric printing style. Happy creating!