
3D printing offers incredible possibilities, but the wait times can sometimes test your patience. Whether you’re aiming to boost productivity, meet deadlines, or simply eager to see your creations come to life sooner, optimizing for speed is a valuable skill. Fortunately, achieving Faster 3d Prints without sacrificing quality is within reach through strategic adjustments to both hardware and software settings. This guide delves into proven methods to significantly reduce your 3D printing time and get you printing faster today.
Optimize Your Nozzle for Speed and Efficiency
The nozzle is the gateway for filament in your 3D printer, and its size plays a crucial role in print speed. A larger nozzle diameter allows for a greater volume of material to be extruded at once, directly translating to faster print times. While smaller nozzles excel at intricate details and high precision, larger nozzles are your allies when speed is a priority. For instance, an 0.8mm nozzle can lay down significantly more material per second compared to a finer 0.25mm nozzle.
The sweet spot for many applications is often considered the 0.4mm nozzle, offering a balance between detail and speed. However, understanding the needs of your specific print is key. If you’re printing larger, less detailed objects, switching to a larger nozzle can drastically cut down print times. Consider experimenting with different nozzle sizes to find the optimal balance for your projects.
Fine-Tune Slicer Settings for Faster Prints
Your slicer software is a powerful tool for controlling print parameters. Within its settings lie several opportunities to dial up the speed. Most slicers, including popular options like Ultimaker Cura, offer adjustable settings that can significantly impact print duration.
Increase Print Speed Setting
The most direct way to speed up printing is by adjusting the “Print Speed” setting. This value, usually measured in mm/s, dictates how quickly the print head moves while extruding material. While increasing this setting seems straightforward, it’s essential to understand the trade-offs. Simply boosting print speed without other adjustments can compromise print quality, especially for intricate parts. The maximum achievable print speed depends on your printer’s capabilities and the material being used. Experiment cautiously and be prepared to fine-tune other settings to maintain quality as you increase speed.
Adjust Acceleration and Jerk for Responsiveness
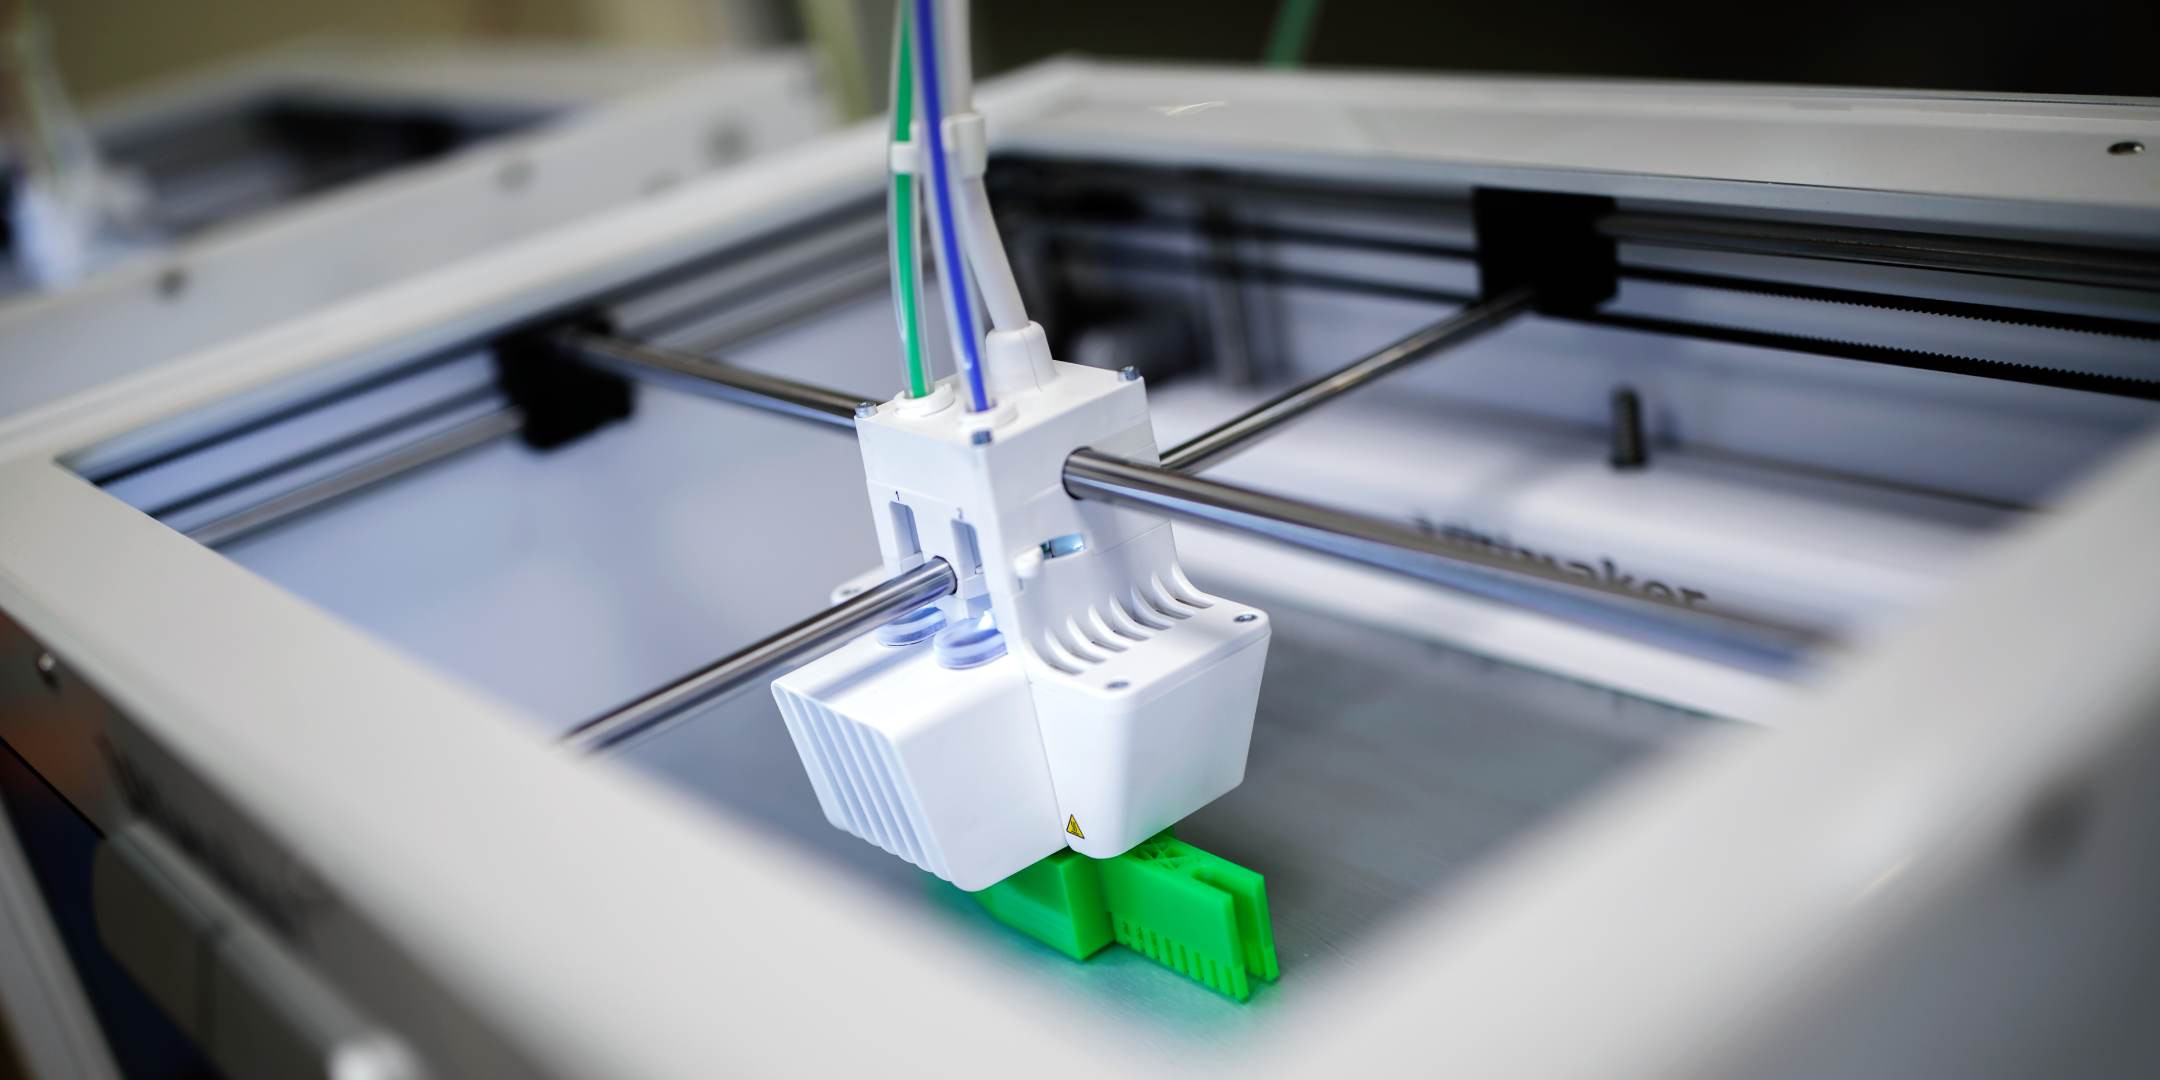 Heineken using Ultimaker 3D printer
Acceleration and jerk settings control the responsiveness of your printer’s movements. Acceleration determines how quickly the print head reaches its target speed from a standstill, while jerk defines the instantaneous speed change at corners and direction shifts. Higher jerk values contribute to faster print speeds by minimizing deceleration and acceleration phases. However, aggressive jerk settings can strain your printer’s mechanics and potentially reduce print quality, sometimes leading to vibrations and artifacts. Similarly, excessively high acceleration can cause “ringing,” visible echoes or ripples in the print surface. Finding the right balance for these settings involves careful experimentation and observation of print quality.
Optimize Layer Height for Efficiency
Layer height is a remarkably effective setting for influencing print speed. Thinner layers result in smoother surfaces and finer details, enhancing the visual appeal and quality of the print. Conversely, thicker layers mean less vertical travel for the print head, significantly reducing overall print time. Choosing a larger layer height essentially builds the object faster, layer by layer, at the expense of some fine detail. If detail is not paramount, opting for a greater layer height is a straightforward way to achieve faster 3D prints.
Reduce Material Usage for Quicker Prints and Material Savings
Printing faster can also be achieved by strategically reducing the amount of material your printer needs to extrude. This not only saves time but also conserves filament. Several slicer settings allow you to optimize material usage without compromising structural integrity where it matters most.
Choose Efficient Infill Patterns
Infill patterns define the internal structure of your 3D print. Different patterns offer varying levels of strength and material usage, directly impacting print time. For example, Ultimaker Cura’s “Lines” infill pattern is designed for speed and uses less material compared to denser patterns. The “Lightning” infill pattern, introduced in Ultimaker Cura 4.2 and later versions, takes material optimization a step further. It intelligently generates a support structure primarily focused on areas that require reinforcement for successful printing, leaving other areas sparsely filled or hollow. This results in significantly faster prints with substantial material savings, particularly for visually oriented models or prototypes.
Adjust Infill Density for Material Efficiency
Infill density dictates how solid the interior of your print is. A higher infill density means more plastic inside, resulting in a stronger but slower and more material-intensive print. For visual models or non-functional prototypes, an infill density of around 20% is often sufficient. Lowering the infill density reduces the amount of material extruded, directly contributing to faster print times and filament savings. While you can go lower than 20%, especially for purely aesthetic prints, be mindful that very low infill densities (below 10-15%) can increase the risk of print failures, particularly for objects with overhangs or bridging sections. Higher infill densities are typically reserved for functional parts requiring significant strength and durability.
Minimize Support Material with Smart Techniques
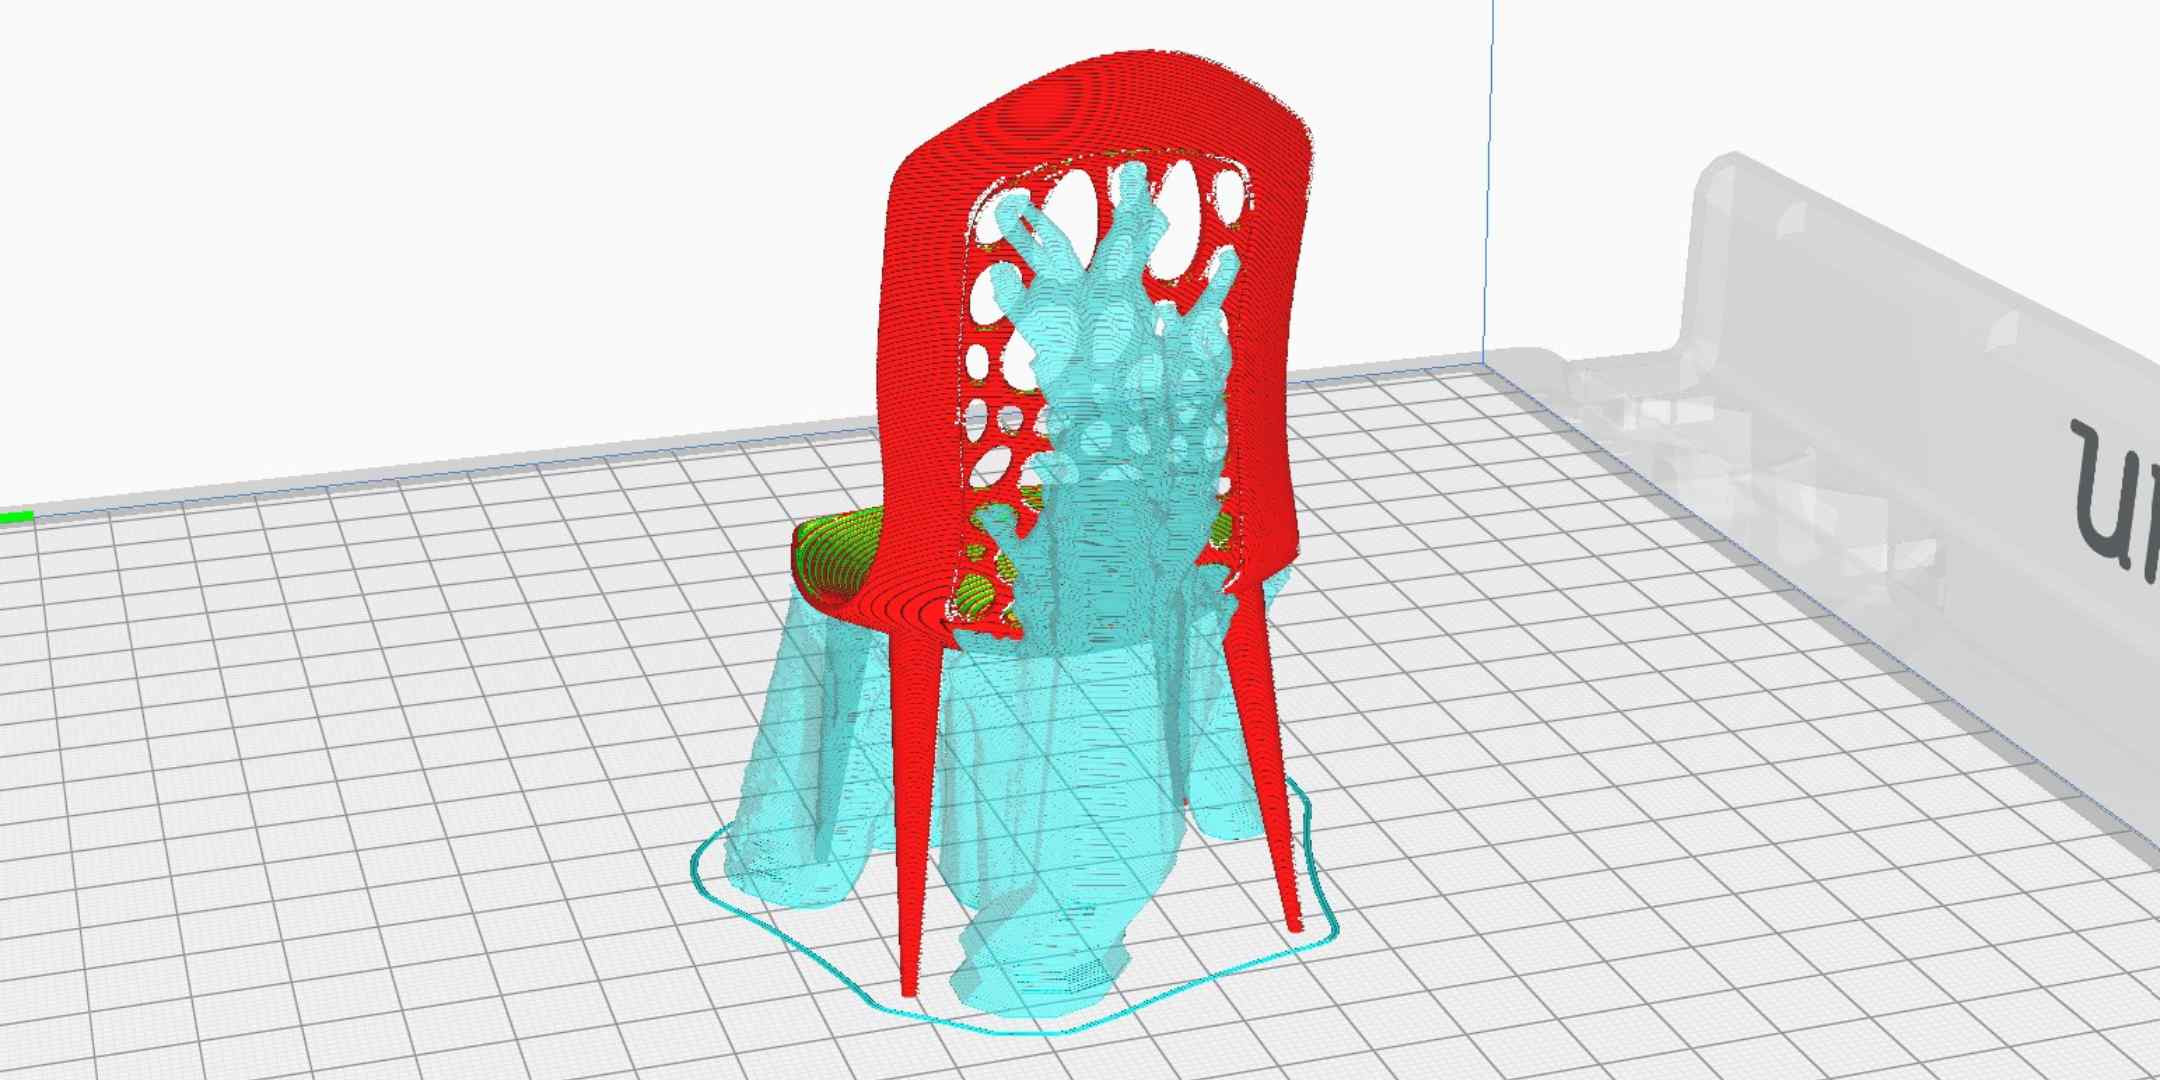 Ultimaker Cura tree support example
Support material, while essential for printing complex geometries with overhangs, adds both print time and material usage. Minimizing the need for supports is a key strategy for faster printing. Tree supports, an option in Ultimaker Cura and other slicers, offer a material-efficient approach to support generation. Unlike traditional supports that build directly beneath overhangs, tree supports branch out from the build plate and curve towards the supported areas, resembling tree branches. This structure uses less material, is easier to remove, and often leaves a cleaner surface finish.
Optimizing model orientation within your slicer is another effective way to reduce support material. By rotating your model, you can often minimize overhangs and thus the need for supports. Ultimaker Cura’s preview mode after slicing is invaluable for visualizing support material. Experiment with different orientations to see how they affect support generation and choose the orientation that minimizes support volume while ensuring print success.
Design Principles for Speedier 3D Printing
When designing your own 3D models, you can incorporate design choices that inherently promote faster printing. Thinking about printability during the design phase can significantly streamline the printing process.
Model Orientation for Layer-by-Layer Speed
Orientation in 3D printing refers to how your model is positioned on the build plate. 3D printers typically move faster along the X and Y axes than the Z-axis (vertical). Therefore, minimizing the height of your print (Z-axis dimension) relative to its footprint on the build plate (X and Y axes) will generally result in faster print times. Orienting your model to be flatter and wider, rather than tall and thin, leverages the printer’s faster movement axes and reduces layer count, leading to quicker prints.
Utilize Sub-Assemblies for Support-Free Printing
Complex geometries often necessitate supports, adding to print time and post-processing effort. A clever design technique to circumvent this is to divide your complex model into smaller, simpler sub-assemblies. These individual parts can be designed and oriented for printing flat on the build plate, often eliminating the need for supports altogether. While this approach introduces a post-printing assembly step, the time saved by printing without supports can be substantial.
Implement Teardrop Holes for Horizontal Openings
Creating horizontal holes in 3D printed parts can be challenging due to overhangs, often requiring support material inside the hole. Teardrop holes offer a design solution to this problem. Instead of perfectly round holes, teardrop holes are shaped like a teardrop, with a pointed top and rounded bottom. This shape minimizes the overhang angle for the printer, often allowing horizontal holes to be printed without any support material. By incorporating teardrop holes in your designs, you can avoid support generation and achieve faster, cleaner prints for parts with horizontal openings.
By implementing these hardware and software adjustments, and incorporating speed-conscious design principles, you can significantly accelerate your 3D printing workflow. Ready to experience the benefits of faster 3D prints? Download the latest version of Ultimaker Cura for free and explore the features discussed in this guide and many more to optimize your printing experience.
Download now