
Screen printing, once considered a complex and professional technique, has become increasingly accessible to DIY enthusiasts. If you’re looking to add a personal touch to clothing, create unique home décor, or even start a small business, Diy Screen Printing is a fantastic skill to learn. This guide will demystify the process and show you how to easily screen print at home.
 Karen Bertelsen showcasing a tea towel she screen printed with a cleaver design, standing in her pantry.
Many believe screen printing is complicated or requires expensive equipment. However, with the right materials and a bit of patience, you can achieve professional-looking results from the comfort of your home. This comprehensive guide breaks down each step, making DIY screen printing approachable for beginners and experienced crafters alike.
Understanding the Basics of DIY Screen Printing
DIY screen printing involves pushing ink through a mesh screen onto a substrate, such as fabric, paper, or wood. The magic lies in the stencil you create on the screen, blocking ink from passing through certain areas and allowing it to transfer your design precisely.
The process typically involves these key stages:
- Image Selection and Preparation: Choosing or creating your design and preparing it for stencil creation.
- Screen Preparation: Creating a screen printing frame and applying a light-sensitive emulsion.
- Exposure Process (Burning the Screen): Transferring your design onto the screen using light to harden the emulsion around your image.
- Developing the Screen: Washing away the unexposed emulsion to reveal your stencil.
- Printing: Applying ink to the screen and using a squeegee to push it through the stencil onto your chosen material.
You can customize your DIY screen printing setup to be as basic or advanced as you desire. You can even create many of the necessary tools yourself, making it a truly hands-on DIY project. Alternatively, pre-made kits and supplies are readily available to simplify the process.
Materials You’ll Need for DIY Screen Printing
To get started with DIY screen printing, gather these essential materials:
- Screen Printing Frame: This can be a pre-made aluminum frame or a DIY wooden frame with polyester mesh stretched tightly across it. Aluminum frames are more durable and recommended for frequent use.
- Polyester Mesh: If making your own frame, you’ll need polyester mesh, typically 110 mesh count, which is versatile for various designs.
- Photo Emulsion: This light-sensitive liquid creates the stencil on your screen. It comes in two parts: emulsion and sensitizer.
- Squeegee: A rubber blade used to spread ink evenly across the screen and push it through the stencil.
- Screen Printing Ink: Choose fabric inks for textiles, paper inks for paper, and so on. Water-based inks are beginner-friendly and easy to clean up.
- Transparency Film or Paper: To print your design for creating the stencil. Transparency film is ideal for detailed designs, but opaque paper can work for simpler images.
- Light Source: A 150-watt incandescent bulb or equivalent LED bulb will work for exposing your screen. Specialized exposure units are available for more consistent results, but are not necessary for beginners.
- Dark Room or Area: Essential for coating the screen with emulsion and allowing it to dry without light exposure.
- Spray Bottle with Water: For developing the screen and washing away the unexposed emulsion.
- Painter’s Tape: To tape off the edges of the screen and prevent ink leaks.
- Utility Knife (Exacto Knife): For cutting out your design if using paper stencils.
- Glass or Plexiglass Sheet: To hold your design flat against the screen during exposure.
- Black Matte Board or Fabric: To place under the screen during exposure to absorb stray light.
- T-shirts, Fabric, or Items to Print On: Choose your blank canvases!
Many of these items can be found at craft stores, art supply stores, or online retailers like Amazon. Starter screen printing kits offer a convenient and economical way to acquire most of the basic supplies.
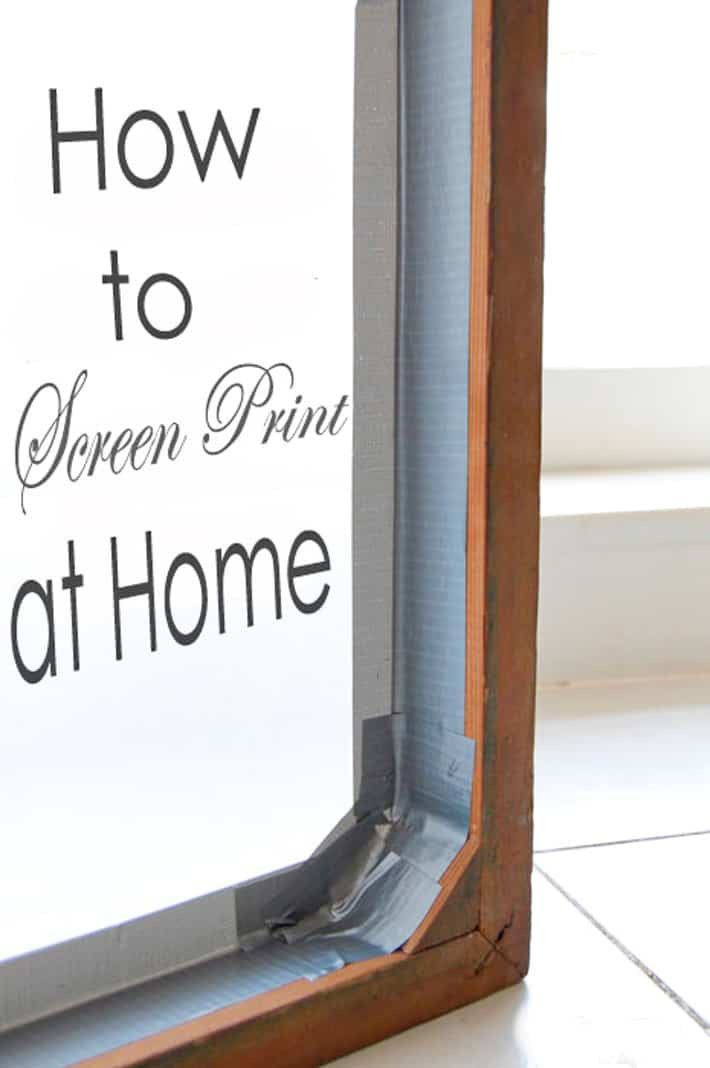 Close up of a screen printing frame with the words "How to screen print at home" visible through the mesh.
Step-by-Step Guide to DIY Screen Printing
Follow these steps to successfully screen print your designs at home:
1. Prepare Your Image
- Choose a Design: Start with simple, single-color designs, like silhouettes or basic lettering. A tree silhouette, as in the original article, is a great beginner project.
- Create Your Stencil:
- Option 1: Paper Stencil (Beginner-Friendly): Print your design onto regular paper. For increased opacity, print two copies and layer them, or darken the back with a black marker. Carefully cut out your design using a utility knife.
- Option 2: Transparency Film (For Detail): Print your design onto transparency film using a laser printer or inkjet printer with pigment ink for better opacity.
 A white piece of paper with a solid black pine tree silhouette printed on it, ready to be used as a stencil.
2. Prepare Your Screen Printing Frame
- DIY Frame (Optional): If you’re making your own frame, assemble a wooden frame using 2×2 inch lumber. Staple polyester mesh tightly across the frame, ensuring it’s taut and smooth. Trim excess mesh and tape the edges to protect them.
- Taping the Frame: Whether using a DIY or pre-made frame, use painter’s tape to seal the inside edges of the frame. This prevents ink from seeping between the screen and the frame during printing.
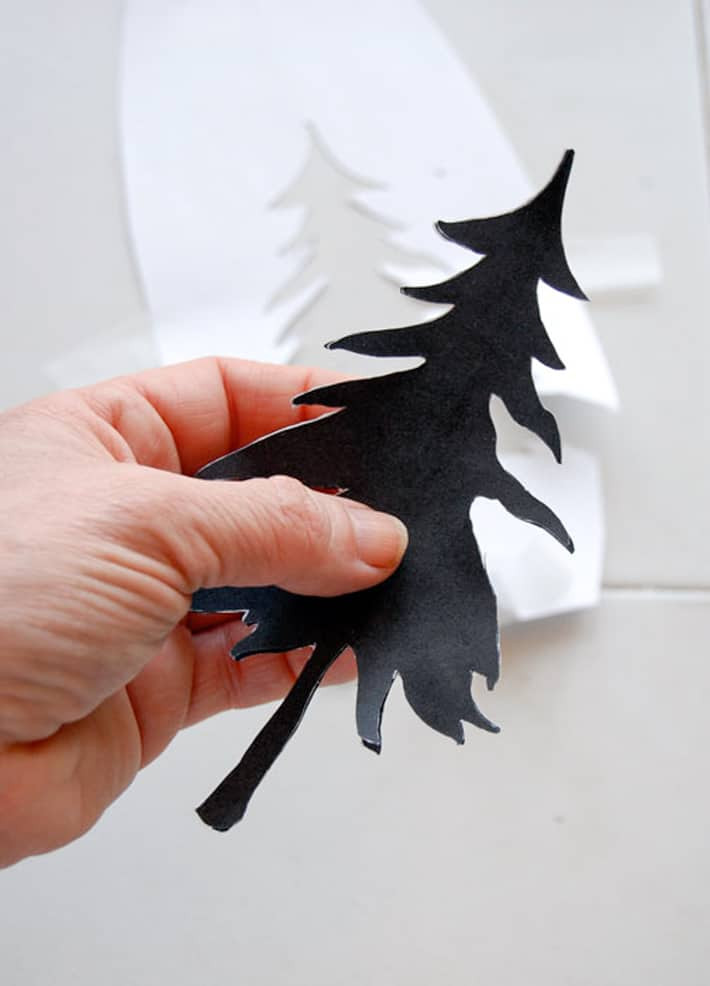 A cutout of a black pine tree shape, removed from a white piece of printer paper, ready to be used for screen printing.
3. Coat the Screen with Photo Emulsion (Dark Room Required)
- Mix Emulsion: In a completely dark room, mix your photo emulsion and sensitizer according to the manufacturer’s instructions. Work under a safelight if possible (a yellow bug light is often sufficient).
- Apply Emulsion: Pour a bead of emulsion along the top of your screen. Using your squeegee at a 45-degree angle, apply a thin, even coat of emulsion to both sides of the screen. Use smooth, consistent strokes.
- Dry the Screen: Place the coated screen horizontally in a completely dark, dust-free area to dry. Drying can take 1-3 hours, but using a fan on a low setting can reduce drying time to about 30 minutes. Ensure no light reaches the screen during drying.
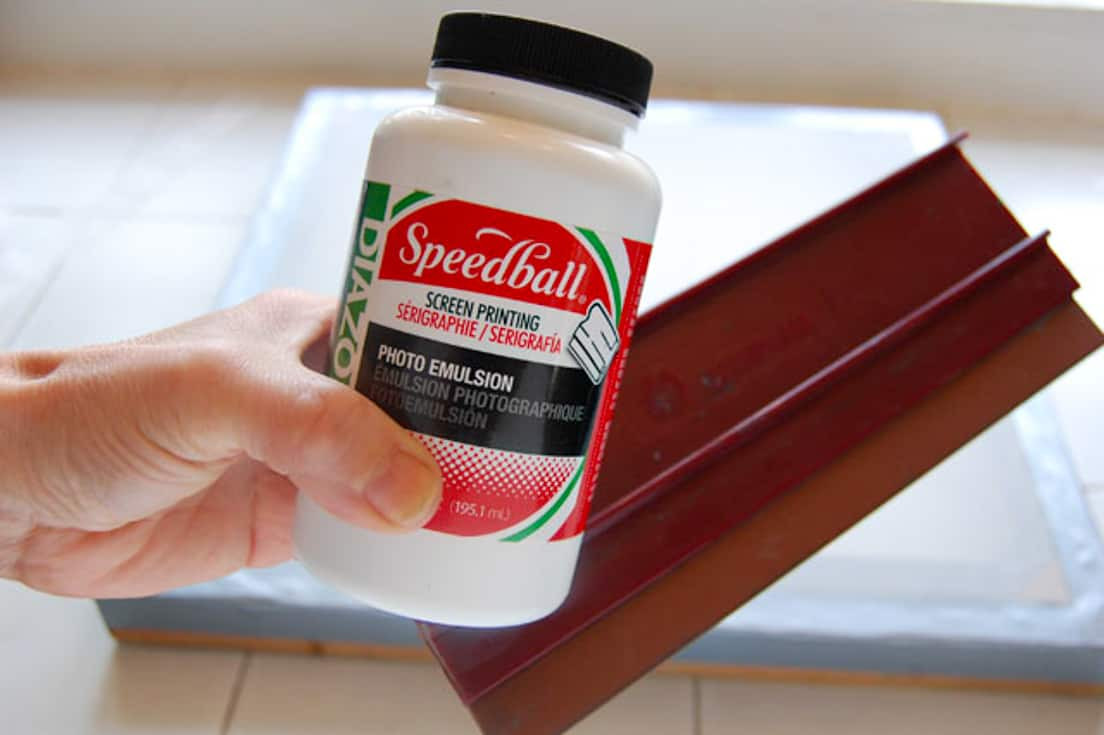 A screen printing frame being coated with photo emulsion in a dark room.
4. Expose Your Screen (Burning the Image)
- Set Up Exposure Area: Place a 150-watt incandescent bulb or equivalent LED light source approximately 18 inches above a black matte surface (black cardboard or fabric).
- Position Screen and Stencil: In a dimly lit room, place your dried, emulsion-coated screen on the black surface with the “back” (non-recessed) side facing up. Position your paper or transparency stencil on the screen in reverse (flipped horizontally). Place a piece of glass or plexiglass on top to ensure firm contact between the stencil and screen.
- Expose to Light: Turn on your light source and expose the screen for the time recommended on your emulsion instructions (typically 20-40 minutes depending on emulsion and light source).
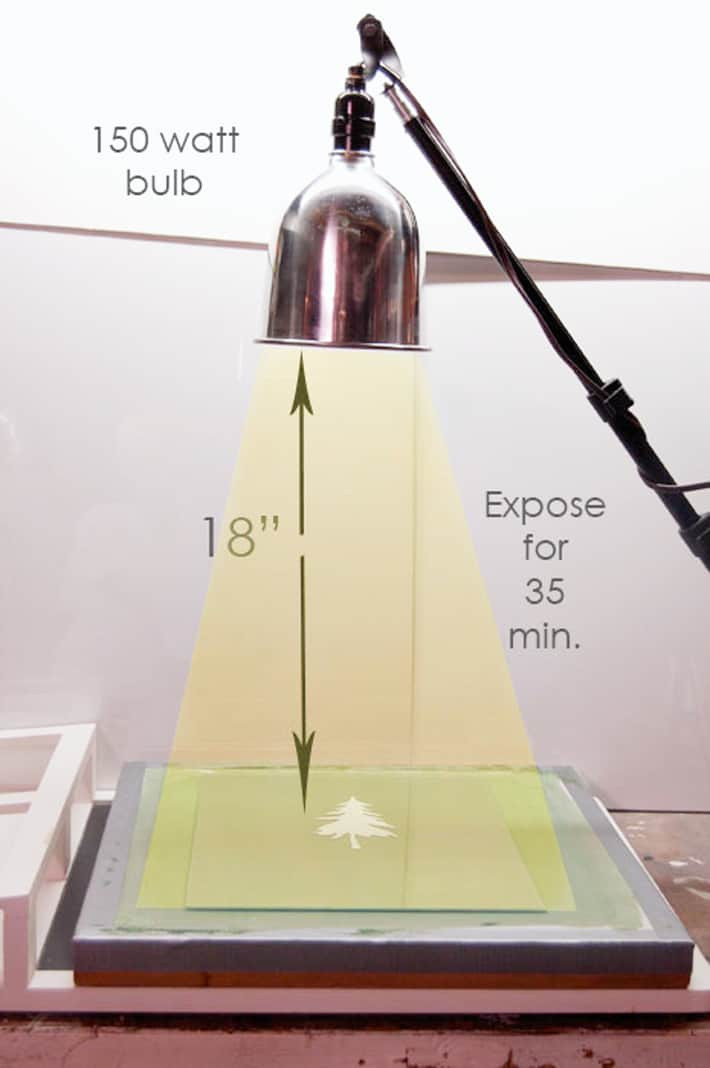 Diagram illustrating the exposure setup with a 150-watt bulb positioned above the screen and stencil.
5. Develop Your Screen (Washout)
- Wash Out Emulsion: After exposure, remove the glass and stencil. Take your screen to a sink or outdoor hose. Using lukewarm water and a spray nozzle, gently spray both sides of the screen, focusing on the image area. The unexposed emulsion under your stencil will begin to wash away, revealing your design. Continue rinsing until the design is clear and open.
- Dry Screen: Allow the screen to dry completely. Place it in the sun or use a fan to speed up drying.
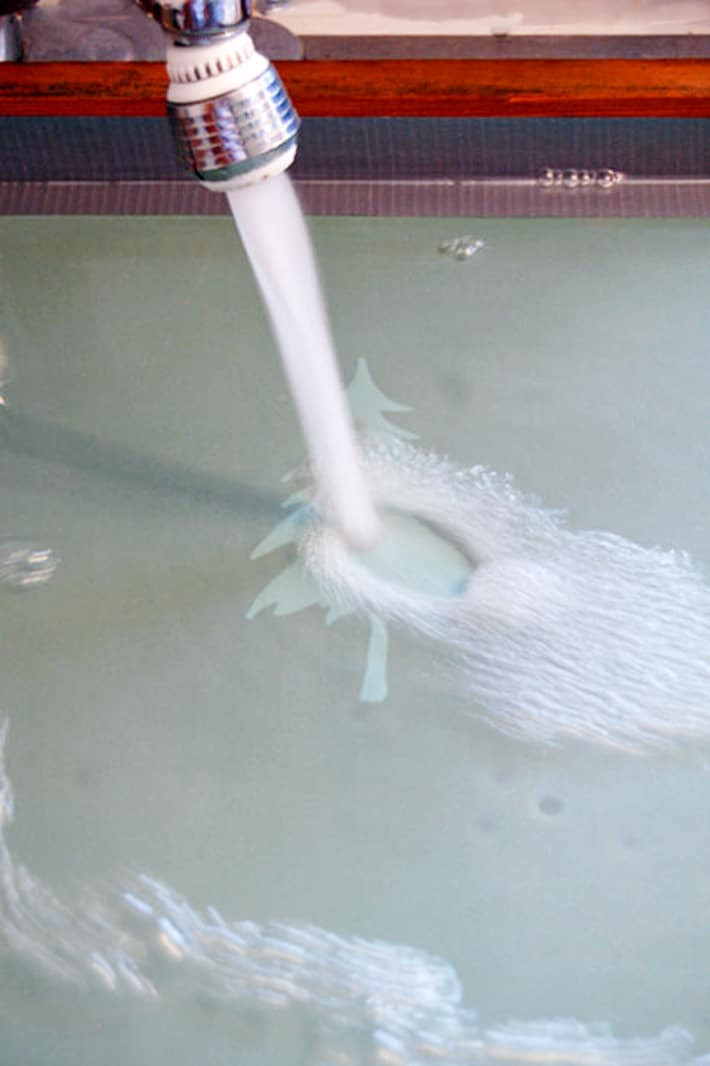 Washing off the unexposed emulsion from the screen at a kitchen sink after the exposure process.
6. Screen Printing – The Fun Part!
- Prepare Your Printing Area: Lay your t-shirt, fabric, or chosen item flat on a smooth, even surface. Place a piece of cardboard inside t-shirts to prevent ink bleed-through.
- Position Screen: Place your screen printing frame directly onto your item in the desired print location.
- Apply Ink: Pour a bead of screen printing ink along the top edge of your screen, above your design area.
- Flood the Screen: Holding your squeegee at a 45-degree angle, pull the ink down across your design with light pressure. This “floods” the stencil with ink.
- Print: Apply firm, even pressure to the squeegee and pull it down across the design again, this time pushing the ink through the stencil onto your item. One or two passes may be needed for good ink coverage.
- Lift Screen: Carefully lift the screen straight up to avoid smudging your print.
- Dry and Heat Set: Allow your printed item to air dry completely. Once dry, heat-set the ink according to the ink manufacturer’s instructions. This usually involves ironing the design with a dry iron for a specific time to make the print permanent and washable.
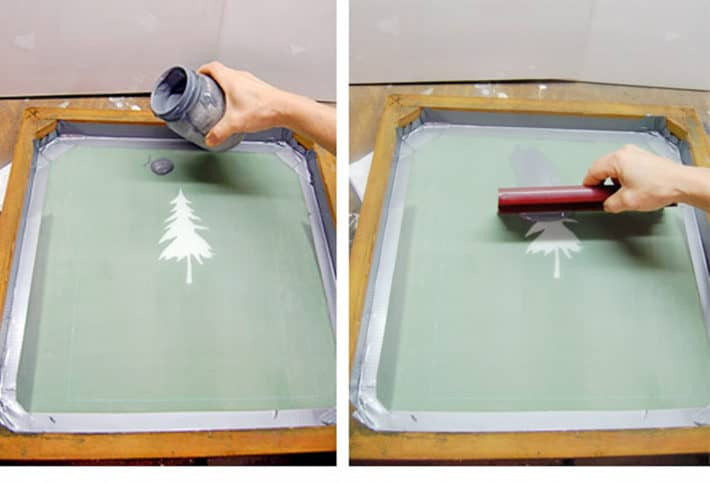 Applying a bead of paint to the screen and using a squeegee to flood the image area before printing.
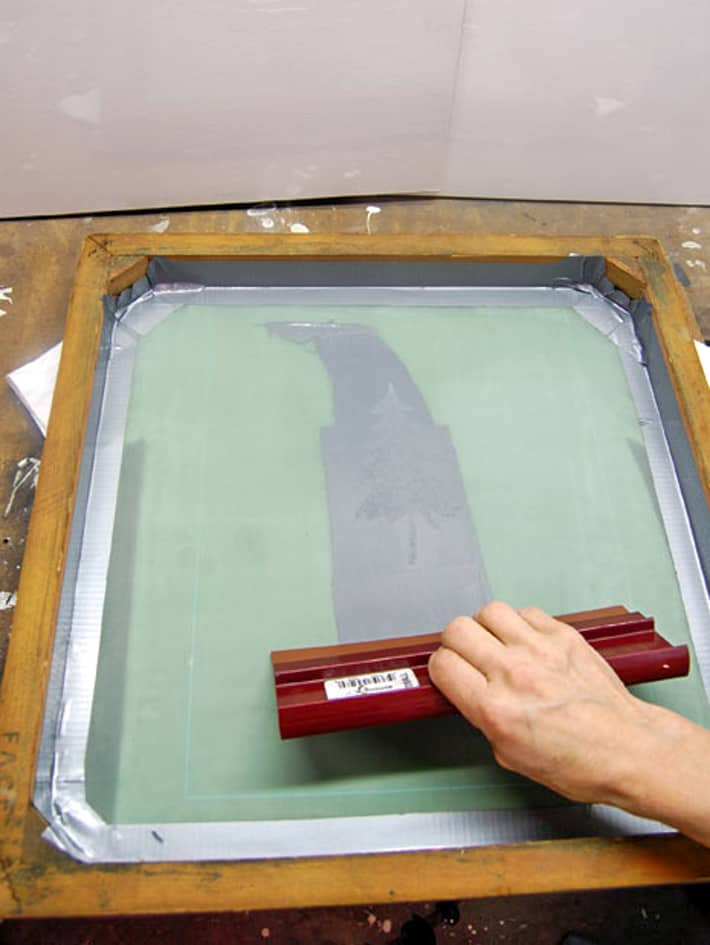 Dragging a squeegee across the screen to push ink through the stencil and print the design.
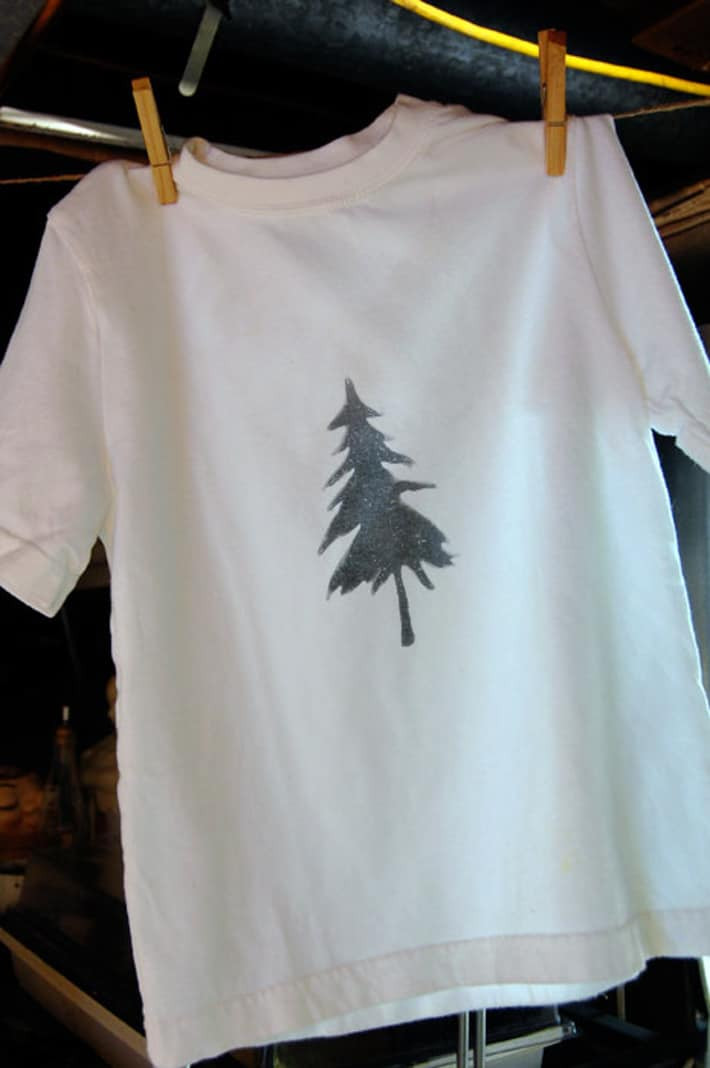 A newly screen printed t-shirt hanging to dry after the printing process.
7. Clean Up
- Reclaim Screen (Optional): If you want to reuse your screen for a different design, you’ll need to reclaim it by removing the emulsion with a screen reclaiming solution.
- Clean Squeegee and Tools: Immediately clean your squeegee, ink, and any other tools with water if using water-based inks, or with appropriate solvents for other ink types.
Tips for Successful DIY Screen Printing
- Start Simple: Begin with basic designs and single colors to master the fundamental techniques before moving to more complex projects.
- Practice Makes Perfect: Don’t be discouraged if your first attempts aren’t perfect. Practice on scrap fabric or paper to refine your technique and squeegee pressure.
- Opacity is Key: Ensure your stencil is opaque enough to block light effectively during exposure. Double-layer paper stencils or use transparency film for best results.
- Proper Exposure Time: Follow the emulsion manufacturer’s instructions for exposure time. Over or under-exposure can affect stencil quality.
- Secure Contact: Ensure your stencil is in close contact with the screen during exposure for sharp, clean lines.
- Even Squeegee Pressure: Apply consistent and even pressure when printing to ensure uniform ink coverage.
- Don’t Over-Flood: Flooding the screen too much can lead to ink bleeding or smudging. Use just enough ink to cover the design area.
- Clean Screens Promptly: Clean your screens immediately after printing to prevent ink from drying and clogging the mesh.
Screen Printing Kits: An Easier Start
For beginners, screen printing kits offer a convenient and cost-effective way to get started. These kits typically include a screen, photo emulsion, inks, squeegee, and instructions, providing everything you need to begin your DIY screen printing journey.
- Starter Screen Printing Kit (US): Amazon US Link
- Starter Screen Printing Kit (Canada): Amazon Canada Link
Conclusion
DIY screen printing is a rewarding and creative craft that allows you to personalize items, express your artistic vision, and even create custom merchandise. While it might seem daunting at first, by following these steps and practicing patiently, you can master the art of screen printing at home. So gather your supplies, unleash your creativity, and start printing!