Animal print is back in a big way, and cow print is leading the herd! I’ve been obsessed with this bold pattern for ages, and finally decided it was time to add a Cow Print Skirt to my wardrobe. For years, it’s been missing from my closet, and today, I’m sharing the story of how I made my dream a reality.
My Fashion Obsession: From Bratz Dolls to DIY
My love affair with fashion started young. I remember eagerly flipping through H&M catalogs, circling every must-have item. High heels were my dream, flats, a necessary evil. But nothing captured my imagination quite like Bratz dolls. They were the epitome of cool, unique, and utterly fashionable – everything I aspired to be.
I vividly recall the day my sister and I each got to choose a Bratz doll. While my decision-making process was a child’s mix of preferences, one thing stood out: Cloe, the blonde Bratz doll. Maybe it was my childhood wish for blonde hair (mine is light brown), or maybe it was her killer style, but Cloe it was. And looking back, it’s clear why. Remember Cloe’s iconic cow print skirt? It was just one of the many Bratz outfits that sparked a desire in me to own my own cow print fashion.
Bratz Doll Influence
My Bratz doll collection grew rapidly – perhaps too rapidly to mention! If I really wanted to know the exact number, a trip to the attic would be in order. Thinking about it now, I almost wish I had collected every single Bratz doll ever released. They were – and still are – such a source of fashion inspiration! There are definitely some I regret not getting my hands on, but alas, a complete collection remains a dream. But let’s refocus! This post isn’t about becoming a doll collector (though tempting!), it’s about that cow print skirt!
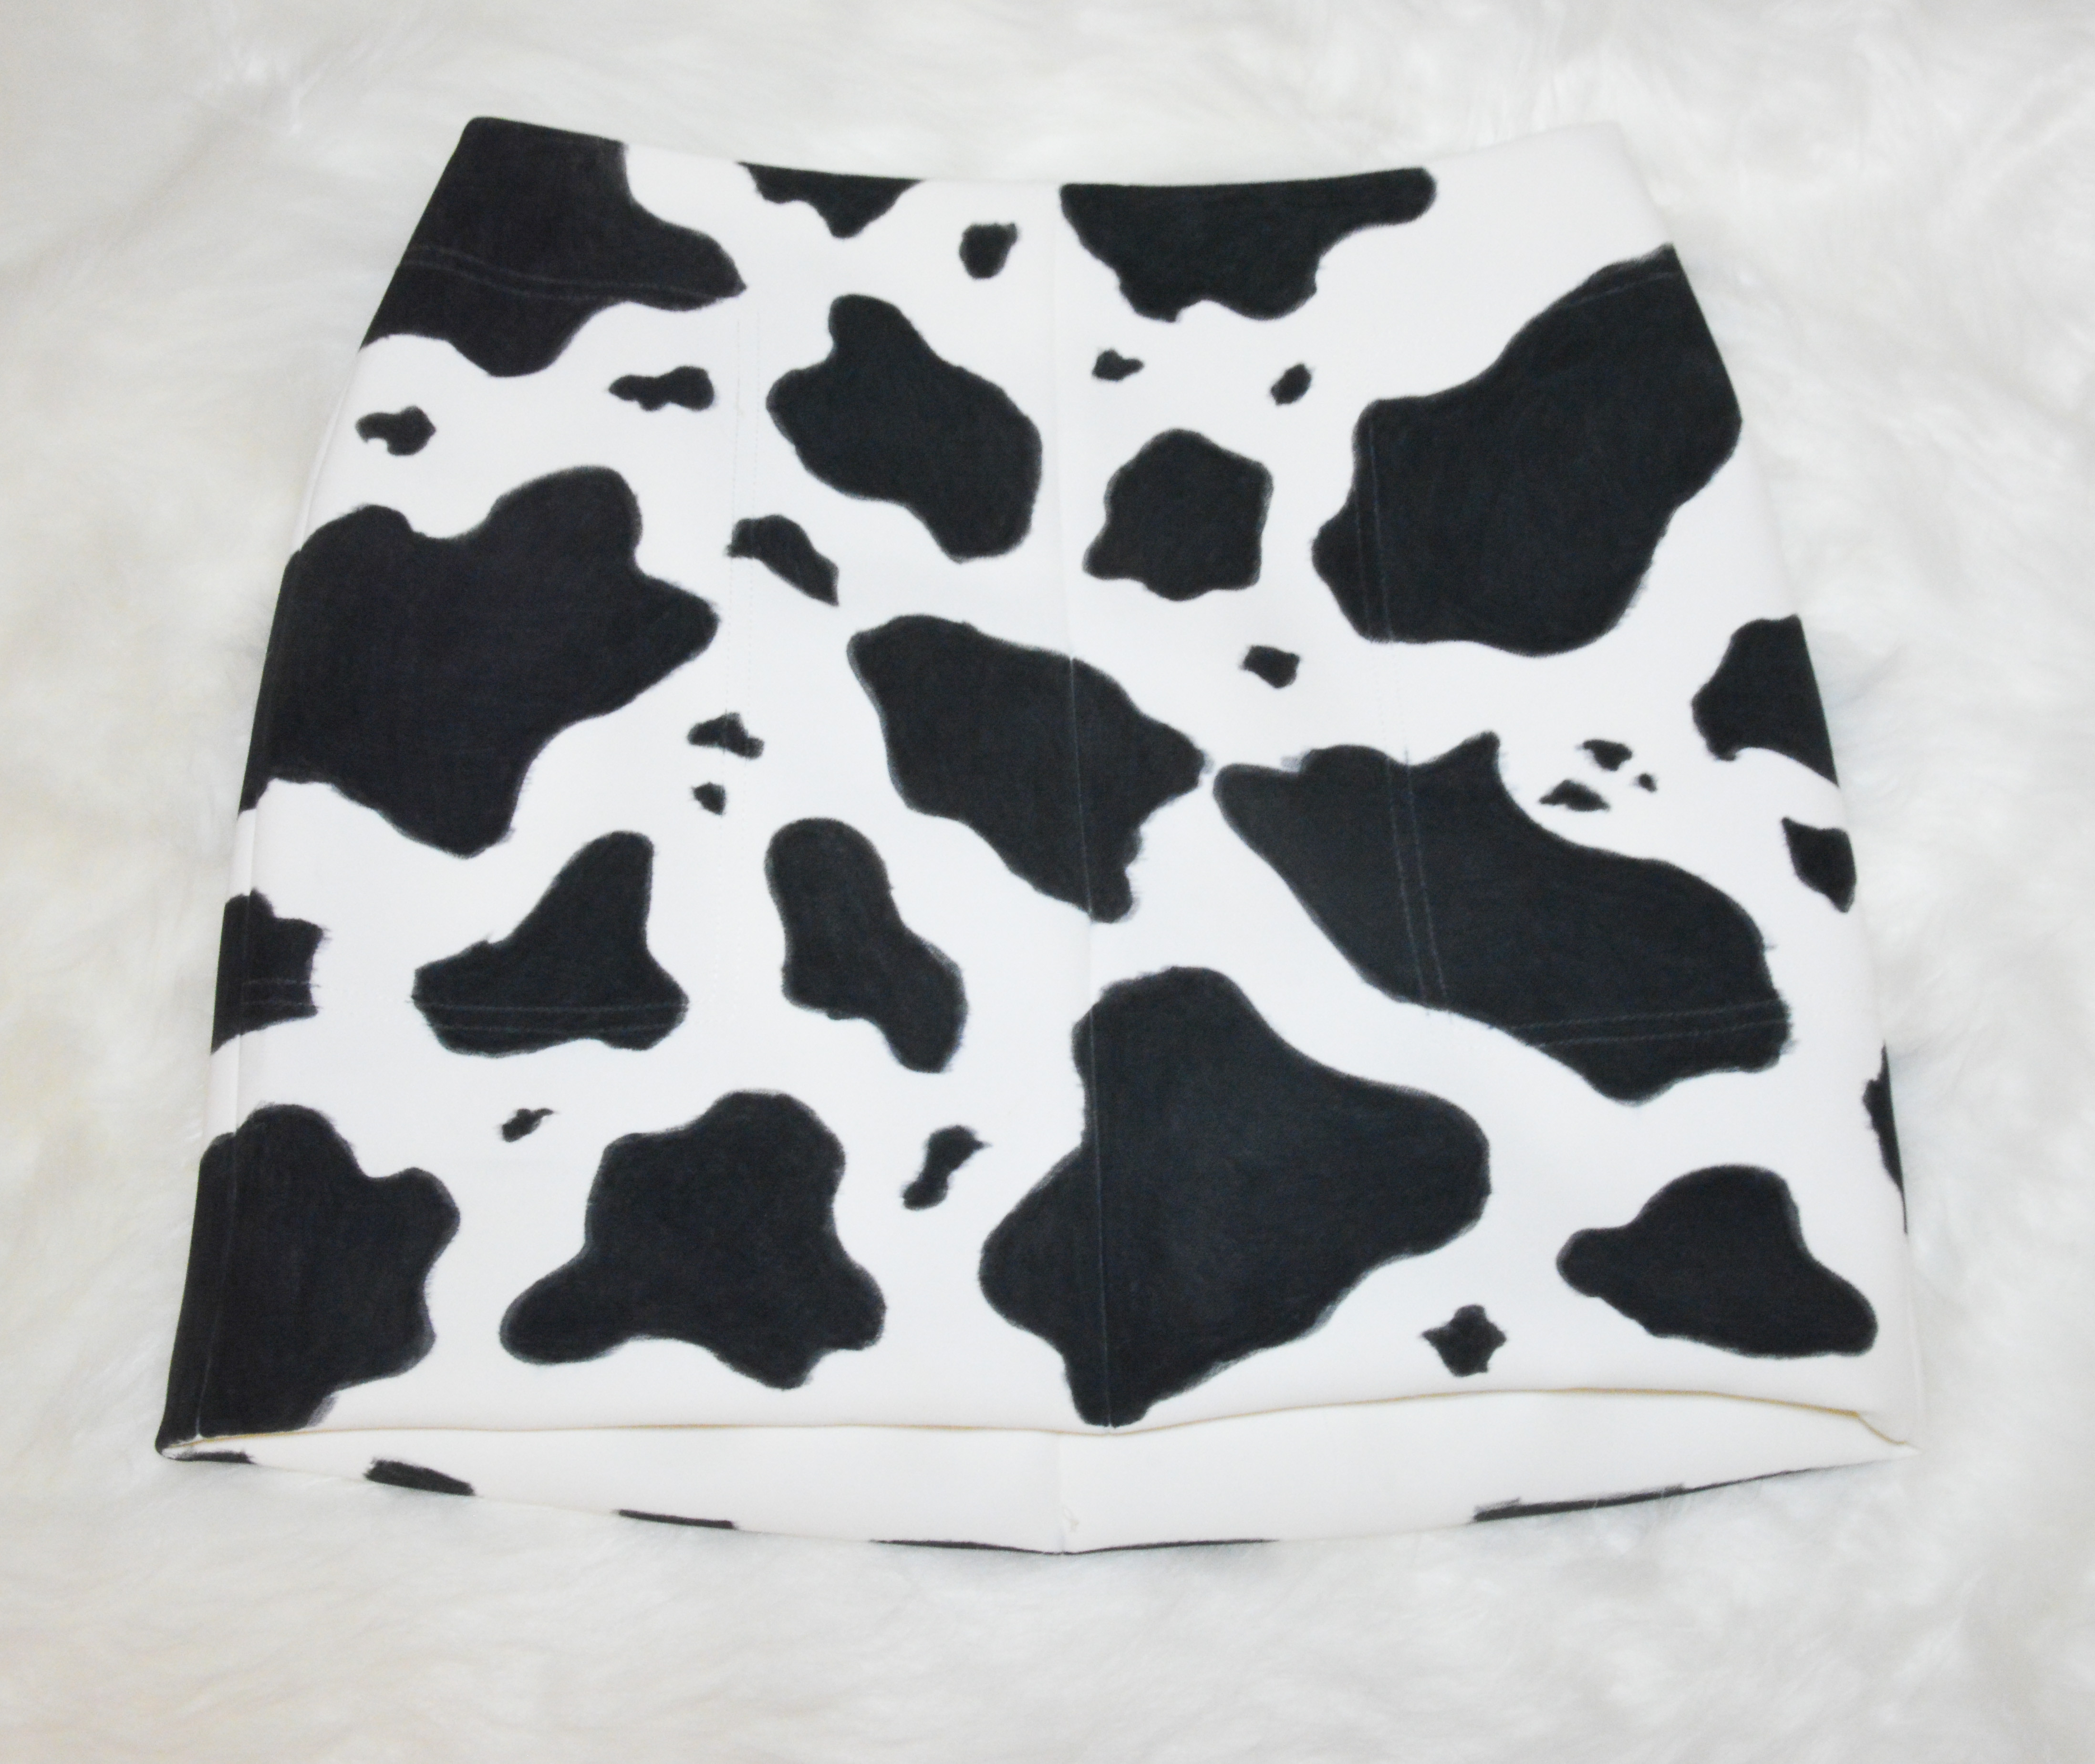
 Full shot of the DIY cow print skirt, showing the overall look and style.
Crafting My Cow Print Skirt: A DIY Project
In this post, I’m excited to share the journey of creating the cow print skirt I’ve wanted for years. Now, I could have easily bought cow print fabric and sewn a skirt from scratch. But, truth be told, I’m a bit lazy when it comes to complex sewing projects. Plus, I love the idea of upcycling and giving new life to clothes I already own. And here’s another hurdle: finding the right cow print fabric is surprisingly difficult. Often, I’d find faux fur textures or cotton prints with cow patterns that just weren’t quite right. So, even if I were motivated to sew from scratch, the perfect fabric seemed elusive. That’s when alternative DIY methods became essential.
Since finding the ideal fabric was proving difficult, I decided to transform an existing skirt. I knew I wanted a white background for my cow print, so a plain white skirt became the perfect canvas. Of course, if you’re a sewing pro, you could start from scratch. But I looked through my closet and remembered my graduation skirt from Ted Baker.
It was a beautiful skirt, but honestly, it had a bit of a sad history. Despite being a pricier piece, the front seam ripped the very first time I wore it – on my graduation day! Luckily, it was a long skirt, so it wasn’t too noticeable, and I managed a quick fix before celebrating with family. Still, I knew I probably wouldn’t wear it again in its original form. This made it the perfect candidate to transform into my long-desired cow print skirt.
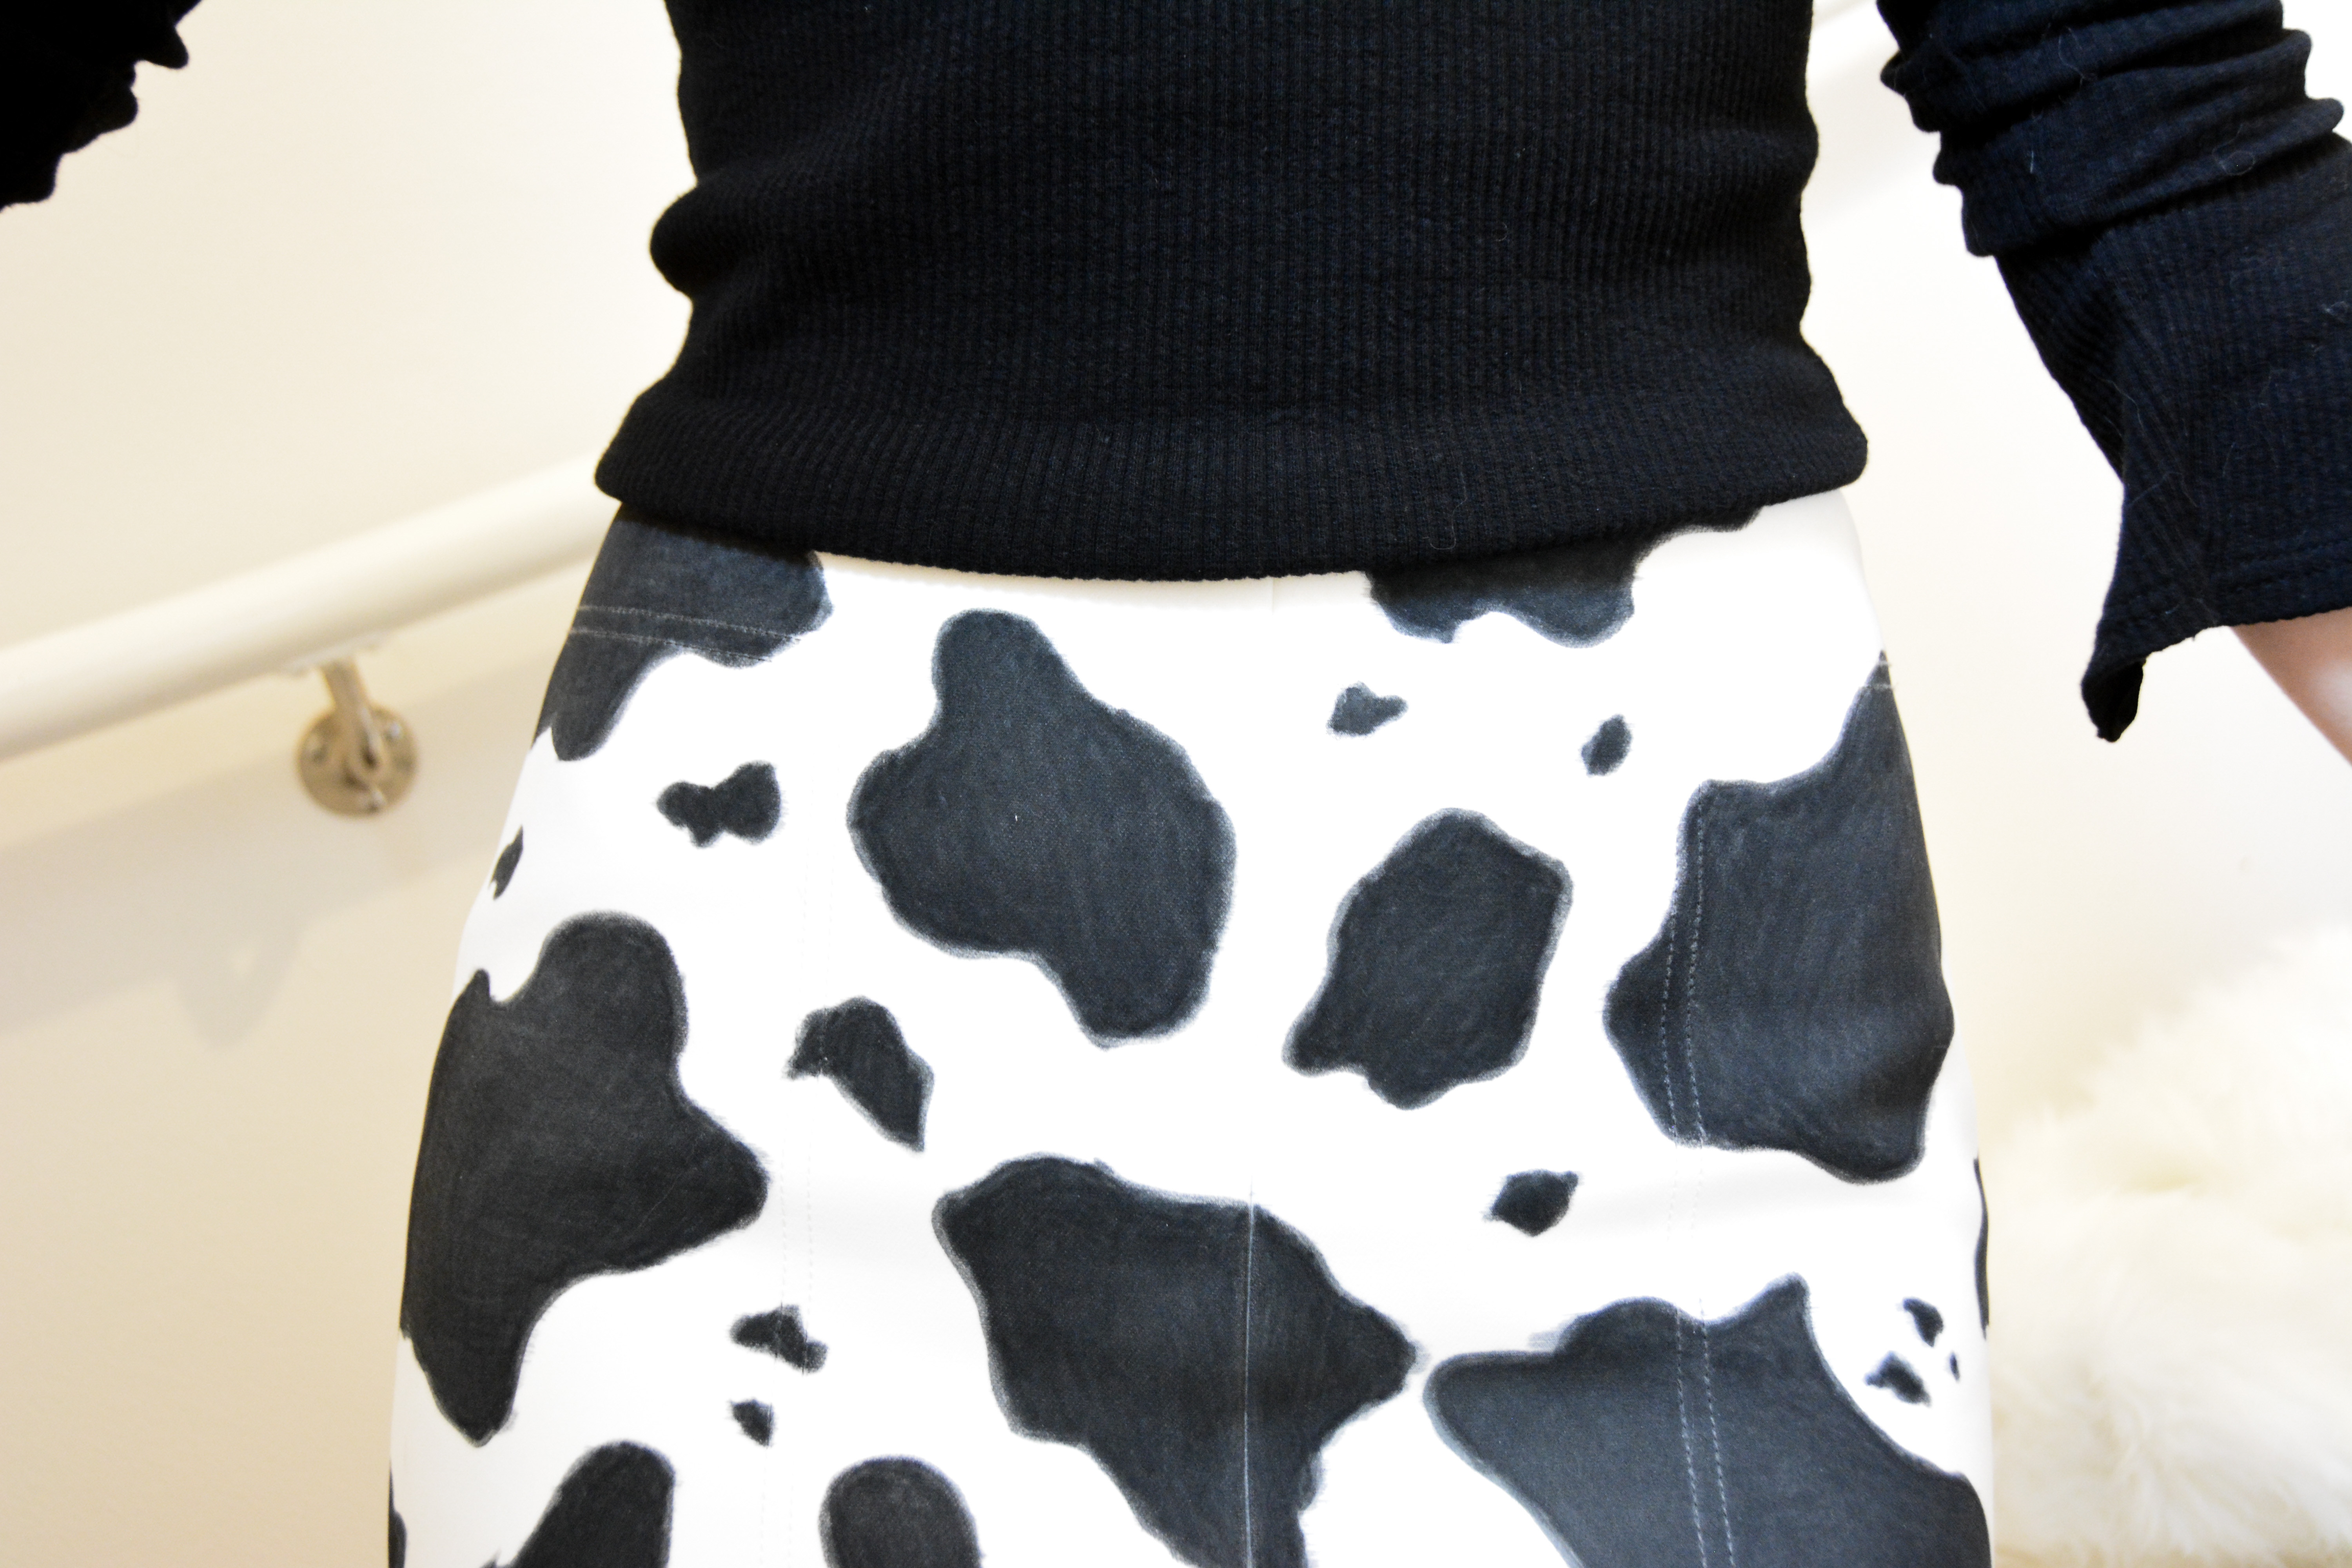
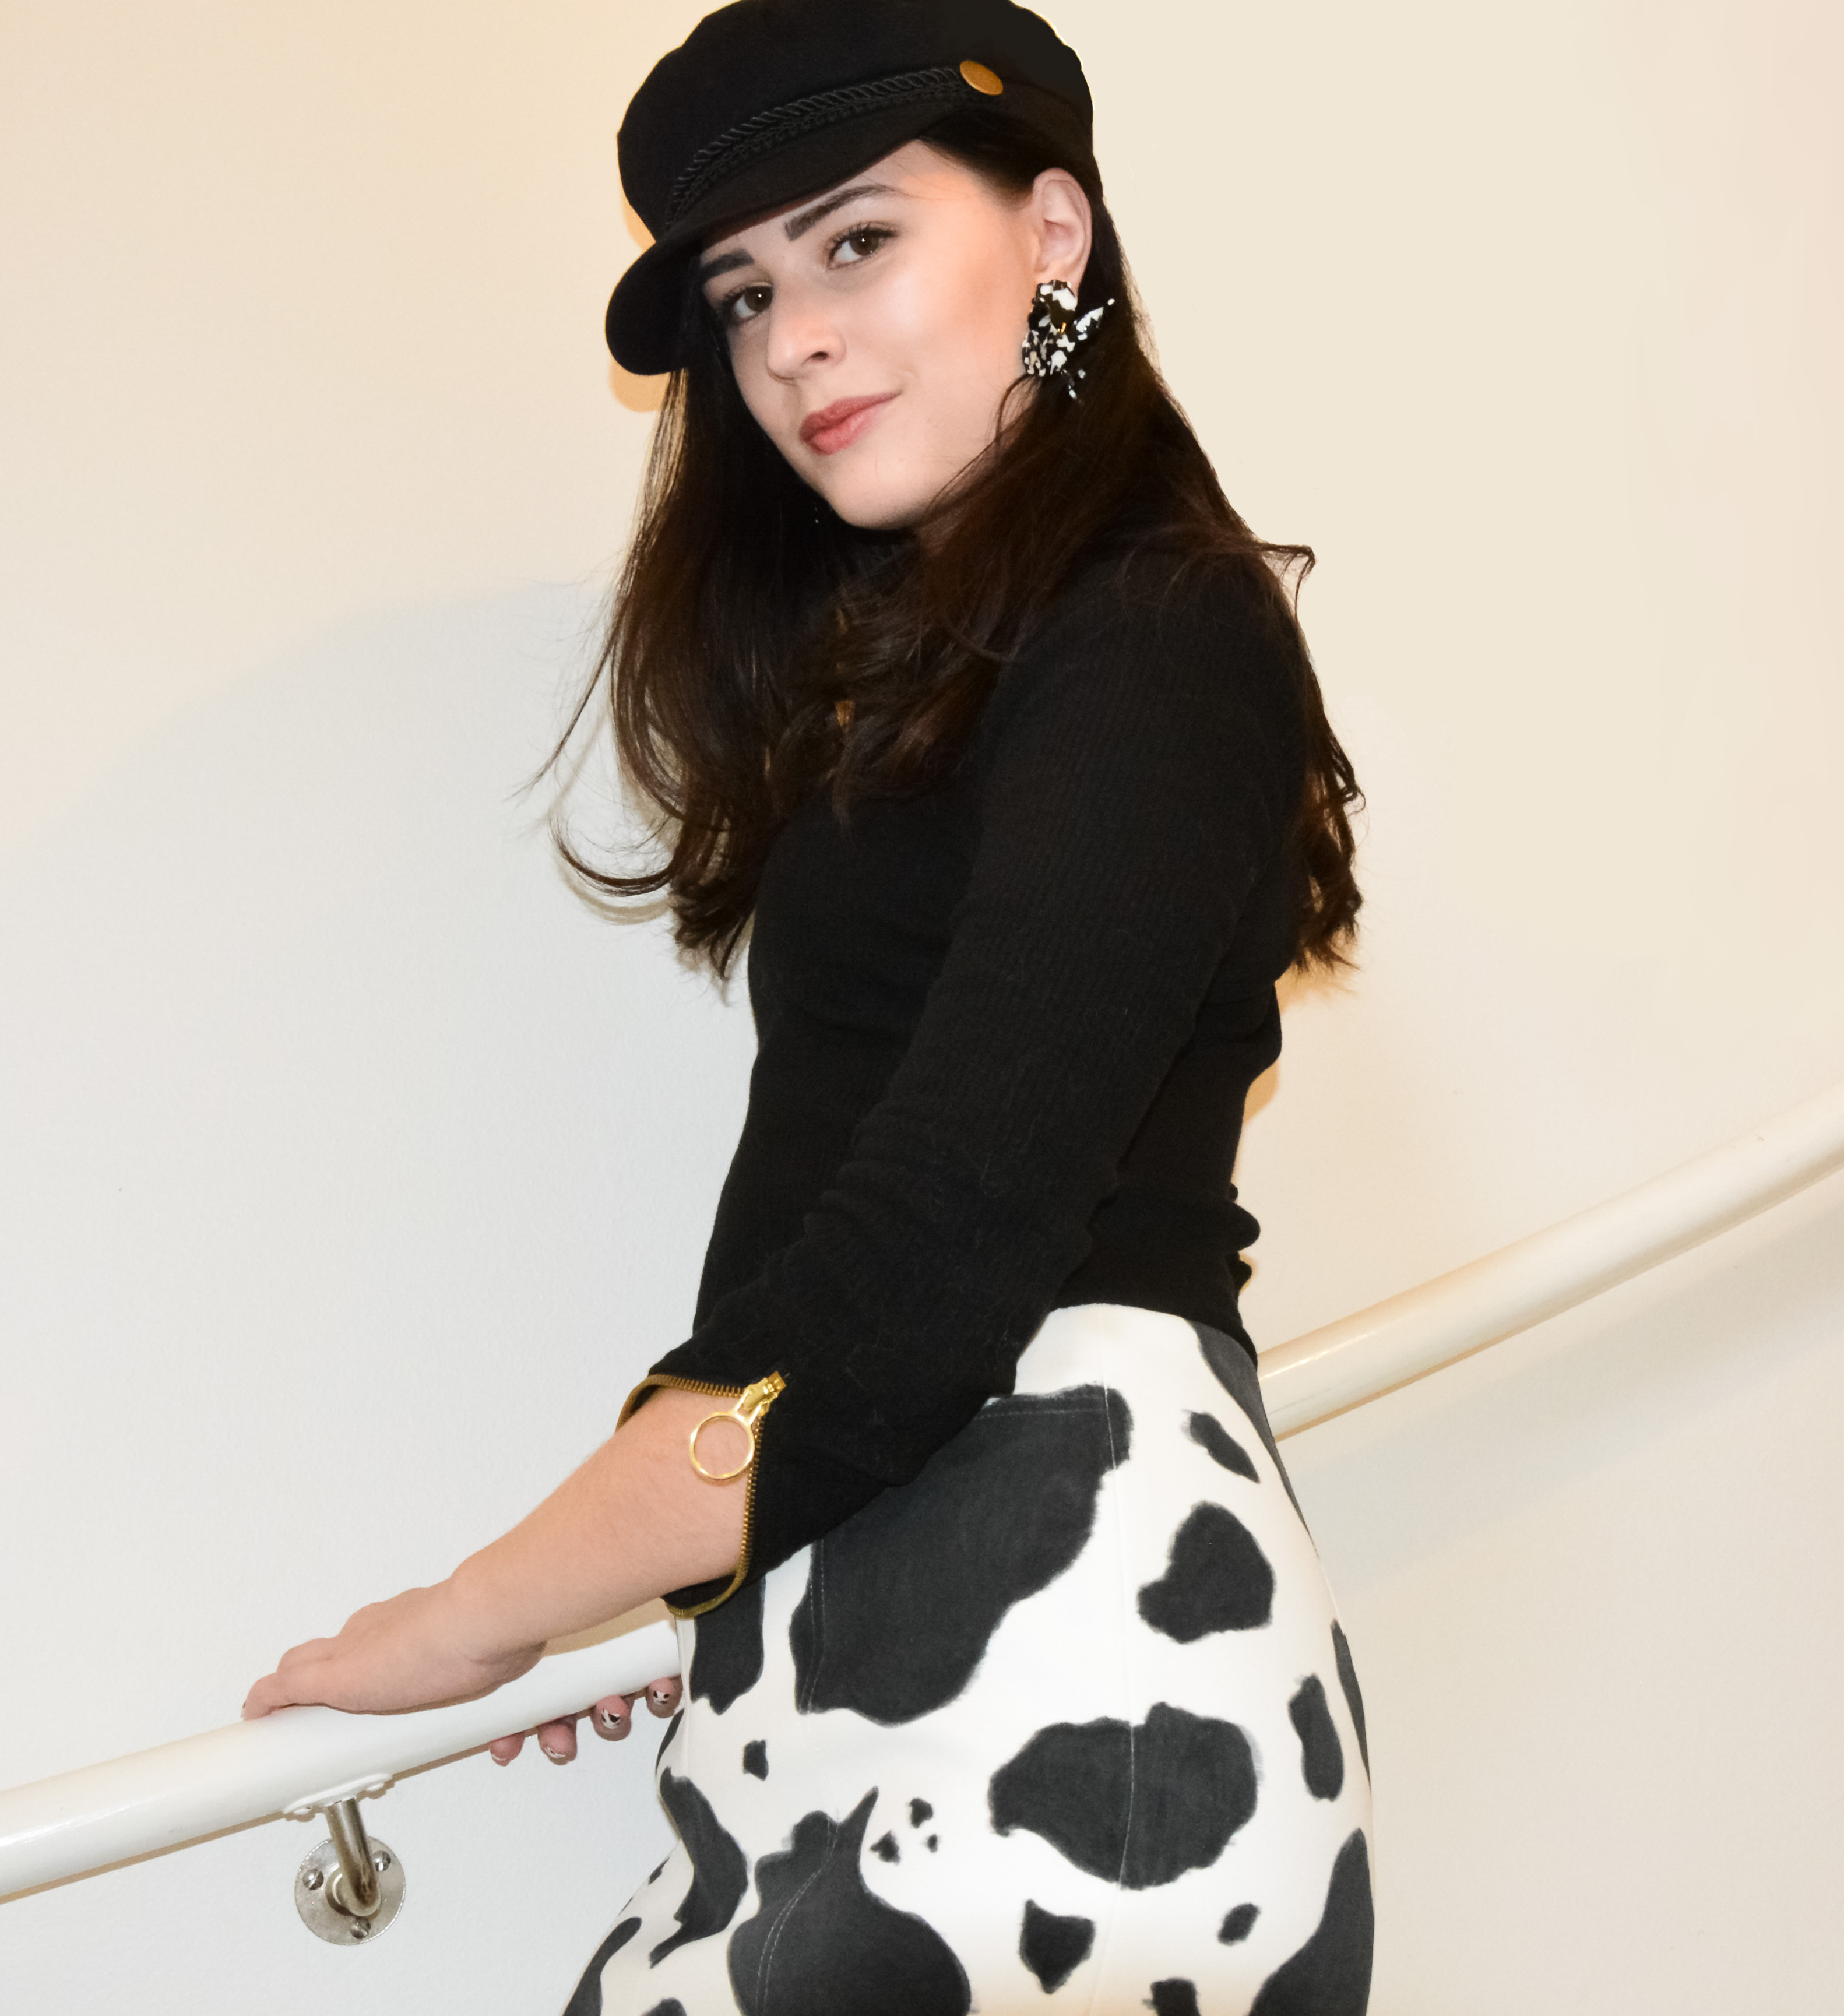 Side view of the woman in the cow print skirt, highlighting the fabric and design details.
Creating the Cow Print Pattern
Okay, so how do you turn a plain white skirt into a trendy cow print skirt? Shortening the length is straightforward, but what about achieving that iconic cow pattern? Two main methods came to mind for creating the cow print spots. I opted for one, but both are viable.
The first method involves cutting black fabric (preferably one that doesn’t fray) into cow-like spots and sewing them onto the skirt. This would create a 3D texture, which could be an interesting effect depending on your preference. However, I went with the second approach: painting the spots directly onto the fabric using fabric markers or fabric paint. I chose fabric markers initially, thinking I could always add fabric paint later if I wanted a bolder, darker black.
Looking at Cloe’s Bratz doll skirt, I noticed the spots were a mix of black and brown. But for my DIY project, I decided to stick with black markers for simplicity. Now, let’s dive into the step-by-step guide on how I made my cow print skirt! Here’s what you’ll need to get started:
Materials You’ll Need:
- Plain white skirt (any style you like)
- Fabric markers (black) or fabric paint
- Reference picture of cow print (for inspiration)
- Scissors
- Pins
- Sewing machine (optional, for hemming)
- Gold sequin skirt (or any skirt of desired length, for reference)
Step-by-Step Guide: DIY Cow Print Skirt
1. Hemming the Skirt
The first step was to shorten my Ted Baker skirt. Hemming isn’t my forte, so if you’re looking for expert hemming advice, I’m not your gal! But I believe in experimenting and doing my best, which usually works out just fine. I started by trying on the skirt to determine the ideal length. To get a precise measurement, I found a gold sequin skirt in my closet that had a similar silhouette to my white skirt but was the perfect length. I laid both skirts flat and used the sequin skirt as a guide for where to cut the white skirt.
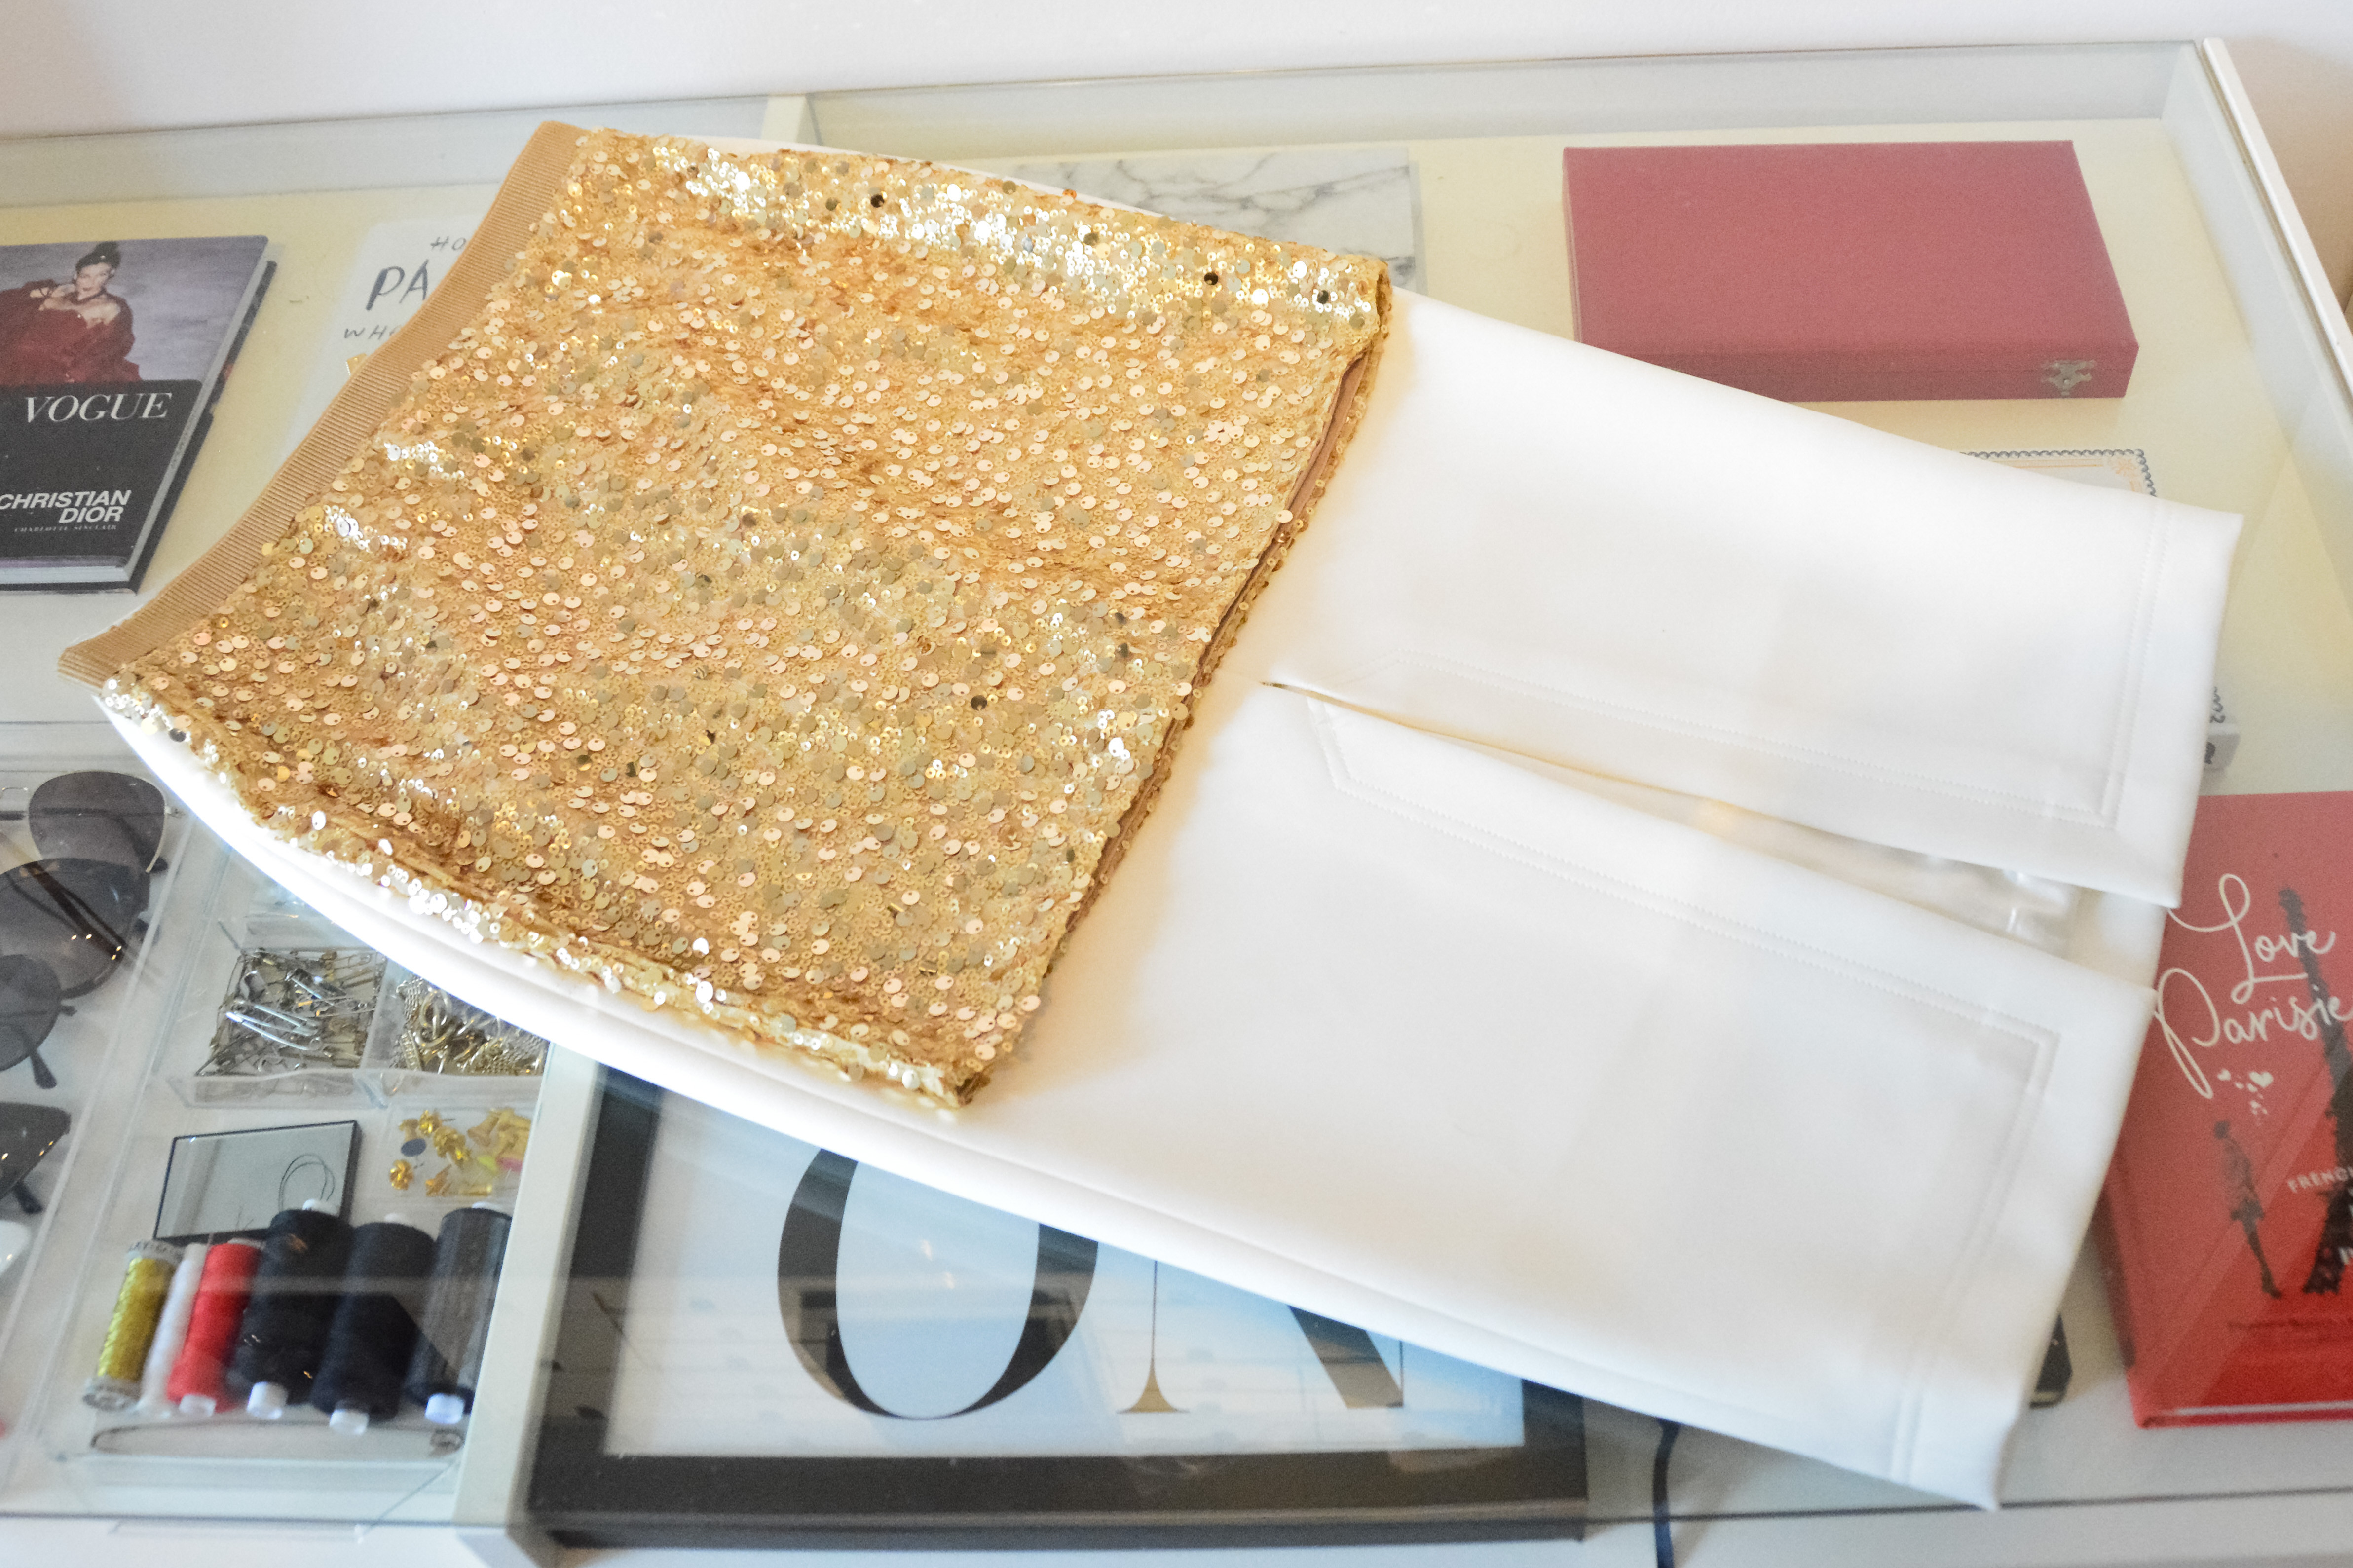 Comparing the white skirt with a gold sequin skirt for length measurement before cutting.
2. Cutting the Skirt
I cut the white skirt slightly longer than the sequin skirt to allow for hemming. (You can see a tiny slit in the fabric in the picture – that’s where the original seam had ripped!). I must admit, cutting into a relatively expensive skirt felt a bit wrong, but I knew the end result would be worth it. Just wait and see!
 Cutting the white skirt using scissors, following the length guideline.
3. Hemming the Edge
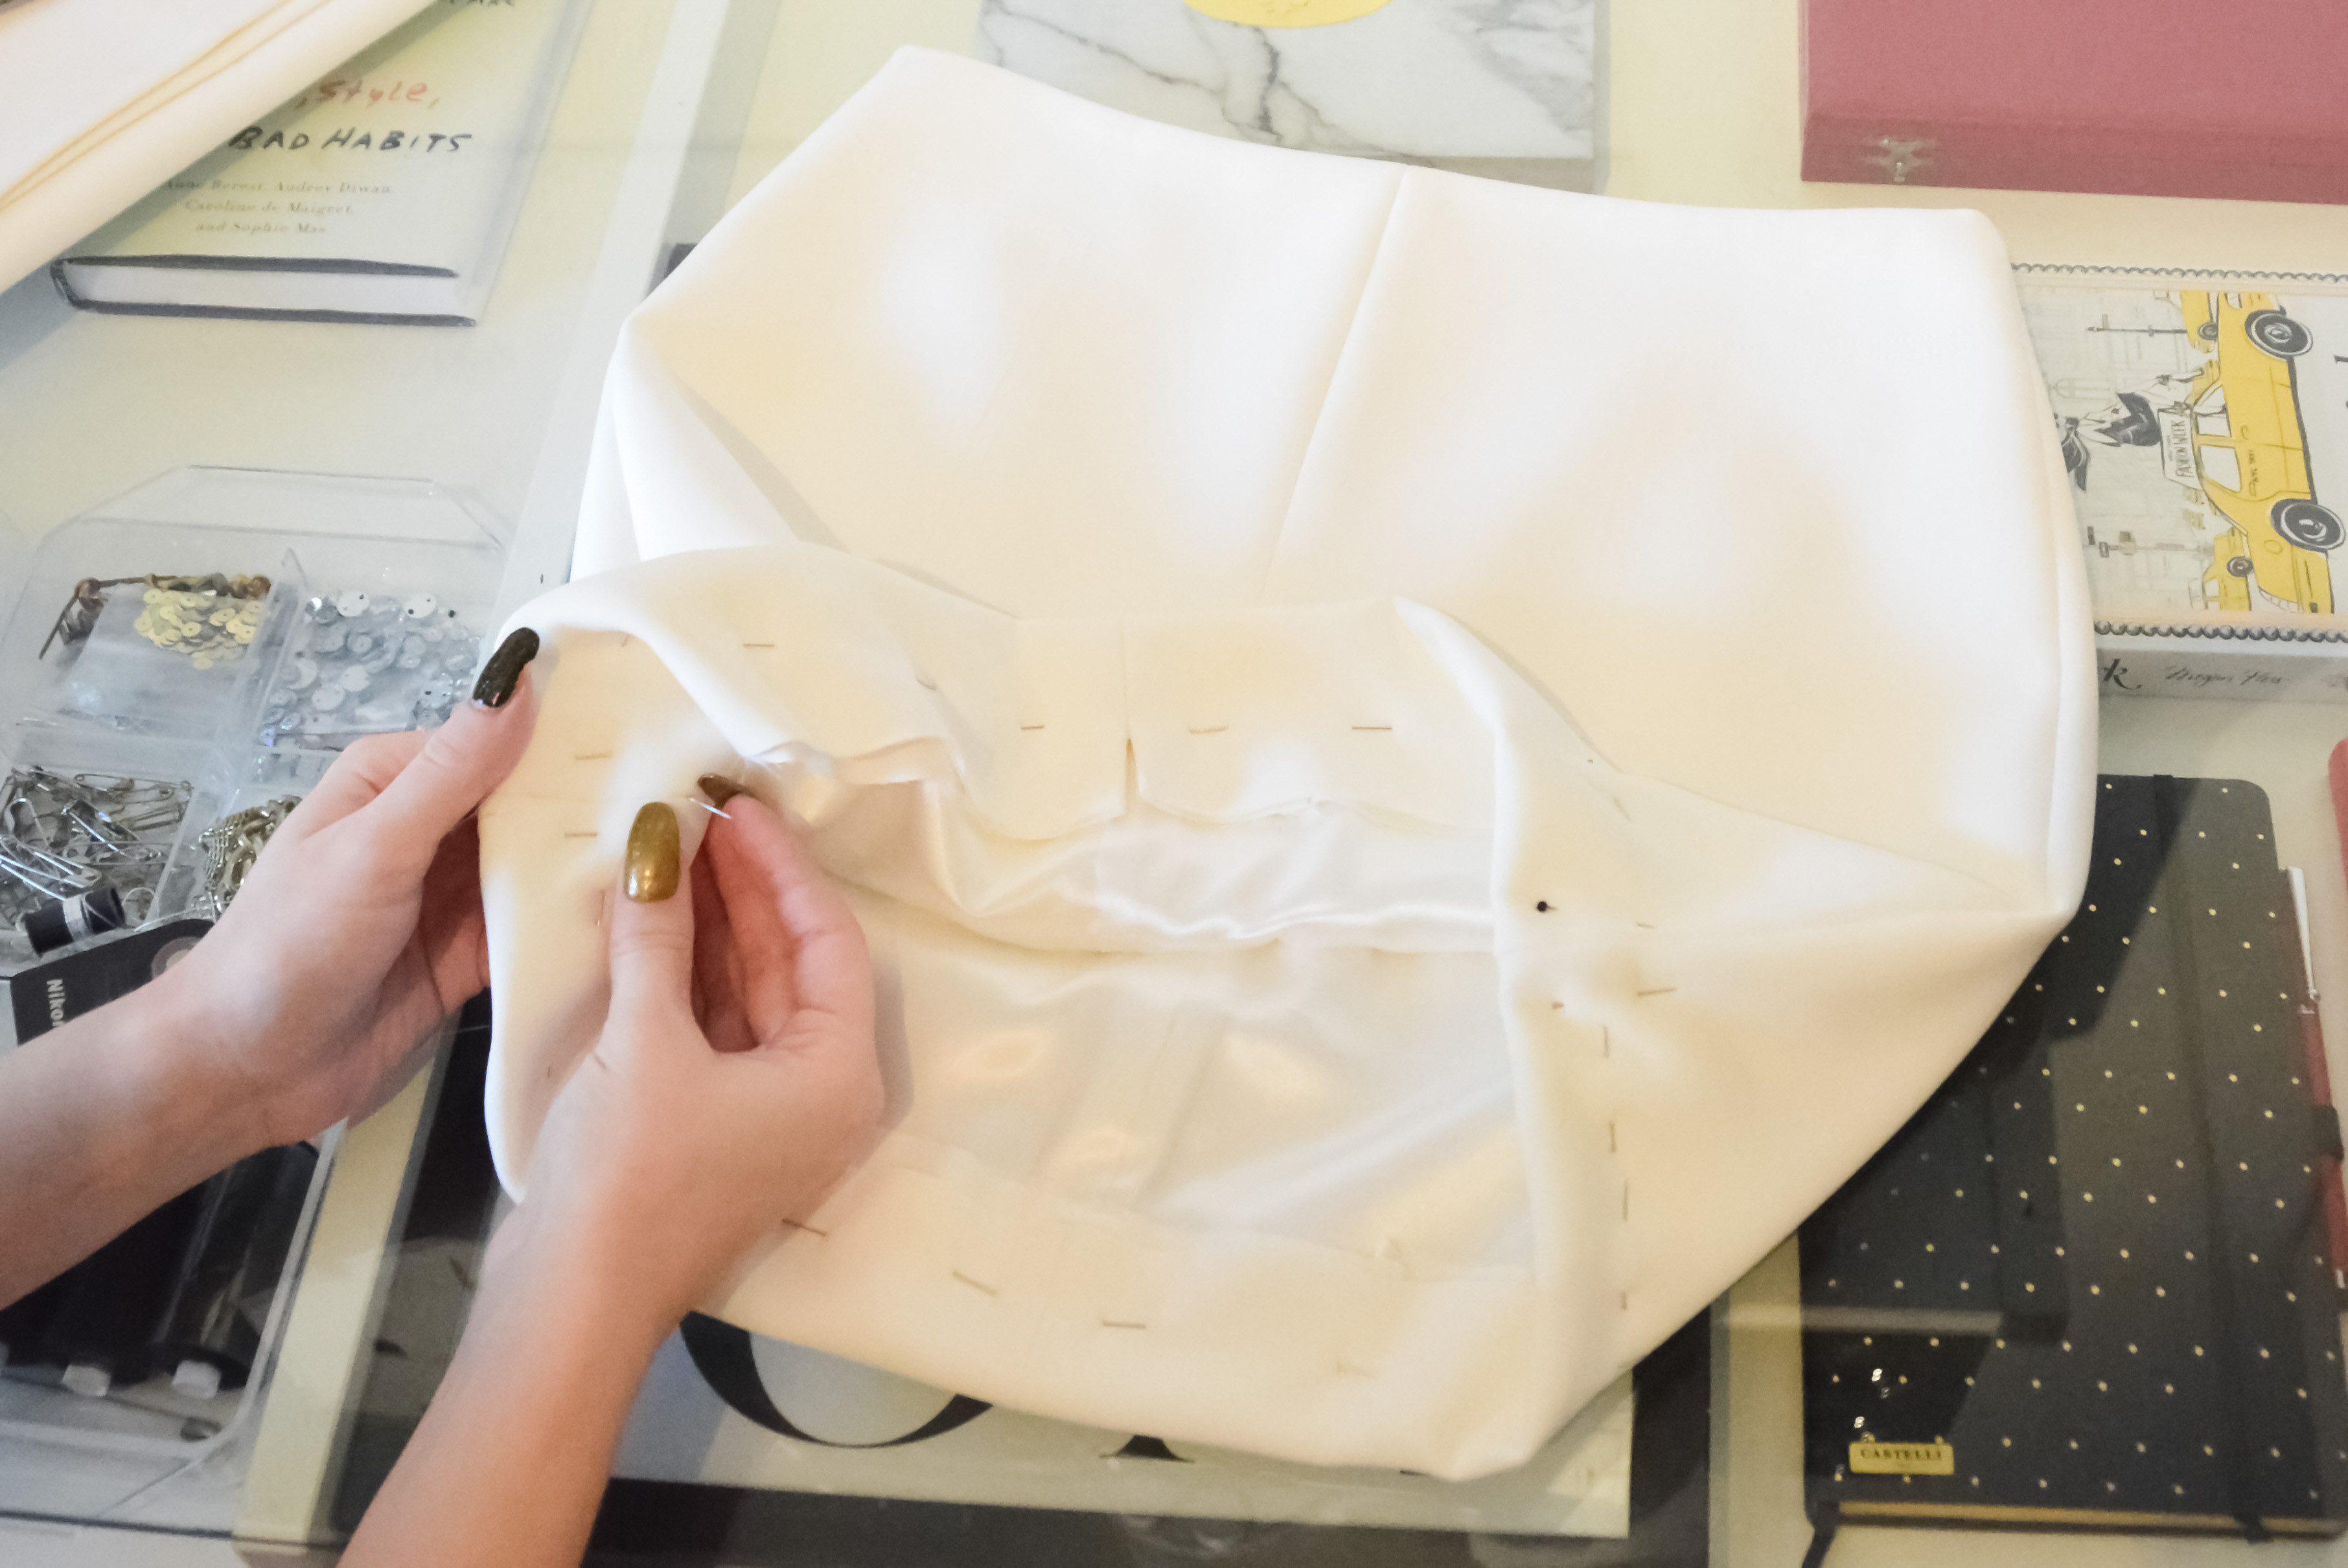
Next, it was time to hem the skirt. I opted for a simple fold-over hem. Folding the fabric only once makes the inside less polished, but honestly, for a DIY project, the outside is what truly matters! If you prefer a cleaner finish, you could use the lining for a more refined inside hem. But as I mentioned, I was keeping it simple. The fabric was quite thick, so a single fold seemed like the best approach to avoid bulkiness. I pinned the hem in place, ensuring it was even all the way around. Because my skirt had a lining, I could aim for a seamless-looking hem.
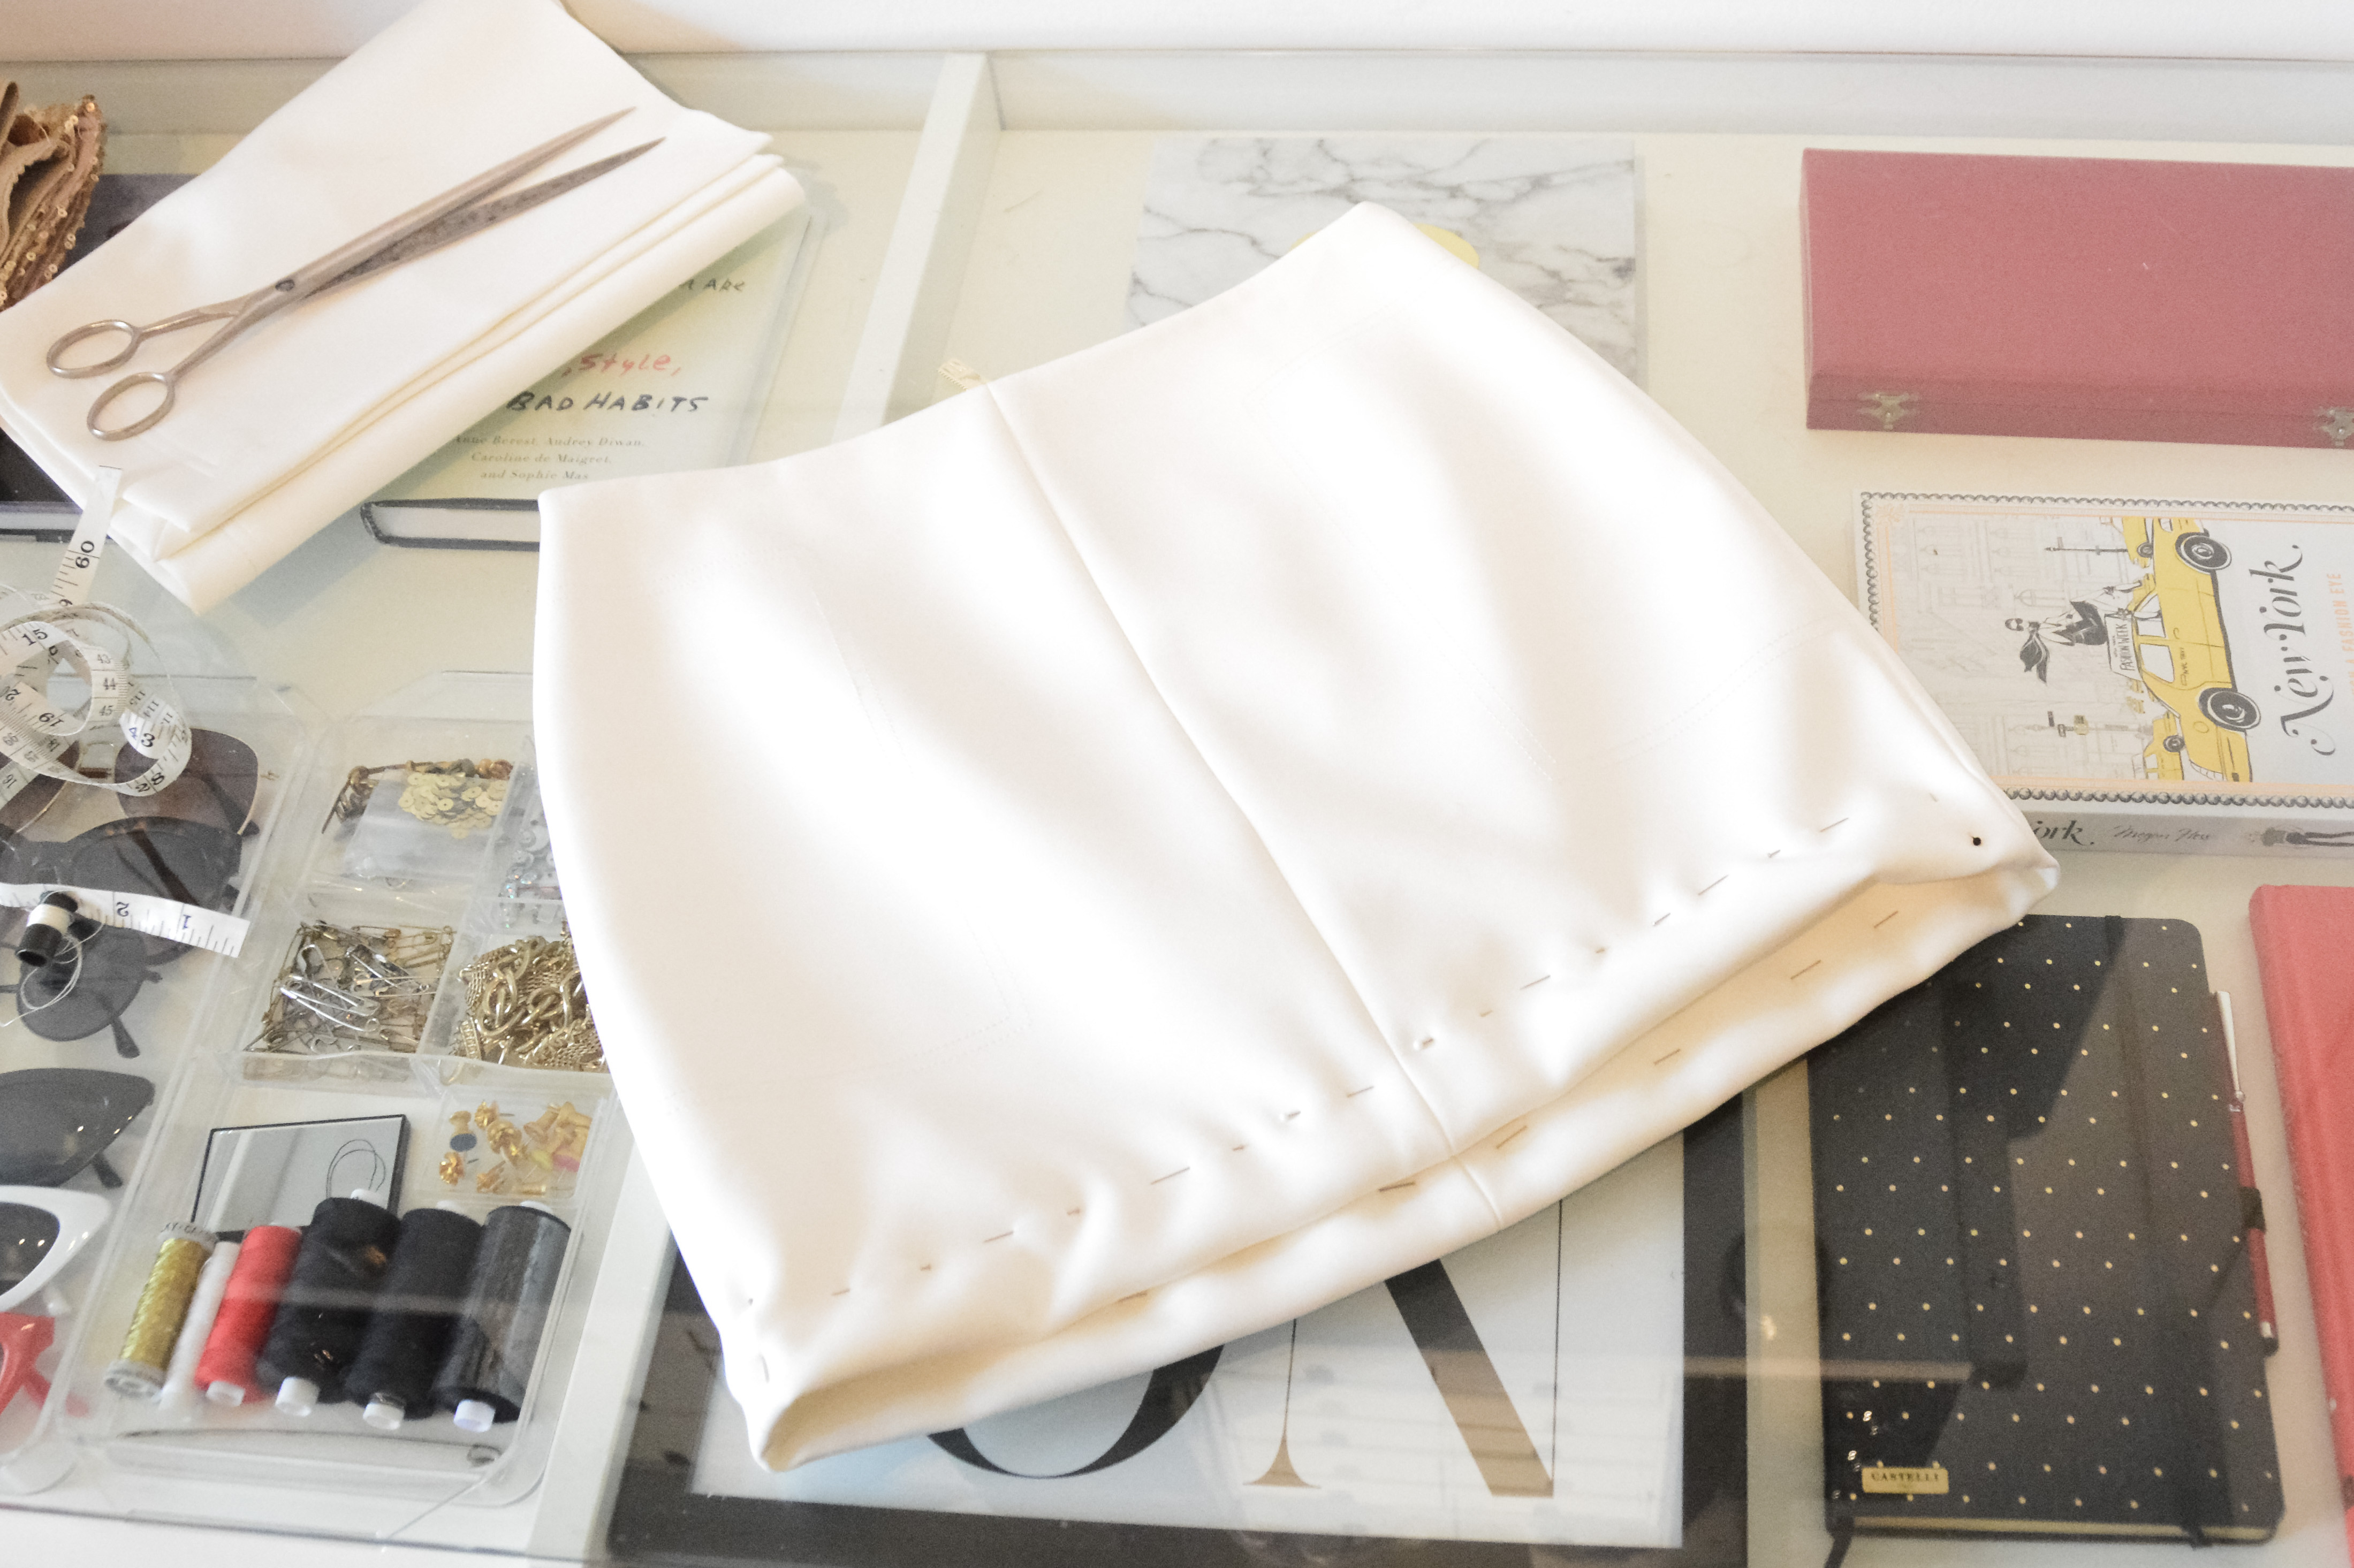 Pinning the hem of the skirt in preparation for sewing, showing the folded fabric edge.
4. Sewing the Hem
Time to sew! (You might want to iron the hem before sewing, but the thickness of my fabric made me skip this step). I started by sewing vertically along the existing seams on the sides, front, and back of the skirt. This reinforces the side seams and creates a more secure and “invisible” seam for the hem. Then, I sewed horizontally, catching only the folded hem layer and the lining of the skirt, creating a clean, finished hem. And with that, the hemming was complete!
 Close-up of the hemmed skirt edge, showing the stitching and clean finish.
5. Creating the Cow Print Design
Now for the fun part: transforming the white skirt into a cow print masterpiece! As I mentioned earlier, I used fabric paint markers – five in total, although I started with just three. Having used these markers before (like in this Dior inspired DIY), I already had one. I ordered two more, thinking that would be enough, but I quickly realized I was wrong and had to order another two! Thankfully, they were inexpensive, but it’s good to have an idea of how many you might need. The number of markers will vary depending on your fabric and desired spot density.
I found a cow print reference photo online that I liked and started creating my design. To make the cow spots, I began by outlining irregular shapes with a marker. Then, I filled them in, remembering that the paint tends to bleed slightly, so avoid filling right to the very edge of the outline.
Once all the spots were filled, I realized I needed more markers to achieve a darker, more solid black. I went over each spot two more times to intensify the color. The spots didn’t become the absolute blackest black in the end, but I decided to stop there, partly worried about running out of markers again! I’m not sure how truly black you can get with fabric markers, so if you desire a super dark black, fabric paint might be a better choice.
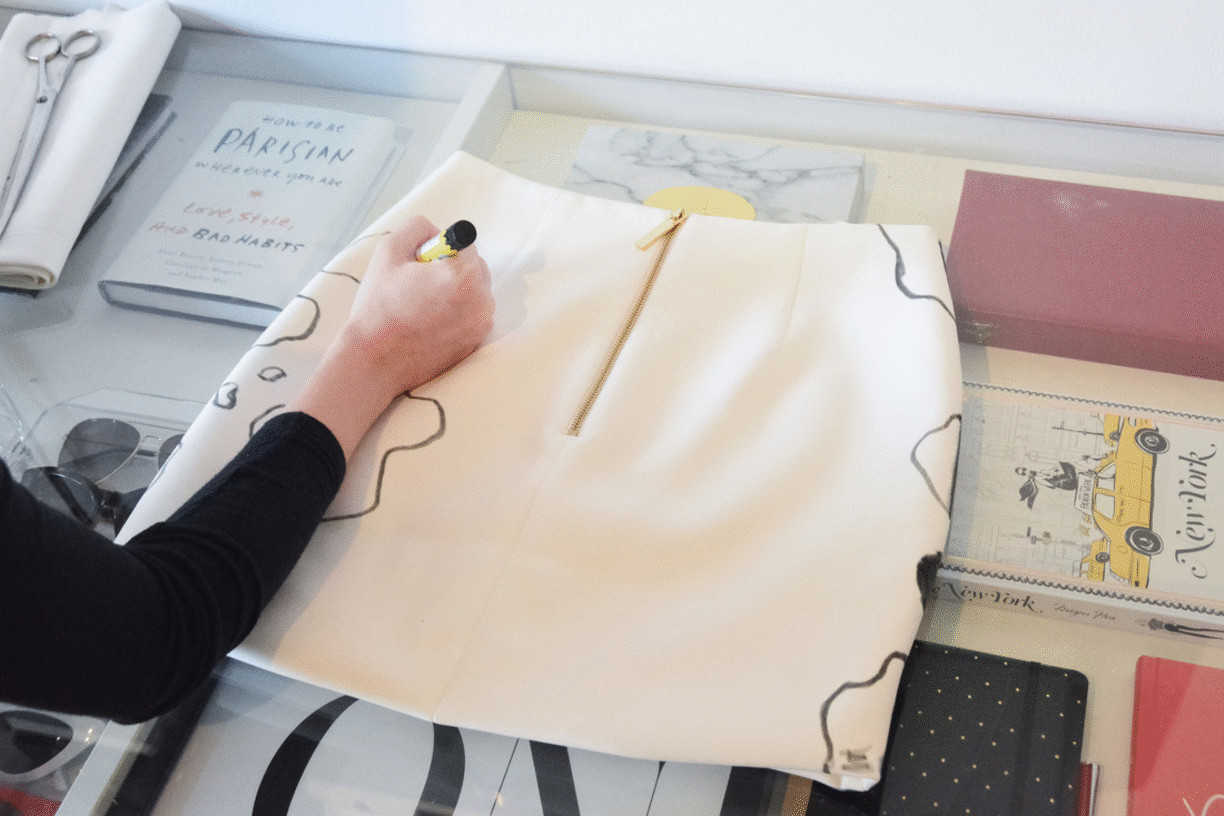 Time-lapse GIF showing the process of drawing cow spots on the skirt with fabric markers.
The Final Cow Print Skirt
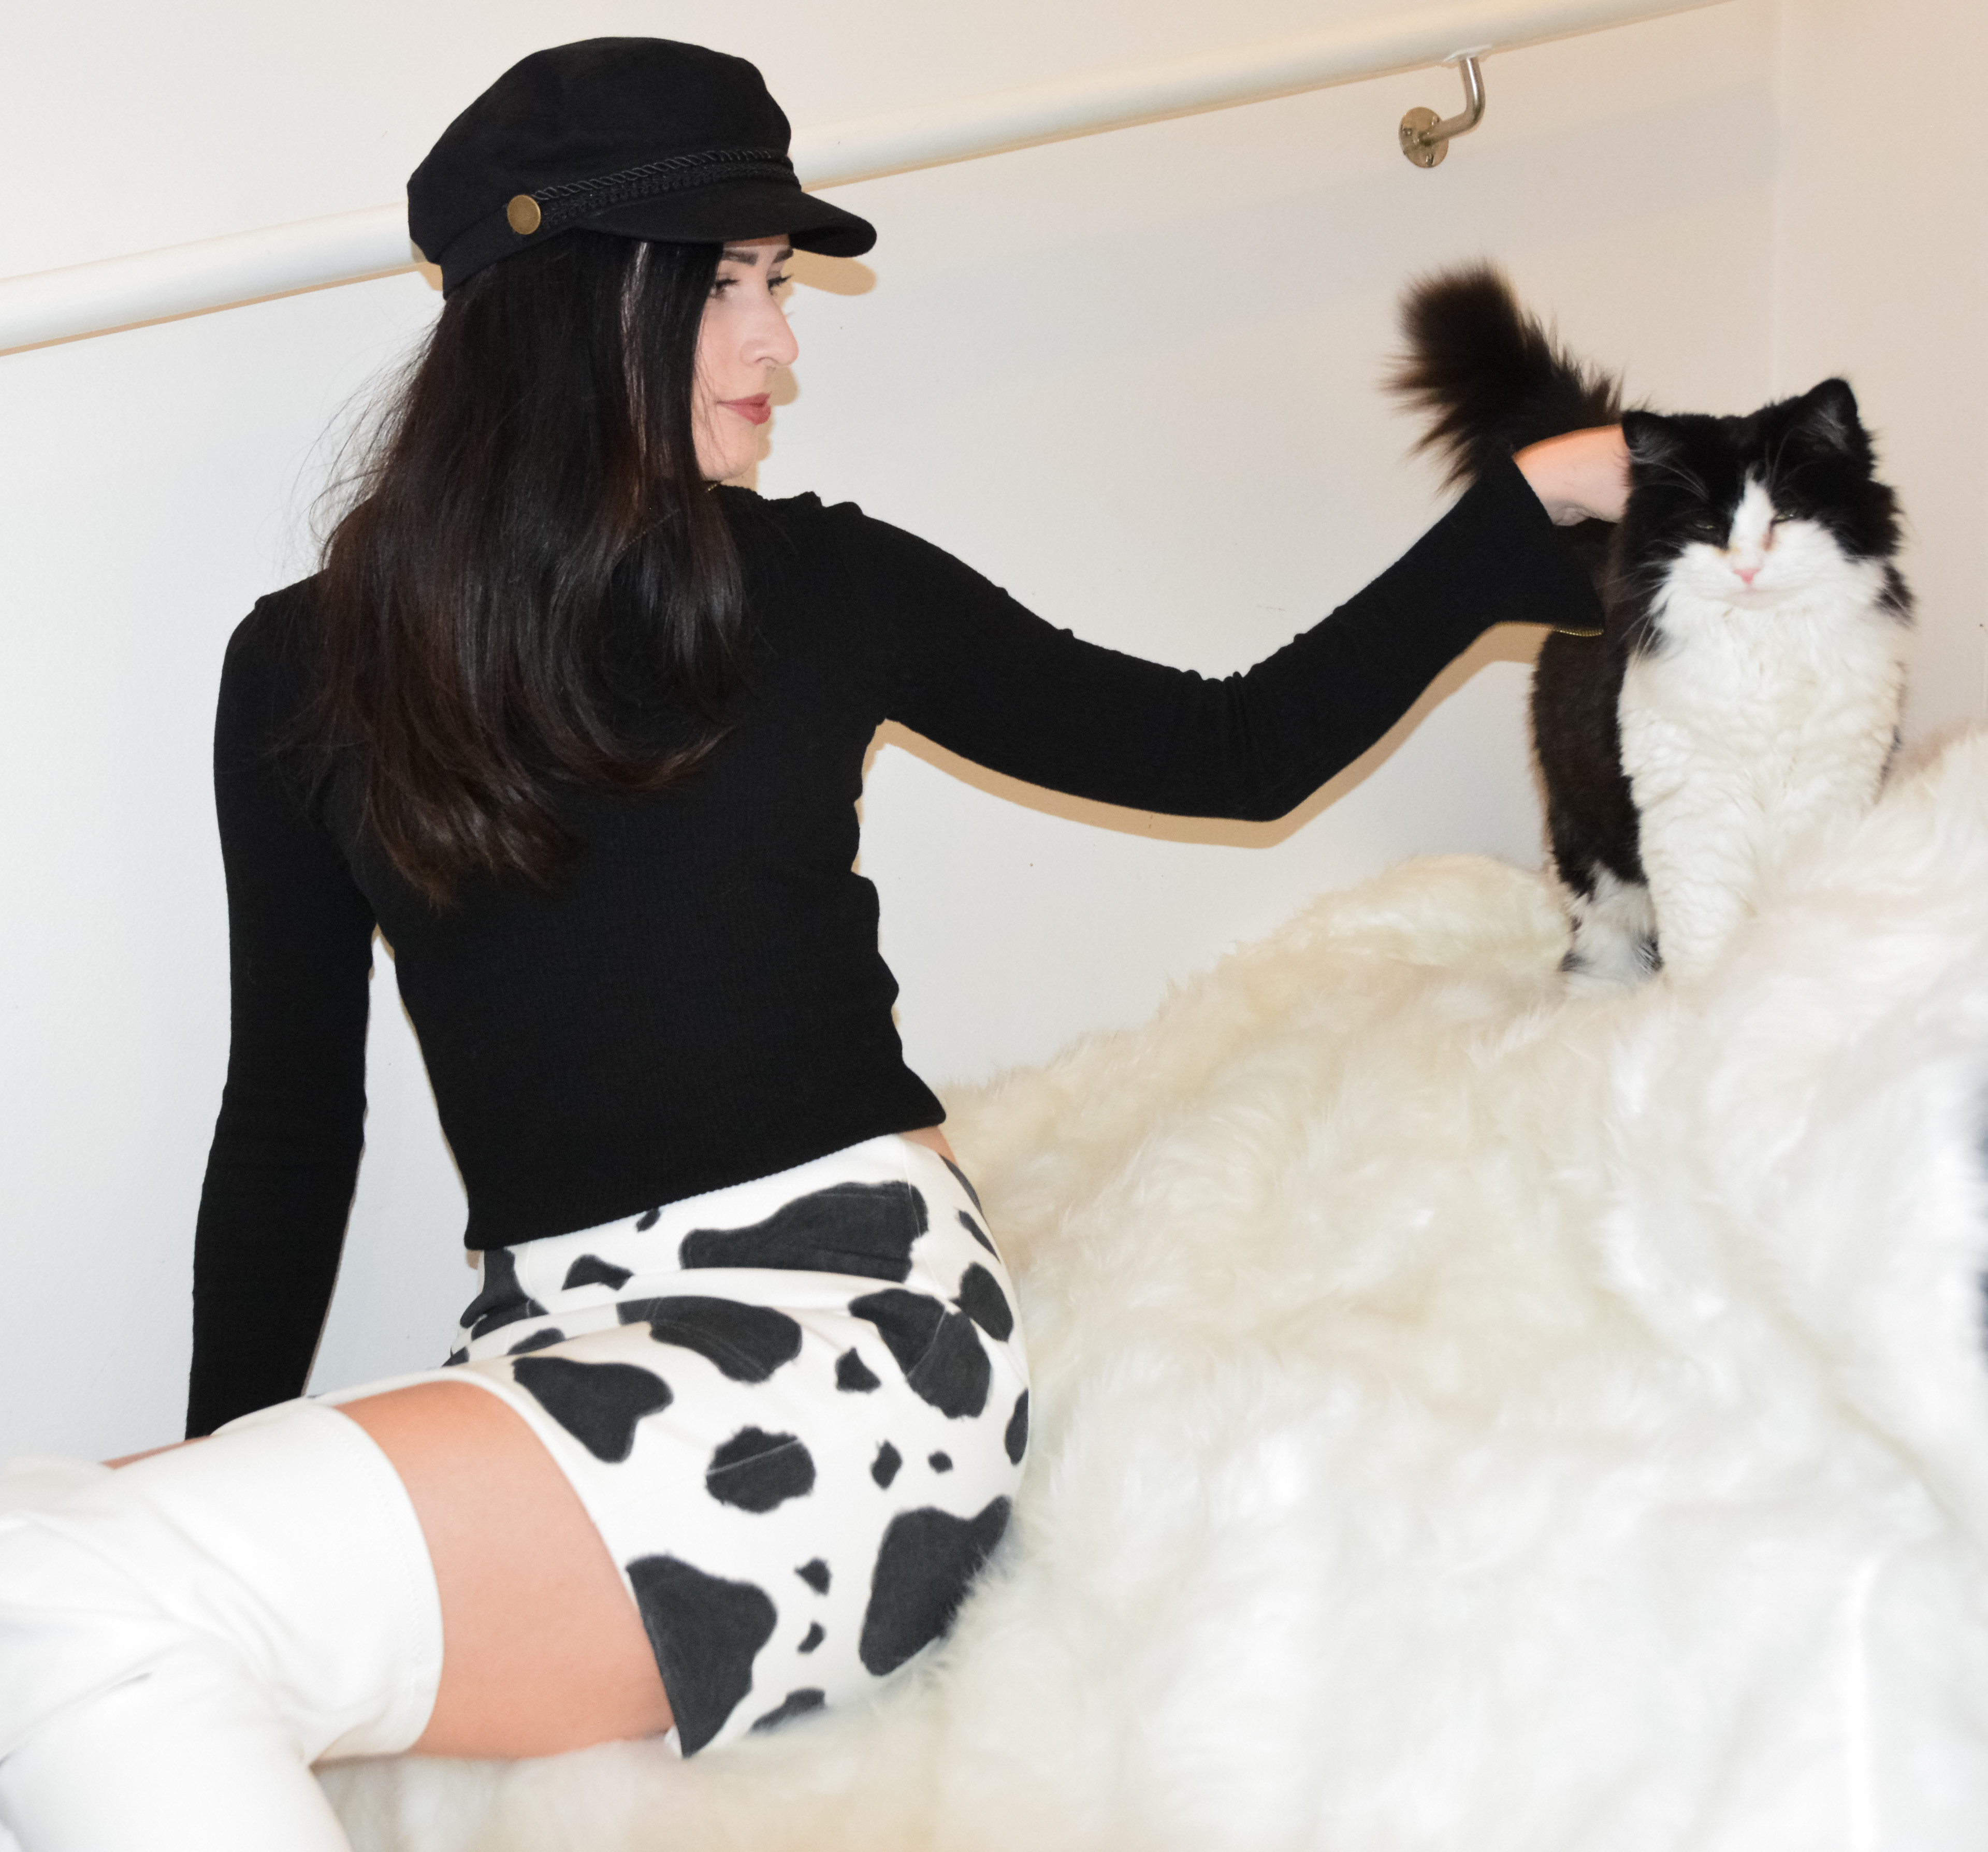
I did it! I transformed a skirt I wasn’t wearing into the cow print skirt of my childhood dreams! I am absolutely thrilled with the result, even if it’s not perfectly flawless (nothing truly is, or perhaps everything is perfect in its own way!). I can’t wait to style it and wear it out. Next on my list: finding the perfect platform boots to complete the look – and I think I might have just found a pair…
 Outfit showcasing the finished DIY cow print skirt paired with a black top and jacket.
 Another outfit idea with the cow print skirt, styled with a different top and accessories.
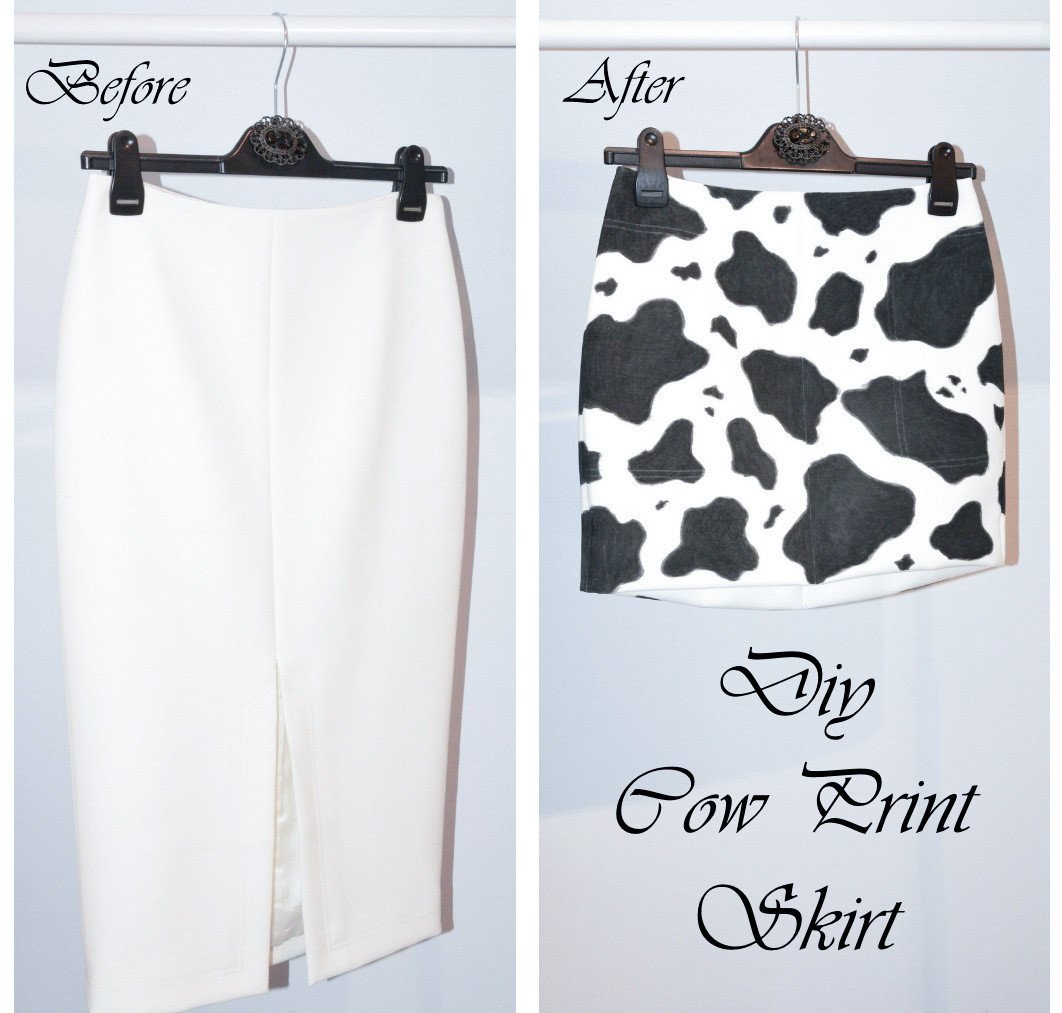 Before and after comparison photo of the skirt, showing the transformation from plain white to cow print.
Here’s a close-up of my cow print nails, because why not embrace the theme fully?
 Close-up of cow print nail art, complementing the skirt.
…and here’s a cow… I mean, a cat, giving you a soulful stare. Just for fun!
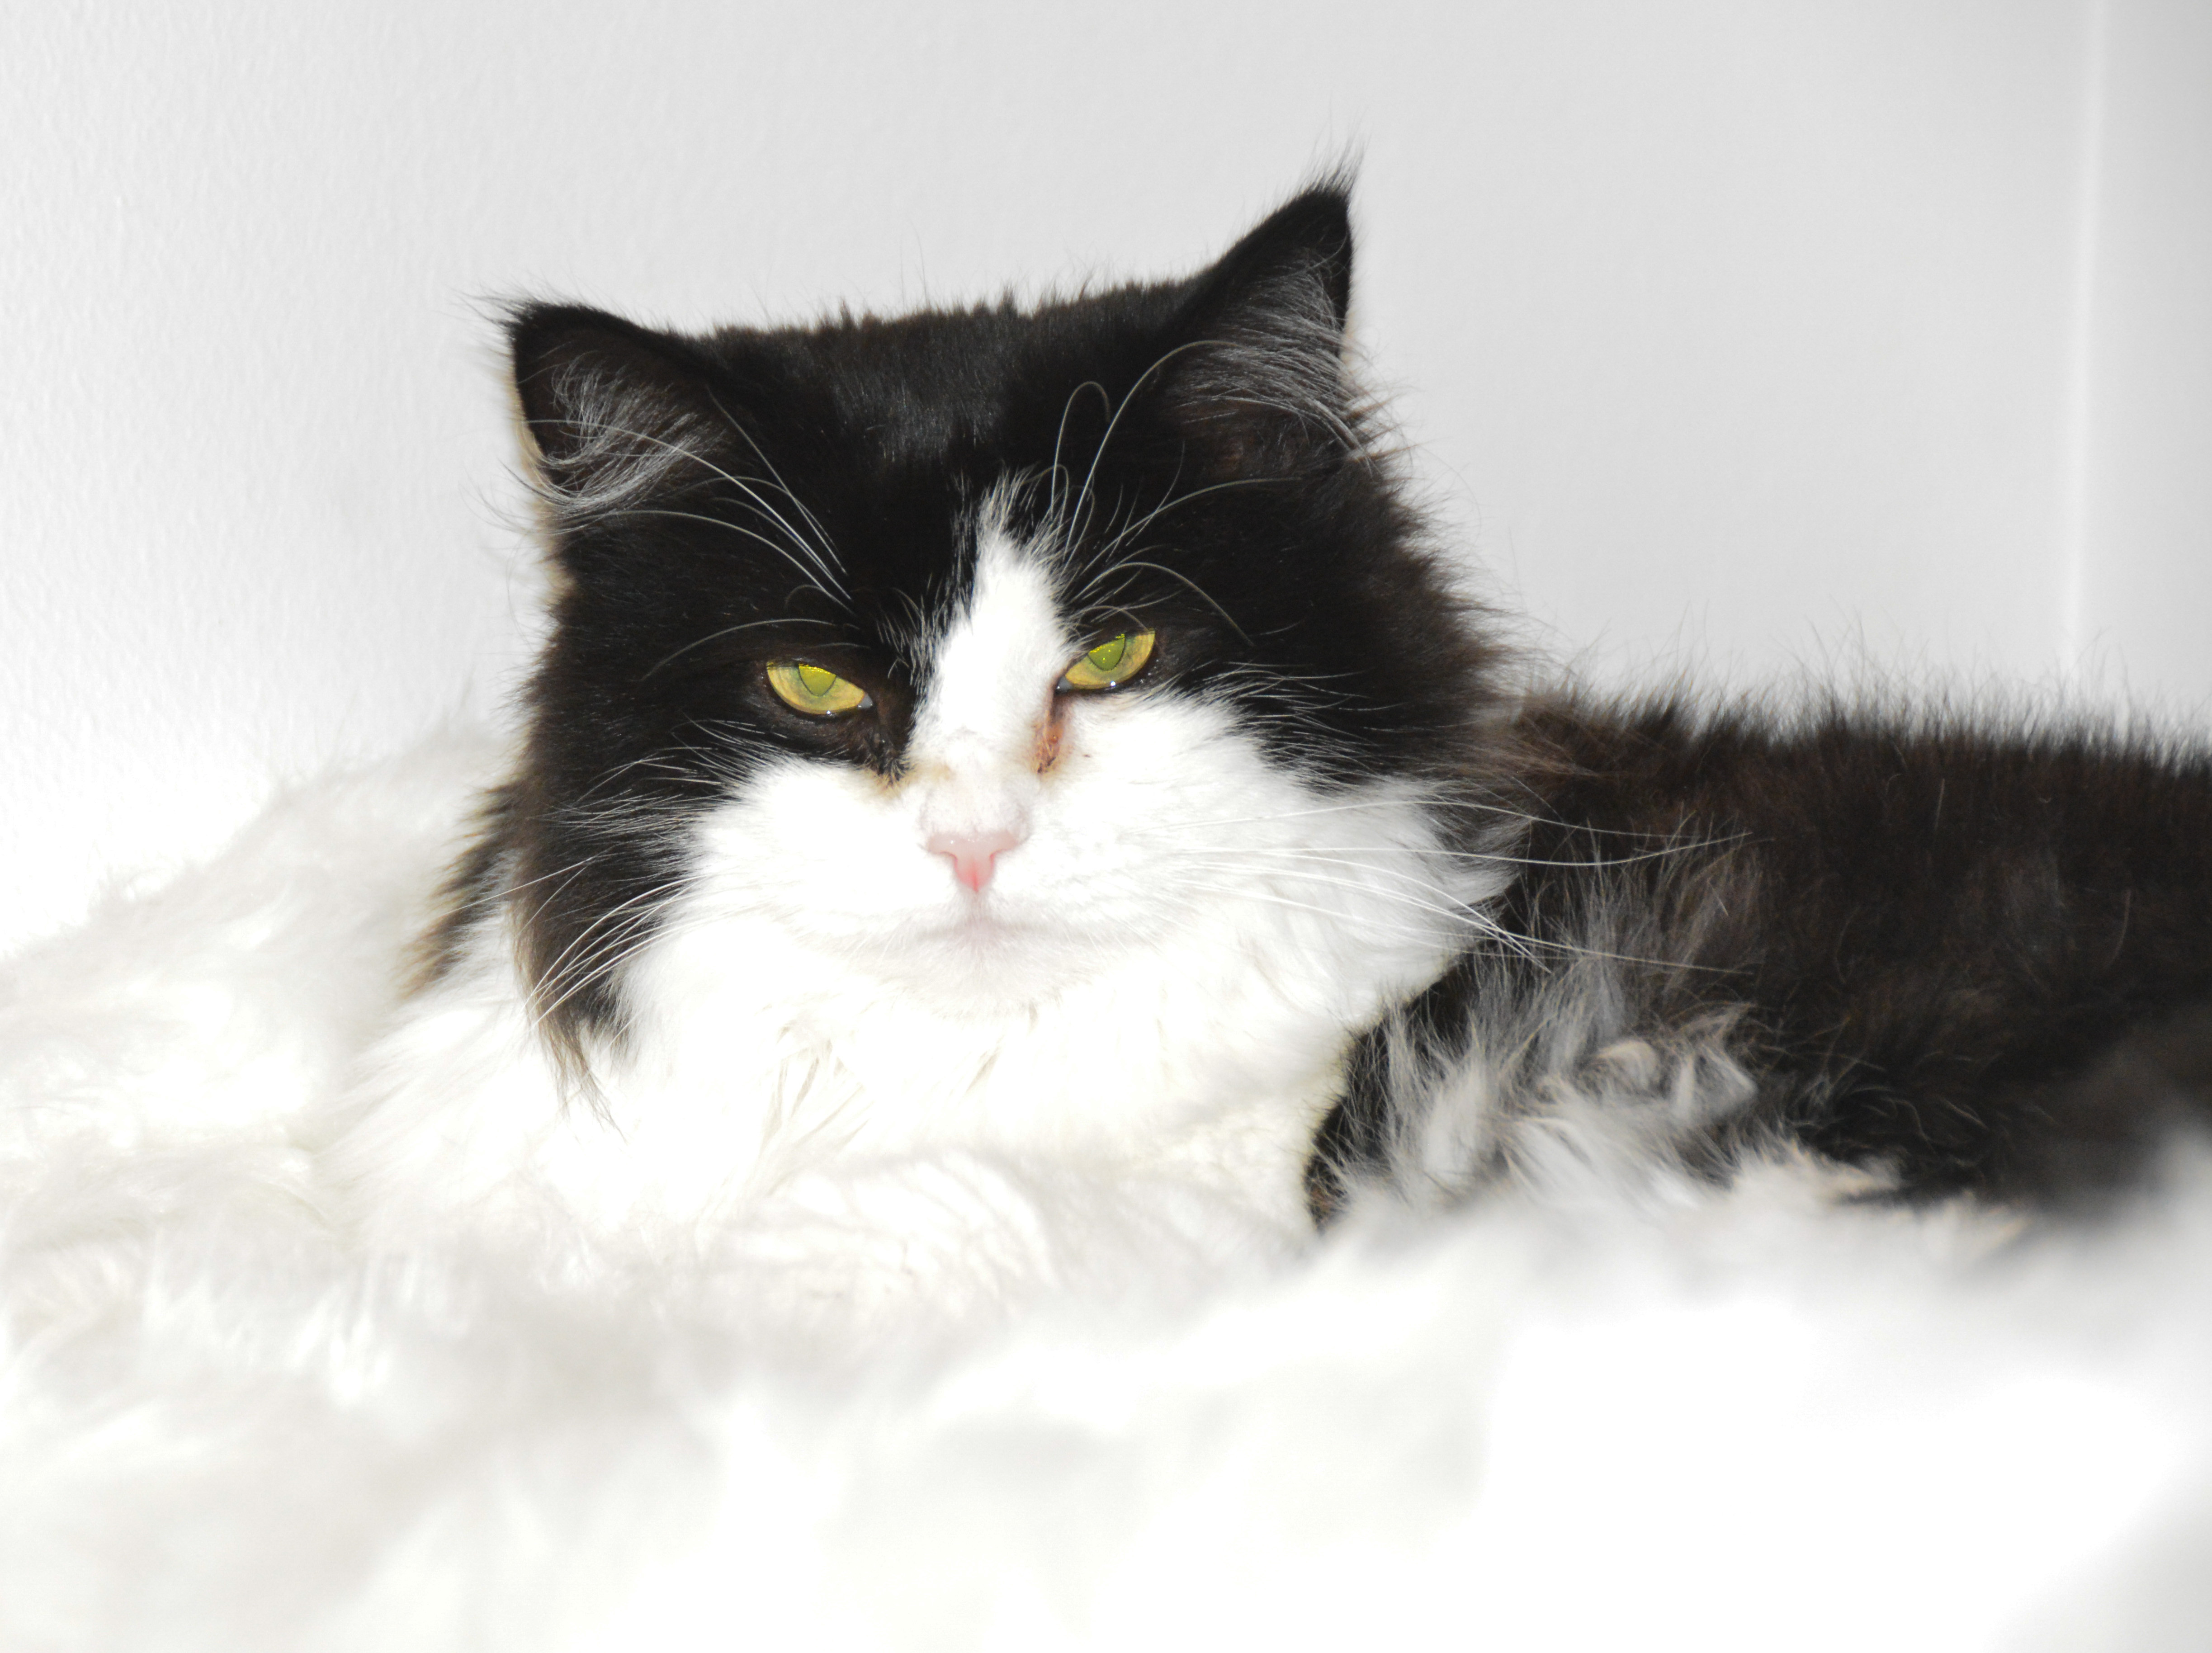 A cat looking directly at the camera, adding a playful and unexpected element.
Thank You For Reading!
Do you have any questions or ideas about DIY fashion? Share them in the comments below! If you enjoyed this post, give it a like! To get notified when I publish new content, subscribe to my email list by hitting the follow button (or click here). And if you’re feeling social, use the share buttons below to spread the cow print love!
For sneak peeks of upcoming posts and more fashion inspiration, check out my Instagram!
– Frida