Printing directly from your iPad can significantly enhance your productivity and convenience, whether you’re at home, in the office, or on the go. With Apple’s AirPrint technology, connecting your iPad to a compatible printer is a straightforward process. This guide will walk you through how to add a printer to your iPad and start printing wirelessly in just a few simple steps.
To begin, ensure that your printer is AirPrint-enabled. This feature allows for seamless wireless printing without the need for additional drivers or software. You can usually find this information on the printer manufacturer’s website or in the printer’s manual. Also, it’s crucial that both your iPad and printer are connected to the same Wi-Fi network and are within a reasonable range of each other for a stable connection.
Once you’ve confirmed compatibility and network connection, printing from your iPad is incredibly easy. Start by opening the application containing the document, photo, or content you wish to print. Look for the Share button, which is often represented by an icon depicting an arrow pointing upwards from a box. This button is your gateway to accessing the print options on your iPad.
After tapping the Share button, a menu will appear with various actions. Scroll through the options until you locate either a “Print” button or a “Print” icon. The print icon typically resembles a printer. Tap on this option to proceed to the print settings. If you are having trouble finding the print option, it’s advisable to consult the app’s user guide or help section, as not all applications inherently support AirPrint.
Upon selecting the print option, you will be prompted to select a printer. If you haven’t set up a default printer, you’ll see “No Printer Selected.” Tap on this to view a list of available AirPrint-enabled printers on your network. Choose your desired printer from the list. If your printer is not listed, double-check that it is powered on, connected to the same Wi-Fi network as your iPad, and that AirPrint is enabled on the printer itself.
Once you’ve selected your printer, you can adjust print settings such as the number of copies, page range, and paper size, depending on the app and printer capabilities. After configuring your preferences, tap “Print” located in the upper-right corner of the screen to send your print job to the selected printer.
During the printing process, you can monitor or cancel your print job using the App Switcher. To access the App Switcher, swipe up from the bottom of the screen and hold (or double-click the Home button on older models). Here, you might see “Print Center,” which allows you to view the print queue.
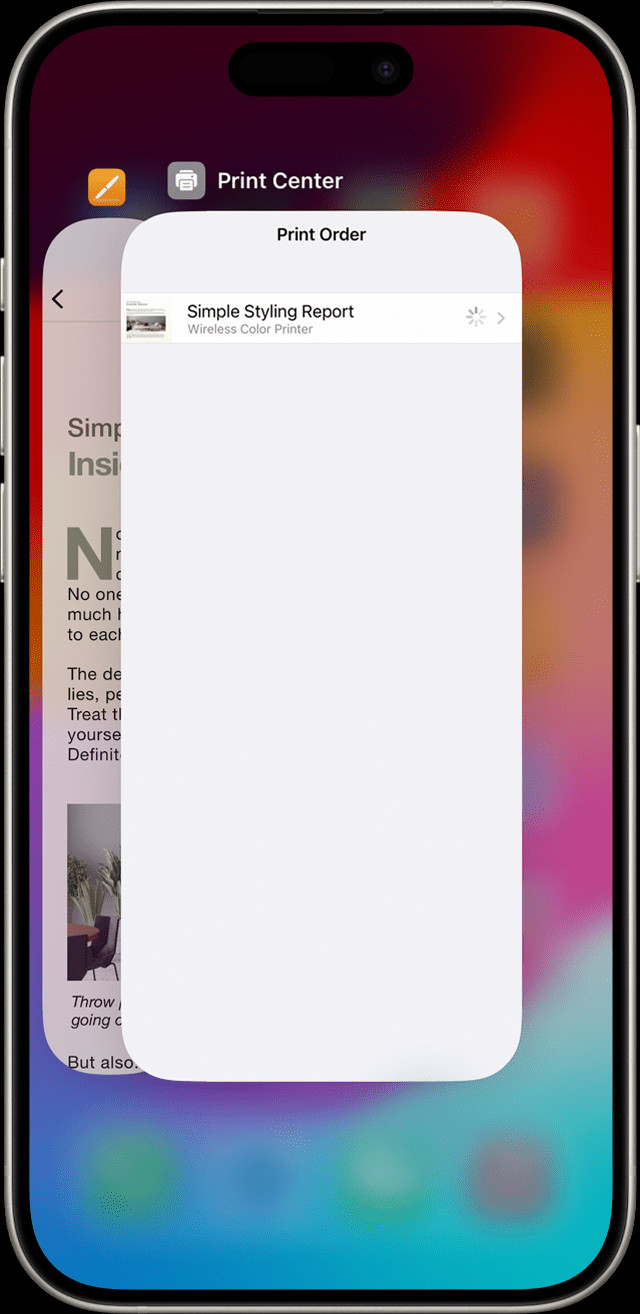 Print Center interface on iPad showing active print jobs
If you need to cancel a print job, access the Print Center through the App Switcher, tap on the print job you wish to stop, and then select “Cancel Printing.” This will halt the print job and prevent further pages from being printed.
It’s important to note that AirPrint is designed to function over Wi-Fi or wired network connections. Printers connected via USB to an Apple AirPort Base Station or AirPort Time Capsule, or via Bluetooth to your computer, are not compatible with AirPrint. Ensure your printer is directly connected to your Wi-Fi network for AirPrint to function correctly with your iPad.
By following these steps, you can easily add a printer to your iPad and enjoy the convenience of wireless printing directly from your mobile device. AirPrint simplifies the process, making it user-friendly for both personal and professional printing needs.