
The dream of edible creations springing forth from a machine is no longer confined to science fiction. Yes, you can actually buy a 3D printer that conjures chocolate designs right before your eyes. After a decade in development, The Cocoa Press has arrived, promising to revolutionize dessert making – and maybe add a few delightful pounds to your waistline in the process.
Intrigued and perhaps a little too eager, I decided to dive into this novel technology. My holiday season included the arrival of a $3,995 pre-built Cocoa Press printer (for the adventurous, a DIY kit is available for $1,750 or less). Accompanied by thirty sticks of specially formulated chocolate, I was ready to embark on a delicious 3D printing journey.
First Impressions and Setup
Unboxing the Cocoa Press felt like unwrapping a piece of the future. The printer itself is sleek and well-assembled. Setting it up was straightforward; attaching the screen and navigating the initial prompts was a breeze. The chocolate, dubbed “cocoa cores,” are conveniently pre-portioned sticks that slide into a cartridge. A washable plunger cap ensures hygiene and easy cleanup. The machine requires a 30-minute preheating phase for the chocolate, a necessary step to get things flowing smoothly. With anticipation building, I loaded a dark chocolate core, preheated, and pressed start.
Printing My First Chocolate Masterpiece (and Mishaps)
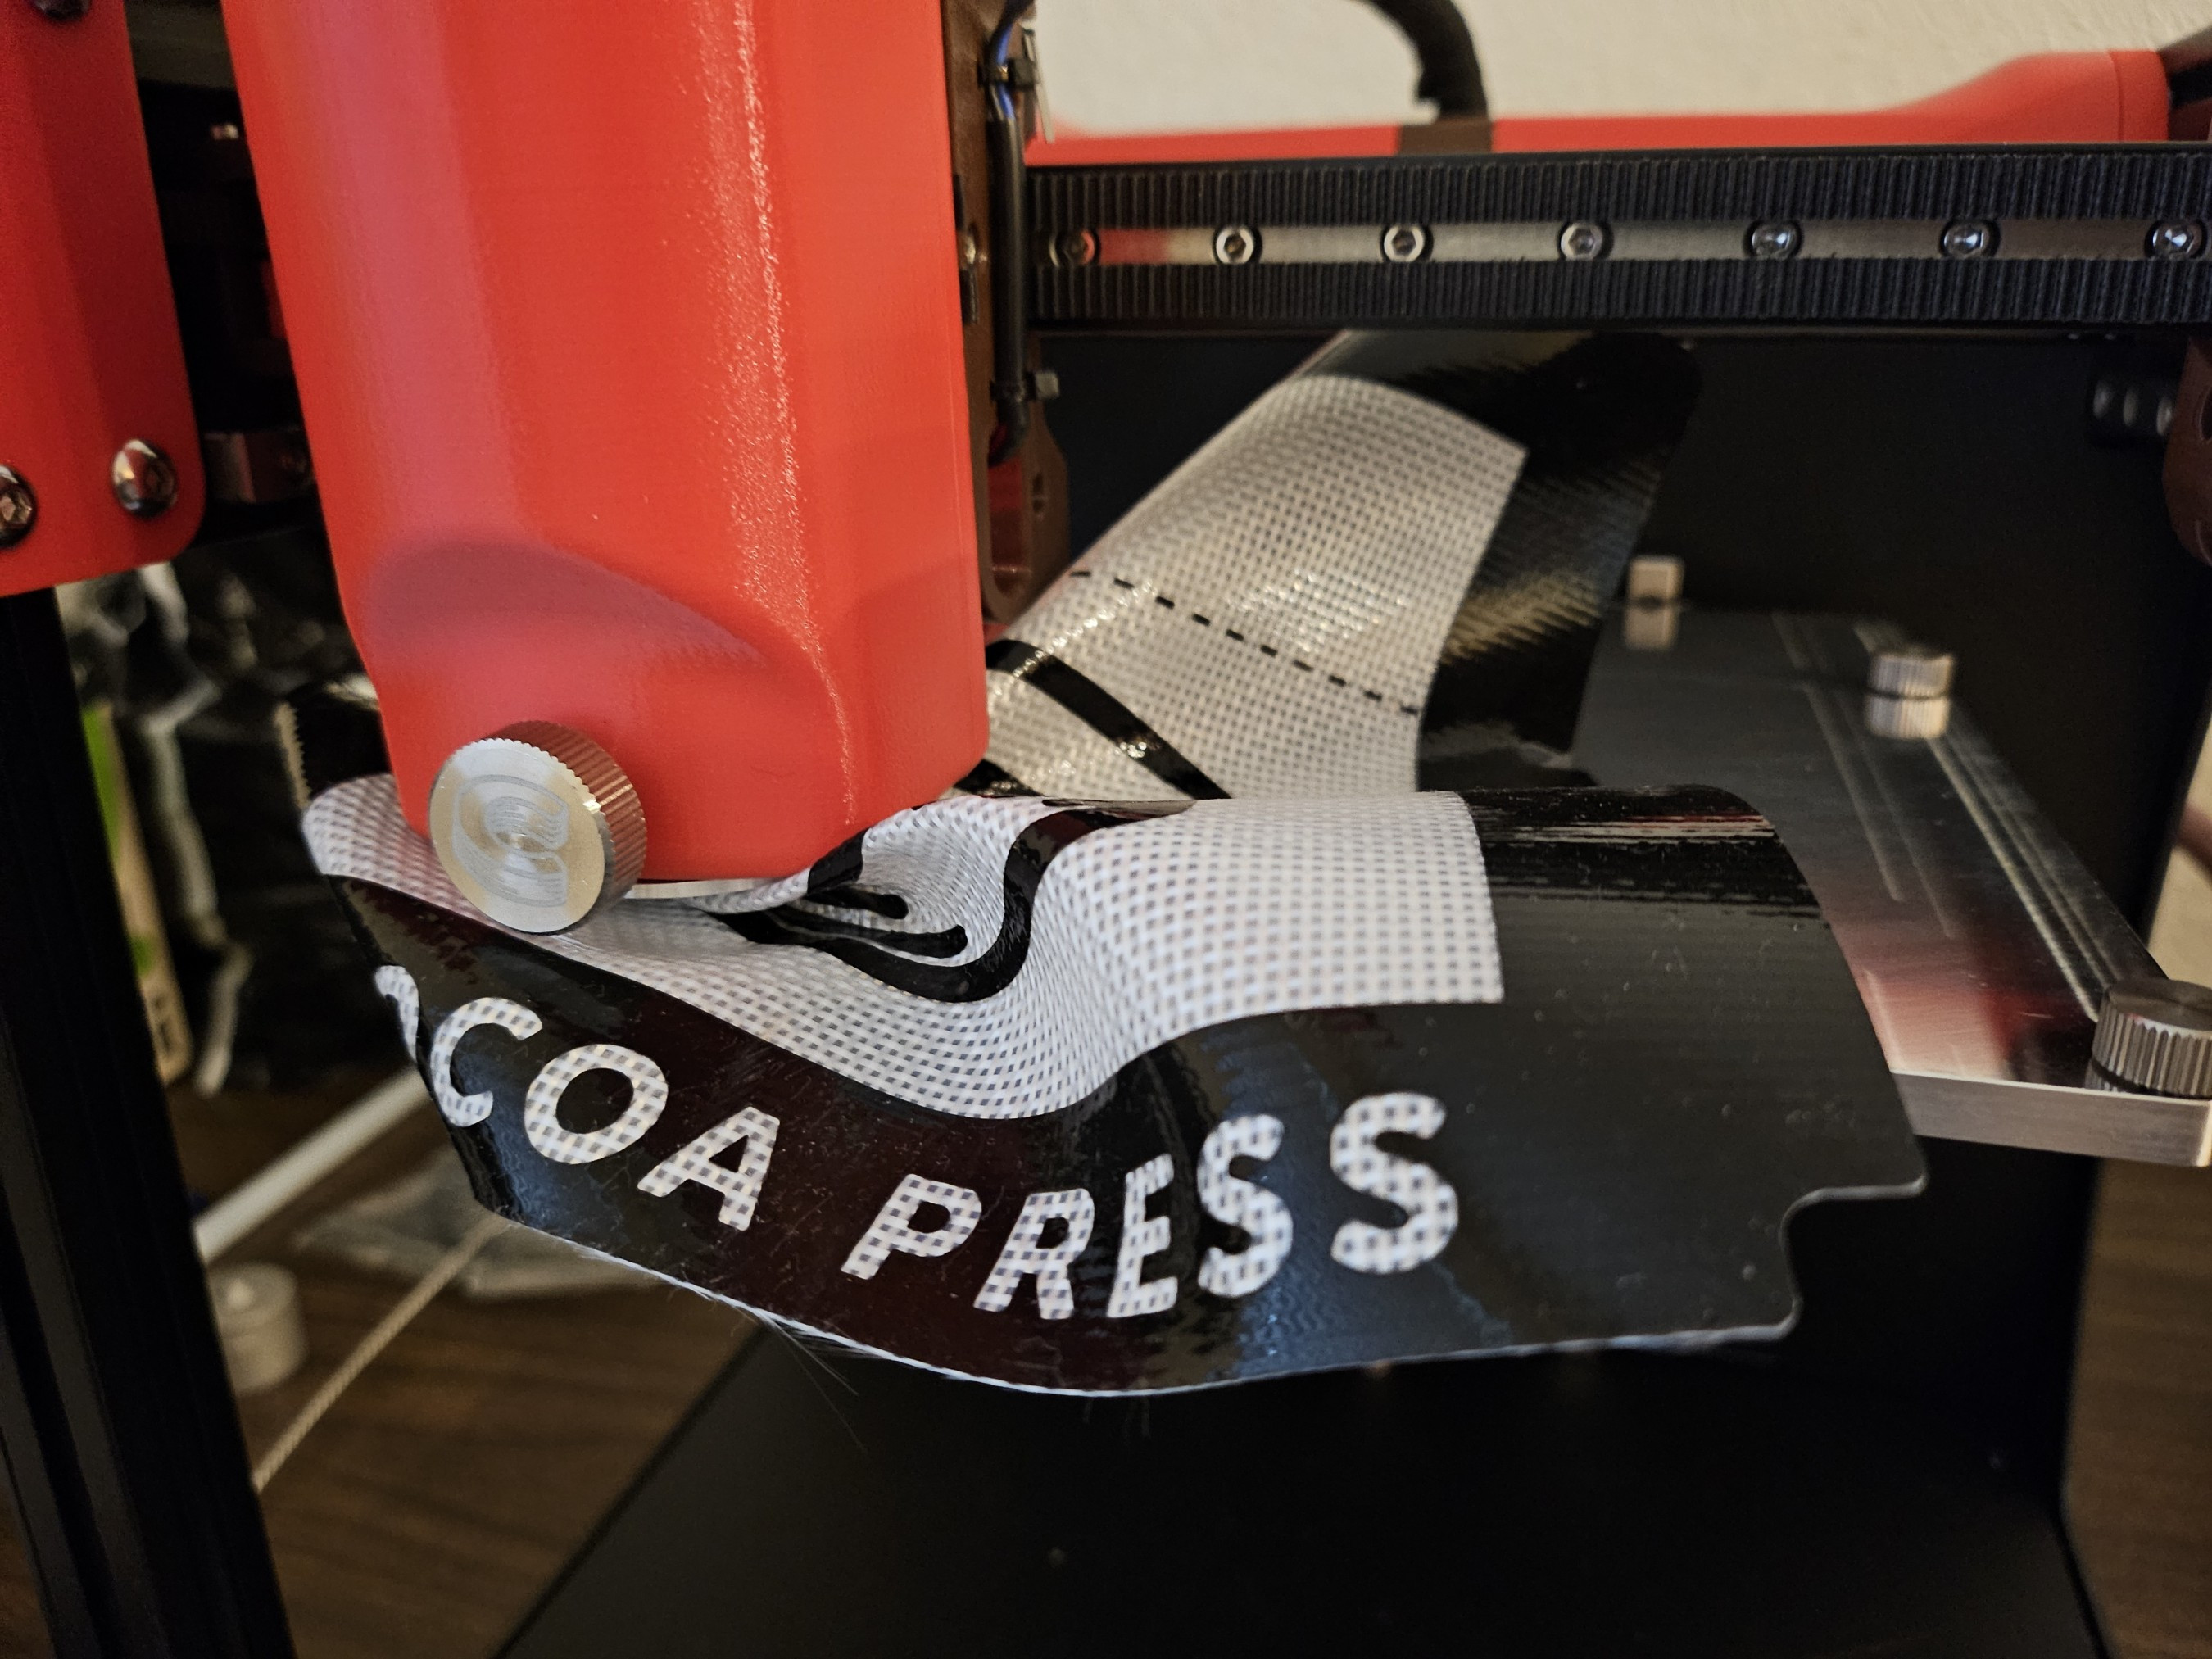
My initial print attempt didn’t go exactly as planned. Instead of creating a delicate chocolate form, the nozzle seemed intent on devouring the silicone baking mat beneath it!
 Cocoa Press nozzle mishap during initial print attempt.
Cocoa Press nozzle mishap during initial print attempt, highlighting the importance of correct Z-height and printer head stability for successful 3D chocolate printing.
After a quick adjustment to the Z-height and ensuring the print head was securely in place (perhaps jostled slightly during shipping), I tried again. This time, success! A beautiful, intricate 3D-printed rose emerged, layer by delicious layer.
 Exquisite 3D printed chocolate rose created with the Cocoa Press.
Exquisite 3D printed chocolate rose created with the Cocoa Press, showcasing the intricate detail and potential of consumer-grade 3D chocolate printers.
The Delicious Details: Taste and Texture
The rose wasn’t just visually appealing; it was incredibly tasty. The texture was velvety smooth, and the dark chocolate, despite using palm oil instead of cocoa butter (presumably for better flow in the printer), genuinely tasted like good quality dark chocolate. My wife, a discerning dark chocolate enthusiast, gave it her seal of approval, noting it wasn’t the absolute best, but certainly satisfying. This 3D printed treat, crafted from nearly an entire chocolate stick, vanished in mere minutes.
One of the most compelling aspects of 3D-printing chocolate is the ability to create unique textures. The gyroid infill patterns, for example, offer a delightful, complex surface. (You can see examples of this infill in the video accompanying the original article).
However, the milk and white chocolate presented a different story. They had a waxier consistency, reminiscent of candy melts, and lacked the rich flavor of the dark chocolate. And while that first rose print was a resounding success, replicating it consistently proved challenging.
The Heat is On (and Off): Temperature Challenges
Chocolate, it turns out, is a notoriously temperamental material for 3D printing. The Cocoa Press allows for nozzle temperature adjustments down to a tenth of a degree Celsius, highlighting the critical role of precise temperature control. Even minute temperature variations can mean the difference between smoothly flowing chocolate and a clogged nozzle.
In my experience, achieving a uniform temperature within the 65-gram chocolate syringe sometimes took hours. Cocoa Press founder Ellie Weinstein attributed this to a potential defect in my unit’s heater, assuring me that cartridge and heater assembly replacements are available upon request. However, she also noted that the chocolate type itself can influence heating times. While dark chocolate worked relatively well with the preset temperature, milk chocolate required more tweaking, and white chocolate demanded a significant portion of a day, with adjustments needed every half hour to find the sweet spot for flow.
 Internal screw drive mechanism of the Cocoa Press for extruding chocolate.
Internal screw drive mechanism of the Cocoa Press for extruding chocolate, illustrating the technology behind consumer 3D chocolate printers and potential points of mechanical complexity.
Size Matters: Print Size and Time Limitations
Even with perfectly flowing chocolate, printing limitations quickly became apparent. Objects with intricate details or sharp points require significantly slower print speeds to allow each layer to cool and solidify before the next warm layer is deposited.
This became evident when printing a Sierpinski pyramid. The telltale signs of oozing were clear in the final product, a result of layers being printed too quickly without adequate cooling time.
 Partially deformed 3D printed chocolate Sierpinski pyramid due to cooling issues.
Partially deformed 3D printed chocolate Sierpinski pyramid due to cooling issues, demonstrating challenges in 3D printing complex chocolate shapes with consumer printers.
Similarly, attempting to print a standard calibration cube, a common benchmark in 3D printing, resulted in a lumpy, overly smooth cube, again due to insufficient cooling time between layers.
 Distorted 3D printed chocolate calibration cube exhibiting layer cooling problems.
Distorted 3D printed chocolate calibration cube exhibiting layer cooling problems, highlighting the need for optimized print settings for different chocolate shapes and sizes.
Ideally, slowing down print speeds at certain heights would mitigate these issues, but currently, this is a manual adjustment, not an automated feature of the Cocoa Press software.
Furthermore, the 65-gram capacity of a single chocolate stick limits the size of printable objects. The Sierpinski pyramid, weighing 59.5 grams, nearly maxed out a single cartridge.
 Weighed 3D printed chocolate pyramids demonstrating material usage per print.
Weighed 3D printed chocolate pyramids demonstrating material usage per print, emphasizing the consumable limitations of current 3D chocolate printing technology.
Printing multiple smaller objects in a batch, like these Mario stars, is a more efficient use of material.
 Batch of 3D printed chocolate Mario stars, showcasing small object printing capability.
Batch of 3D printed chocolate Mario stars, showcasing small object printing capability and potential for creating multiple edible items in a single print job.
Vase mode, which prints in a continuous spiral, allows for taller, hollow structures, like the rose or this two-toned coffee cup I created using white and milk chocolate.
 Two-tone 3D printed chocolate coffee cup using vase mode.
Two-tone 3D printed chocolate coffee cup using vase mode and multiple chocolate types, demonstrating creative possibilities with multi-material 3D chocolate printing.
Cocoa Core Swapping: More Trouble Than It’s Worth?
Theoretically, you could extend print times by swapping in a fresh cocoa core when the first runs out. However, this process is far from seamless. It requires manual intervention to pause the print, swap the cartridge, and wait for the new chocolate to preheat.
My attempts at swapping were largely unsuccessful. One time, I misjudged the timing and the printer continued printing air. Another attempt seemed promising initially but ultimately failed later in the print. My attempt to switch chocolate types mid-print (from dark to white) resulted in a nozzle clog.
In practice, printing objects that utilize most of a single chocolate stick in one go, followed by smaller items with the remaining chocolate, proved to be the most efficient approach.
 Cocoa Press touchscreen interface showing print controls.
Cocoa Press touchscreen interface showing print controls and user-friendly design, yet highlighting the manual process for tasks like material swapping in current 3D chocolate printers.
User-Friendly Features and Target Audience
Despite the challenges, the Cocoa Press does have well-designed aspects. Native support in PrusaSlicer, a popular 3D printing software, is a significant plus. The easy-to-remove and washable components that come into contact with chocolate are practical and hygienic. The included cleaning tools are a thoughtful addition. The touchscreen interface is intuitive, offering advanced settings for experienced 3D printing enthusiasts. Andrew Sink from Tom’s Hardware, a seasoned 3D printing expert, had a more positive experience, further suggesting the printer’s appeal to those with existing 3D printing knowledge.
Ultimately, the Cocoa Press seems best suited for experienced 3D printing enthusiasts and DIY aficionados. A 3D printing novice might find the learning curve and occasional frustrations challenging, even with the pre-built model’s hefty $3,995 price tag and $49 per pack of 10 chocolate cores.
However, for dedicated DIY enthusiasts willing to invest the $1,499 for the hardware, print the plastic components themselves, spend 10-15 hours assembling it, and potentially even experiment with crafting their own chocolate cores, the Cocoa Press offers a fascinating and delicious avenue for exploration – simply because they can.
Photos by Sean Hollister / The Verge
Learn more about the Cocoa Press at their official website.
