Unlocking your Cricut machine’s potential goes beyond simple cuts, and one of the most exciting features is ‘Print Then Cut’. This function allows you to print designs on your home printer and then precisely cut around them using your Cricut, opening up a world of creative possibilities. From custom stickers and vibrant invitations to unique bookmarks and personalized labels, Print Then Cut empowers you to bring intricate, full-color designs to life.
This guide will answer all your essential questions about using Print Then Cut, ensuring you master this technique for your upcoming Cricut projects. Whether you’re a beginner or looking to refine your skills, we’ll walk you through everything you need to know to achieve perfect print and cut results every time.
What is Cricut Print Then Cut?
Print Then Cut is a powerful operation type integrated within Cricut Design Space, bridging the gap between your home printer and your Cricut cutting machine. It works by allowing you to first print your desired images or designs using your inkjet printer. After printing, you place the printed sheet onto your Cricut cutting mat and feed it into your Cricut machine. The machine then uses a sensor to scan the printed sheet, detecting registration marks printed around your design. These marks guide the Cricut to precisely cut around the printed elements, giving you professionally finished, custom-shaped prints.
The beauty of Print Then Cut lies in its versatility and precision. You can leverage Design Space’s extensive library of images and fonts to create print then cut designs of any complexity. Furthermore, this feature ensures accurate sizing of your printed items and allows you to cut through a variety of printable materials with specific thickness settings.
When you send a design to print for Print Then Cut, you’ll notice black scanner bars or boxes around your images on the printed page. These are crucial registration marks. The Cricut machine’s built-in scanner precisely reads these markings to accurately position the blade for cutting around your printed designs.
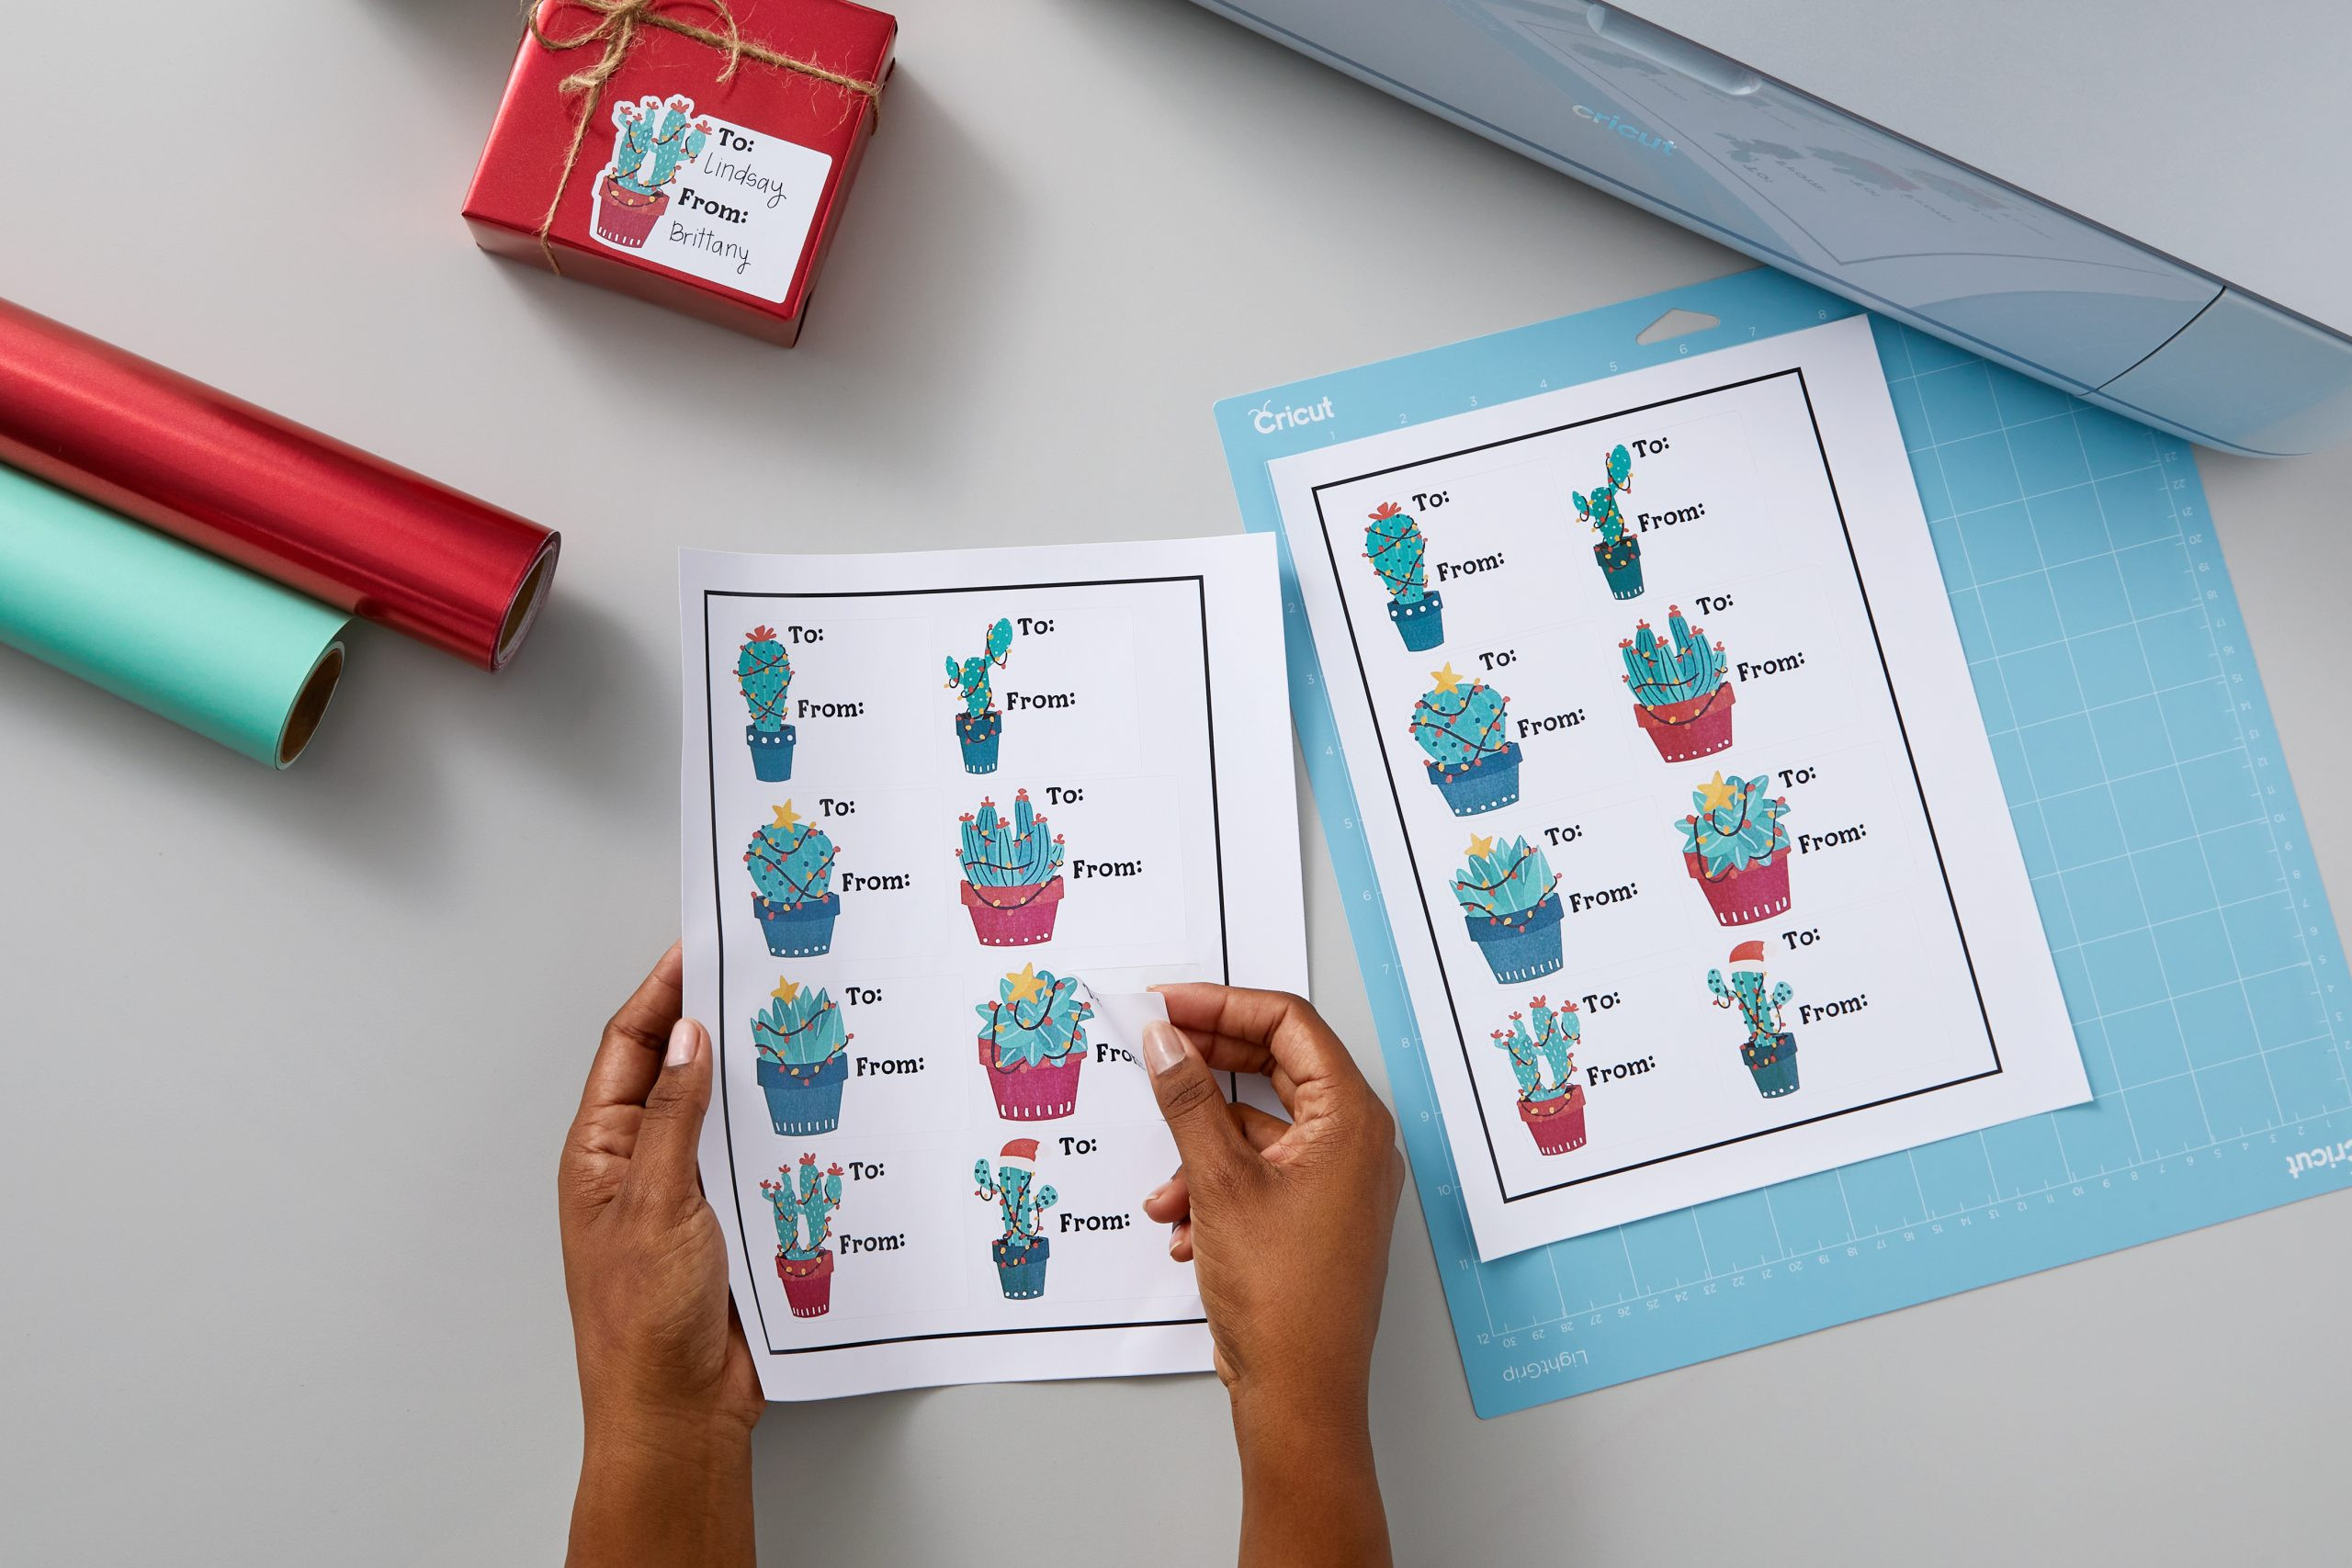 Cricut print then cut registration marks for accurate cutting
Compatible Cricut Machines for Print Then Cut
Before diving into your first Print Then Cut project, it’s essential to ensure your Cricut machine is compatible with this feature. Fortunately, several Cricut models support Print Then Cut, giving you a range of options to choose from:
- Cricut Maker™ 3
- Cricut Explore™ 3
- Cricut Maker™
- Cricut Explore Air 2™
- Cricut Explore Air™
These machines are all equipped with the necessary sensor technology to accurately read the registration marks and execute precise Print Then Cut operations. You can easily identify if your machine is compatible by checking the product specifications or the Design Space software features available for your device.
Materials and Tools You Need for Print Then Cut
To get started with Print Then Cut, you’ll need to gather a few essential materials and tools. Having everything prepared beforehand will ensure a smooth and efficient crafting process. Here’s a list of what you’ll need:
- Compatible Cricut Machine: As mentioned earlier, ensure you have a Print Then Cut compatible machine from the list above.
- Home Inkjet Printer: An inkjet printer is crucial for Print Then Cut. Laser printers are not compatible as they use toner which can be problematic for the Cricut sensors. Many Cricut users have their preferred inkjet printer brands and models, but generally, any standard home inkjet printer will work well.
- Printable Material: The type of material you choose will depend on your project. Popular choices include:
- White Cardstock: Ideal for cards, invitations, and thicker printed elements.
- Printable Sticker Paper: Perfect for creating custom stickers.
- Printable Vinyl: Great for durable stickers and decals.
- Printable Clear Sticker Paper: For transparent stickers and overlays.
- Device with Design Space: You’ll need a computer, tablet, or smartphone with Cricut Design Space installed. While Android devices can be used for designing and saving Print Then Cut projects, printing and cutting must be done using Design Space on a Windows/Mac computer or iOS device for full functionality.
- LightGrip Cutting Mat: The blue LightGrip mat is recommended for most printable materials as it provides the right level of adhesion to keep your printed sheet secure during cutting without being too sticky and damaging your material.
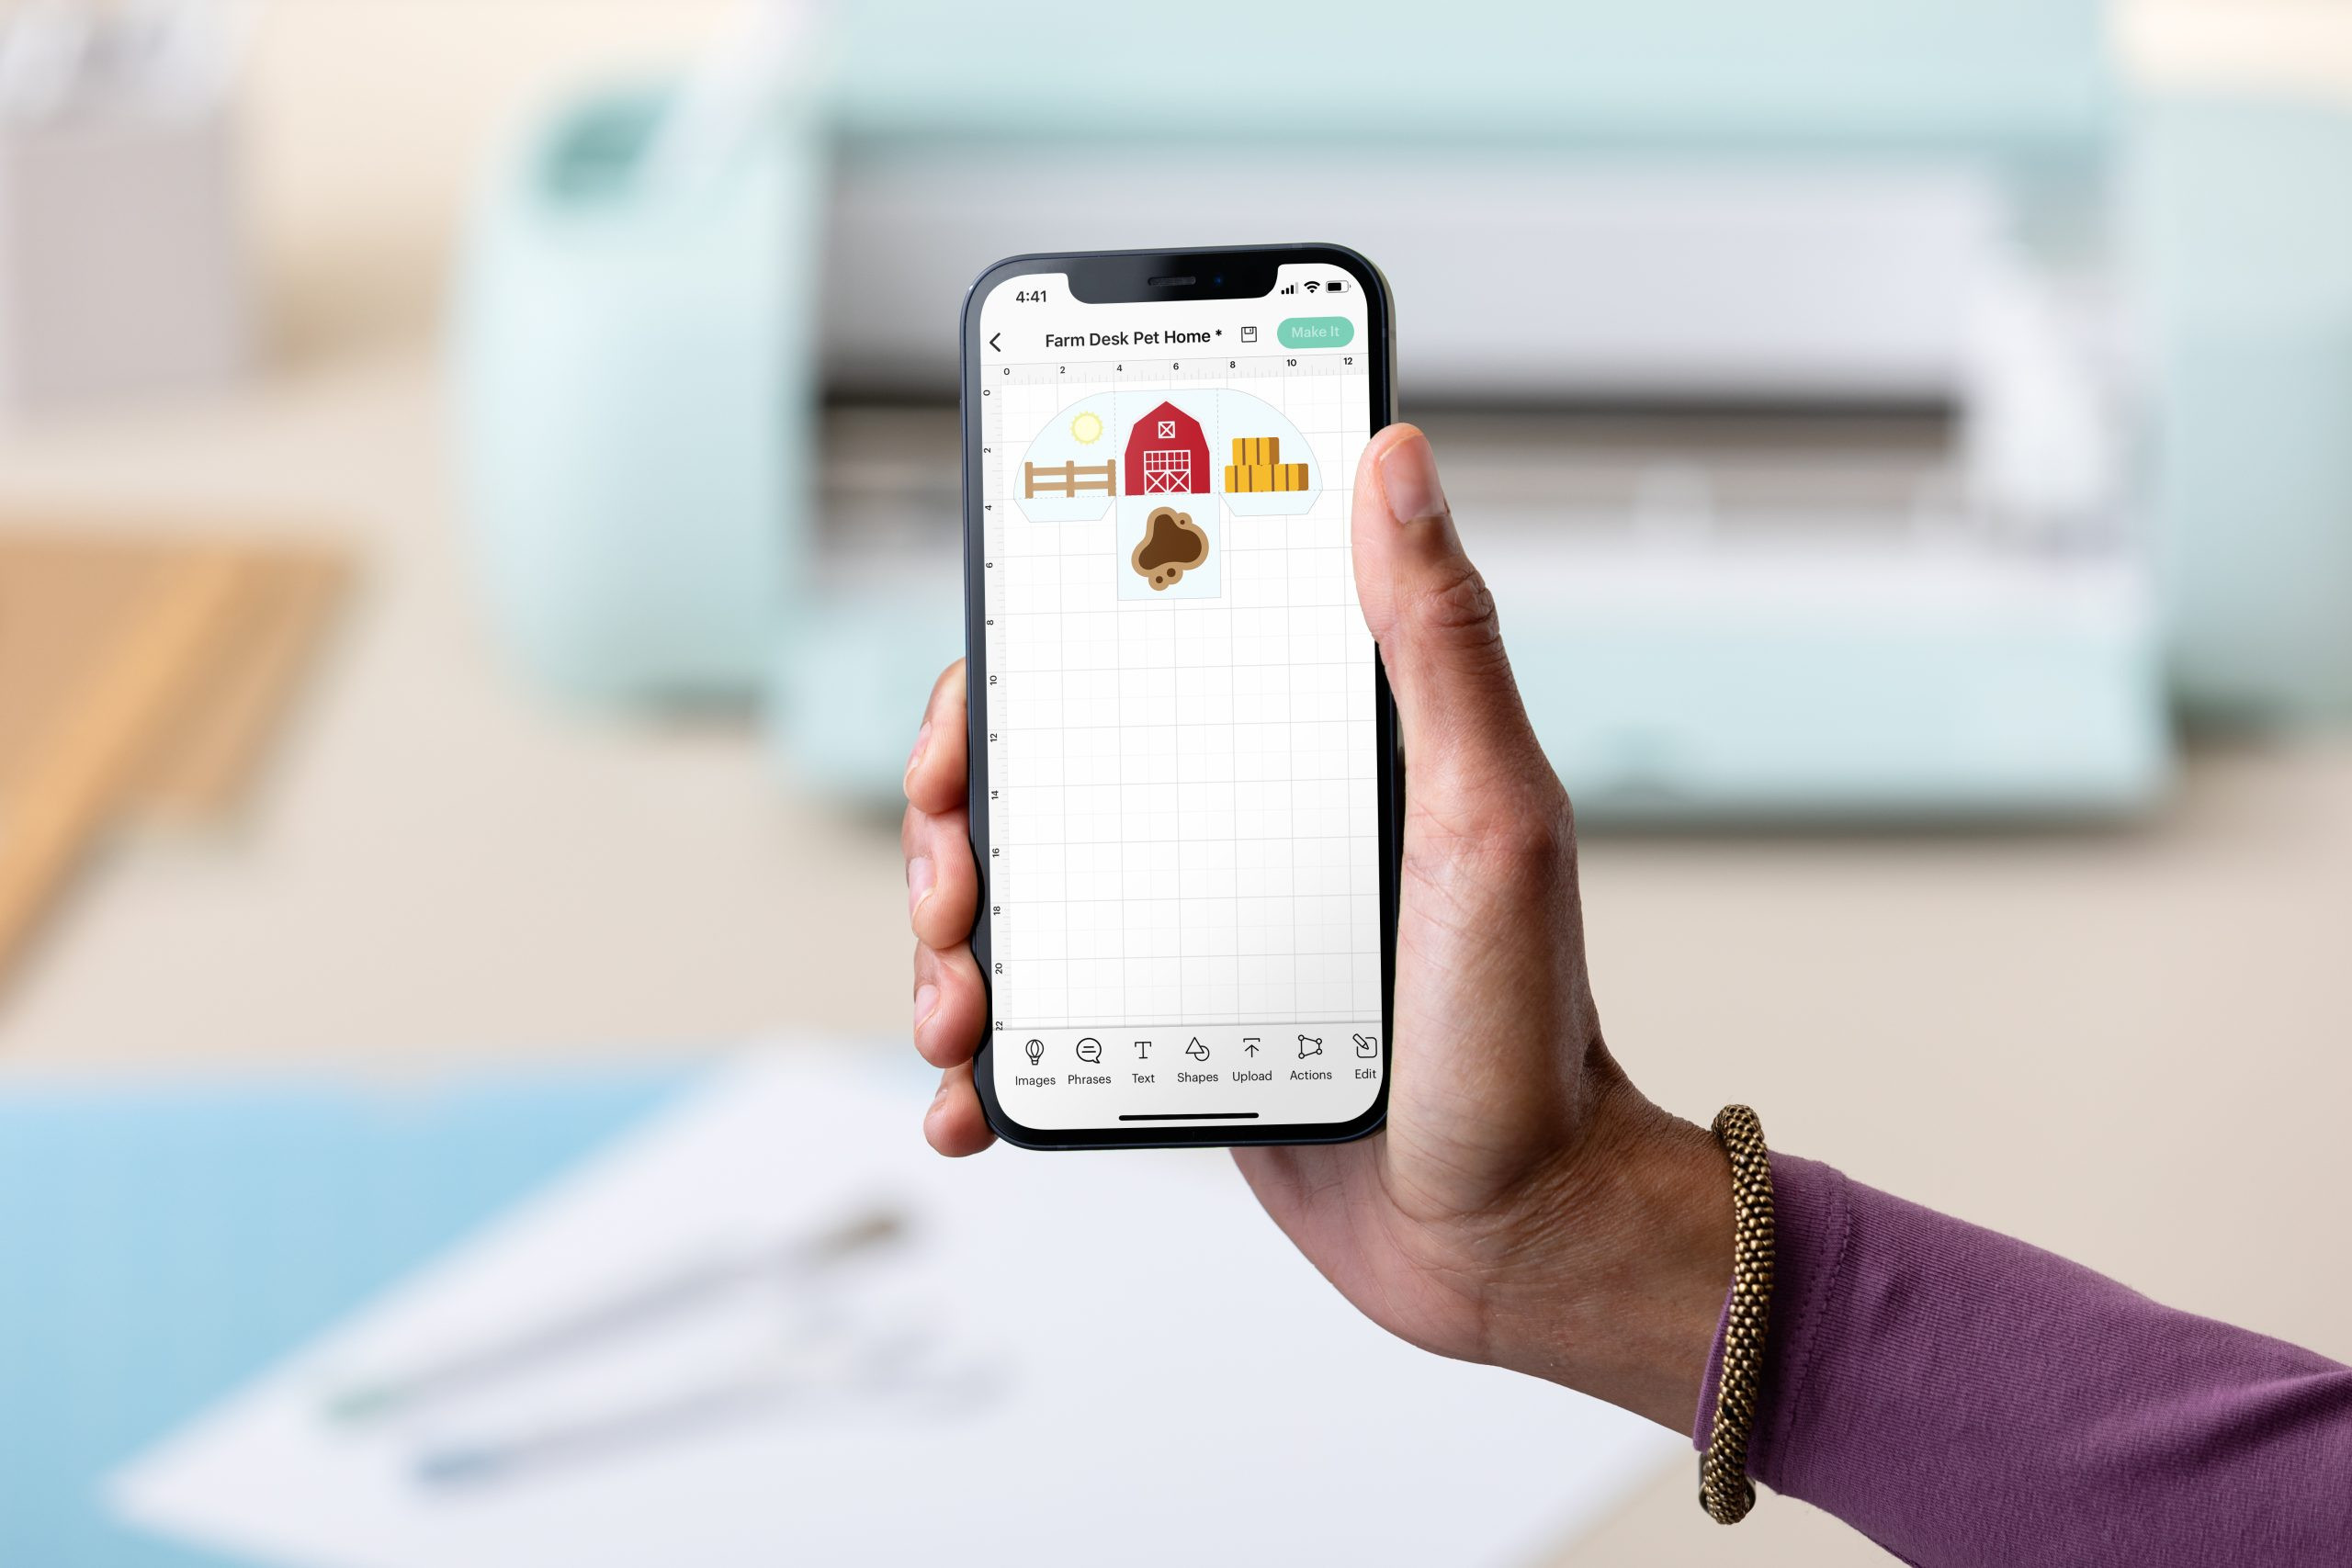 Cricut Print then cut devices compatibility
Step-by-step Guide: How to Print Then Cut with Cricut
Now that you have all the necessary tools and materials, let’s walk through the process of creating your own Print Then Cut projects.
Finding Print Then Cut Images in Design Space
Design Space offers a vast library of pre-designed images, and many are already set up for Print Then Cut. Here’s how to find them:
- Open Cricut Design Space and start a new project by clicking on “New Project”.
- Click on “Images” in the design panel on the left-hand side of the screen. This will take you to the Cricut Image Library.
- In the Filter menu on the left, locate the “Operation Type” filter.
- Tick the “Print Then Cut” option within the “Operation Type” filter.
This will filter the image library to display only images that are compatible with the Print Then Cut feature, making it easy to find ready-to-use designs for your projects.
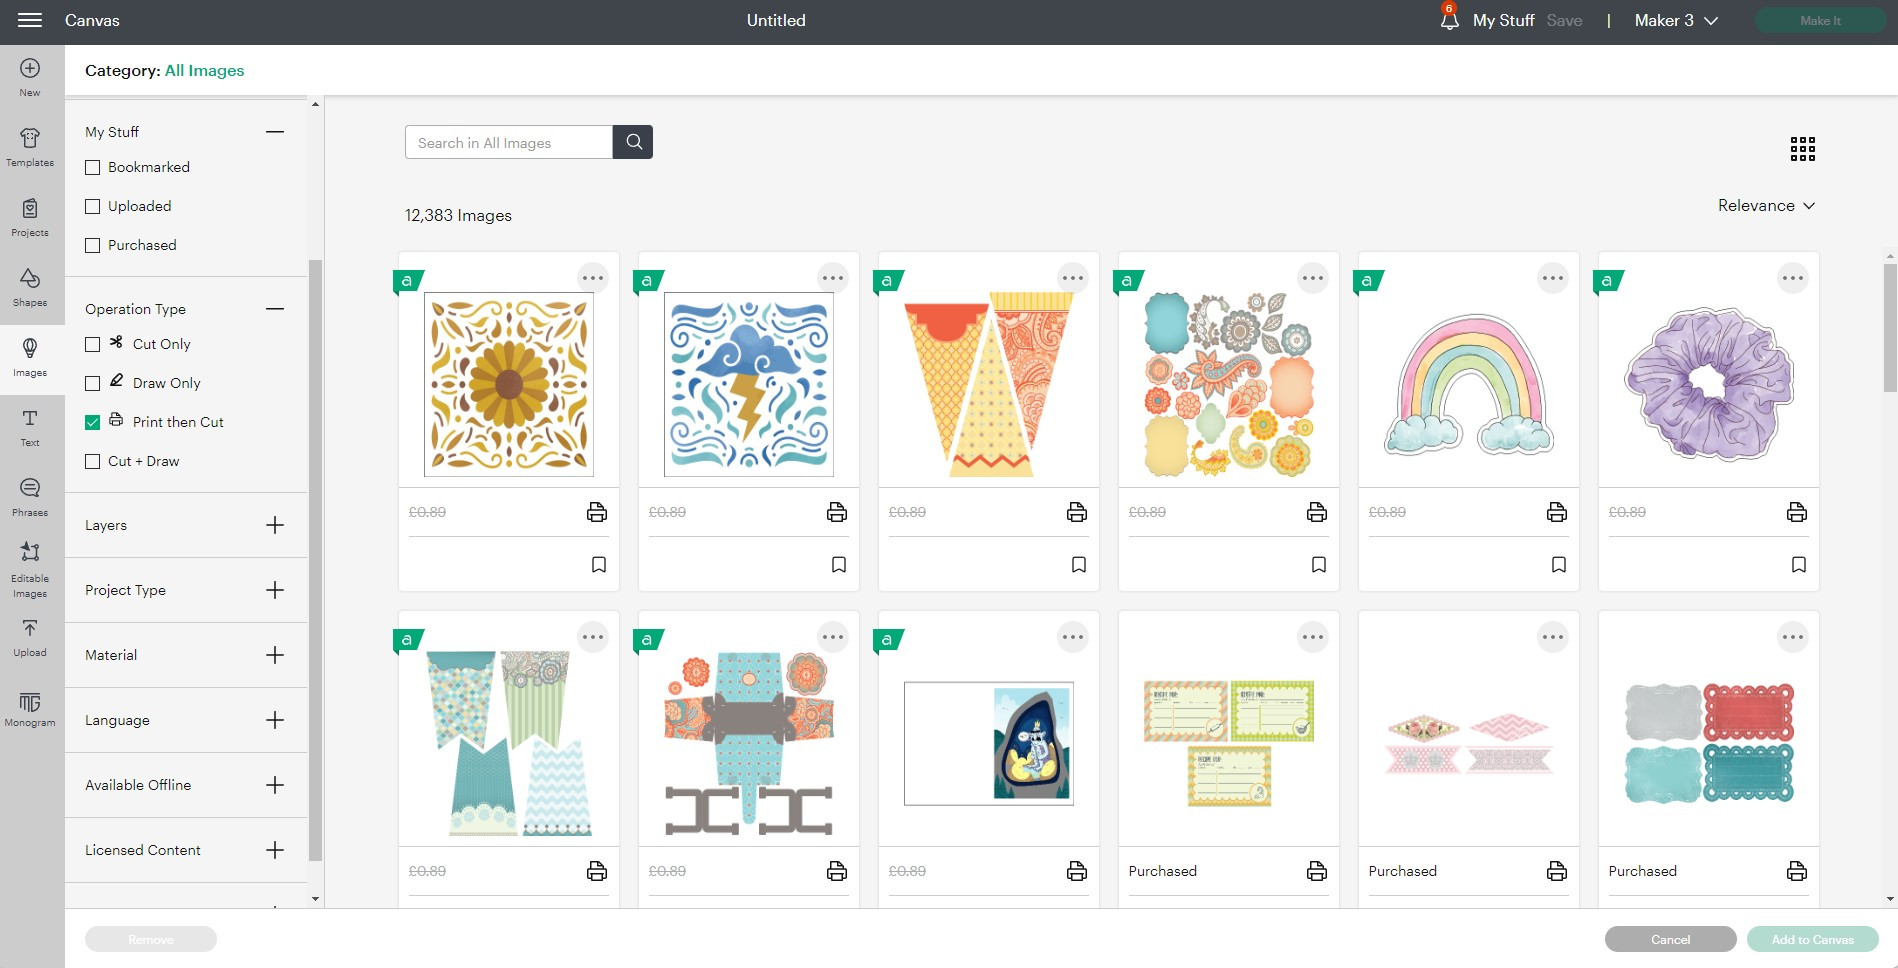 Find print then cut images in Cricut Design Space using filter
Creating Your Own Print Then Cut Images
You’re not limited to pre-designed images; you can easily convert any cut image into a Print Then Cut image. This gives you incredible flexibility in your designs. Here’s how:
- Select any cut image from the Design Space library or upload your own SVG or PNG image. Add it to your canvas.
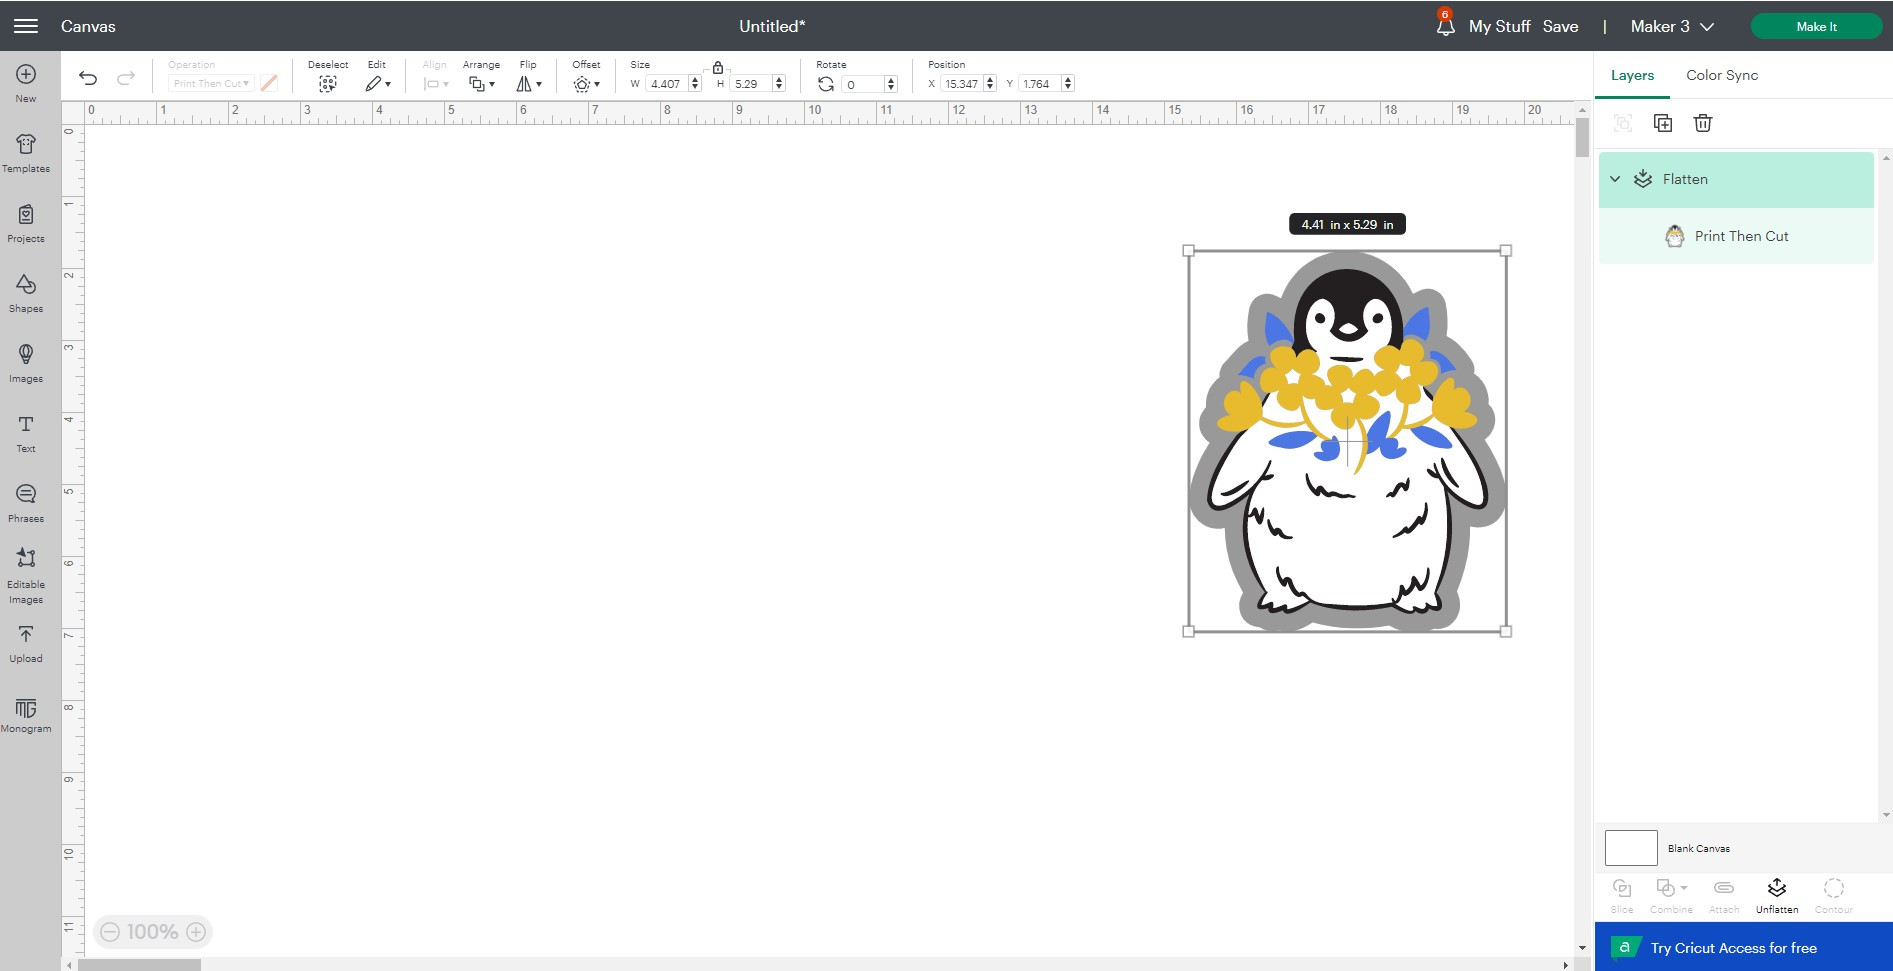
- If your selected image doesn’t have a background layer, you’ll need to create one. The easiest way to do this is by using the “Offset” tool. Select your image and then click on “Offset” in the top edit bar.
- Adjust the distance of the offset to create a background border around your image. You’ll see a blue preview outline indicating the offset shape. Once you are satisfied with the offset, click “Apply”. This will create a new layer behind your original image.
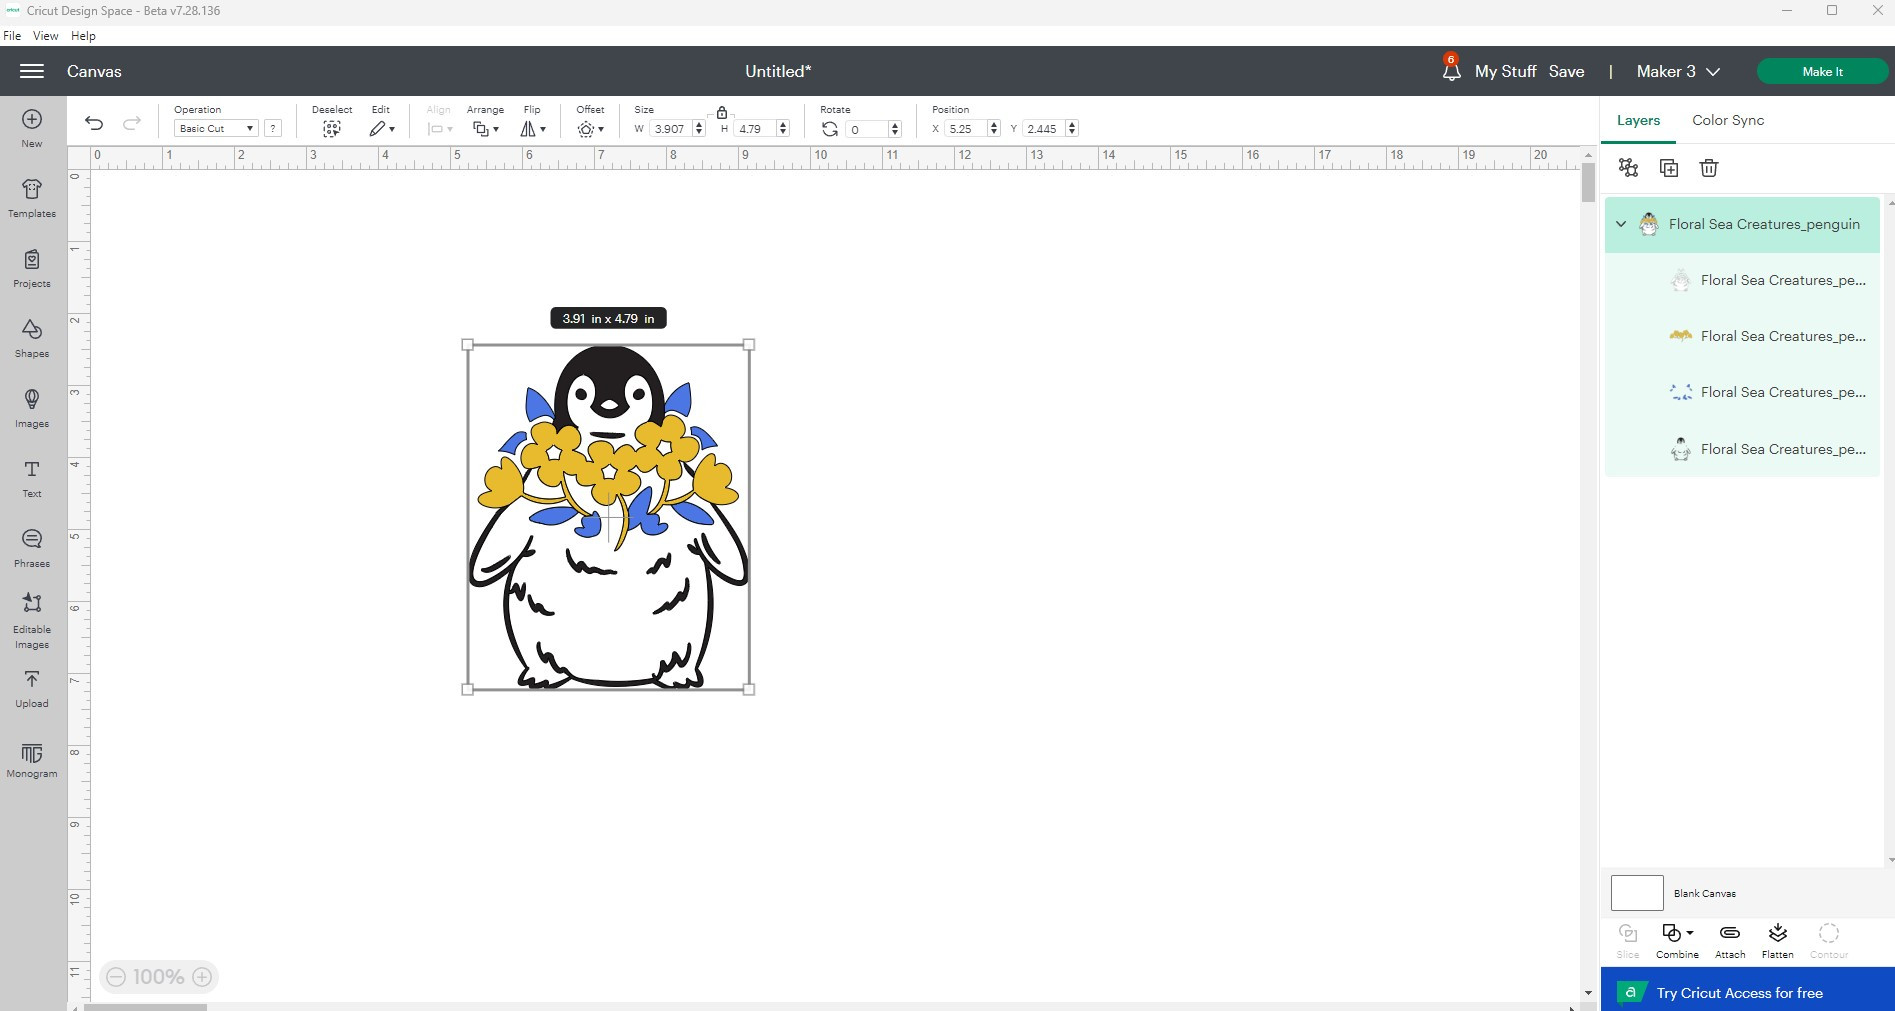
- Select all layers of your image, including the original image layer and the offset layer.
- Click the “Flatten” tool located in the bottom right-hand corner of the Layers panel (or in the Actions menu). This merges all selected layers into a single “Print Then Cut” layer. You’ll see the layer name change to “Print Then Cut” in the Layers panel.
- If you need to make further edits, you can “Unflatten” the layers, make your adjustments, and then remember to “Flatten” them again before proceeding to the cutting stage.
 Make your own print then cut image using offset tool in Design Space
 Use offset tool to create background for stickers in Design Space
 Flatten tool to merge layers for print then cut images
 Creating a sticker design in Cricut Design Space using print then cut
Adjusting Material Size for Print Then Cut
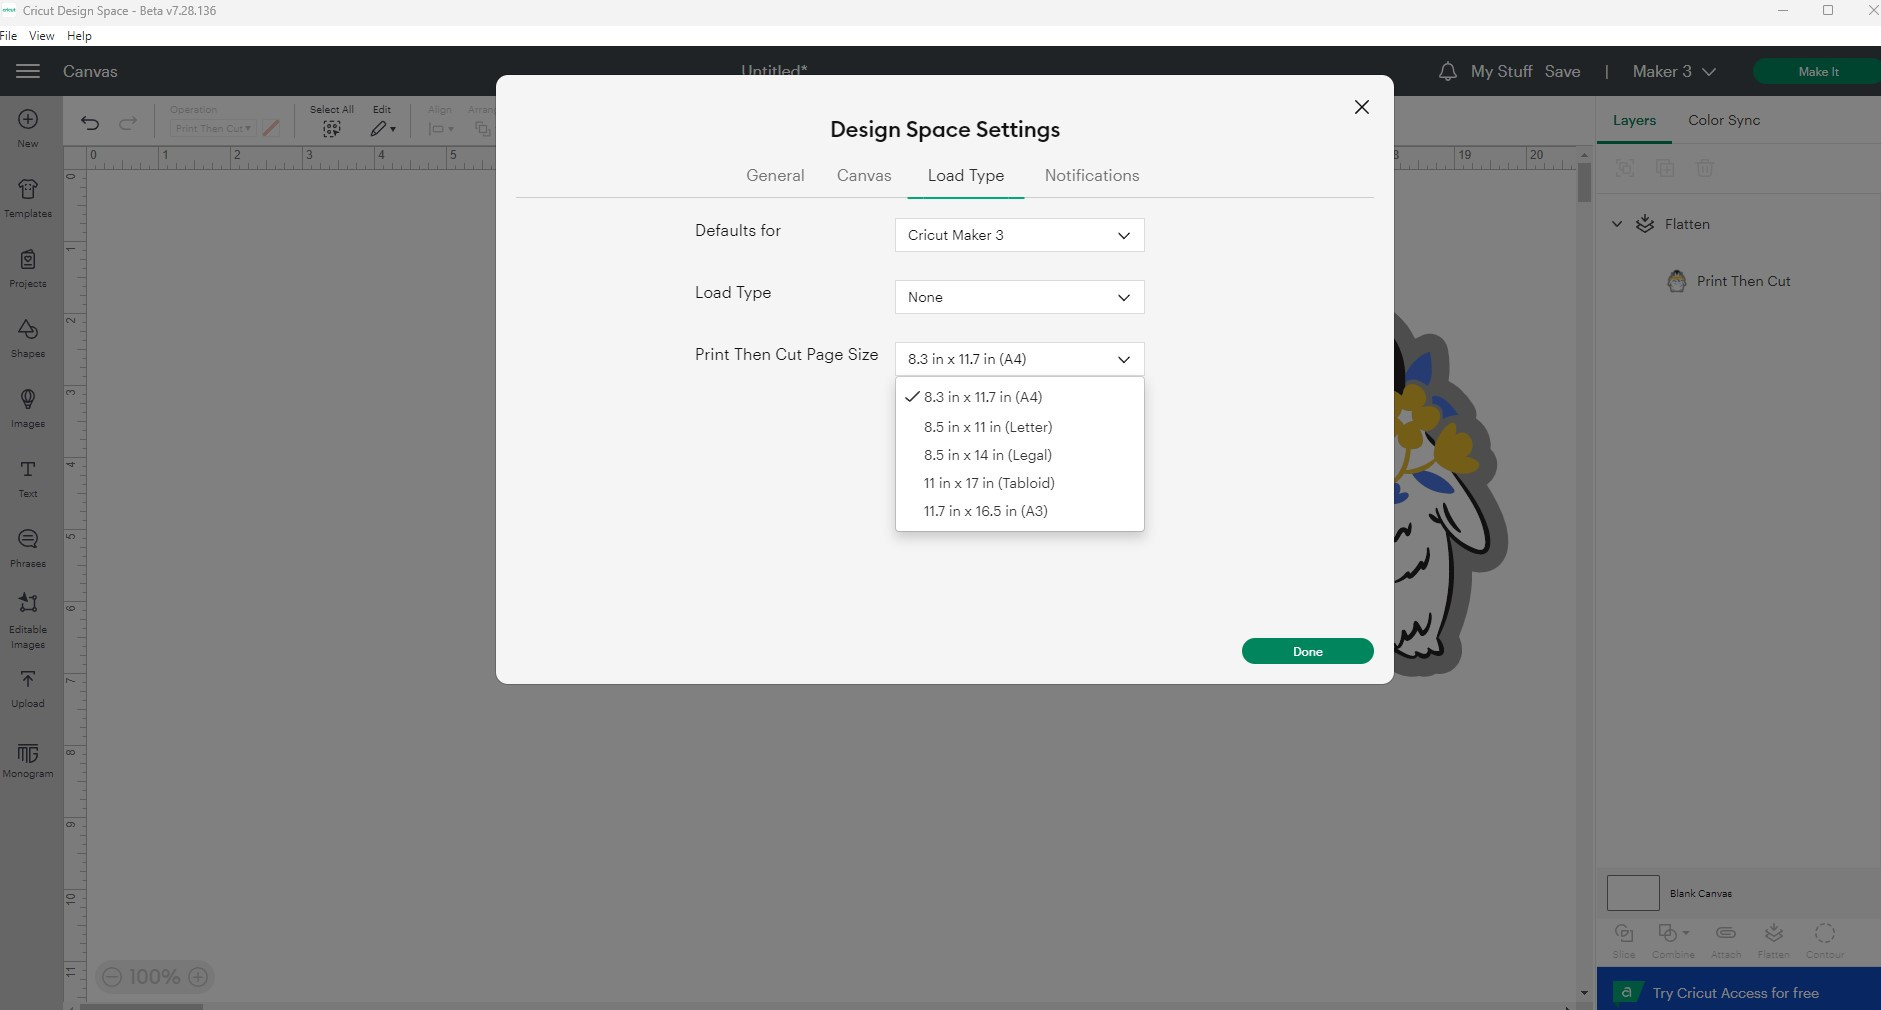
Design Space allows you to work with various material sizes for Print Then Cut, including larger sizes up to A3. Ensuring the correct material size is selected in Design Space is crucial for accurate printing and cutting. Here’s how to adjust the material size:
- In Design Space, click on the top left menu (three horizontal lines).
- Select “Settings” from the dropdown menu.
- In the Design Space settings window, click on “Load Type”.
- Find the “Print Then Cut Page Size” dropdown menu.
- Choose the correct material size from the dropdown menu that matches the paper size you are using in your printer. Options typically include Letter (8.5″ x 11″), A4, A3, and more.
Selecting the correct material size ensures that Design Space correctly formats the registration marks and design layout for your chosen paper size.
 Change print then cut material size in Design Space settings
Troubleshooting Print Then Cut Issues
While Print Then Cut is generally straightforward, you might encounter some common issues. Understanding these and their solutions can save you time and frustration.
Why Use White Cardstock? (Color Limitations)
You might wonder why white cardstock is often recommended for Print Then Cut. The reason is that Cricut machines rely on sensors to read the registration marks printed around your design. Reflective materials, colored materials, or materials with patterns can interfere with the sensor’s ability to accurately detect these marks.
For Cricut Explore and Cricut Explore 3 machines, it’s strongly recommended to use an inkjet printer and white materials for all Print Then Cut projects to ensure reliable sensor readings. However, Cricut Maker and Cricut Maker 3 machines have more advanced sensors and can handle Print Then Cut on light to medium-colored papers, offering slightly more flexibility. Despite this, white materials are still the most reliable for all Cricut Print Then Cut machines.
Color Matching Issues (Printer Settings)
Sometimes, the colors you see on your screen in Design Space might not perfectly match the colors of your printed item. This is often due to printer settings. To ensure better color accuracy, it’s crucial to adjust your printer settings correctly before printing. Here’s how:
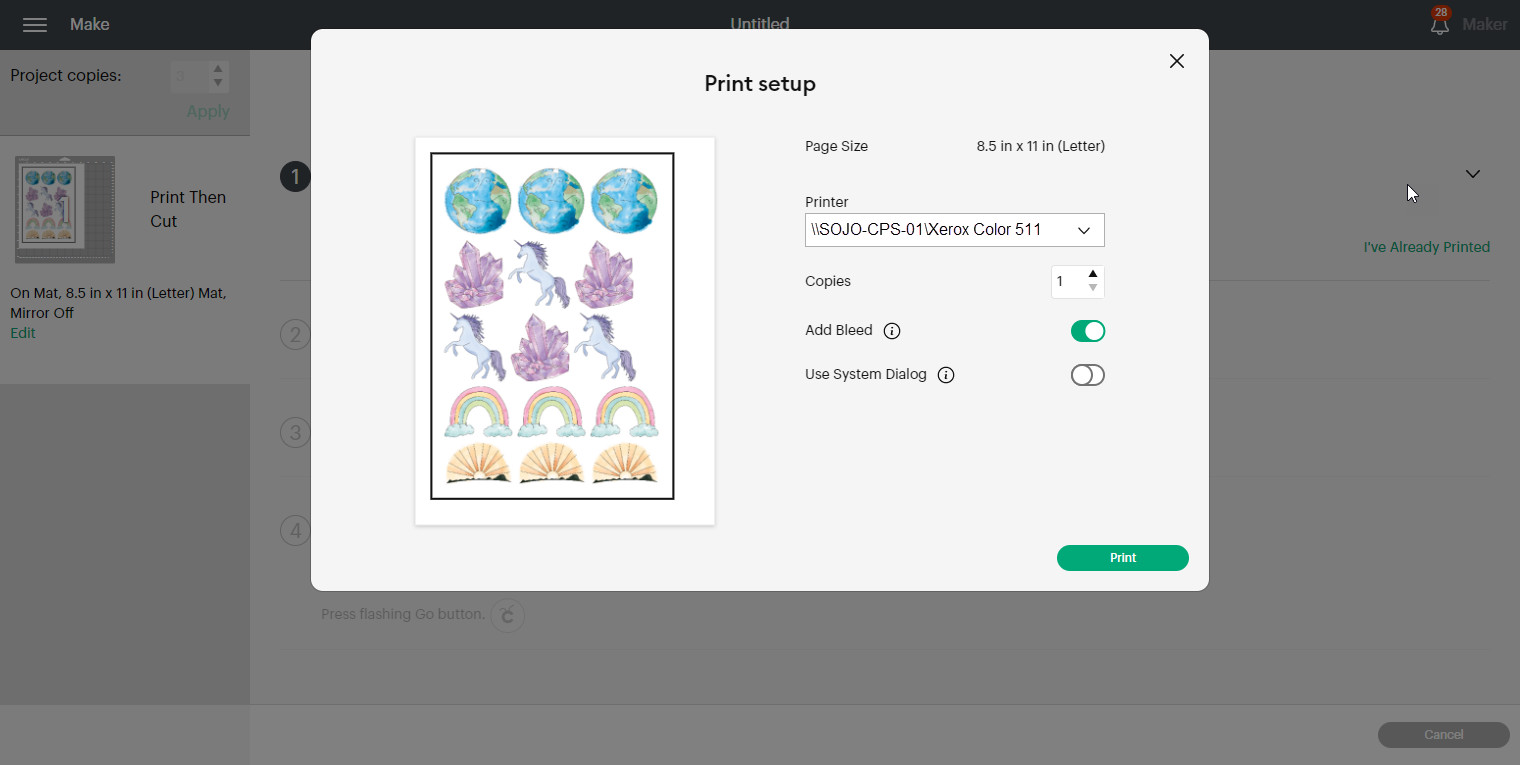
- After the mat preview stage in Design Space and before sending your design to the Cricut machine, click the “Send to Printer” button.
- In the print setup screen, you’ll see a few options. Ensure you tick the “Use System Dialog” checkbox. This is very important.
- Click “Print”. With “System Dialog” ticked, your printer’s own settings dialogue box will now open. This is where you can fine-tune your print settings.
- Within your printer’s settings dialogue, you can adjust settings like paper type, print quality, and color profiles. For sticker paper or vinyl, selecting the appropriate paper type setting (e.g., matte photo paper, sticker paper) can improve color accuracy and print quality.
- Also, ensure that options like “Fit to Page” are unticked. These options can resize your images and disrupt the Print Then Cut accuracy.
- Experiment with different printer settings to find what works best for your printer and materials. Note down your preferred settings for future projects.
The “Bleed” option in Design Space adds a small margin of color around your images. This is useful for edge-to-edge color designs as it prevents white borders from appearing after cutting. You can untick “Bleed” if your designs don’t have full edge-to-edge color.
 Use System Dialogue for printer settings for accurate print then cut colors in Design Space
Calibration for Accurate Cutting
If your Cricut machine isn’t cutting precisely around your printed images, you may need to calibrate your machine for Print Then Cut. Calibration ensures that the machine’s sensor and blade alignment are perfectly synchronized. Design Space provides a straightforward calibration process:
- In Design Space, go to the top left menu and select “Calibration”.
- Choose “Print Then Cut” calibration and follow the on-screen instructions. The process involves printing a calibration sheet and then feeding it into your Cricut machine for scanning and cutting.
- Step-by-step instructions for calibration on each compatible device can be found here.
Regular calibration ensures the most accurate Print Then Cut results.
Tips for Perfect Print Then Cut Projects
To consistently achieve excellent Print Then Cut results, keep these tips in mind:
- Use Cricut Materials Settings: When cutting, especially sticker sheets, use the material settings specifically designed for Cricut Printable Sticker Paper, Printable Vinyl, and Printable Clear Sticker Paper. These settings are pre-tested to provide optimal cutting pressure for these materials. You can find these in the material dropdown menu when setting up your cut in Design Space.
- Ensure Good Lighting: Make sure your Cricut machine is placed in a well-lit area when performing Print Then Cut operations. Poor lighting can sometimes interfere with the sensor’s ability to read registration marks.
- Clean Your Sensor: Occasionally, dust or debris might accumulate on the Cricut machine’s sensor. Gently clean the sensor with a soft, dry cloth to ensure accurate readings.
- Test Cuts: Before committing to a large project, always perform a test Print Then Cut with a small, simple design on your chosen material to verify your settings and calibration are correct.
Conclusion
Cricut Print Then Cut is an incredibly versatile feature that expands your creative possibilities, allowing you to make everything from detailed stickers to personalized stationery with ease and precision. By understanding the process, using the right materials and tools, and following these tips, you’ll be well-equipped to master Print Then Cut and bring your most imaginative projects to life. Don’t hesitate to experiment with different designs, materials, and settings to discover the full potential of this fantastic Cricut capability. Happy crafting!