I have some news that might not be great for your waistline but is definitely exciting: you can now actually buy a 3D printer that creates chocolate. After a decade of development, The Cocoa Press is finally available, and it’s a game-changer for anyone with a sweet tooth and a love for technology. I recently got my hands on one of these much-anticipated devices, and let me tell you, the experience was quite the adventure, contributing, perhaps directly, to my holiday weight gain.
Now, before you rush out to buy one, it’s worth noting that this isn’t an impulse purchase for most people. The pre-built model I tested came with a price tag of $3,995. For the more DIY-inclined, there’s a kit version available for $1,750 or less. Along with the printer, I received thirty chocolate sticks, specifically designed to work with the Cocoa Press, ready to fuel my confectionery experiments.
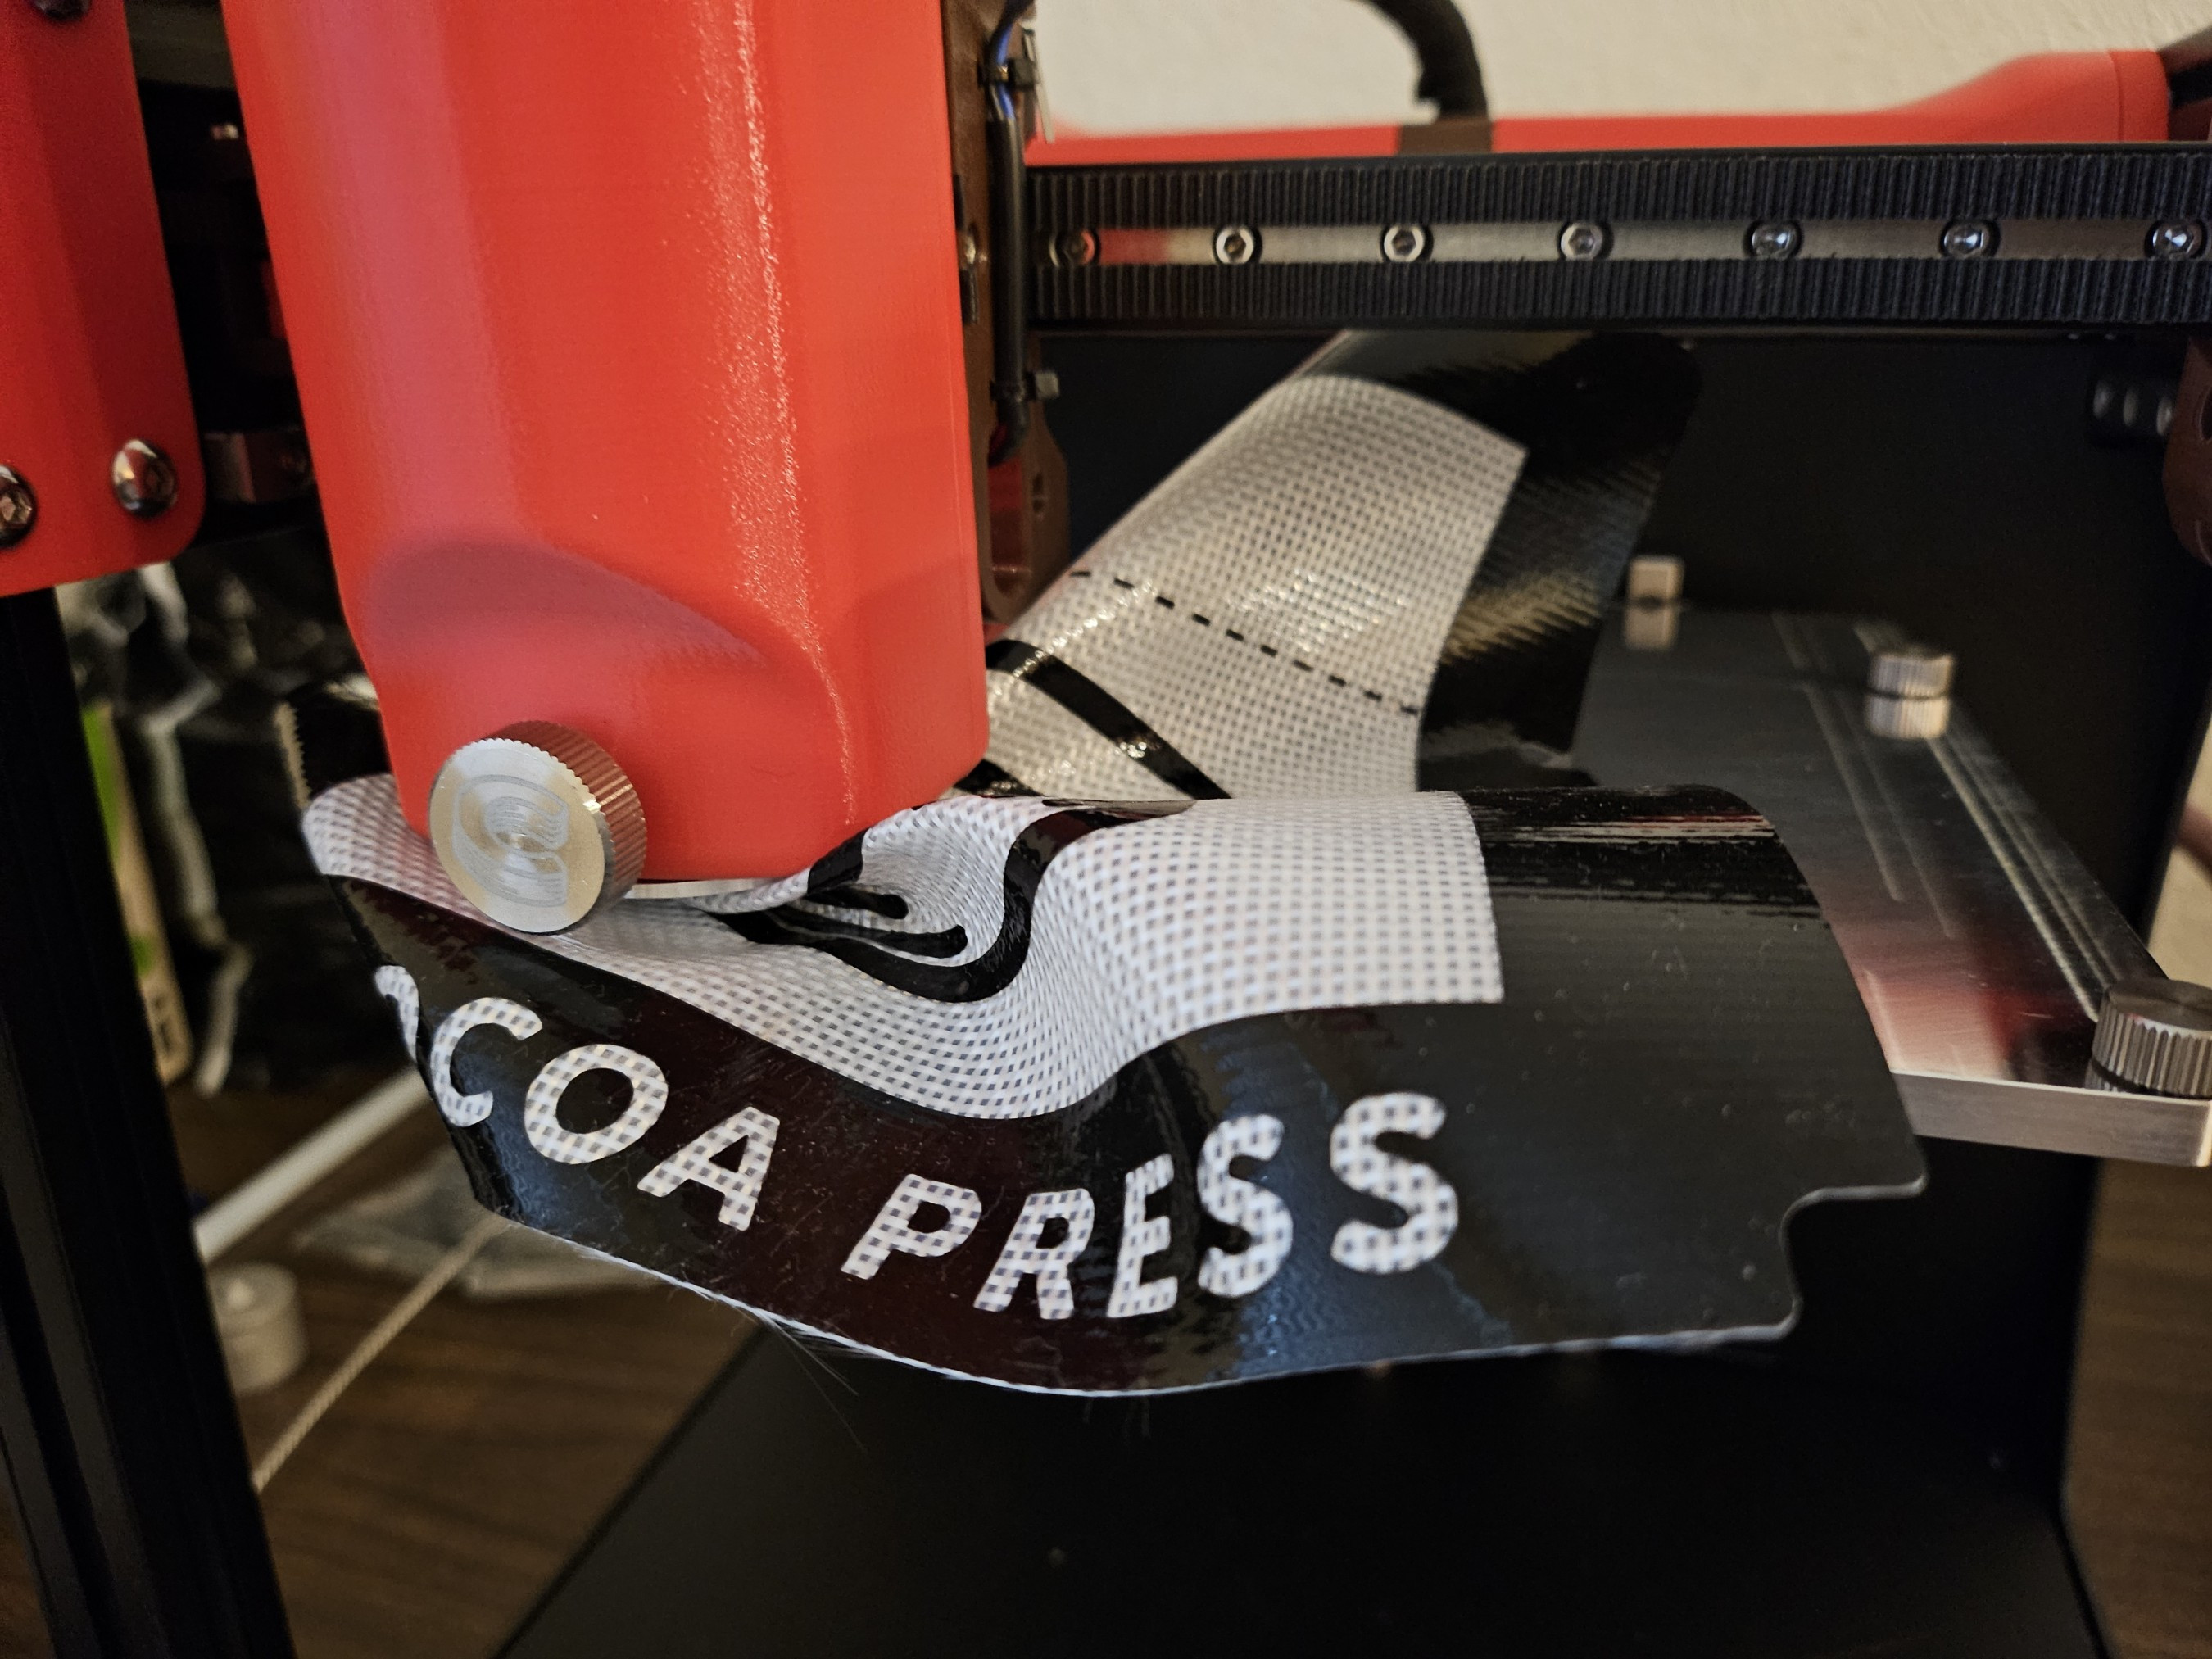
Setting up the printer was straightforward. I attached the screen, followed the initial setup prompts, inserted a dark chocolate “cocoa core” into the cartridge, added a washable plunger cap, and then began the preheating process, which took about 30 minutes. Finally, hitting the start button, I was ready for some 3D printed chocolate magic. My first attempt, however, was slightly less magical and more comical, as the nozzle decided to engage in a brief battle with the silicone baking mat.
 Cocoa Press nozzle mishap during initial print attempt
Initial hiccup with the Cocoa Press 3D chocolate printer.
After a quick adjustment to the Z-height and ensuring the print head was securely in place after its journey, I tried again. This time, success! The printer beautifully crafted an incredible 3D-printed rose.
 Exquisite 3D printed chocolate rose created with Cocoa Press
A delicate chocolate rose, showcasing the potential of 3D printer chocolate.
Just look at the detail on that chocolate flower. The intricate ridges and layers promised a delightful texture, and it delivered. The 3D-printed rose was scrumptious, velvety, and melted in my mouth. It used almost an entire chocolate stick, yet vanished in mere minutes.
One of the standout features of 3D-printing chocolate is the amazing textures you can achieve. Take gyroid infill, for example. The complex, interwoven structure is simply fascinating and adds a unique dimension to the chocolate experience. (You can see examples of this infill in the video accompanying this article.)
And let’s talk about the chocolate itself. The dark chocolate, despite using palm oil instead of cocoa butter for flow, tasted genuinely like dark chocolate. My wife, a dark chocolate connoisseur, approved of the quality, though it wasn’t the absolute best we’ve ever tasted, it was certainly satisfying.
However, the milk and white chocolate varieties were a different story. They had a somewhat waxy texture, reminiscent of Candy Melts, and didn’t quite live up to the dark chocolate’s standard. Furthermore, replicating the success of that first rose proved challenging. The biggest hurdle with 3D-printing chocolate is maintaining consistent heat control.
 Close-up of Cocoa Press extrusion mechanism for 3D chocolate printing
The screw drive mechanism pushing chocolate in the Cocoa Press 3D printer.
Chocolate is inherently tricky to work with in 3D printing. The Cocoa Press allows for nozzle temperature adjustments down to a tenth of a degree, highlighting the sensitivity of the process. Even fractions of a degree can be the difference between perfectly flowing chocolate and a nozzle stubbornly refusing to extrude.
In my experience, it sometimes took hours for the printer’s 65-gram chocolate syringe to reach a uniform temperature. Cocoa Press founder Ellie Weinstein suggested this might be due to a heater defect in my unit and assured me that they would replace the cartridge and heater assembly for anyone experiencing similar issues. However, she also pointed out that the chocolate type itself can influence heating times. While dark chocolate worked reasonably well with the preset temperature, milk chocolate was slightly more challenging, and white chocolate required extensive temperature tweaking over several hours to achieve optimal flow.
Even with the chocolate flowing smoothly, I quickly learned that intricate, small, or pointy designs are difficult to print without significantly slowing down the process. The chocolate needs sufficient time to cool and solidify between layers to maintain structural integrity.
This became evident when printing this Sierpinski pyramid. You can clearly see where the chocolate started to lose its form and ooze due to insufficient cooling time.
 3D printed chocolate Sierpinski pyramid showing printing challenges
Chocolate Sierpinski pyramid, demonstrating the need for cooling time in 3D chocolate printing.
Similarly, attempting to print a single calibration cube resulted in a rather misshapen, overly smooth cube, as the layers didn’t have enough time to cool down.
 Deformed chocolate calibration cube from 3D printing
A lumpy chocolate calibration cube, highlighting cooling issues in detailed prints.
Ideally, slowing down print speed at certain heights would allow for better cooling, but currently, this is a manual adjustment, not an automated feature of the Cocoa Press.
While printing small, individual objects presents challenges, printing large items is also limited by the 65-gram capacity of a single chocolate stick. The Sierpinski pyramid, weighing nearly 60 grams, almost maxed out a cartridge.
 Weight of 3D printed chocolate pyramids from Cocoa Press
2.10 ounces of 3D printed chocolate, near the cartridge limit.
However, printing sheets of smaller objects, like these Mario stars, works well.
 Sheet of 3D printed chocolate Mario stars
Chocolate Mario stars, demonstrating successful printing of multiple small objects.
Vase mode, which prints in a continuous spiral, is also effective for creating taller, hollow structures. The chocolate rose was a vase mode print, as is the base of this mock coffee cup, which I printed using white chocolate for the cup and milk chocolate for the lid.
 Two-tone 3D printed chocolate coffee cup
A 3D printed chocolate cup made with two types of chocolate using Cocoa Press.
Theoretically, you could swap in a new cocoa core for longer prints, but it’s not automated. You’d have to manually pause the print, wait for the new core to preheat, and then resume. My attempts at swapping cores were largely unsuccessful, often resulting in failed prints or chocolate seizing in the nozzle.
In practice, I found it easiest to print objects that utilized most of a single chocolate stick in one go. Any leftover chocolate was then efficiently repurposed – directly into my mouth.
 Cocoa Press touchscreen interface for 3D printer control
User-friendly touchscreen interface of the Cocoa Press 3D chocolate printer.
Despite the challenges, certain aspects of the Cocoa Press are well-designed. Its native support in PrusaSlicer, the popular slicing software, is a significant advantage. All parts that come into contact with chocolate are easily removable and washable, and the printer even includes custom cleaning tools. The touchscreen UI is intuitive, offering advanced settings for experienced 3D printer users. Andrew Sink from Tom’s Hardware, who is definitely experienced, had a more positive experience than I did.
Ultimately, the Cocoa Press seems geared towards experienced 3D printing enthusiasts. It’s hard to imagine a newcomer to 3D printing readily embracing the Cocoa Press, despite its $3,995 price tag for the pre-built version and the $49 per pack of 10 chocolate cores.
However, for DIY enthusiasts willing to invest $1,499 for the hardware kit, print the plastic parts themselves, spend 10-15 hours on assembly, and learn to create their own chocolate cores, the Cocoa Press offers a unique and fascinating challenge – simply because they can.
Photos by Sean Hollister / The Verge
See More: