For California State University, Fullerton (CSUF) faculty and staff, seamless access to campus printers is essential for daily operations. This guide provides a detailed, step-by-step walkthrough for installing CSUF printer drivers on your campus desktop or laptop, ensuring you can easily connect to and utilize network printers across the university.
Before proceeding, it’s important to note that printer access permissions are managed at the department level. If you encounter any issues accessing a specific printer, please contact your department for the necessary permissions.
Installing CSUF Printer Drivers: A Step-by-Step Guide
Setting up Csuf Printing on your computer is a straightforward process. Follow these instructions to install the necessary printer drivers and connect to campus network printers.
Step 1: Access the CSUF Printer Installation Website
Begin by opening a web browser on your campus desktop or laptop and navigating to the dedicated Campus Printer Installation website. This website is your central hub for initiating the printer driver installation process.
Step 2: Select Your Division
Once on the website, you will see a dropdown menu. From this menu, select your division. This step is crucial as it filters the printer locations to those relevant to your department or college.
It is vital to ensure your computer is connected to the campus wired network during this process. Network connectivity is required to discover and connect to campus printers.
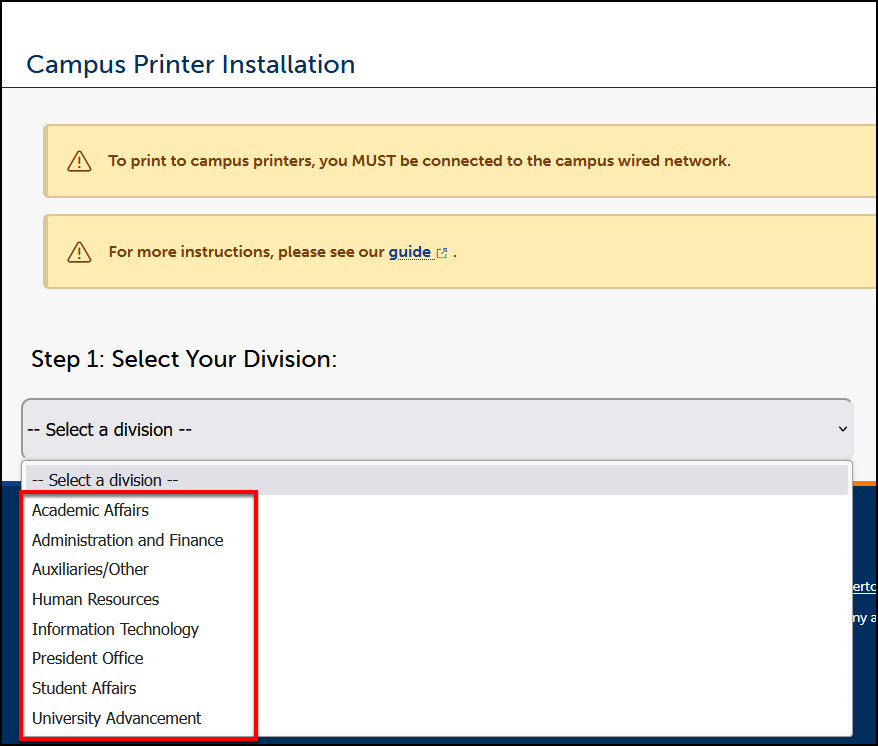 Division Selection Drop-down Menu
Step 3: Choose Your Printer Location
After selecting your division, the website will display a list of locations within your division that have available printers. Select the location where the printer you intend to use is situated. The list is dynamically populated based on your division, ensuring you only see relevant printer options.
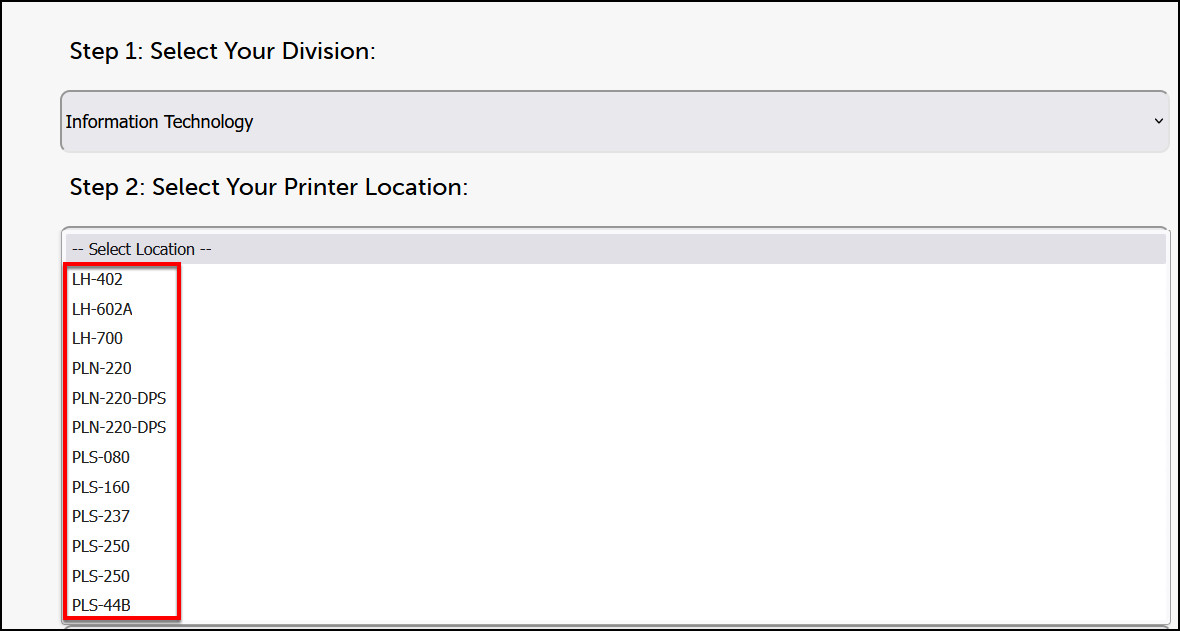 Printer Location List
Step 4: Operating System Selection
Next, identify the operating system your computer uses. The website provides options for Windows PC and Mac OS. Select the appropriate operating system to proceed with the correct installation steps.
For Windows PC Users
Follow these steps to install the CSUF printer driver on a Windows-based computer and enable CSUF printing.
Step 4.1: Download the Windows Printer Installer
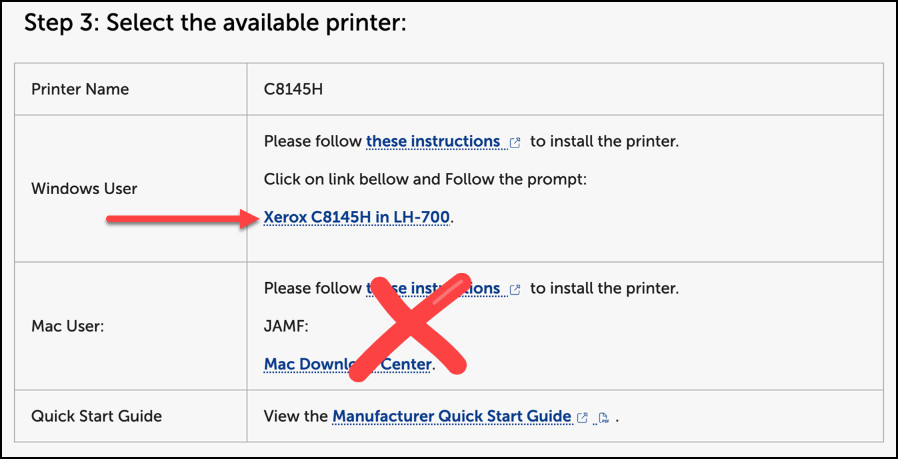
Click the “available printer link next to Windows User” for your chosen printer. This action will download the printer driver installation file specifically designed for Windows systems.
If you are unsure which printer to select within a location, contact your department for clarification.
 Download Printer Installer for Windows
Step 4.2: Handle Browser Pop-up (Non-Edge Browsers)
If you are using a browser other than Microsoft Edge, a pop-up notification may appear. If this occurs, click “Open Microsoft Edge” in the notification. This step is sometimes necessary for browsers other than Edge to properly handle the installation process.
Step 4.3: Open the InstallPrinterApp File
When prompted to open the InstallPrinterApp file by Microsoft Edge, click “Open”. This action initiates the printer driver installation application.
Step 4.4: Security Warning Prompt
A security warning window might appear. If so, click “Run” to proceed with the installation. This is a standard Windows security measure for executable files.
 Security Warning Prompt for Printer Installation
Step 4.5: Installation Process
The InstallPrinterApp will now download and run. This process may take a few minutes depending on your network speed.
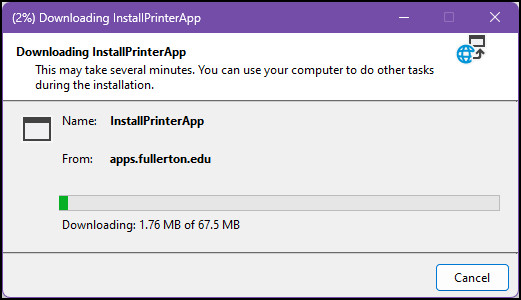 Downloading InstallPrinterApp for CSUF Printing
Step 4.6: Command Window Execution
A command window will briefly appear and run in the background. This window is executing the necessary commands to install the printer driver. Allow a few minutes for the installation to complete.
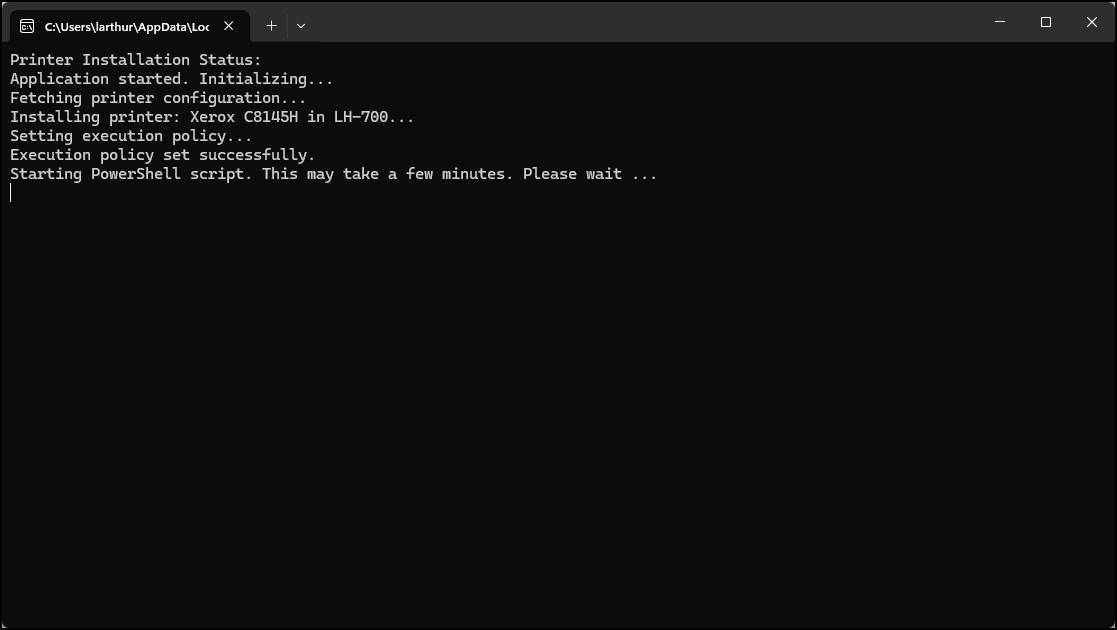 Printer Installation Command Window
Step 4.7: Installation Completion Verification
Once the installation is complete, an “Installation Complete” notification will appear in the command window. Crucially, check for the “Printer installed successfully!” message. This confirms a successful driver installation for CSUF printing. After verifying success, press any key to close the installation window.
If you encounter an error message instead of the success message, please contact the IT Help Desk for assistance.
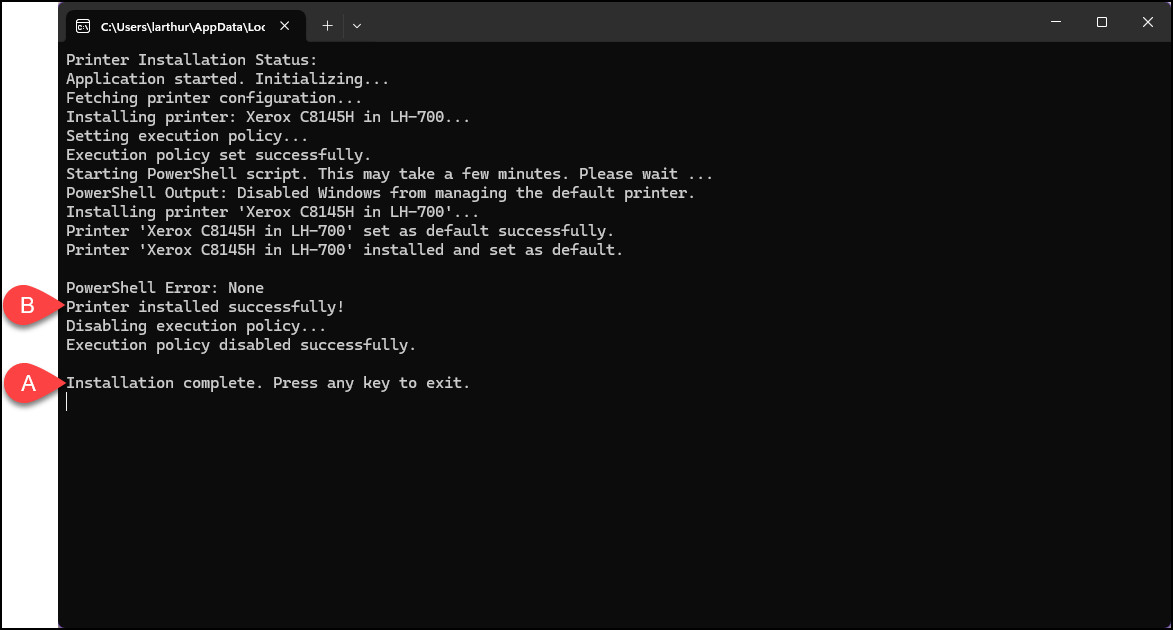 Printer Driver Installation Complete Message
Step 4.8: Verify Printer Installation in Windows Settings
To confirm the printer is installed and ready for CSUF printing, access your Windows settings. Click on the Start Menu, type “Settings,” and select the Settings application.
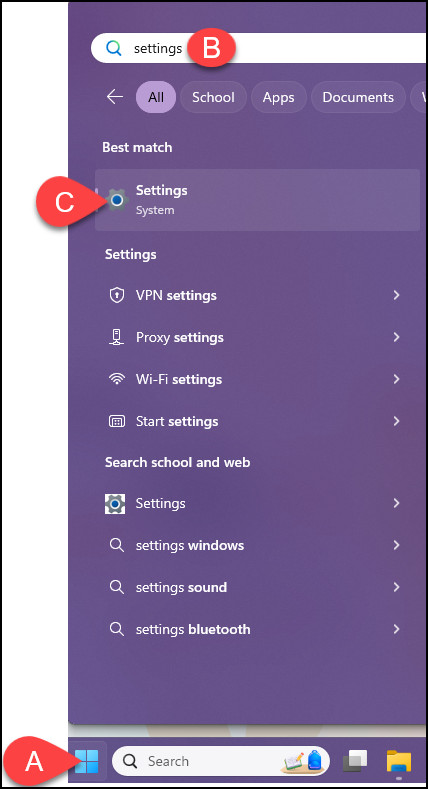 Accessing Windows Settings from the Start Menu
Step 4.9: Navigate to Printers & Scanners
In the Settings window, click on “Bluetooth & devices” and then select “Printers & scanners.”
Step 4.10: Printer Confirmation
You should now see the newly installed printer listed in your printers list. It will also be set as your default printer, ready for CSUF printing tasks.
For Mac OS Users
Follow these steps to install CSUF printing drivers on macOS.
Step 4.1: Download the Mac Printer Installer
Click on the “Mac Download Center link” in the Mac user section. This will initiate the download of the Software Center application, which manages printer driver installations on macOS.
If you are unsure about the correct printer to choose, consult with your department.
 Download Printer Installer for Mac
Step 4.2: Open Software Center
If prompted, click “Open Software Center”. This will launch the application and begin the printer driver installation process.
Step 4.3: Xerox Printer Installation in Progress
The Software Center will automatically start installing the Xerox printer driver in the background. You will see a progress indicator indicating that the CSUF printing driver installation is underway.
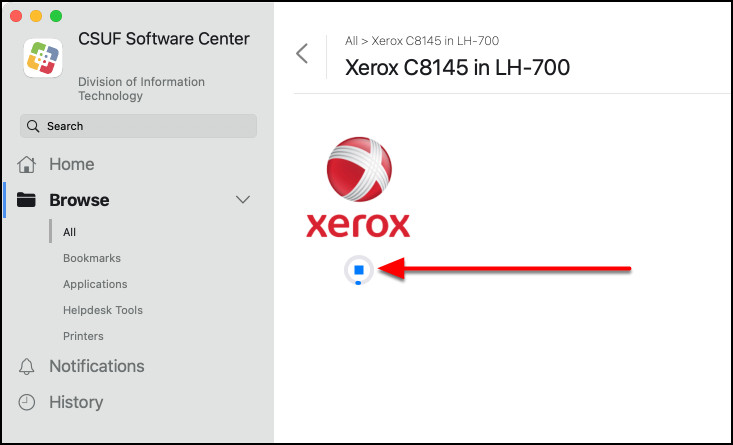 Xerox Printer Driver Installation Progress on Mac
Step 4.4: Installation Completion Notification
Once the installation is complete, the Software Center will display a “Done!” notification under the Xerox logo. This notification might disappear quickly and be replaced by a “Reinstall” button. Either “Done!” or “Reinstall” confirms successful installation of the CSUF printing driver.
 Printer Driver Installation Done on Mac
Step 4.5: Verify Printer Installation in System Settings
To verify the installation, click on the Apple menu and select “System Settings.”
Step 4.6: Navigate to Printers & Scanners in macOS
In System Settings, scroll down and click on “Printers & Scanners.” Alternatively, use the search bar to search for “Printers.”
Step 4.7: Printer Confirmation on Mac
The newly installed printer should now appear in your printers list. You are now ready to utilize CSUF printing from your Mac.
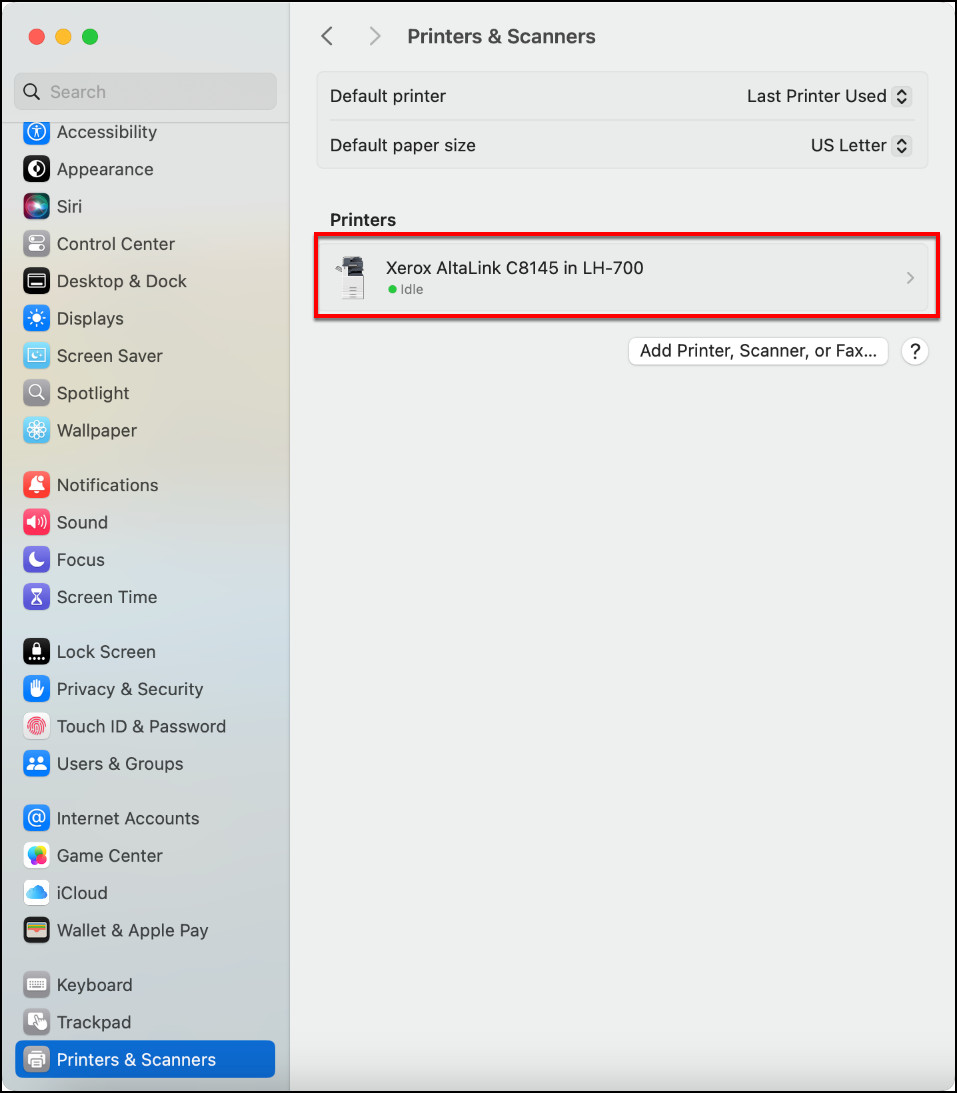 Printers and Scanners List Showing New Printer on Mac
Need Further Assistance with CSUF Printing?
For any additional help or troubleshooting related to CSUF printing and printer driver installation, CSUF faculty and staff are encouraged to contact the IT Help Desk.
- Email: [email protected]
- Phone: 657-278-7777
The IT Help Desk is available to provide comprehensive support and ensure you have a smooth CSUF printing experience.