
Hello! I’m Jo Howell, a photographic artist with nearly 14 years of experience using Printing Cyanotype as a primary medium. Cyanotype is truly remarkable; it’s a simple process offering beautiful results, regardless of your skill level. Whether you’re a seasoned artist or just starting your creative journey, printing cyanotype is a wonderfully forgiving and accessible technique to explore.
Step 1: Gather Your Cyanotype Printing Equipment
Like any art form, successful printing cyanotype hinges on preparation. Getting organized beforehand ensures a smoother, more enjoyable process. Here’s what you’ll need to get started:
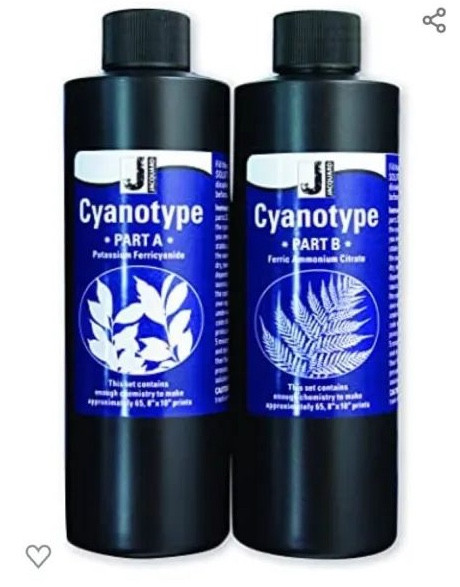 Bottles of Jacquard cyanotype chemistry, solution A and solution B, ready for cyanotype printing
 Selection of items used in cyanotype printing, including exposed and unexposed paper, plants, and vintage tiles
 Collection of vintage tiles from The Mountain Daisy, used for unique cyanotype prints
Step 2: Mixing Your Cyanotype Solutions
If you’re starting with cyanotype crystals, it’s best to prepare your solutions at least 24 hours before you plan to print. Mix the crystals separately with water to create Solution A and Solution B. Keep these solutions in separate containers and store them in a cool, dark, and dry place. Only combine Solution A and Solution B when you are ready to begin printing cyanotype.
When you’re ready to print, mix Solution A and Solution B together in a clean container. This combination creates the light-sensitive solution essential for printing cyanotype. Mix only what you need for your current project. A small 1:1 ratio mixture is generally sufficient to coat several sheets of paper or a couple of pieces of fabric, perfect for your initial printing cyanotype experiments.
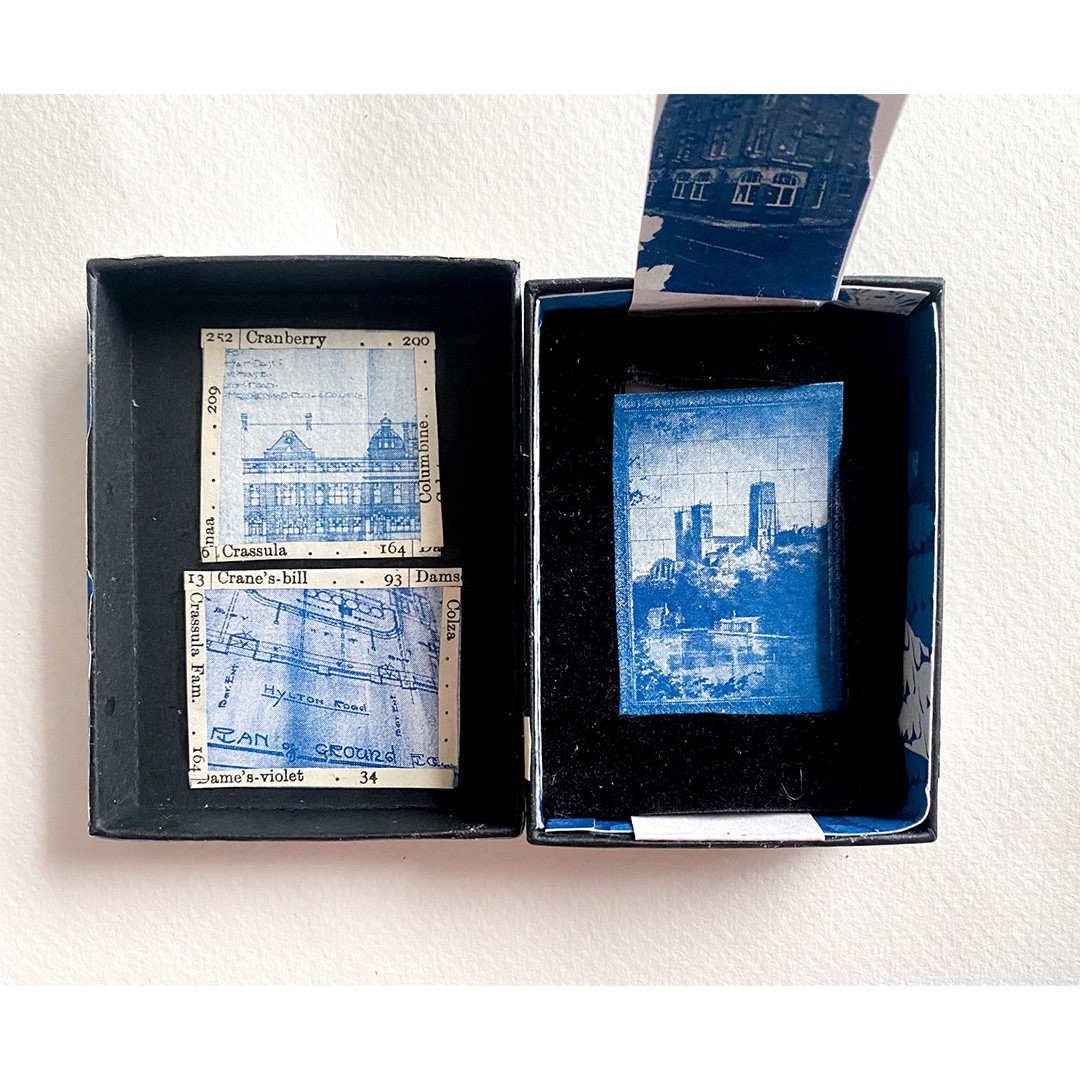 A vintage wooden treasure box from The Mountain Daisy, likely used to store cyanotype printing supplies
Step 3: Applying the Cyanotype Solution to Your Material
Use a sponge brush to apply a thin, even coat of your mixed cyanotype solution to the surface of your paper or fabric. Remember, cyanotype is a photographic chemical process, not a pigment or dye. It works at a molecular level, so a thin application is ideal.
Applying too much solution can lead to uneven coating and even cause the image to wash away during development. For successful printing cyanotype, less is often more. A thin layer of these light-sensitive molecules is all you need to create those stunning blue hues characteristic of printing cyanotype.
Step 4: Drying and Storing Your Coated Paper
Once you’ve coated your paper or fabric with the cyanotype solutions, place them in a cool, dark place to dry completely. Prepared paper can be stored in a dark cupboard for up to two weeks before use, making it convenient for multiple printing cyanotype sessions. When I’m teaching workshops, I often prepare the paper the night before, ensuring everything is ready for the next day’s printing cyanotype activities.
 A close-up of The Mountain Daisy treasure box, hinting at the storage of prepared cyanotype paper
Step 5: Setting Up for Exposure in Cyanotype Printing
Now it’s time to prepare for the magic of exposure, the heart of printing cyanotype. Take your coated and dried cyanotype paper and arrange your chosen objects or acetate negatives on top of the yellow-coated side.
If you’re harnessing the power of the sun for exposure, you’ll need to weigh down your arrangement with a sheet of glass to ensure good contact and sharp prints. For bulkier, 3D objects, you might not need glass at all. However, if you’re printing cyanotype from acetate negatives, the glass is crucial to ensure even and close contact between the negative and the cyanotype paper, resulting in a clear and detailed image.
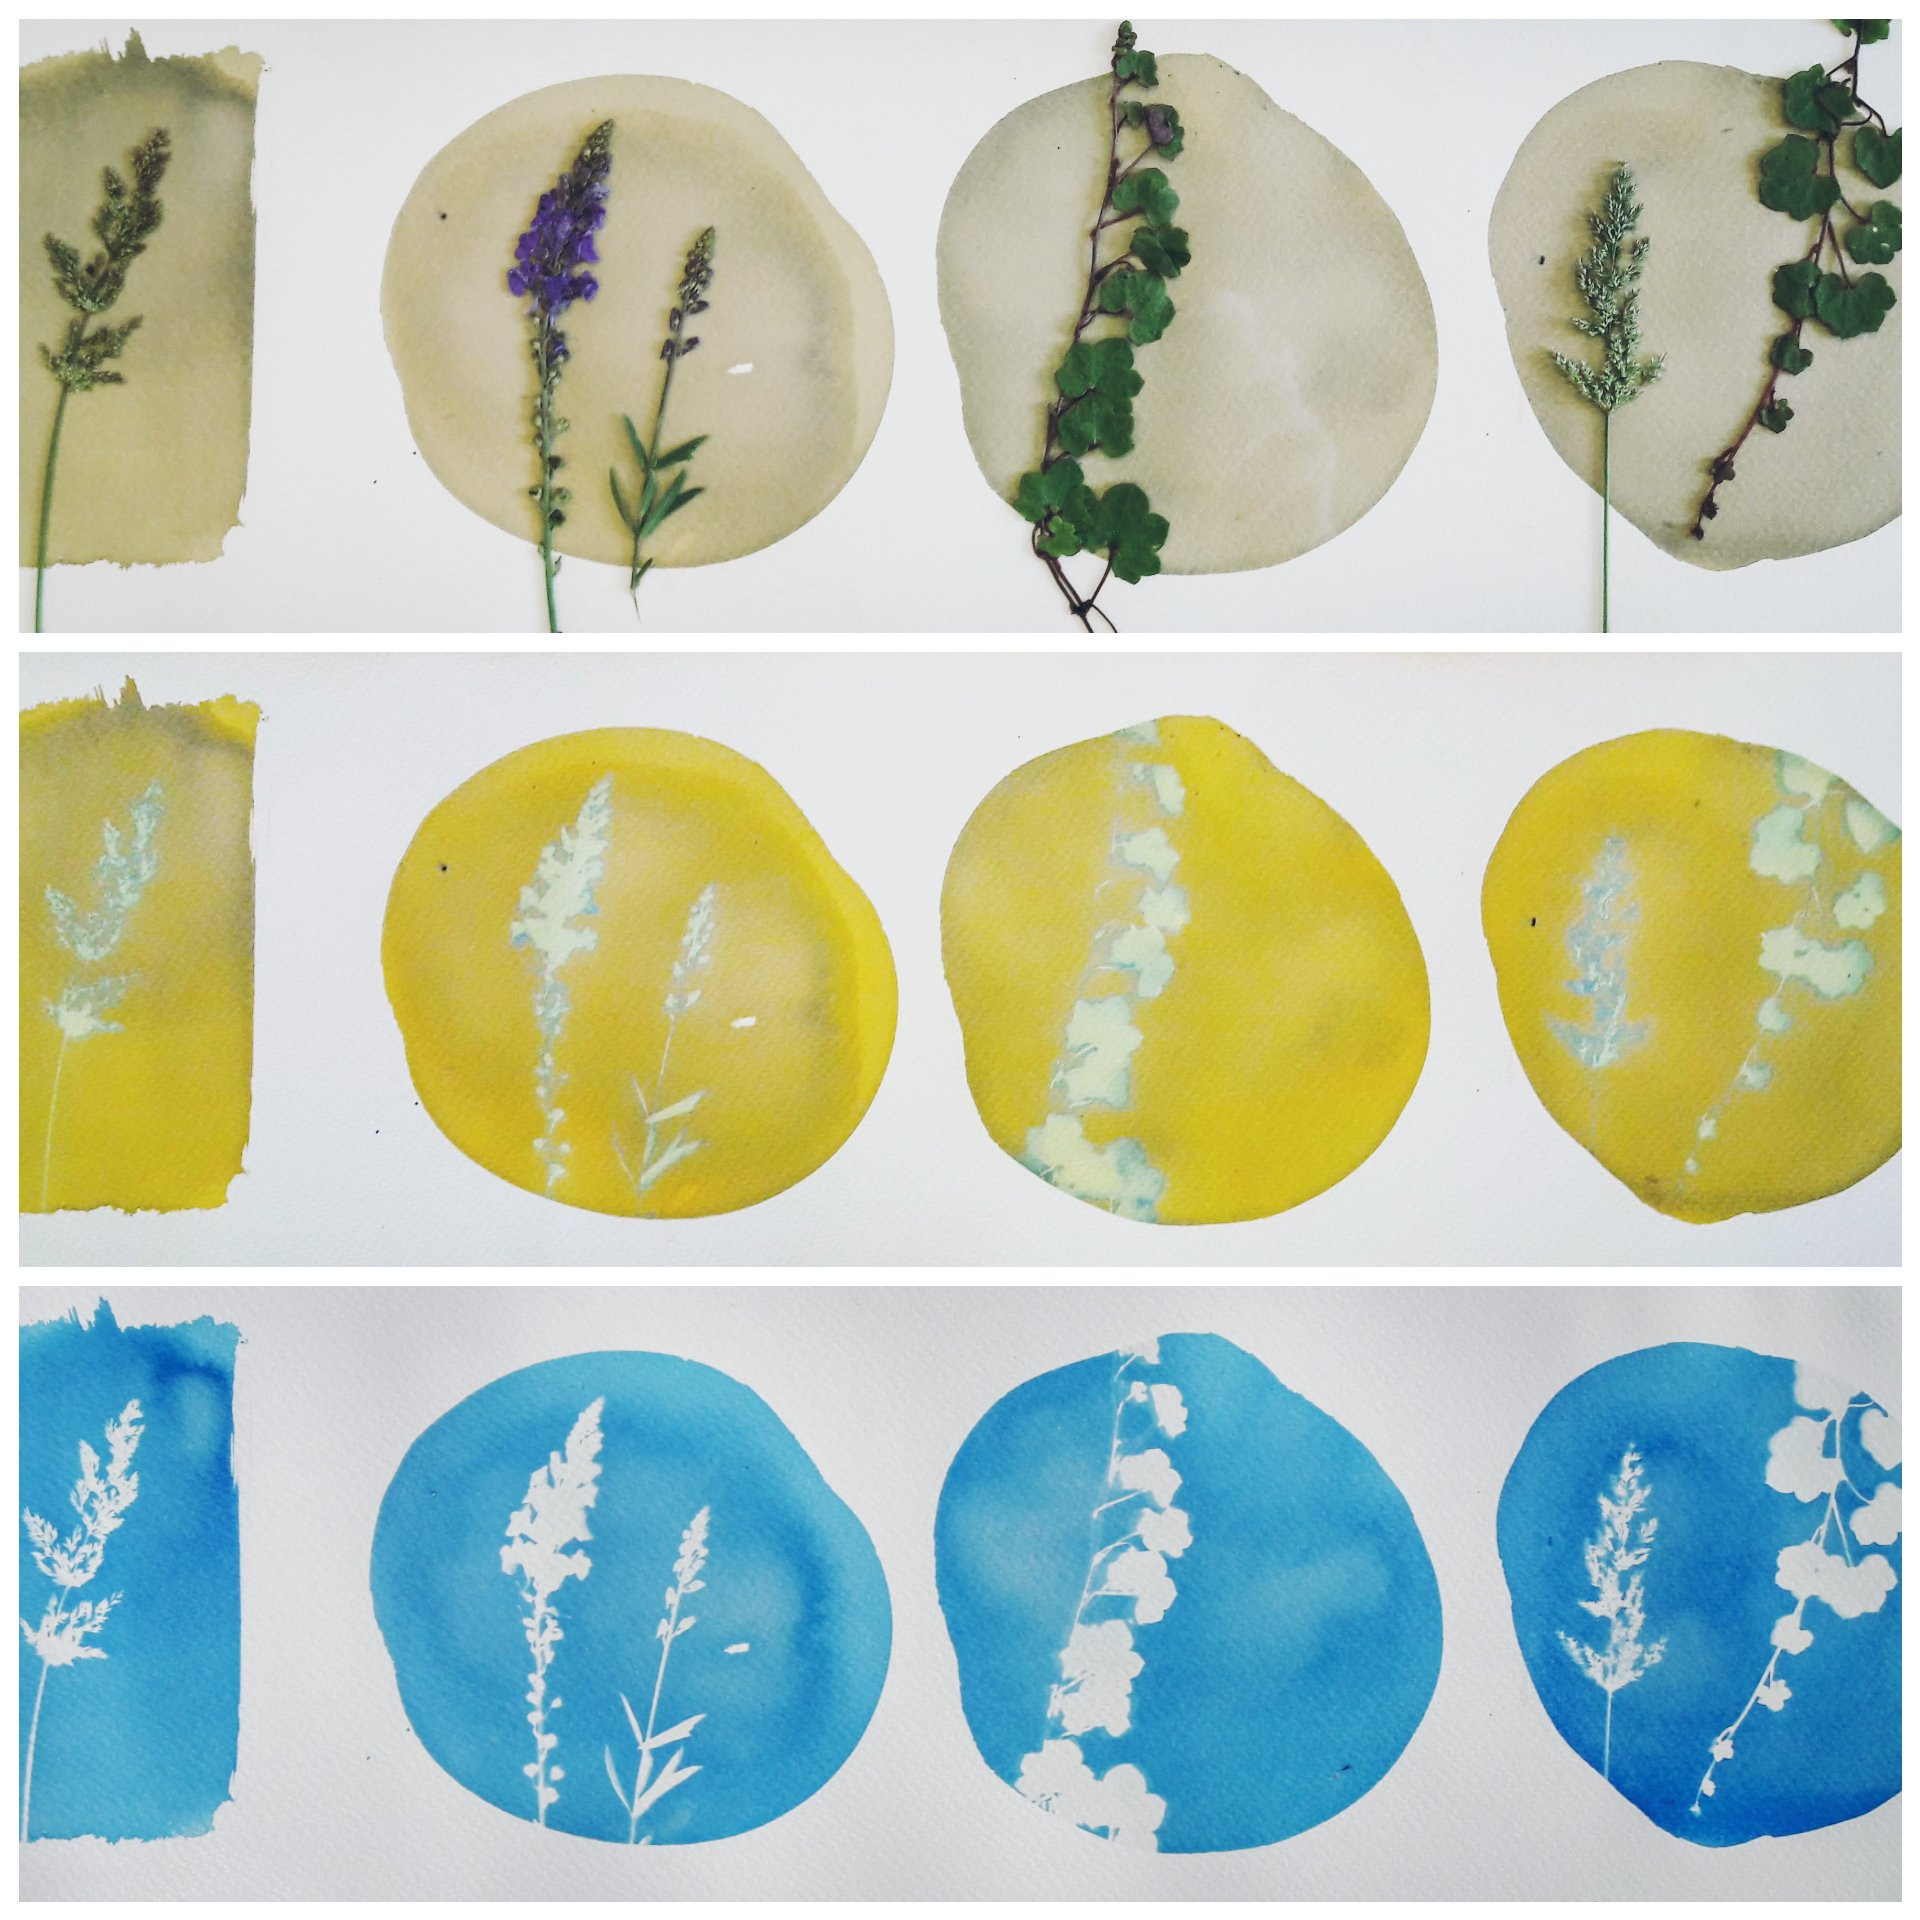
Step 6: Exposing Your Cyanotype Image to Light
When it comes to exposure in printing cyanotype, it’s generally better to overexpose rather than underexpose. Overexposure means leaving your print in the sun or under a UV lamp for slightly longer than you might think necessary.
This is because you can always wash your print for a longer period to recover details that might be lost due to overexposure. However, if you underexpose, the information simply isn’t captured in the first place and cannot be added back in. Properly exposed cyanotype solution will exhibit a slightly orange-rust color, indicating the iron oxide base is reacting correctly. On a sunny summer day, this reaction can happen very quickly!
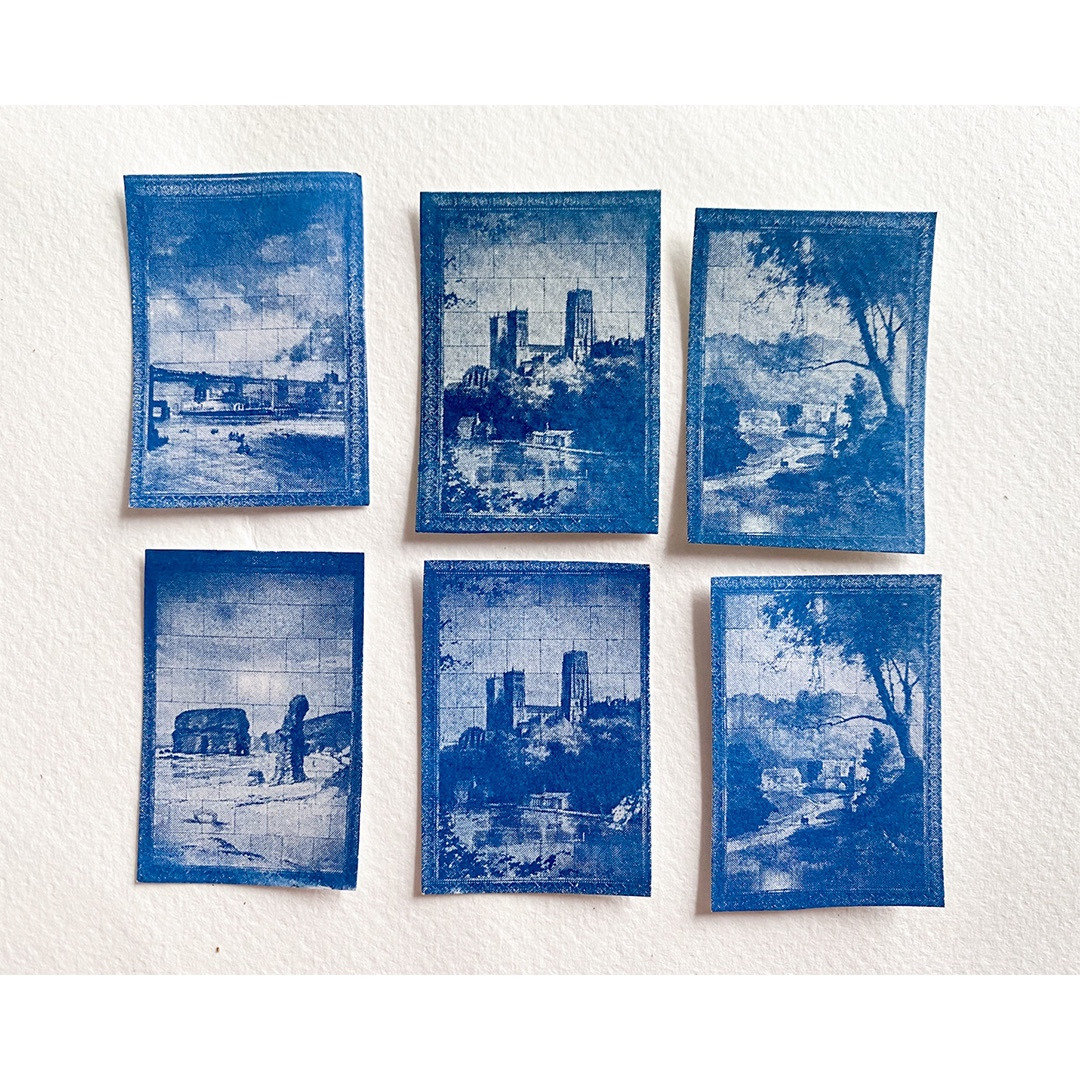
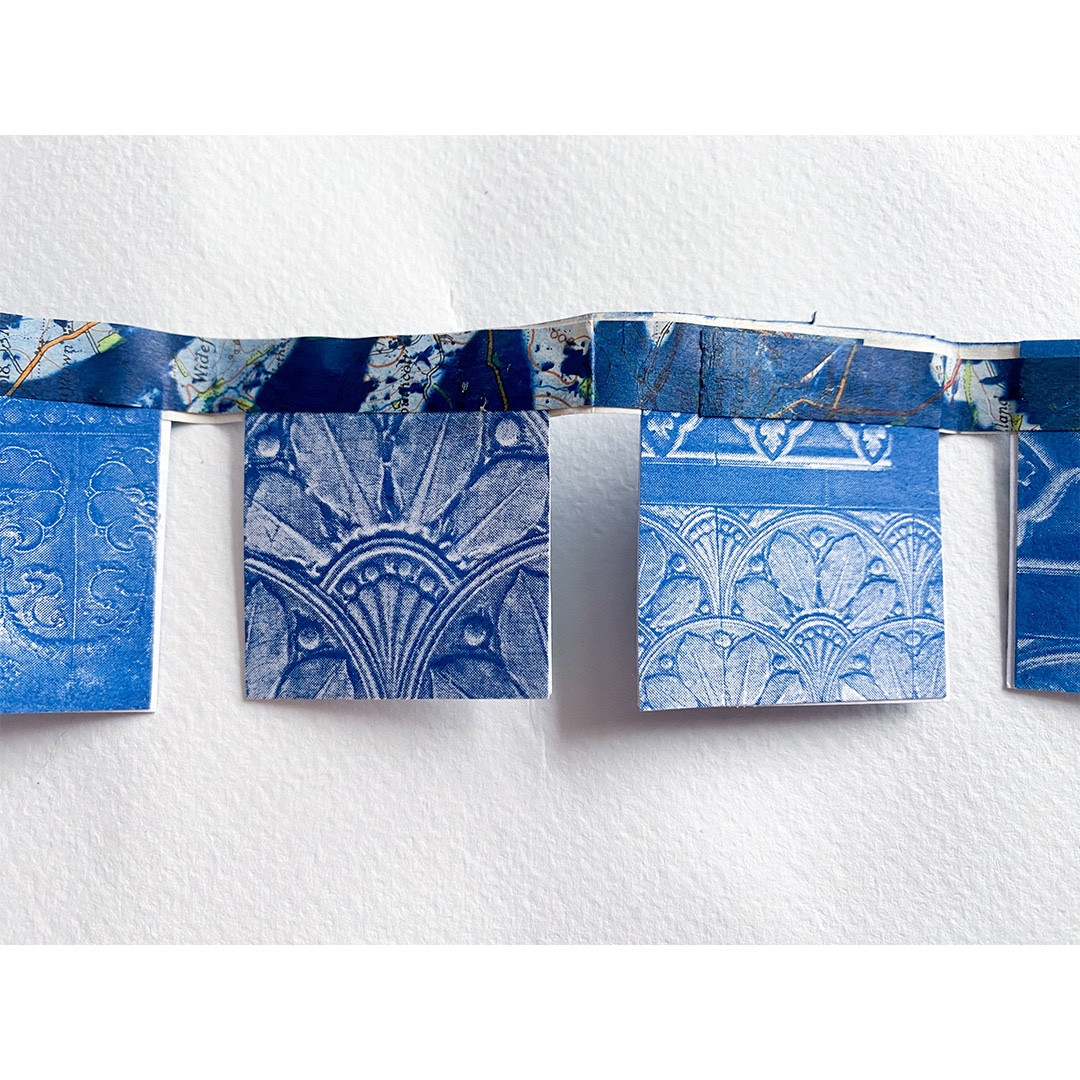 Detail of cyanotype tiles, showcasing the intricate patterns and blue tones achieved through printing cyanotype
Step 7: Washing Your Cyanotype Print
Washing is a critical step in printing cyanotype. Use super cold water for washing your exposed print. Cold water beautifully sets and fixes the cyanotype blues, enhancing their vibrancy.
Insufficient washing will hinder the proper development of the blues, and the paper may remain light-sensitive, causing it to continue darkening even after development. It’s better to err on the side of washing for slightly too long rather than too little. Remember, washing isn’t just about removing excess solution; it’s about actively activating and fixing the chemical reaction that creates your printing cyanotype image.
Step 8: Drying Your Cyanotype Print
After washing, the best way to dry your printing cyanotype is by air-drying. Simply hang your print up to air dry naturally. Resist the temptation to speed up the process with a hairdryer or other heat source. Heat can negatively affect the delicate cyanotype chemistry and potentially compromise your print. Patience is key at this stage; allow your print to dry slowly and naturally.
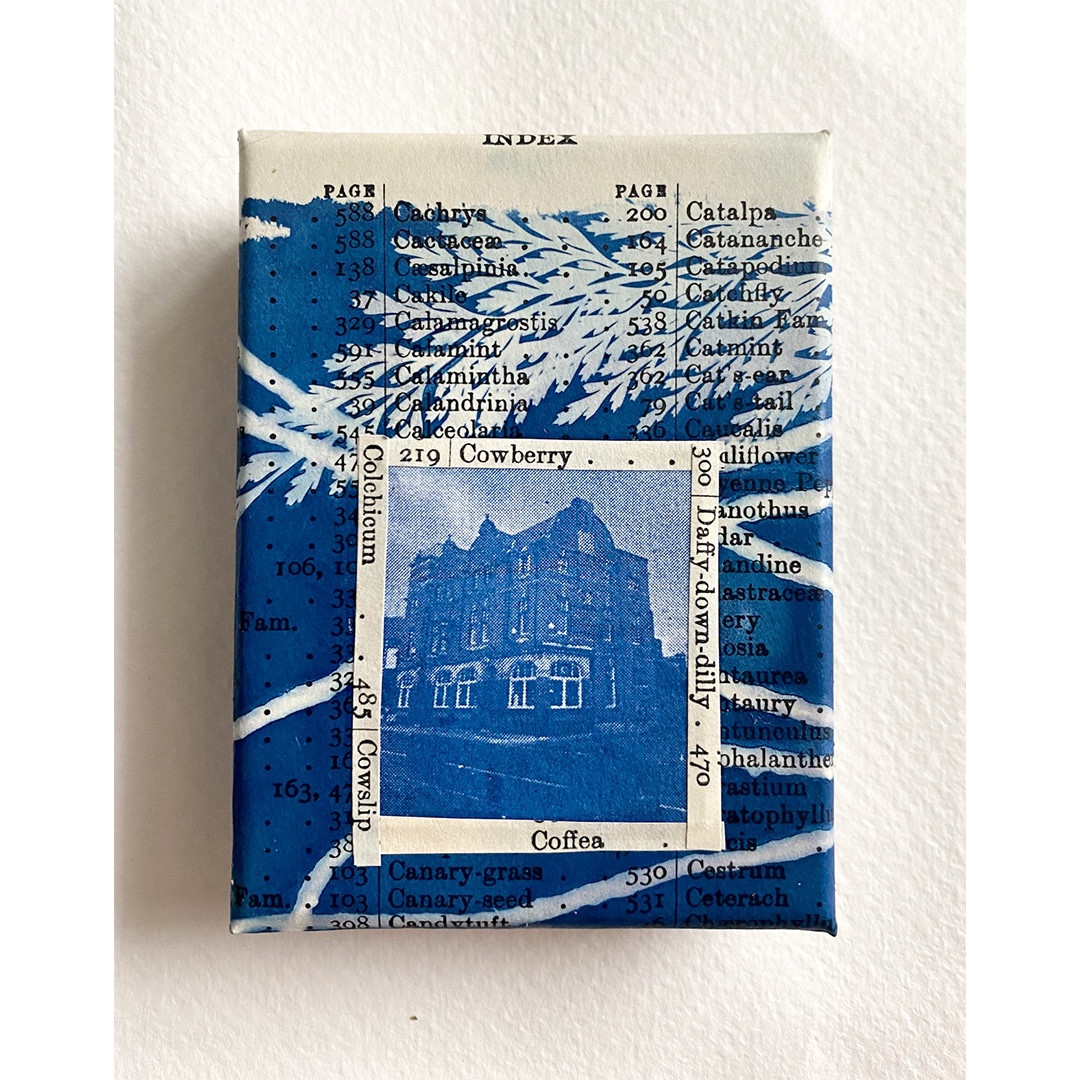
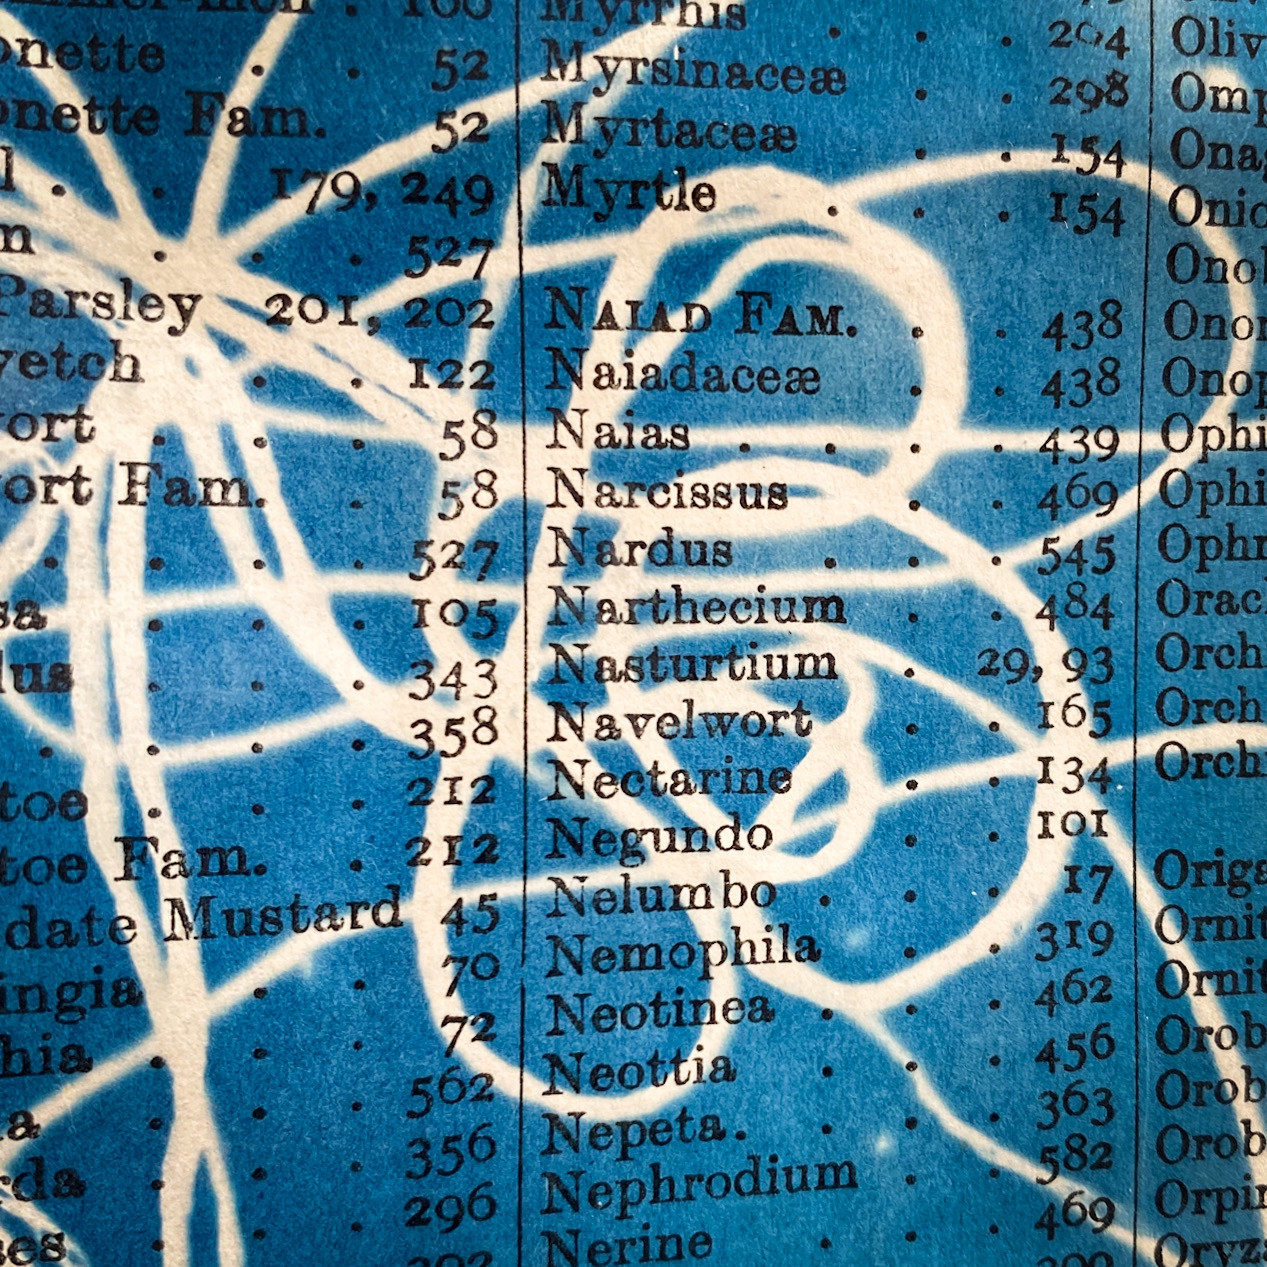 A cyanotype print on antique book paper featuring string, showcasing the delicate details and blue hues of printing cyanotype
Step 9: The Waiting Game and True Blues
As your printing cyanotype fully dries over a few days, it will deepen and reveal its true, rich blue color. While the longevity of cyanotypes is generally excellent, future exposure to excessive UV light, insufficient air circulation in frames, or damp conditions can affect the print over time. However, when displayed away from direct sunlight and in proper conditions, your printing cyanotype art should last for generations to enjoy.
Step 10: Share Your Cyanotype Art!
The joy of printing cyanotype is not just in the making but also in sharing your creations! Don’t forget to showcase your amazing art to the world. Use hashtags like #cyanotype #alternativeprocessphotography #cyanomasters to connect with a community of like-minded artists and enthusiasts. I’m excited to see what you create with printing cyanotype! Best of luck on your artistic journey!
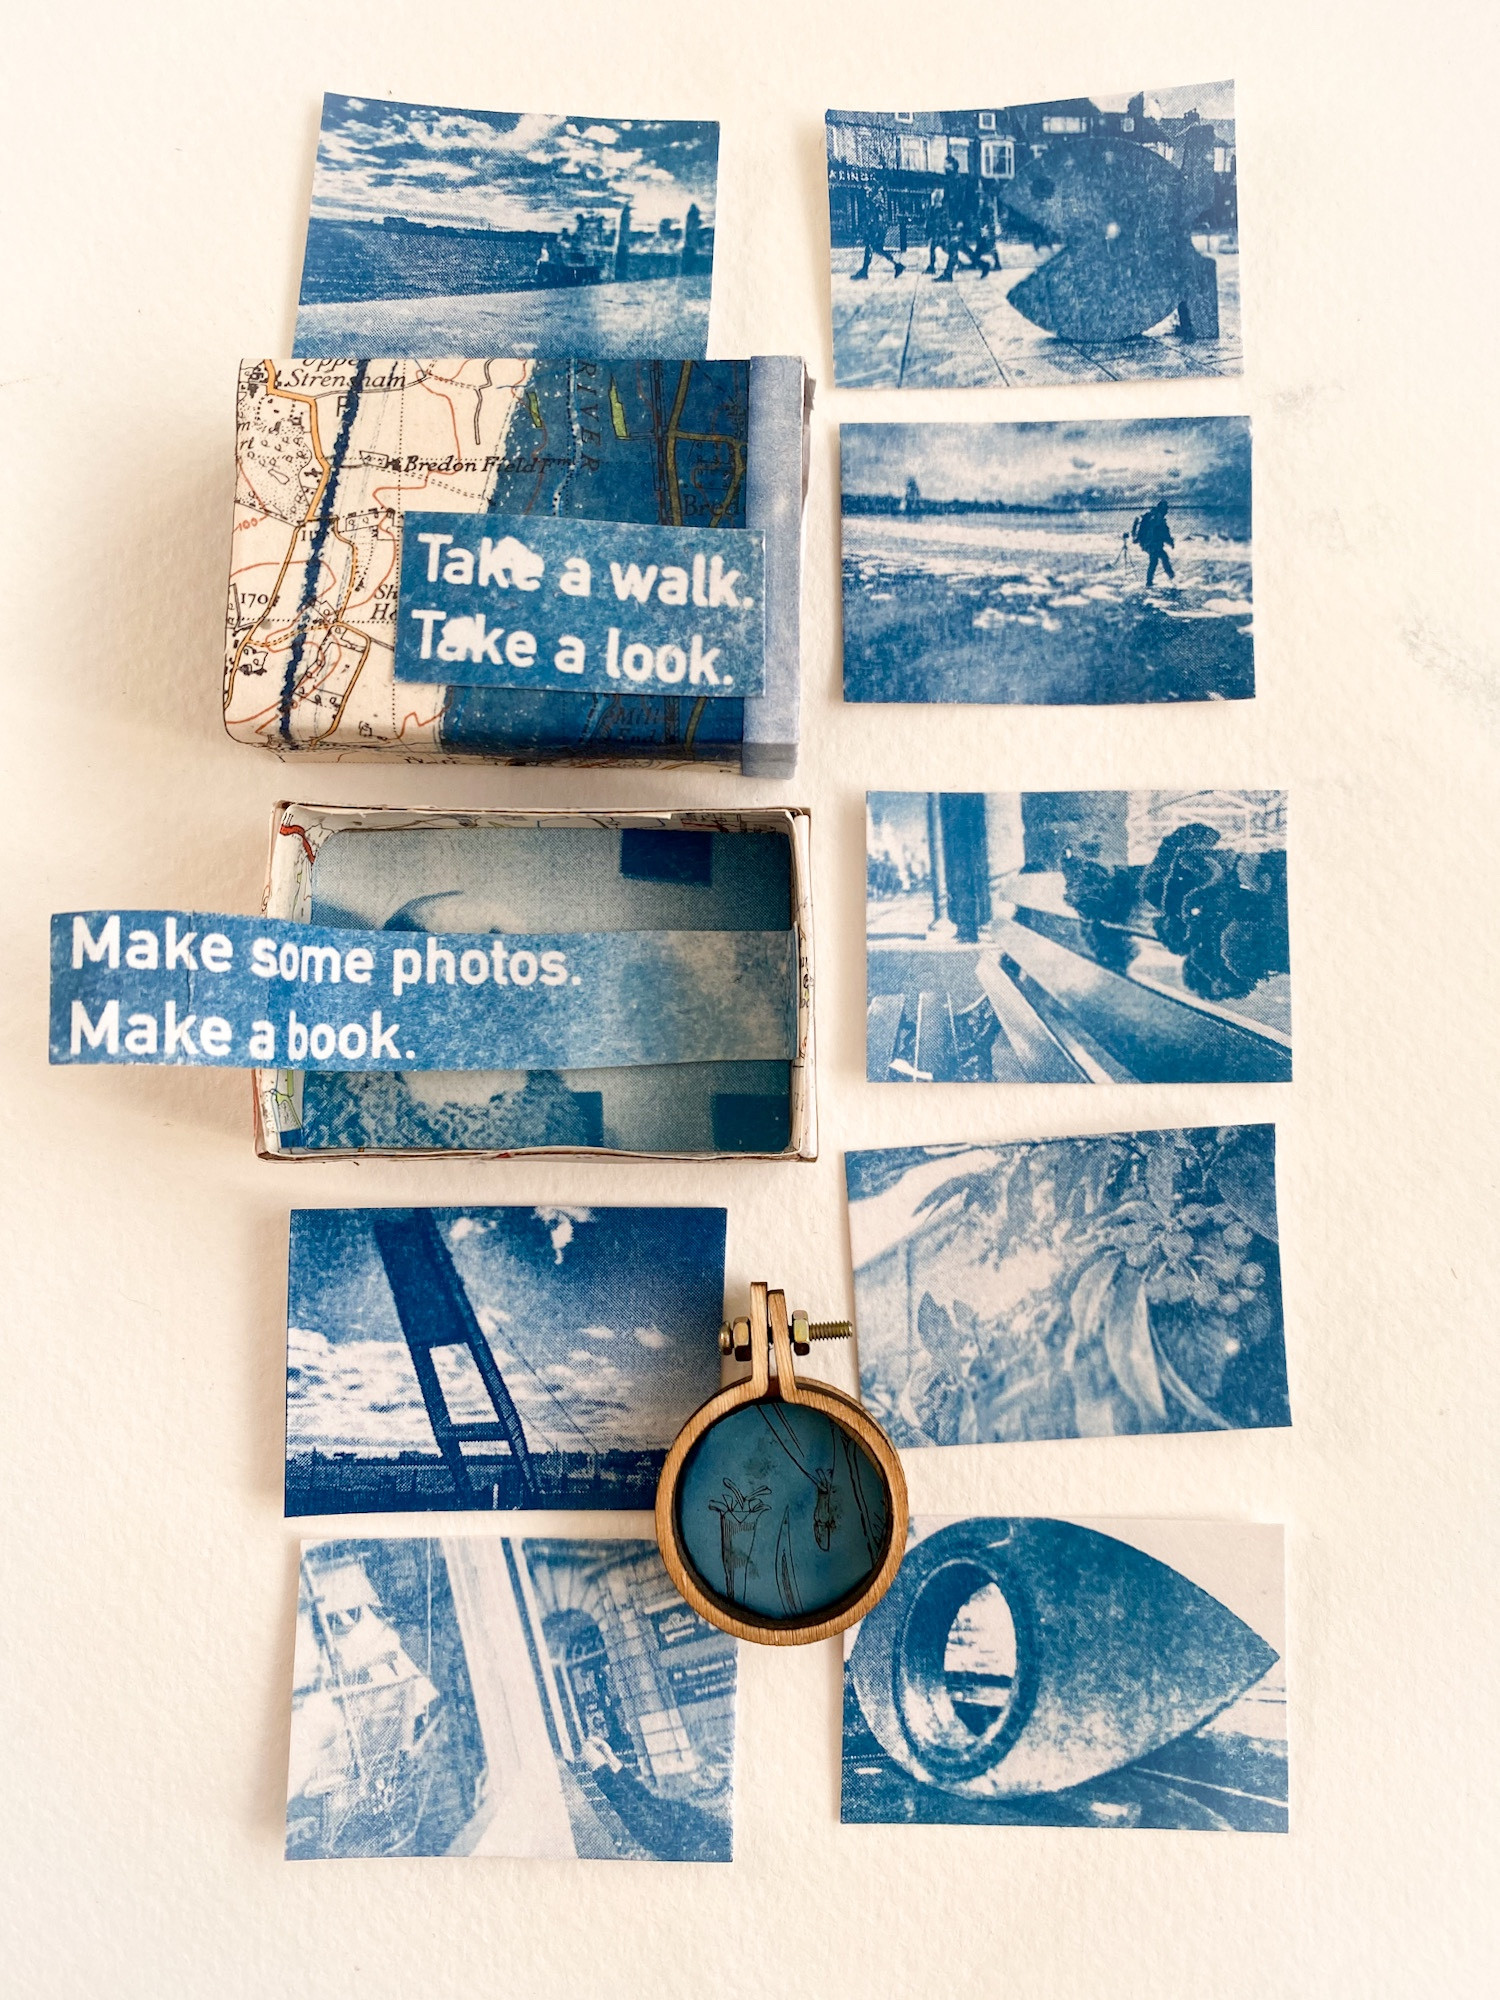 A cyanotype print on a vintage suitcase featuring a seagull, demonstrating the versatility of printing cyanotype on different surfaces