
Creating a controlled environment for your 3D printer can significantly improve print quality, reduce warping, and minimize noise and fumes. This project focuses on developing a modular and customizable 3d Print Enclosure using 3D printed parts, allowing makers to build enclosures tailored to their specific printer and space requirements. This article details the progress, design choices, and updates of this ongoing DIY enclosure project.
Initially, the project began with the design of corner pieces and side sections, aiming for a frame that’s easy to assemble and adapt. The core idea was modularity – offering side pieces in various lengths (6″, 12″, and 18″) to accommodate different enclosure sizes. This flexibility allows users to construct enclosures of varying dimensions, such as the 30″ tall, 24″ wide, and 24″ deep prototype, which utilizes 8 corner pieces and multiple side pieces.
 Assembled 3D print enclosure frame side view
To enhance the structure’s rigidity, especially for larger enclosures, new support components were introduced. The “Side_Brace” and “Middle_Brace” STL files provide extra support on the top panel. These braces are designed to reinforce the top of the 3D print enclosure, ensuring stability and preventing sagging, particularly when using heavier top panels or adding accessories on top.
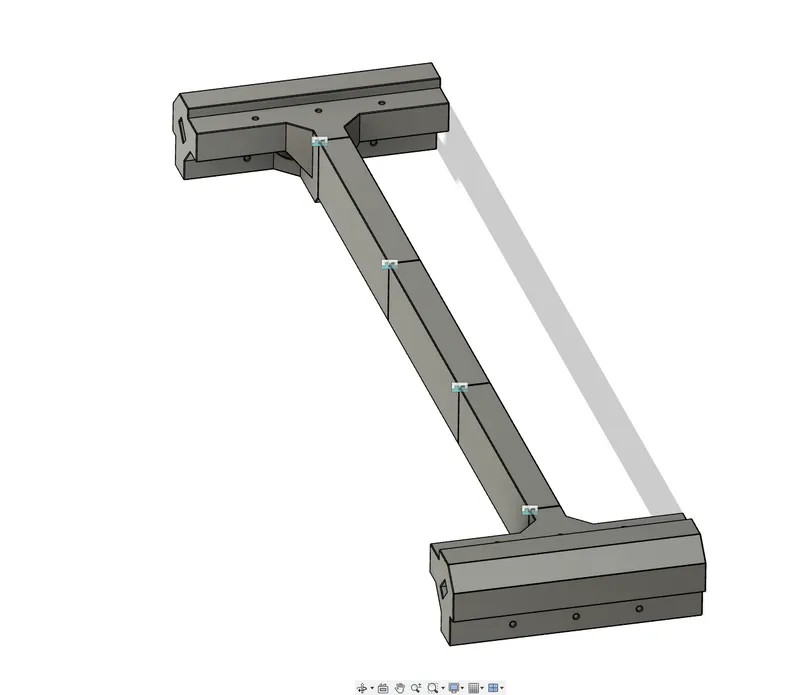 3D printed side and middle braces for enclosure support
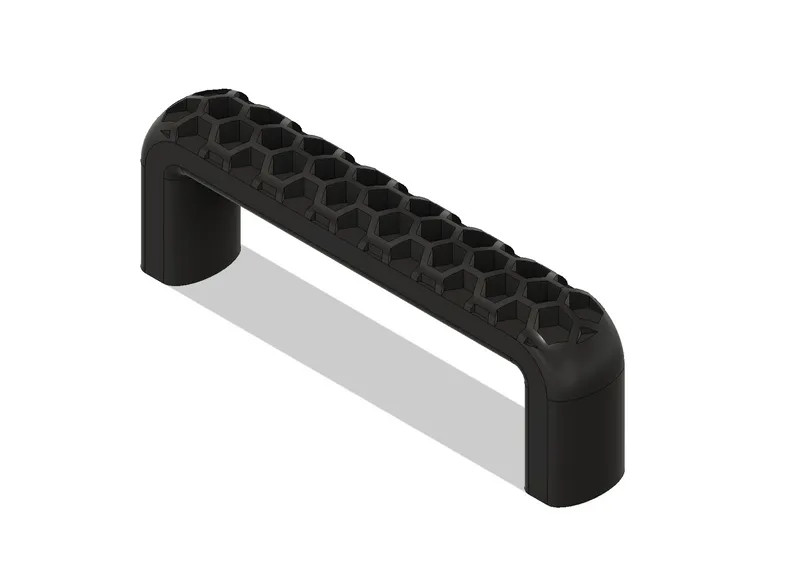
Functionality and user-friendliness are key considerations. A handle was designed and added to the project, making it easier to open and close the enclosure door. This seemingly small addition greatly improves the usability of the 3D print enclosure, providing a convenient grip for accessing the printer inside. Furthermore, to ensure secure closure, magnets were incorporated into the corner and corner-middle models. These magnets, combined with metal stickers, keep the enclosure door firmly shut, maintaining a consistent internal environment.
Material selection and printing parameters are crucial for the durability and performance of a 3D print enclosure. PETG was chosen as the primary printing material due to its balance of strength, flexibility, and temperature resistance. The prototype parts were successfully printed using SUNLU PETG on an Elegoo Neptune 3 printer. Recommended print settings include 4 wall counts and honeycomb infill patterns (50% for larger parts, 80% for connectors and hinges) to optimize structural integrity without excessive material usage.
Assembly is designed to be straightforward using readily available hardware. The enclosure utilizes Teks #8 x ¾” Sharp Point Lath Screws for most connections, with longer 1-¼” screws needed for the lower hinges. 5mm x 40mm steel pins serve as hinge pins, ensuring smooth door movement. For side panels, the frame is designed with a ¼” recess, allowing for various materials to be used. Expanded PVC plastic sheets, similar to Genesis ceiling tiles available at Lowe’s, are suggested panel materials, offering a balance of rigidity and ease of cutting.
This 3D print enclosure project aims to provide a practical, adaptable, and cost-effective solution for 3D printer users looking to enhance their printing experience. Ongoing development includes further refinements and additions based on user feedback and testing. Stay tuned for more updates and detailed assembly videos as the project progresses towards a fully completed and user-friendly 3D print enclosure design.