
Digitizing documents is a common task in today’s fast-paced world. Whether you’re working from home, managing household paperwork, or running a business, knowing how to scan documents from your printer to your computer is an essential skill. This guide will walk you through the process step-by-step for both Windows and Mac operating systems, ensuring you can easily convert your physical documents into digital files.
If you’re unsure whether your printer has scanning capabilities, the easiest way to check is by looking at the device itself or consulting its documentation. Most modern all-in-one printers combine printing, scanning, copying, and sometimes faxing functionalities. If your device has a flatbed scanner or a document feeder, you’re good to go!
Let’s dive into how to scan from your printer to your computer, making document digitization a breeze.
Scanning Documents on Windows 10 and Windows 11
Windows offers a built-in application called “Windows Scan” that simplifies the scanning process. Here’s how to use it to scan documents from your printer to your computer:
-
Ensure Printer Connection and Power: First and foremost, make sure your printer is properly connected to your Windows PC and is turned on. A stable connection, whether wired (USB) or wireless (Wi-Fi), is crucial for seamless scanning.
-
Open the Windows Scan App: Click on the Windows key on your keyboard to open the taskbar, then type “Windows Scan.” The Windows Scan application should appear in the search results. Click on it to open the app.
-
Place Your Document: Carefully place the document you want to scan either on the flatbed scanner glass or in the automatic document feeder, depending on your printer model and the type of document. Flatbeds are ideal for delicate documents or single pages, while document feeders are efficient for scanning multiple pages at once.
-
Configure Scan Settings: Within the Windows Scan app, you’ll find several settings to customize your scan:
- Scanner Selection: Use the Scanner dropdown menu to choose the correct printer if you have multiple scanning devices connected to your computer.
- Source Selection: In the Source field, specify where you are scanning from – usually either “Flatbed” or “Document Feeder.”
- File Type: Select your preferred file format from the File type dropdown. JPEG (.jpg) is a versatile option for images and documents, creating smaller files. For text-heavy documents where text recognition is important, PDF (.pdf) is highly recommended. PNG (.png) is another good option for images, offering lossless compression.
- Save Location: Click on Show more, then Save file to, and browse to select the folder on your computer where you want to save your scanned document. The default “Scanned Documents” folder is usually a convenient choice.
-
Initiate the Scan: Once you have configured all the settings, click the Scan button to start the scanning process. Windows Scan will communicate with your printer to scan the document.
-
Review and Save: After the scan is complete, you have a couple of options:
- View: Click View to preview the scanned image and perform basic edits like rotation or cropping within the Photos app if needed.
- Close: If you’re satisfied with the scan, simply click Close. The scanned document is now saved in your chosen location.
 Windows Scan App Interface
Alt: Windows Scan application interface on Windows 10, showing options for scanner selection, source, file type, and the scan button.
Scanning Documents on macOS
For Mac users, scanning is equally straightforward using the built-in “Printers & Scanners” settings. Here’s how to scan documents from your printer to your Mac:
-
Printer Connection and Power: Ensure your printer is connected to your Mac and powered on. Similar to Windows, a stable connection is key.
-
Access Printers & Scanners: Click on the Apple menu in the top-left corner of your screen, then select System Preferences, and finally click on Printers & Scanners.
-
Select Your Printer: In the Printers & Scanners window, you will see a list of installed printers on the left side. Select your printer from this list.
-
Open Scanner: On the right side of the Printers & Scanners window, you should see an Open Scanner button. Click this button. If you don’t see “Open Scanner” immediately, you might need to first click on the Scan tab which might be present next to “General” or “Supply Levels”, and then the “Open Scanner” button should appear.
-
Configure Scan Settings: The scanner interface will open, providing you with various settings to customize your scan:
- Use Document Feeder: If you are using a flatbed scanner and not an automatic document feeder, ensure that the Use Document Feeder checkbox is unchecked (if present).
- Kind: Use the Kind pop-up menu to select the type of document you are scanning. Options typically include “Text,” “Black & White,” “Color,” or “Photo,” optimizing the scan settings for the content.
- Size: Choose the paper size of your document from the Size pop-up menu. Common options include “Letter,” “A4,” and “Legal.”
- Scan To: Select the destination folder for your scanned file using the Scan To pop-up menu. You can choose default folders like “Pictures” or “Documents,” or select “Choose Folder…” to specify a custom location.
- Duplex Scanning (if applicable): If your printer supports duplex scanning (scanning both sides of a page automatically), you can select the Duplex checkbox to scan both sides of your document in one pass.
-
Initiate Scan: Once your settings are configured, click the Scan button in the scanner window to begin scanning.
Alt: macOS Printers & Scanners preferences showing a printer selected and the “Open Scanner” button highlighted, ready to initiate the scanning interface.
(Note: Please replace image_url_placeholder_mac_scanner_settings.png with a relevant image URL if available.)
Optimizing Your Scans for Quality and Efficiency
To ensure you get the best possible scans, consider these optimization tips:
- Resolution (DPI): For standard documents, a resolution of 300 DPI (dots per inch) is generally sufficient for clear text and images. If you need to enlarge scanned images or require very high detail, consider using 600 DPI or higher. However, higher resolutions result in larger file sizes.
- File Format: Choose the appropriate file format based on your needs. PDF is excellent for documents, especially multi-page ones, and preserves formatting. JPEG is good for photos and images when file size is a concern. PNG is suitable for images where lossless quality is important.
- Document Feeder vs. Flatbed: Use the automatic document feeder for multi-page documents to save time. Use the flatbed scanner for single pages, thick documents, or fragile items that cannot go through the feeder.
- Preview and Adjust: Most scanning interfaces offer a preview scan option. Use this to check the document alignment and scan area before finalizing the scan. You can make adjustments to settings like brightness, contrast, or color correction if needed.
- OCR (Optical Character Recognition): If you need to edit the text within your scanned document, choose the PDF format and ensure your scanning software supports OCR. This feature converts scanned images of text into actual text that you can copy, edit, and search.
Troubleshooting Common Scanning Issues
If you encounter problems while scanning, here are a few common troubleshooting steps:
- Check Connections: Ensure your printer is properly connected to your computer (USB or Wi-Fi) and that both devices are powered on.
- Restart Devices: Sometimes, simply restarting your computer and printer can resolve connection glitches.
- Update Drivers: Make sure you have the latest drivers installed for your printer. You can usually download drivers from the printer manufacturer’s website.
- Software Conflicts: Close any other applications that might be interfering with the scanning process.
- Consult Printer Manual: Refer to your printer’s manual for specific troubleshooting steps or error codes.
- Reinstall Printer Software: If problems persist, try uninstalling and then reinstalling your printer software and drivers.
Choosing the Right Scanner: Multifunction Printers and Dedicated Scanners
Depending on your needs, you might consider different types of scanning devices:
-
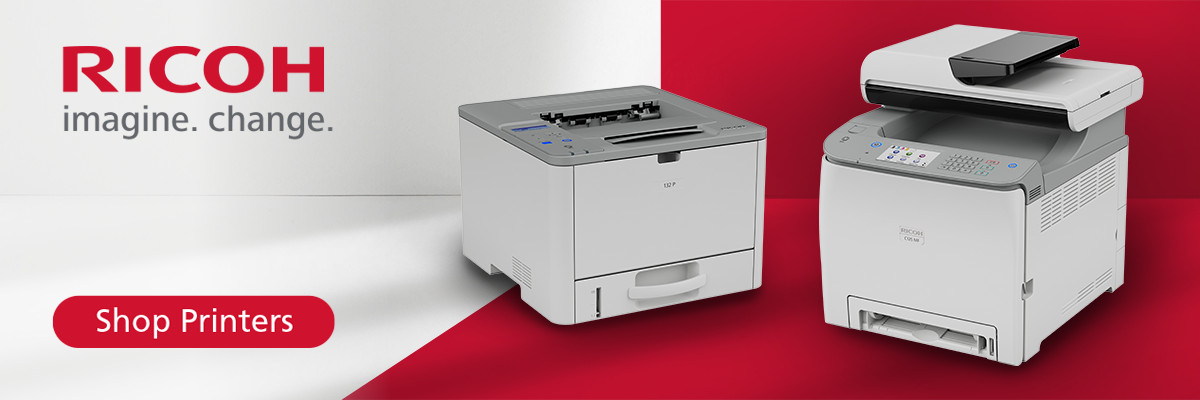
Multifunction Printers (MFPs): These all-in-one devices combine printing, scanning, copying, and sometimes faxing into a single unit. They are ideal for home and small office use, offering convenience and space-saving design. The RICOH C125 MF is an example of a high-quality MFP that offers excellent scanning capabilities along with printing, copying, and faxing functionalities.
-
Dedicated Scanners: For heavy-duty scanning tasks or specialized needs (like scanning photos, slides, or large documents), dedicated scanners offer superior performance and features. They often come with advanced software and higher scanning speeds.
When choosing a scanner, consider these essential features:
- Ease of Use: Look for devices with user-friendly interfaces, one-button scanning, and intuitive software.
- Reliability: Choose a scanner known for its durability and consistent performance. Features like readily replaceable parts and good warranty programs are important.
- Quality: Ensure the scanner provides sufficient resolution (at least 300 DPI for documents, 600 DPI or higher for images) for your needs.
- Speed: If you frequently scan multiple documents, consider a scanner with an automatic document feeder (ADF) for faster processing.
Conclusion
Scanning documents from your printer to your computer is a straightforward process on both Windows and macOS. By following these steps and optimizing your scan settings, you can efficiently digitize your physical documents, making them easier to store, share, and manage. Whether you are using a multifunction printer or a dedicated scanner, understanding the scanning process empowers you to create a paperless workflow and enhance your digital document management.
If you’re looking to upgrade your office equipment, explore the benefits of multifunction printers like the RICOH C125 MF for a versatile solution that combines printing and scanning in one device.
