
In today’s digital age, the need to create digital copies of documents is more relevant than ever. Whether it’s for archiving important files, sharing documents without worrying about formatting changes, or simply going paperless, saving a document as a PDF is often the ideal solution. If you are a macOS user, you’re in luck! The ability to “print” to PDF is a built-in feature, making it incredibly easy to create PDFs from virtually any application. This guide will walk you through the simple steps to print as PDF on your Mac, ensuring you can create digital documents effortlessly.
Printing to PDF on macOS: A Step-by-Step Tutorial
macOS has offered seamless PDF support for two decades, integrating a PDF printer directly into the operating system. This functionality is accessible from almost any application that supports printing, such as web browsers like Safari and Chrome, document editors like Pages and Microsoft Word, and many more. Let’s explore how to use this feature to save your documents as PDFs.
Step 1: Initiate the Print Process
To begin, open the document you wish to convert to PDF. Once your document is open in its respective application, navigate to the menu bar located at the top of your screen. Click on “File,” and from the dropdown menu, select “Print.” This action will open the print dialog window, preparing you for the next step in creating your PDF.
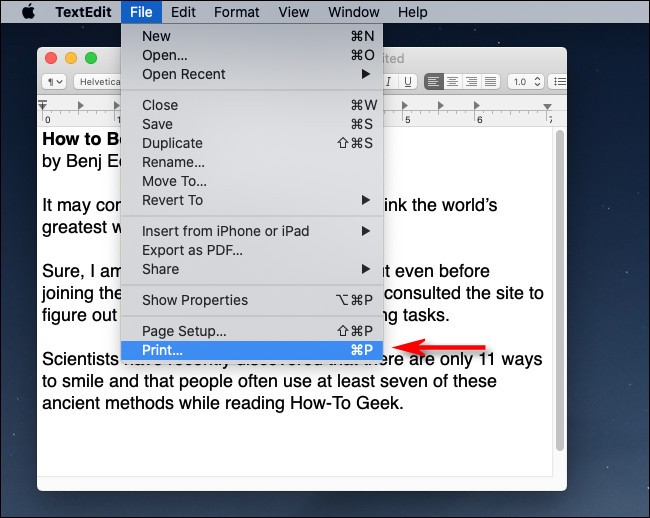 File menu open with Print option highlighted on macOS
Step 2: Unveiling the PDF Menu
Within the print dialog window, you’ll notice various printer settings and options. Disregard the standard “Print” button for now. Instead, look towards the bottom-left corner of the window. You will find a dropdown menu labeled “PDF.” Click on this dropdown menu to reveal a list of PDF-related options. This is your gateway to saving your document as a PDF file.
 PDF dropdown menu highlighted in macOS print dialog
Step 3: Selecting “Save as PDF”
From the PDF dropdown menu, a few options will be presented. To save your current document as a PDF, select “Save as PDF…” from the list. This specific option is what initiates the process of converting your printable document into the universally compatible PDF format.
Step 4: Saving Your PDF Document
Upon selecting “Save as PDF…”, a familiar Save dialog box will appear. Here, you can customize the name of your PDF file and choose where you want to save it on your Mac. Type in your desired file name in the “Save As” field. Then, use the dropdown menus or file directory to choose a location, such as your “Documents” folder or “Desktop,” or any other folder you prefer. Once you’ve named your file and selected a save location, click the “Save” button.
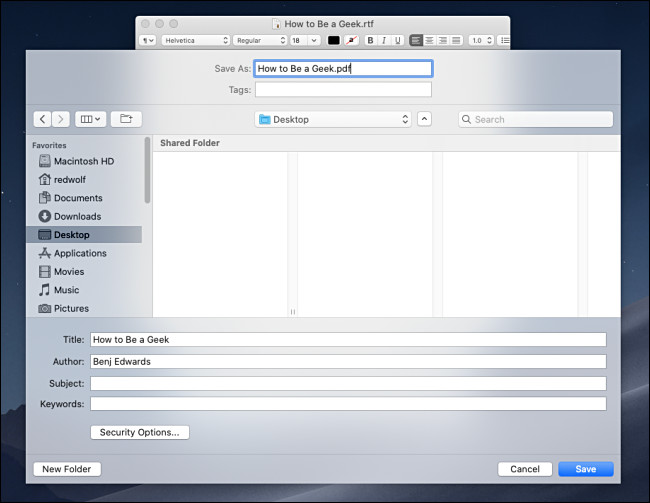 macOS Save dialog box for PDF export
Your document is now being “printed” as a PDF file to the location you specified. The process is usually very quick. To verify that the process was successful, navigate to the location where you saved the PDF and double-click the file. It should open in Preview or your default PDF viewer, displaying your document exactly as it would appear if printed on paper.
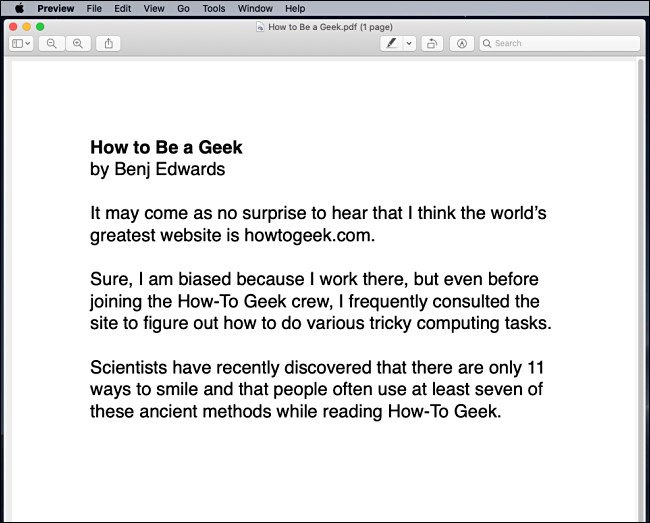 Example of a document printed as PDF on macOS
Now you have a digital version of your document in PDF format. You can easily share this PDF via email, upload it to cloud storage, or archive it for your records, knowing that the formatting will remain consistent across different devices and operating systems. Printing to PDF on Mac is a simple yet powerful way to manage your documents digitally.