Have you ever wanted to add a personal touch to your gifts that truly stands out? There’s a unique satisfaction in crafting something from scratch, especially when it comes to gift-giving. For those who appreciate the finer details and love to personalize every aspect of their presents, designing and printing your own wrapping paper is a game-changer. Imagine the delight of the recipient unwrapping a gift adorned with paper you designed yourself – it elevates the entire gifting experience. This guide will walk you through the steps to create custom wrapping paper that’s as unique as your gifts.
Why DIY Wrapping Paper?
Creating your own wrapping paper offers numerous advantages. Firstly, it allows for unparalleled personalization. You can design paper that perfectly matches the gift, the recipient’s personality, or the occasion. Forget generic store-bought options; with DIY wrapping paper, your gifts become instantly recognizable and extra special.
Secondly, it’s a fantastic way to express your creativity. Designing wrapping paper is a fun project that lets you experiment with patterns, colors, and themes. Whether you’re into minimalist designs, vibrant graphics, or festive motifs, the possibilities are endless.
Finally, printing your own wrapping paper can be surprisingly cost-effective, especially if you frequently give gifts. Purchasing seamless patterns online is a one-time investment, and printing at home can be cheaper than buying premium wrapping paper repeatedly. Plus, you have the satisfaction of knowing you made it yourself!
Materials You’ll Need to Print Wrapping Paper
Before diving into the design and printing process, ensure you have the necessary tools and materials:
- Seamless Pattern Design: Purchase and download a seamless pattern from online marketplaces like Creative Market or Etsy. Seamless patterns are designed to tile perfectly, allowing you to repeat them across a larger surface without visible seams.
- Adobe Illustrator: This vector graphics software is essential for resizing and arranging your seamless pattern to create printable wrapping paper.
- Printer: A high-quality inkjet printer capable of handling thicker paper is recommended. The Canon PIXMA iP8720 Crafting Printer is an excellent choice for printing vibrant, large-format designs.
- Photo Matte Paper: Using matte photo paper, such as Canon Photo Matte Paper (13″ x 19″), will result in professional-looking wrapping paper with rich colors and a smooth finish.
Step-by-Step Guide to Design and Print Custom Wrapping Paper
Follow these detailed steps to design and print your personalized wrapping paper:
-
Open Your Seamless Pattern in Adobe Illustrator: Launch Adobe Illustrator and open your downloaded seamless pattern file by navigating to
File > Openand selecting your file. -
Note the Pattern Width: Take note of the width of your seamless pattern. This measurement is crucial for accurately tiling the pattern. You can usually find this information in the file details or by selecting the pattern and checking the properties panel in Illustrator.
-
Adjust the Artboard Size: Press
Shift + Oto enter artboard editing mode. Change the artboard dimensions to match your chosen paper size. For Canon Photo Matte Paper (13″ x 19″), set the artboard to these dimensions. PressVto exit artboard editing mode. The artboard represents the printable area for your wrapping paper. -
Position the Seamless Pattern: Drag your seamless pattern image to the upper left corner of the artboard. This serves as the starting point for tiling the pattern.
-
Copy the Seamless Pattern: Select the seamless pattern image and press
Command + C(Ctrl + C on Windows) to copy it to your clipboard. -
Paste in Front: Press
Command + F(Ctrl + F on Windows) to paste a copy of the pattern directly in front of the original. This ensures precise alignment for tiling. -
Move the Copied Pattern Horizontally: Go to
Object > Transform > Move. In the Move dialog box, enter the width of your seamless pattern (e.g., “12 inches”) in the “Horizontal” field and “0” in the “Vertical” field. Click “Okay.” This will shift the copied pattern horizontally by the exact width of the pattern, creating a seamless tile.
 Seamless pattern design being moved horizontally in Adobe Illustrator to create printable wrapping paper.
-
Select Both Patterns: Drag your mouse over both pattern tiles on the artboard to select them.
-
Move the Tiled Patterns Vertically: Go back to
Object > Transform > Move. This time, set the “Horizontal” value to “0” and the “Vertical” value to the width of your seamless pattern (e.g., “12 inches”). -
Repeat to Fill the Artboard: Immediately repeat steps 8 and 9 multiple times to fill the entire 13×19 inch artboard with the seamless pattern. This creates a large sheet of wrapping paper design.
 Artboard in Adobe Illustrator filled with a tiled seamless pattern ready to print as wrapping paper.
- Print Your Wrapping Paper: Now your design is ready for printing! Send your Adobe Illustrator file to your Canon PIXMA iP8720 or your chosen crafting printer. Ensure you select the correct paper type (matte photo paper) and print settings for the best quality output.
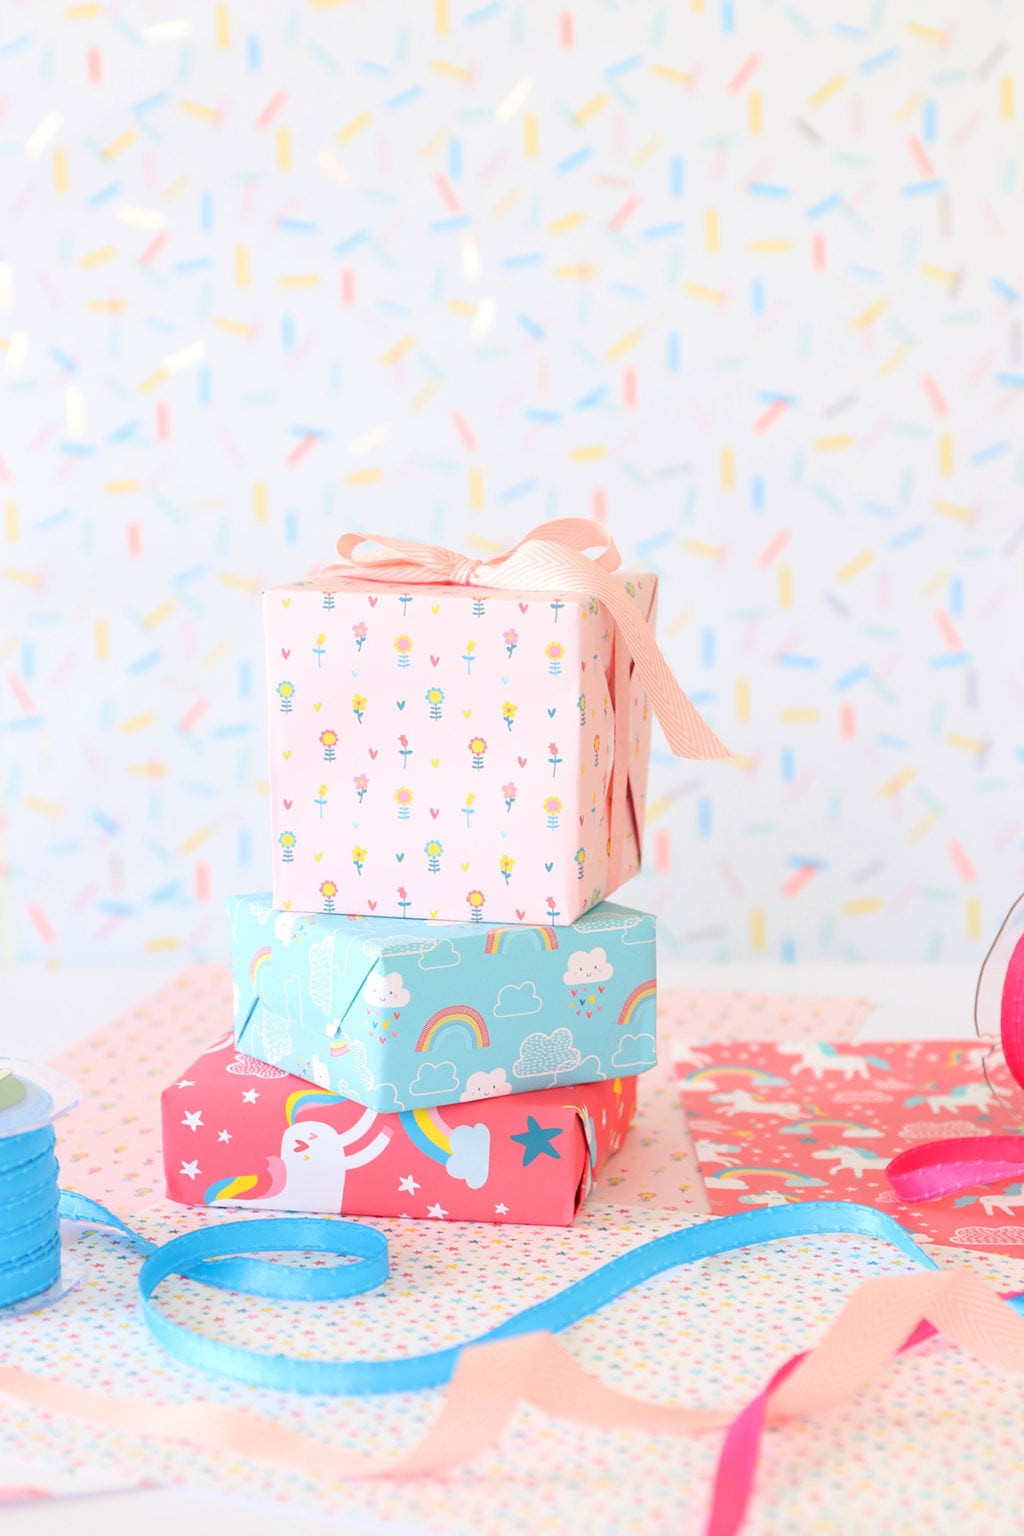
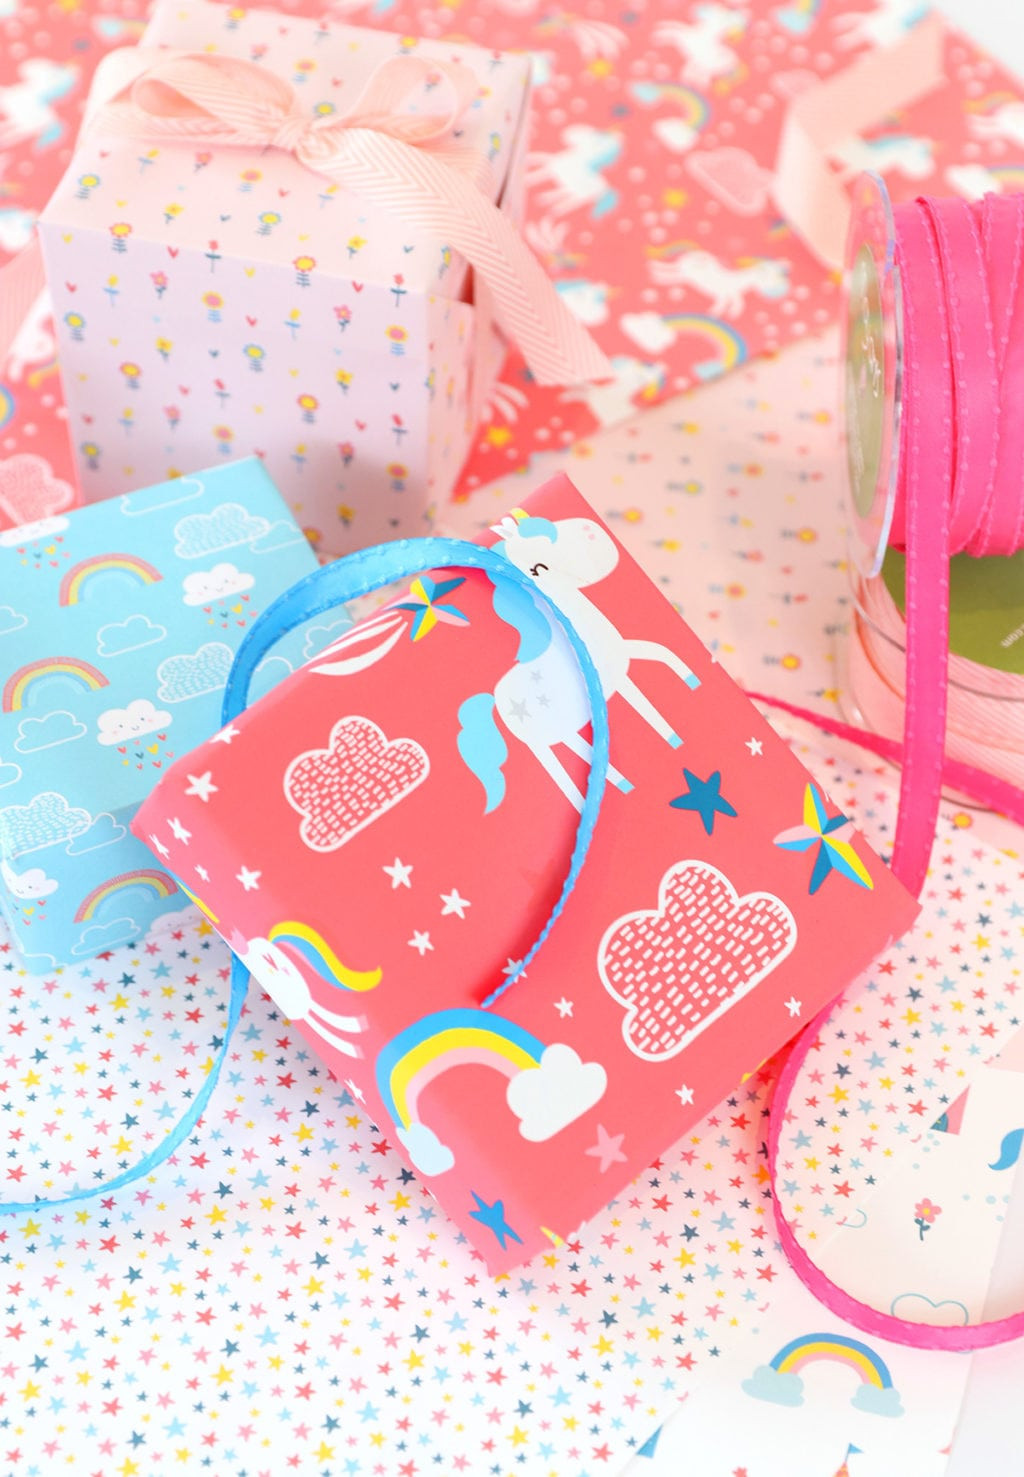
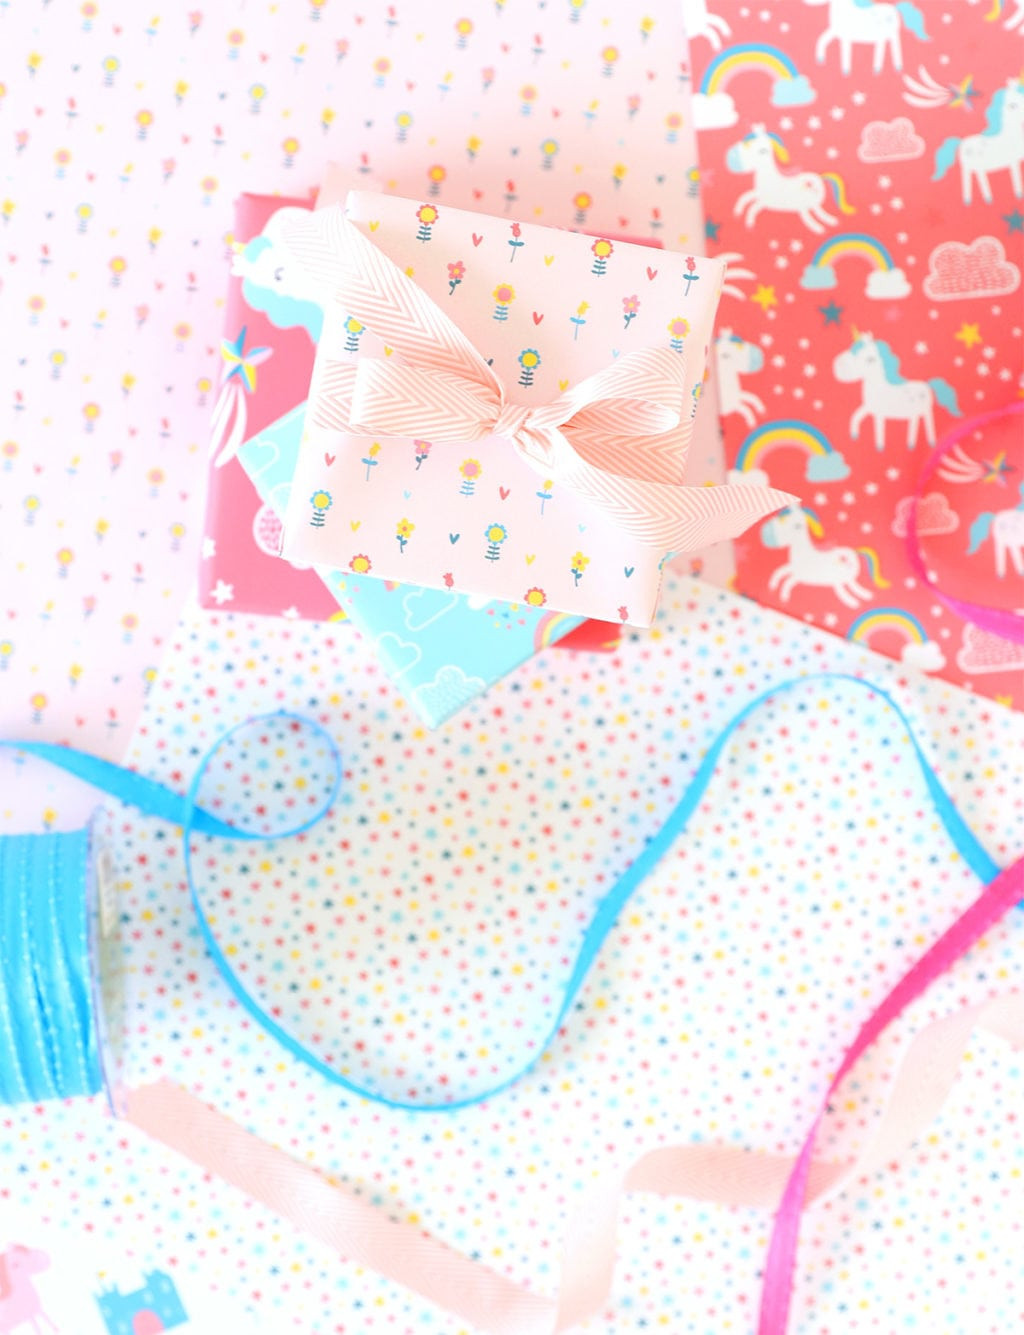 Printed sheets of custom designed wrapping paper using Adobe Illustrator and Canon PIXMA printer.
Printing Tips for Perfect Results
- Paper Settings: Always select the correct paper type in your printer settings to ensure proper ink application and color accuracy. For matte photo paper, choose the corresponding setting in your printer driver.
- Print Quality: Opt for “High Quality” print settings for vibrant colors and sharp details on your wrapping paper.
- Test Print: Before printing multiple sheets, do a test print on plain paper to check the pattern tiling and color accuracy. This helps avoid wasting expensive photo paper.
- Handle with Care: Matte photo paper can be delicate. Handle the printed wrapping paper carefully to avoid smudging or scratches, especially while wrapping your gifts.
Conclusion
Designing and printing your own wrapping paper is a rewarding project that adds a personal and creative flourish to your gift-giving. By following these steps, you can easily transform digital seamless patterns into beautiful, custom wrapping paper. So, unleash your creativity, personalize your presents, and make every gift an unforgettable experience with your own printed wrapping paper. Start designing your unique wrapping paper today and elevate your gift presentation to a whole new level!