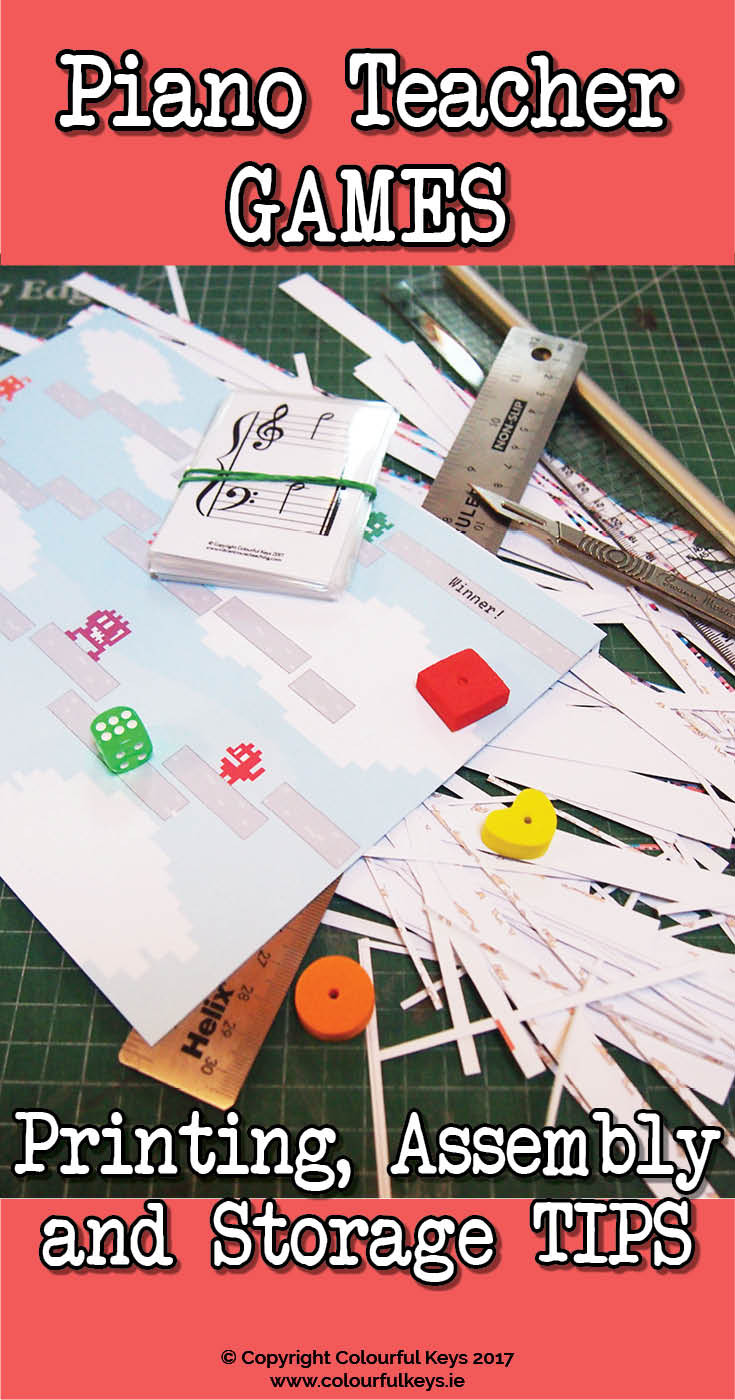
Creating engaging and durable teaching games is essential for educators. As a designer of piano teaching games at amazingprint.net, I’ve refined my process for printing, laminating, and assembling these resources to ensure they withstand frequent use and provide lasting educational value. This guide will walk you through each step, focusing on how to effectively Print And Laminate your teaching materials.
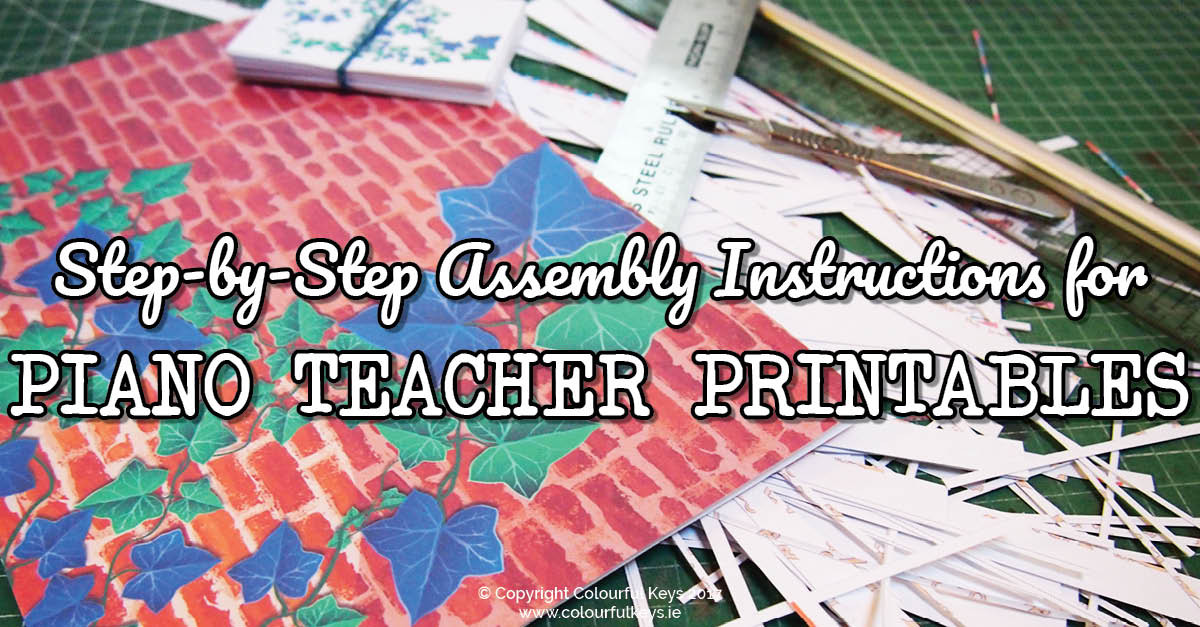
Many teachers inquire about the best methods for assembling these games. This article details my tried-and-true techniques for creating games that are not only visually appealing but also robust and long-lasting.
For a complete visual walkthrough, you can watch this detailed video demonstrating the entire process from beginning to end:
[Video Placeholder – In a real application, embed the video here]
If you prefer to jump to specific steps, here are the timestamps for each section:
- Trimming game cards: 4:09
- Laminating process: 8:28
- Assembling game instructions: 13:48
- Creating the game cover/folder: 14:45
- Game board assembly: 16:20
- Contents of the game folder: 19:10
Prefer written instructions? Continue reading for a comprehensive step-by-step guide on how to print and laminate your educational games.
Disclaimer: Please note that this post contains affiliate links. Using these links to make a purchase will not incur any extra cost for you, but I will receive a small commission.
Printing Your Teaching Games for Optimal Results
Printing piano teaching games correctly is crucial for achieving the best outcome. It often requires more consideration than standard document printing. I always aim to provide clear instructions with my games, specifying which pages need double-sided printing and which should be single-sided.
Here’s my recommended printing workflow for games of this nature:
- Game Board: Print game board components on card stock (180gsm or heavier is ideal) to ensure durability and prevent bending during gameplay.
- Game Cards: Print game cards double-sided on card stock. If your printer lacks automatic double-sided printing, print the odd-numbered pages first, then re-insert the printed sheets and print the even-numbered pages on the reverse. Downloading the PDF file might be necessary to manage this process effectively.
- Game Cover: Print the cover design onto a full sheet label. This allows for easy application to the game folder.
- Instructions: Print the game instructions on regular printer paper.
If you encounter any printing difficulties, downloading the PDF file is generally helpful. Look for the download button typically located in the top right corner of your browser or accessible via a right-click option.
Important Note for US Users: When printing resources designed for A4 paper on US letter-size paper, ensure you select “Fit to Page” or “Scale to Fit” in your printer settings to prevent any content from being cut off. For A4 paper users, printing at the original size is usually perfect.
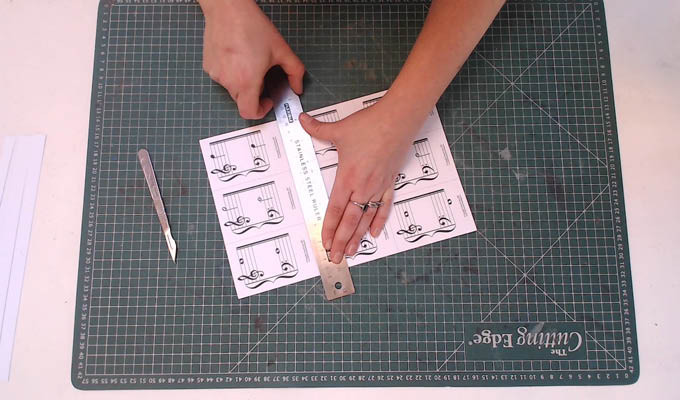
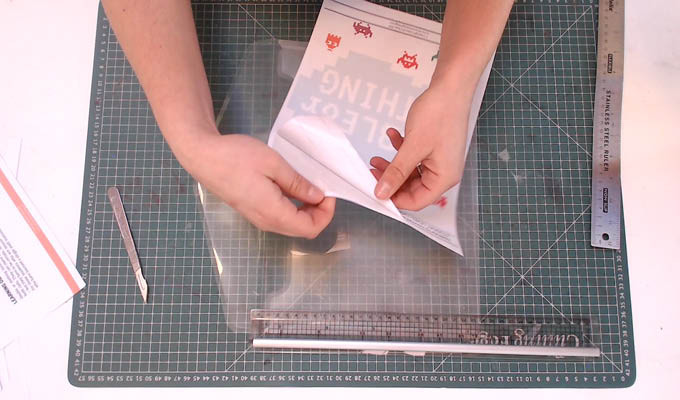
Trimming Game Cards for a Professional Finish
For precise and rapid trimming of game cards, a metal ruler combined with a craft knife or scalpel is the most effective method. While scissors or a rotary trimmer can be used, a craft knife and ruler provide the cleanest, straightest edges. However, if perfect neatness isn’t a primary concern, feel free to use scissors—the children playing probably won’t mind! 😉
 Accurately trimming laminated game cards with craft knife and ruler
Here is the equipment I utilize for trimming:
- Metal Ruler: Provides a straight edge for accurate cuts.
- Craft Knife/Scalpel: Ensures clean and precise cuts through card stock.
- Cutting Mat: Protects your work surface and extends the life of your blades.
Following the dotted lines as a guide, I begin by trimming around the perimeter of the sheet, then make crosswise cuts, and finally trim each card to its final size lengthwise. This sequence optimizes cutting efficiency and ensures the straightest possible edges for each game card.
Laminating Game Cards to Enhance Durability
When laminating game cards, it’s best practice to do so after trimming them to their individual sizes.
Yes, this does mean an extra round of trimming! However, if you’re investing in lamination for longevity, this extra step is crucial. Laminating first and then cutting through both paper and laminate can lead to edge peeling over time, which compromises the game’s durability and appearance.
I arrange the trimmed cards within the laminating pouch in loose rows, maximizing the use of space and edges. This minimizes the amount of trimming required post-lamination.
 Laminating game cards to protect and extend the life of teaching resources
For insights on whether or not to laminate and for more eco-friendly teaching practices, you might find my article, 5 Changes For a More Eco-friendly Music Teaching Studio, helpful.
I typically use lightweight laminating pouches like these. In my experience, there’s no significant difference between brands, so opting for the most affordable option is perfectly acceptable. I have yet to encounter pouches that “don’t work” effectively.
After laminating, I trim the cards again, leaving a small border of a few millimeters of laminate around each card. Finally, I round the corners with scissors. This might seem like overkill, but it prevents students from getting scratched or cut by sharp corners during gameplay, enhancing safety.
Assembling Game Boards from Multiple Pieces
Many of my game board designs are divided into multiple pieces that need to be joined together with tape.
The initial step is to trim along the designated dotted lines. Remember, dotted lines are only placed where cutting is absolutely necessary. You can leave the white border around other edges if you prefer to simplify the assembly process.
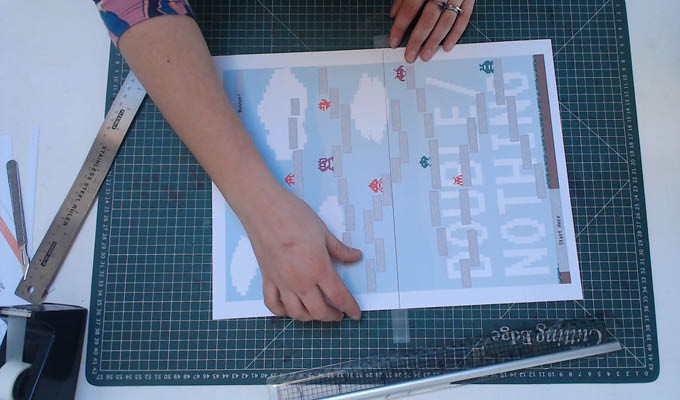 Assembling printed game boards for piano lessons using tape
Next, align the trimmed pieces and use a small piece of tape to temporarily secure them. This allows you to check if they are correctly aligned before applying tape along the entire seam. Once you’re satisfied with the alignment, apply tape fully along the back using:
- Clear Tape: Choose a strong, clear tape for durable and discreet assembly.
Top Tip: Always leave a tiny gap between the game board pieces when taping them together. This small space allows the board to fold smoothly without creasing, which is particularly useful for game boards that need to be stored folded.
Preparing Instructions and Game Covers for Organization
Including game instructions inside the storage folder is a great idea, especially if you lend games to students for home practice. This ensures parents can easily understand how to play the game with their children. I usually trim off the bottom section of the instruction page, which contains assembly instructions and learning objectives that are less relevant for gameplay.
 Organizing print and laminated piano games in labeled folders for easy storage
The game cover, printed on a full sheet label, is applied to the front of a plastic wallet folder. These folders are perfect for storing each game, keeping all components together and easily accessible.
These folders are incredibly practical because everything is always game-ready and can be neatly filed in my studio’s game library. The cover label allows me to quickly identify the game, the concepts it covers, and its level at a glance.
Contents of a Well-Organized Game Folder
Inside each game folder, you should typically find:
- Game pieces or counters/tokens
- Dice
- Game cards (print and laminate for durability)
- Game board (assembled and ready to play)
- Printed Instructions
- Any additional components specific to that game
These game folders are stored under the games table in my studio, categorized by musical concept. I frequently lend these games to students as engaging theory homework (much to their delight!) and incorporate them into both individual and group lessons.
Ready to Build Your Own Game Lending Library?
You can find games similar to the one featured in the video, along with many more fantastic resources, within the Vibrant Music Teaching library. Join today and bring more fun and effective learning into your music studio!