
Creating eye-catching posters or large format prints doesn’t have to be expensive or complicated. With a simple hack using Google Sheets, you can easily print then cut from JPG images and create impressive multi-page posters right from your home or classroom. Forget about limited font choices or costly professional printing services. This guide will show you how to use the power of Google Sheets as your free maker 3 alternative to bring your digital designs to life in a big way.
Have you ever needed a large sign, banner, or classroom display but were stuck with standard printer sizes? For years, educators and creative individuals have relied on clever methods to overcome these limitations. One such method, utilizing the readily available Google Sheets, allows you to transform any JPG image or digital design into a tiled, printable poster. This technique is perfect for anyone looking to print then cut and assemble a large visual from standard-sized paper.
Let’s dive into how you can turn Google Sheets into your go-to maker 3 style poster creator. It’s surprisingly easy!
Transforming Google Sheets into a Poster Printing Powerhouse
Many people wonder, “Google Sheets for posters? Really?” Absolutely! This spreadsheet software, known for data management, also offers a fantastic, free solution for large format printing. Here’s how to unlock its hidden potential:
Step-by-Step Guide to Printing Your Poster from Google Sheets:
-
Open Google Sheets: Start by opening a new or existing Google Sheet. This will be your canvas for creating the printable poster.
-
Insert Your Poster Image: You have two main options to get your design into Google Sheets:
-
Create Directly in Sheets: Use Google Sheets’ built-in drawing tools. Go to Insert > Drawing. Here, you can use Word Art, Text Boxes, Shapes, and more to design your poster directly within Sheets.
 Design poster elements within Google Sheets drawing tool using Insert Drawing option
 -
Insert a JPG or PNG Image: If you’ve already designed your poster in another program (like Google Slides, Drawings, or even downloaded a graphic as a JPG), you can insert it. First, download your design as a JPG or PNG file. Then, in Google Sheets, go to Insert > Image > Image in Cell or Image over cells and upload your file.
-
-
Zoom Out for the Big Picture: To get a better view of your poster and working area, reduce the zoom level. Go to View > Zoom > 50% (or even lower if needed). This allows you to see a larger portion of the sheet and manage your image size effectively.
-
Resize Your Image: Click on your inserted image. Drag the corner handles to enlarge it to your desired poster size. Hold down the Shift key while dragging to maintain the image’s proportions and prevent distortion. Ignore the cell gridlines; they are simply a visual backdrop and won’t affect your final printed poster.
 Resize the inserted image in Google Sheets by dragging corner while holding shift key to maintain proportion
 -
Prepare for Printing and Set Page Breaks: Now, it’s time to set up the print settings to create your multi-page poster.
- Go to File > Print.
- Paper Size: Ensure your paper size is set to Letter (or your preferred paper size).
- Orientation: Choose between Portrait or Landscape based on your poster’s design and how you want to assemble the printed pages.
- Custom Page Breaks: This is the key step! Select “Set Custom Page Breaks”. This option allows you to manually adjust how your poster will be divided across multiple pages.
-
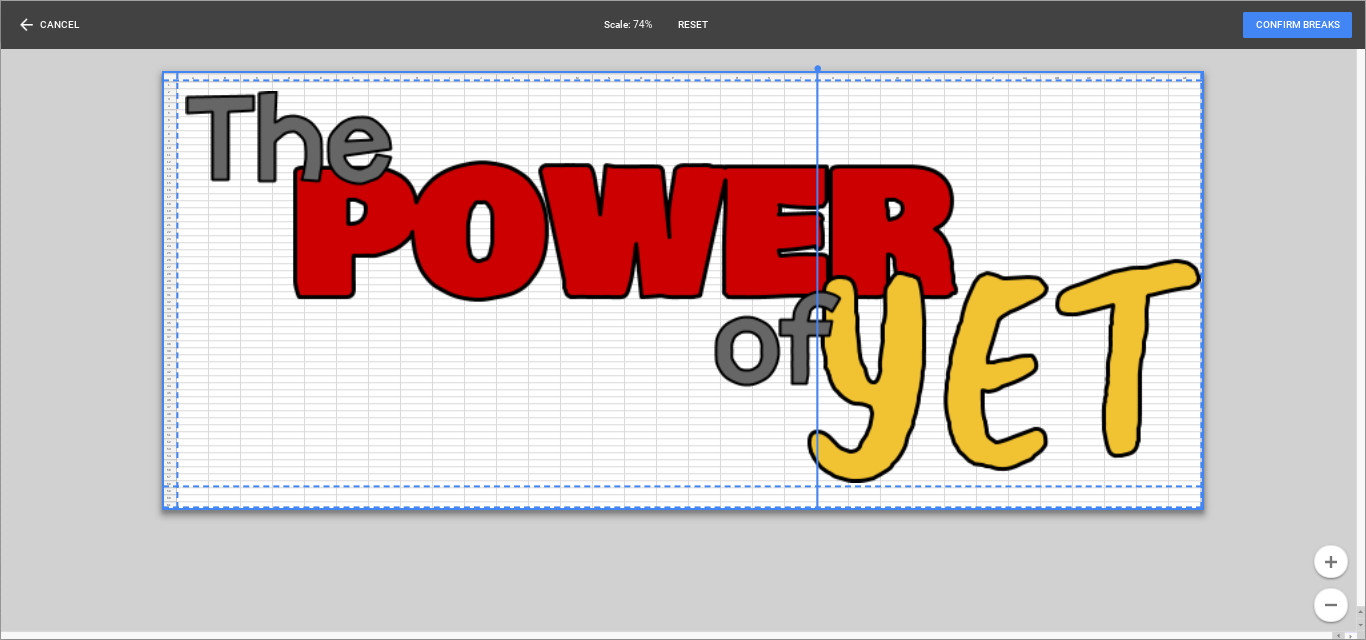
Adjust Page Breaks: You’ll see blue dotted lines representing the page breaks. Drag these lines to reposition them. The goal is to arrange the breaks in a way that makes assembling your poster easy. Google Sheets helpfully includes a small overlap on each printed page, making alignment during assembly much simpler – a thoughtful touch for your DIY print then cut project! You may need to zoom out further using the plus and minus buttons in the bottom right corner to see all page breaks clearly.
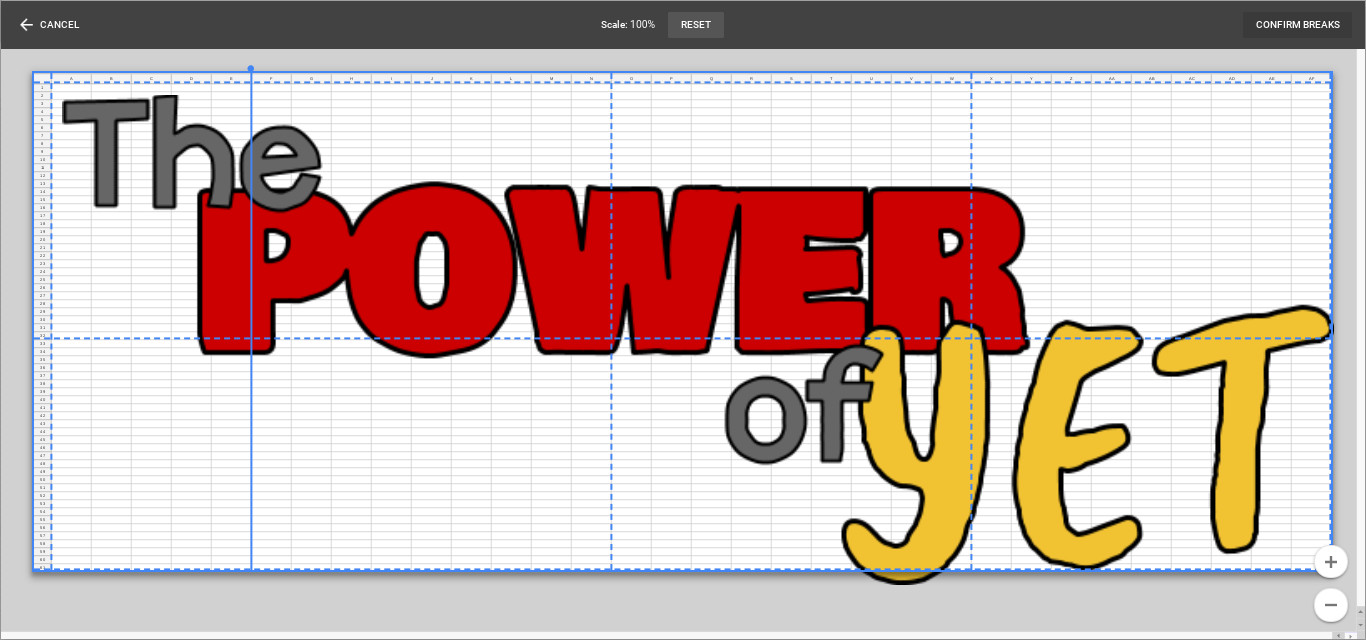 Adjust page breaks in Google Sheets print settings to define multi-page layout
 -
Confirm and Print: Once you are satisfied with the page breaks and layout, click “Confirm Page Breaks”. Double-check the “Formatting” options and ensure “Show Gridlines” and “Show Notes” are unchecked for a clean poster print. Click the blue “Next” button, choose your printer, and hit “Print”!
 Confirm page breaks and print settings before sending poster to printer
 -
Print Then Cut and Assemble: After printing, you’ll have multiple sheets that form your poster. Now comes the “print then cut” part. Choose one edge (either right or left and top or bottom) of each sheet to trim using scissors or a paper cutter. Leave the opposite edges untrimmed to create overlap for easy assembly.
-
Assemble Your Masterpiece: Use tape or spray adhesive to piece together your printed pages, aligning the overlaps. Spray adhesive, like 3M Super 77 (affiliate link), works exceptionally well for a flat, seamless finish, making your DIY poster look professionally made.
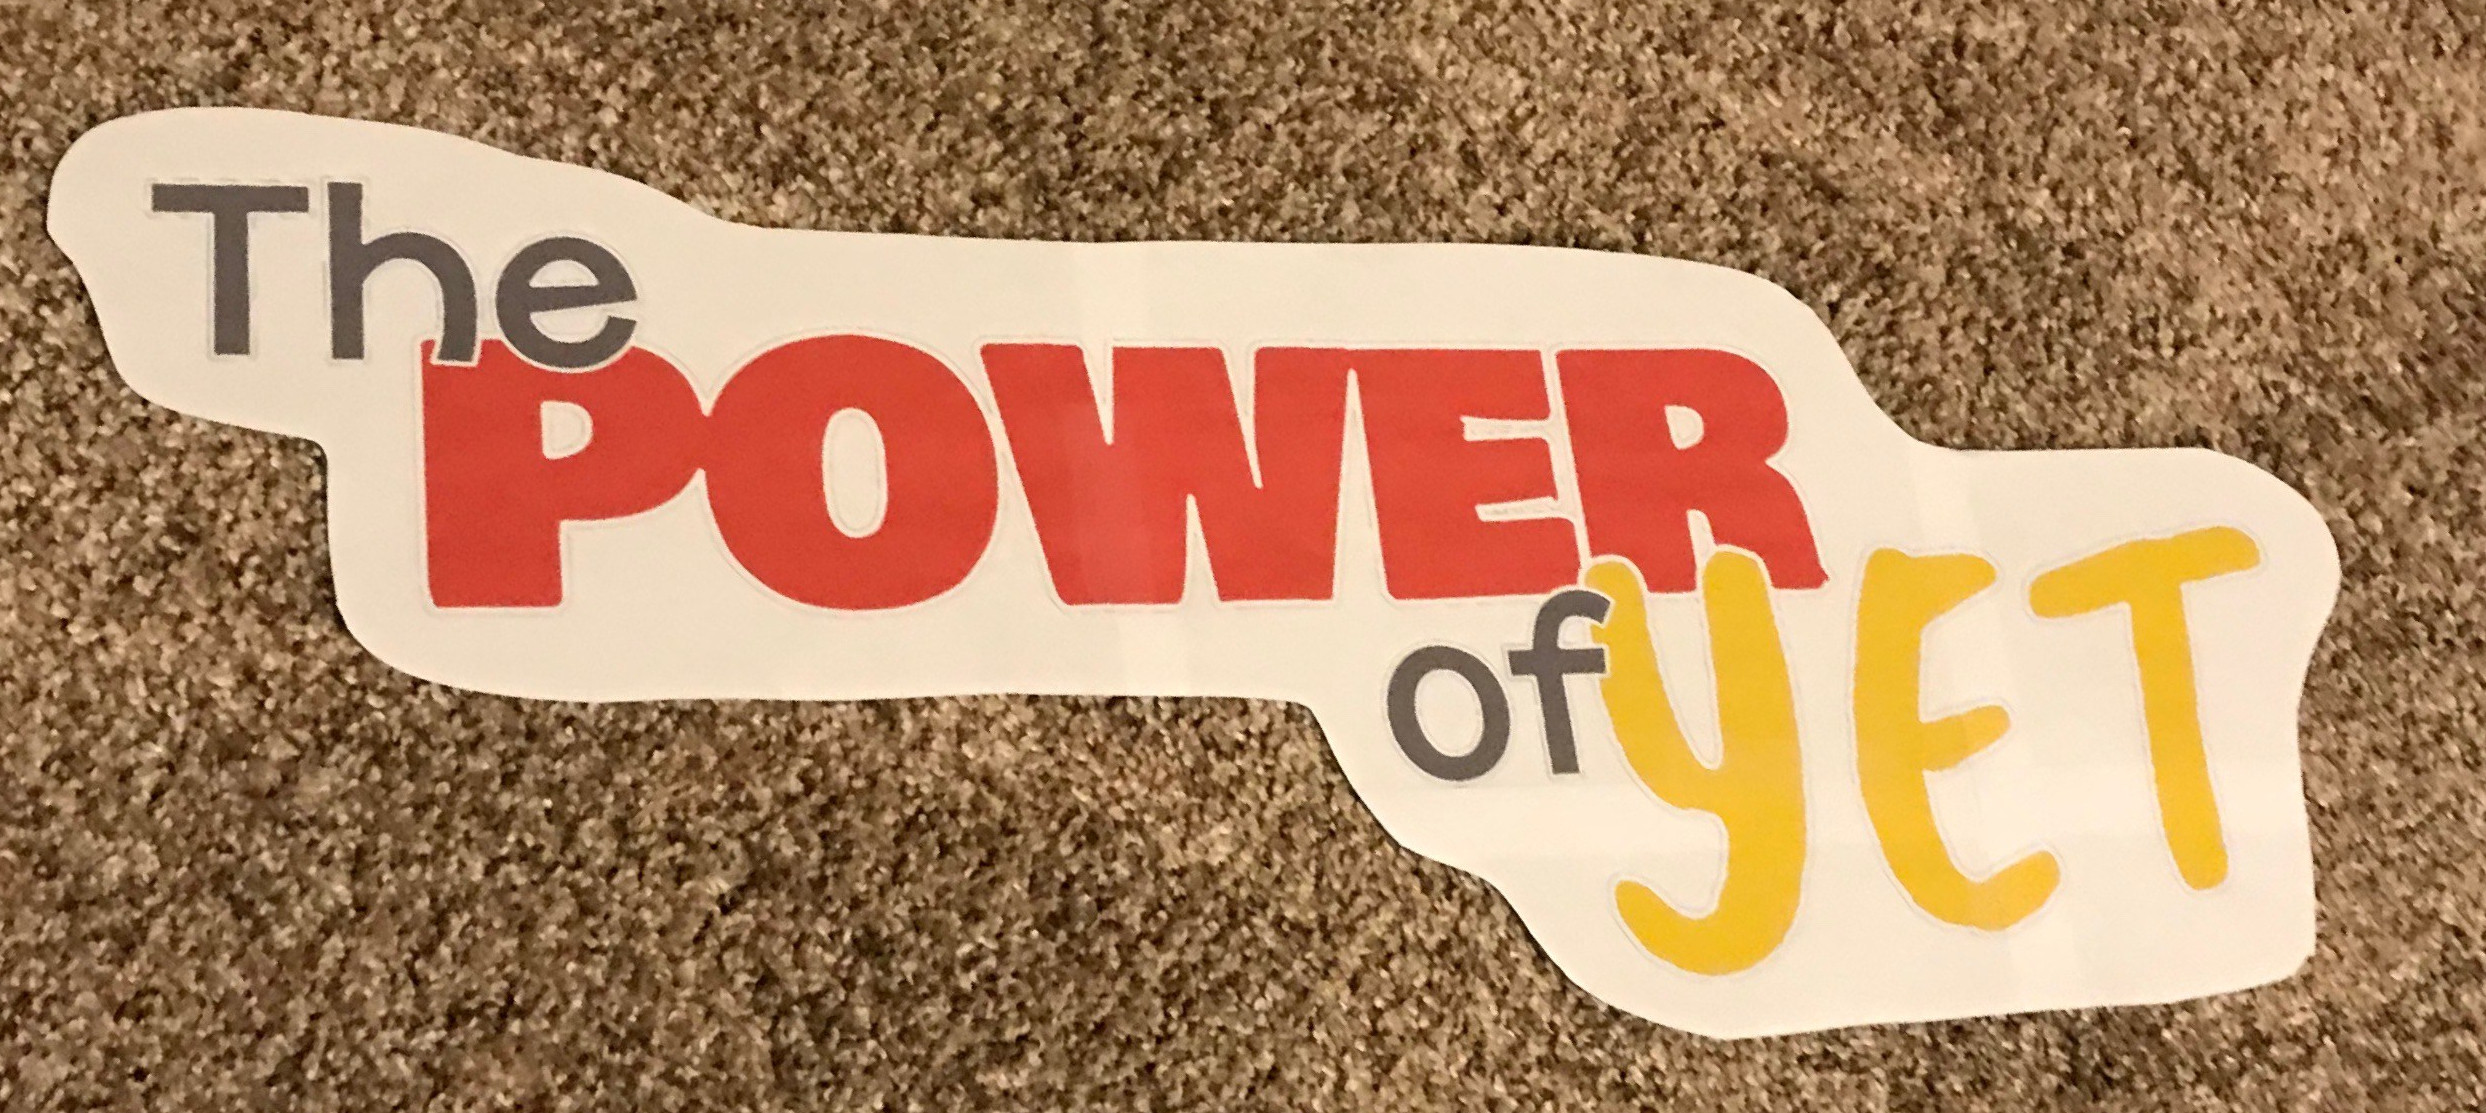 Example of assembled poster created using Google Sheets print hack
Unleash Your Creativity: Poster Ideas and Applications
This Google Sheets poster hack is incredibly versatile. Here are just a few ideas to spark your imagination:
- Classroom Anchor Charts: Create digital anchor charts with your students, perfect for visually engaging lessons. Print, assemble, and display them for continuous learning reinforcement.
- Student Project Posters: Empower students to design digital posters for projects in Google Drawings or Slides. They can submit their designs as JPGs, and you can easily “poster-fy” them for classroom presentations or displays.
- School Event Signage: From student council campaigns to fundraiser promotions, create impactful signs and banners to spread the word around your school.
- Bulletin Boards and Decorations: Design eye-catching bulletin boards and classroom decorations to create an inspiring learning environment.
- Event Banners: Make personalized banners for field days, school events, or even birthday parties. Imagine a custom-designed banner for “Akers’ Anacondas” winning the spirit award!
- Large Format Graphics: Enlarge and print any graphics you want to showcase in your classroom, office, or home.
Remember, you’re not limited to landscape or rectangular posters. Get creative with shapes and sizes to match your specific needs!
Ready to get started? Click here to grab a copy of the “Power of Yet” poster template and begin experimenting with your own designs today. Unleash your inner designer and transform Google Sheets into your personal poster maker 3 alternative!