
Screen printing on Apple products is a fantastic way to personalize your devices, and this article from amazingprint.net provides a comprehensive guide on the process, covering everything from preparation to the final touches, ensuring you achieve professional-looking results. Learn about the best inks, design tips, and methods to make your Apple devices truly unique. Explore related techniques like heat transfer and digital printing for even more customization options.
1. What is Screen Print on Apple Products?
Screen printing on Apple products involves applying ink to the surface of devices like iPhones, iPads, and MacBooks using a stencil and mesh screen. This method allows for detailed and durable designs that can personalize and enhance the look of your gadgets.
Screen printing involves forcing ink through a stenciled mesh screen onto a substrate. According to research from the Printing Industries of America (PIA), screen printing continues to evolve with advancements in ink technology and automation, making it a versatile choice for various applications. This technique is especially appealing because it offers a tactile feel and vibrant colors that can last a long time.
1.1 Why Choose Screen Printing for Apple Products?
Screen printing offers several advantages for customizing Apple products:
- Durability: Screen-printed designs are resistant to wear and tear.
- Vibrancy: The ink colors are rich and stand out.
- Customization: It allows for intricate and personalized designs.
- Cost-Effective: Suitable for large-scale customization projects.
1.2 What Apple Products Can Be Screen Printed?
You can screen print on a variety of Apple products, including:
- iPhones: Personalize phone cases or directly onto the device’s body (with caution).
- iPads: Customize the back panel with logos or unique designs.
- MacBooks: Add branding to the laptop’s exterior.
- AirPods: Decorate charging cases for a personalized touch.
1.3 Is Screen Printing Safe for Apple Products?
Yes, with precautions. The heat and pressure involved in screen printing can potentially damage electronic components. It’s crucial to use low-temperature inks and gentle techniques to minimize risk. If unsure, prioritize screen printing on accessories like cases rather than directly on the device.
2. What Are The Essential Materials and Equipment for Screen Printing on Apple Products?
To successfully Screen Print On Apple products, you’ll need specific materials and equipment to ensure high-quality and durable results.
2.1 Detailed List of Materials Needed
- Screen Printing Frame: Aluminum or wood frame with mesh stretched tightly across it.
- Screen Printing Mesh: Fine mesh screen (110-230 mesh count) made of polyester or nylon.
- Emulsion: Light-sensitive emulsion to create the stencil.
- Emulsion Remover: For cleaning the screen after printing.
- Ink: Specialty inks designed for plastics and smooth surfaces (e.g., UV inks).
- Squeegee: Used to spread ink evenly across the screen.
- Transparent Film: For printing your design.
- Degreaser: To clean the screen before applying emulsion.
- Tape: To protect the edges of the screen from ink.
- Heat Gun: To cure the ink (if using heat-set inks).
- Cleaning Supplies: Rags, solvents, and cleaners to keep your equipment in good condition.
2.2 Recommended Equipment
- Exposure Unit: Exposes the screen with the design.
- Dark Room: A room with controlled lighting to apply emulsion.
- Screen Printing Press: Holds the screen in place for accurate printing.
- Drying Rack: To dry the screens after washing.
2.3 Sourcing High-Quality Materials
To ensure the best results, source your materials from reputable suppliers. Here are a few recommended suppliers in the USA:
| Supplier | Products | Notes |
|---|---|---|
| Ryonet | Screen printing equipment, inks, and supplies | Known for quality and customer service |
| ScreenPrinting.com | Wide range of screen printing materials | Competitive prices and detailed product descriptions |
| Dick Blick Art Materials | Art supplies, including screen printing materials and inks | Offers a variety of options for hobbyists and professionals |
| Amazon | Various screen printing supplies from different brands | Convenient for quick purchases, but verify seller ratings and reviews |
2.4 Cost Considerations
The cost of screen printing materials and equipment can vary widely. Here’s a rough estimate:
- Basic Starter Kit: $200 – $500
- Intermediate Setup: $500 – $1,500
- Professional Setup: $1,500+
Investing in high-quality materials and equipment can lead to better results and longevity.
3. How To Prepare Apple Products for Screen Printing?
Proper preparation is key to achieving a successful and lasting screen print on Apple products.
3.1 Cleaning and Surface Preparation
- Clean the Surface: Use a lint-free cloth and isopropyl alcohol to remove any dirt, oil, or fingerprints from the surface of the Apple product.
- Dry Thoroughly: Ensure the surface is completely dry before proceeding.
3.2 Masking and Protecting Sensitive Areas
- Identify Sensitive Areas: Determine which areas need protection, such as ports, buttons, and cameras.
- Use Masking Tape: Apply high-quality masking tape to cover these areas, ensuring a tight seal to prevent ink from seeping through.
- Cut Precisely: Use a sharp craft knife to trim the tape for a clean and professional look.
3.3 Priming the Surface (If Necessary)
- Determine Need: If the Apple product has a smooth, non-porous surface, priming may be necessary to help the ink adhere properly.
- Apply Primer: Use a thin, even coat of adhesion promoter or primer designed for plastics.
- Allow to Dry: Let the primer dry completely according to the manufacturer’s instructions before proceeding with screen printing.
3.4 Ensuring a Clean Printing Environment
- Dust-Free Area: Work in a clean, dust-free environment to prevent particles from contaminating the print.
- Ventilation: Ensure good ventilation to avoid inhaling fumes from cleaning agents and inks.
- Surface Protection: Cover your work surface with a protective layer, such as a silicone mat or parchment paper, to prevent accidental spills.
4. How To Create A Screen Printing Stencil for Apple Products?
Creating a high-quality stencil is crucial for achieving sharp and precise screen prints on Apple products.
4.1 Designing Your Image
- Choose Your Design: Select or create a design that is appropriate for the size and shape of the Apple product.
- Digitalize the Design: Use graphic design software like Adobe Illustrator or Photoshop to create a digital version of your design.
- Resolution: Ensure the design has a high resolution (300 DPI) for sharp printing.
- Color Separation: If your design has multiple colors, separate each color into its own layer.
4.2 Printing the Transparency
- Use Transparent Film: Print your design onto a transparent film using an inkjet or laser printer.
- Opacity: Ensure the black areas are completely opaque to block UV light during exposure.
- Quality: Use the highest quality print settings for the best results.
4.3 Coating the Screen with Emulsion
- Clean the Screen: Use a degreaser to clean the screen thoroughly.
- Dry the Screen: Ensure the screen is completely dry before applying the emulsion.
- Apply Emulsion: In a dark room, apply a thin, even coat of emulsion to the screen using a scoop coater.
- Drying: Allow the emulsion to dry completely in a dark, dust-free environment.
4.4 Exposing the Screen
- Position the Transparency: Place the transparent film with your design on the emulsion-coated screen.
- Exposure Unit: Place the screen in an exposure unit and expose it to UV light for the recommended time (usually a few minutes).
- Test Strips: Use test strips to determine the optimal exposure time for your emulsion and equipment.
4.5 Washing Out the Stencil
- Rinse the Screen: After exposure, rinse the screen with water to remove the unexposed emulsion.
- Detailed Wash: Use a gentle spray nozzle to wash out the design, ensuring all details are clear.
- Dry the Screen: Allow the screen to dry completely before using it for printing.
4.6 Touch-Ups and Final Adjustments
- Inspect the Stencil: Check the stencil for any imperfections or pinholes.
- Touch-Ups: Use screen filler to touch up any imperfections, ensuring a clean and precise stencil.
- Final Dry: Allow the screen filler to dry completely before using the screen for printing.
5. Step-by-Step Guide on Screen Printing on Apple Products
Follow this detailed guide to achieve professional screen-printed results on your Apple devices.
5.1 Setting Up Your Printing Station
- Prepare Your Space: Set up a clean, well-lit, and ventilated area.
- Secure the Apple Product: Use a jig or clamp to hold the Apple product securely in place.
- Align the Screen: Position the screen precisely over the Apple product, ensuring the design is aligned correctly.
5.2 Applying the Ink
- Load the Screen: Pour a line of ink along one edge of the screen, above the design.
- Flood the Screen: Use the squeegee to pull the ink across the design, ensuring it is fully covered.
- Print the Design: Apply firm, even pressure with the squeegee to push the ink through the stencil onto the Apple product.
5.3 Curing the Ink
- Air Dry: Allow the ink to air dry for the recommended time (check the ink manufacturer’s instructions).
- Heat Curing: If using heat-set inks, use a heat gun or heat press to cure the ink.
- Temperature and Time: Follow the ink manufacturer’s recommendations for temperature and time to ensure proper curing.
5.4 Inspecting and Finishing the Print
- Check for Imperfections: Inspect the print for any imperfections, such as smudges or missed areas.
- Touch-Ups: If necessary, use a fine brush to touch up any small imperfections.
- Final Cure: Ensure the ink is fully cured before handling the Apple product.
6. Tips and Tricks for Perfect Screen Printing on Apple Products
Here are some expert tips to help you achieve the best possible results when screen printing on Apple products.
6.1 Choosing the Right Ink
- Adhesion: Select inks specifically designed for plastics and smooth surfaces.
- Durability: Opt for inks that are resistant to scratching and fading.
- Type of Ink: UV inks and epoxy inks are good choices for Apple products due to their durability and vibrant colors.
6.2 Achieving Sharp and Clean Prints
- High-Resolution Designs: Use high-resolution images to ensure sharp and detailed prints.
- Proper Exposure: Optimize the exposure time for your emulsion to create a precise stencil.
- Squeegee Technique: Use consistent pressure and angle when applying the ink with the squeegee.
6.3 Avoiding Common Mistakes
- Blurry Prints: Ensure the screen is in close contact with the Apple product during printing.
- Smudging: Allow the ink to dry completely before handling the product.
- Uneven Ink Distribution: Use a squeegee with a sharp edge and apply even pressure.
6.4 Troubleshooting Printing Issues
- Ink Bleeding: Use a lower mesh count screen and apply less pressure with the squeegee.
- Pinholes in the Stencil: Touch up the stencil with screen filler before printing.
- Poor Ink Adhesion: Ensure the surface is properly cleaned and primed before printing.
7. How To Maintain and Clean Screen Printing Equipment?
Proper maintenance and cleaning of your screen printing equipment are essential for prolonging its lifespan and ensuring consistent, high-quality results.
7.1 Cleaning Screens After Use
- Remove Excess Ink: Use a squeegee to remove as much excess ink as possible from the screen.
- Apply Screen Wash: Apply a screen wash or cleaner specifically designed for the type of ink you used.
- Scrub the Screen: Use a soft brush or sponge to scrub the screen, ensuring all ink is removed.
- Rinse Thoroughly: Rinse the screen thoroughly with water until all traces of ink and cleaner are gone.
- Dry the Screen: Allow the screen to dry completely before storing it.
7.2 Storing Screens Properly
- Clean and Dry: Ensure the screens are clean and dry before storing them.
- Vertical Storage: Store screens vertically to prevent the mesh from stretching or warping.
- Dark Environment: Store screens in a dark, dry environment to protect the emulsion from light and moisture.
7.3 Maintaining Squeegees and Other Tools
- Clean After Use: Clean squeegees and other tools immediately after use to prevent ink from drying and hardening.
- Use Appropriate Cleaners: Use appropriate cleaners to remove ink without damaging the tools.
- Store Properly: Store squeegees with the blade protected to prevent damage.
7.4 Safe Disposal of Waste Materials
- Ink Disposal: Dispose of waste ink according to local regulations.
- Solvent Disposal: Dispose of solvents and cleaners in designated containers for hazardous waste.
- Recycling: Recycle any recyclable materials, such as plastic containers and paper.
8. Design Ideas and Inspiration for Apple Product Screen Printing
Get inspired with these creative design ideas for screen printing on your Apple products.
8.1 Monochromatic Designs
A monochromatic design uses different shades of a single color. This creates a sleek, minimalist look that can be very effective on Apple products.
- Example: A gradient of gray on a MacBook, or a single dark shade on an iPhone case.
8.2 Geometric Patterns
Geometric patterns are versatile and can range from simple to complex. These designs often give a modern and stylish appearance.
- Example: Repeating triangles on an iPad, or a complex tessellation pattern on AirPods.
8.3 Custom Logos and Branding
For businesses, screen printing logos or branding elements onto Apple products can be a great way to promote brand awareness.
- Example: A company logo on a MacBook for employees, or a custom design on iPhone cases for promotional events.
8.4 Abstract Art
Abstract art can add a unique and artistic touch to Apple products. These designs are often colorful and eye-catching.
- Example: Splashes of color on an iPhone, or a surrealist design on an iPad.
8.5 Text and Quotes
Adding text or quotes can personalize Apple products with meaningful messages or favorite sayings.
- Example: Inspirational quotes on a MacBook, or personalized names on iPhone cases.
8.6 Nature-Inspired Designs
Nature-inspired designs, such as floral patterns or landscapes, can bring a touch of the outdoors to your Apple devices.
- Example: A floral pattern on an iPhone case, or a landscape scene on an iPad.
9. Alternative Printing Methods for Apple Products
While screen printing is a popular choice, several alternative printing methods can also be used to customize Apple products.
9.1 Digital Printing (UV Printing)
Digital printing, also known as UV printing, involves printing directly onto the surface of the Apple product using a digital printer that cures the ink with UV light.
- Pros: High resolution, full-color printing, no setup costs.
- Cons: Can be more expensive for large quantities, may not be as durable as screen printing.
9.2 Pad Printing
Pad printing uses a silicone pad to transfer ink from an etched plate onto the Apple product.
- Pros: Suitable for curved or uneven surfaces, high precision.
- Cons: Limited color options, can be expensive for large designs.
9.3 Heat Transfer Vinyl (HTV)
Heat transfer vinyl involves cutting a design from vinyl and then using heat to transfer it onto the Apple product.
- Pros: Easy to use, affordable for small quantities, wide range of colors and finishes.
- Cons: Not as durable as screen printing, can peel or crack over time.
9.4 Laser Engraving
Laser engraving uses a laser to etch a design into the surface of the Apple product.
- Pros: Permanent, high precision, suitable for intricate designs.
- Cons: Limited to single-color designs, can be expensive.
9.5 Hydrographic Printing (Water Transfer Printing)
Hydrographic printing involves floating a printed film on water and then dipping the Apple product into the water to transfer the design.
- Pros: Can be used on complex shapes, wide range of patterns and finishes.
- Cons: Requires specialized equipment, can be messy.
10. Cost Analysis: Screen Printing vs. Other Methods
Understanding the cost implications of different printing methods can help you make an informed decision for your Apple product customization needs.
10.1 Initial Setup Costs
- Screen Printing: Requires an initial investment in screens, emulsion, squeegees, and an exposure unit.
- Digital Printing: Requires a digital printer, which can be expensive.
- Pad Printing: Requires an etched plate and a pad printing machine.
- Heat Transfer Vinyl: Requires a vinyl cutter and a heat press.
- Laser Engraving: Requires a laser engraving machine, which can be very expensive.
- Hydrographic Printing: Requires specialized equipment for water transfer.
10.2 Per-Unit Costs
- Screen Printing: Lower per-unit costs for large quantities.
- Digital Printing: Higher per-unit costs, especially for small quantities.
- Pad Printing: Moderate per-unit costs.
- Heat Transfer Vinyl: Low per-unit costs for small quantities, but can increase with complexity.
- Laser Engraving: Higher per-unit costs.
- Hydrographic Printing: Moderate per-unit costs.
10.3 Labor Costs
- Screen Printing: Can be labor-intensive, especially for multi-color designs.
- Digital Printing: Less labor-intensive, as the printing process is automated.
- Pad Printing: Requires skilled labor for setup and operation.
- Heat Transfer Vinyl: Requires labor for designing, cutting, and applying the vinyl.
- Laser Engraving: Requires minimal labor, as the process is automated.
- Hydrographic Printing: Requires skilled labor for film preparation and dipping.
10.4 Overall Cost-Effectiveness
- Screen Printing: Most cost-effective for large quantities of simple designs.
- Digital Printing: Most cost-effective for small quantities of complex, full-color designs.
- Pad Printing: Cost-effective for printing on curved surfaces in moderate quantities.
- Heat Transfer Vinyl: Cost-effective for small quantities of simple designs.
- Laser Engraving: Cost-effective for permanent, single-color designs in small quantities.
- Hydrographic Printing: Cost-effective for complex shapes with a wide range of patterns.
FAQ: Screen Print on Apple
1. Can I screen print directly onto my iPhone or iPad?
Yes, but it’s risky. Direct screen printing can damage electronic components. It’s safer to print on accessories like cases.
2. What type of ink is best for screen printing on Apple products?
UV inks and epoxy inks are excellent choices due to their durability and vibrant colors on plastic and smooth surfaces.
3. How do I prevent the ink from smudging during screen printing?
Ensure the surface is clean and dry before printing. Allow the ink to dry completely, or use a heat gun for faster curing.
4. What mesh count should I use for screen printing on Apple products?
A mesh count between 110 and 230 is generally suitable. Lower mesh counts are better for thicker inks, while higher mesh counts are ideal for detailed designs.
5. How do I create a multi-colored design for screen printing?
Separate each color into individual layers. Print each layer onto a separate transparency and use a separate screen for each color.
6. What is the best way to clean screen printing screens?
Remove excess ink, apply screen wash, scrub gently, and rinse thoroughly with water. Allow the screen to dry completely before storing it.
7. How do I ensure proper ink adhesion on smooth surfaces?
Clean the surface with isopropyl alcohol and apply a primer designed for plastics to promote ink adhesion.
8. Can I use a regular iron to cure the ink on Apple products?
It’s not recommended. A heat gun or heat press provides more consistent and controlled heat, reducing the risk of damage.
9. How do I store my screen printing screens to prevent damage?
Store screens vertically in a dark, dry environment to prevent stretching, warping, and emulsion damage.
10. What alternative printing methods can I use for Apple products?
Digital printing (UV printing), pad printing, heat transfer vinyl, laser engraving, and hydrographic printing are viable alternatives.
Amazingprint.net provides detailed guides, comparisons, and creative ideas to help you master screen printing and other customization techniques for Apple products. From selecting the right materials to troubleshooting common issues, our resources ensure you achieve professional results every time. Visit amazingprint.net today to explore our comprehensive articles and find inspiration for your next project. Let us help you bring your creative vision to life with precision and flair.
Address: 1600 Amphitheatre Parkway, Mountain View, CA 94043, United States
Phone: +1 (650) 253-0000
Website: amazingprint.net
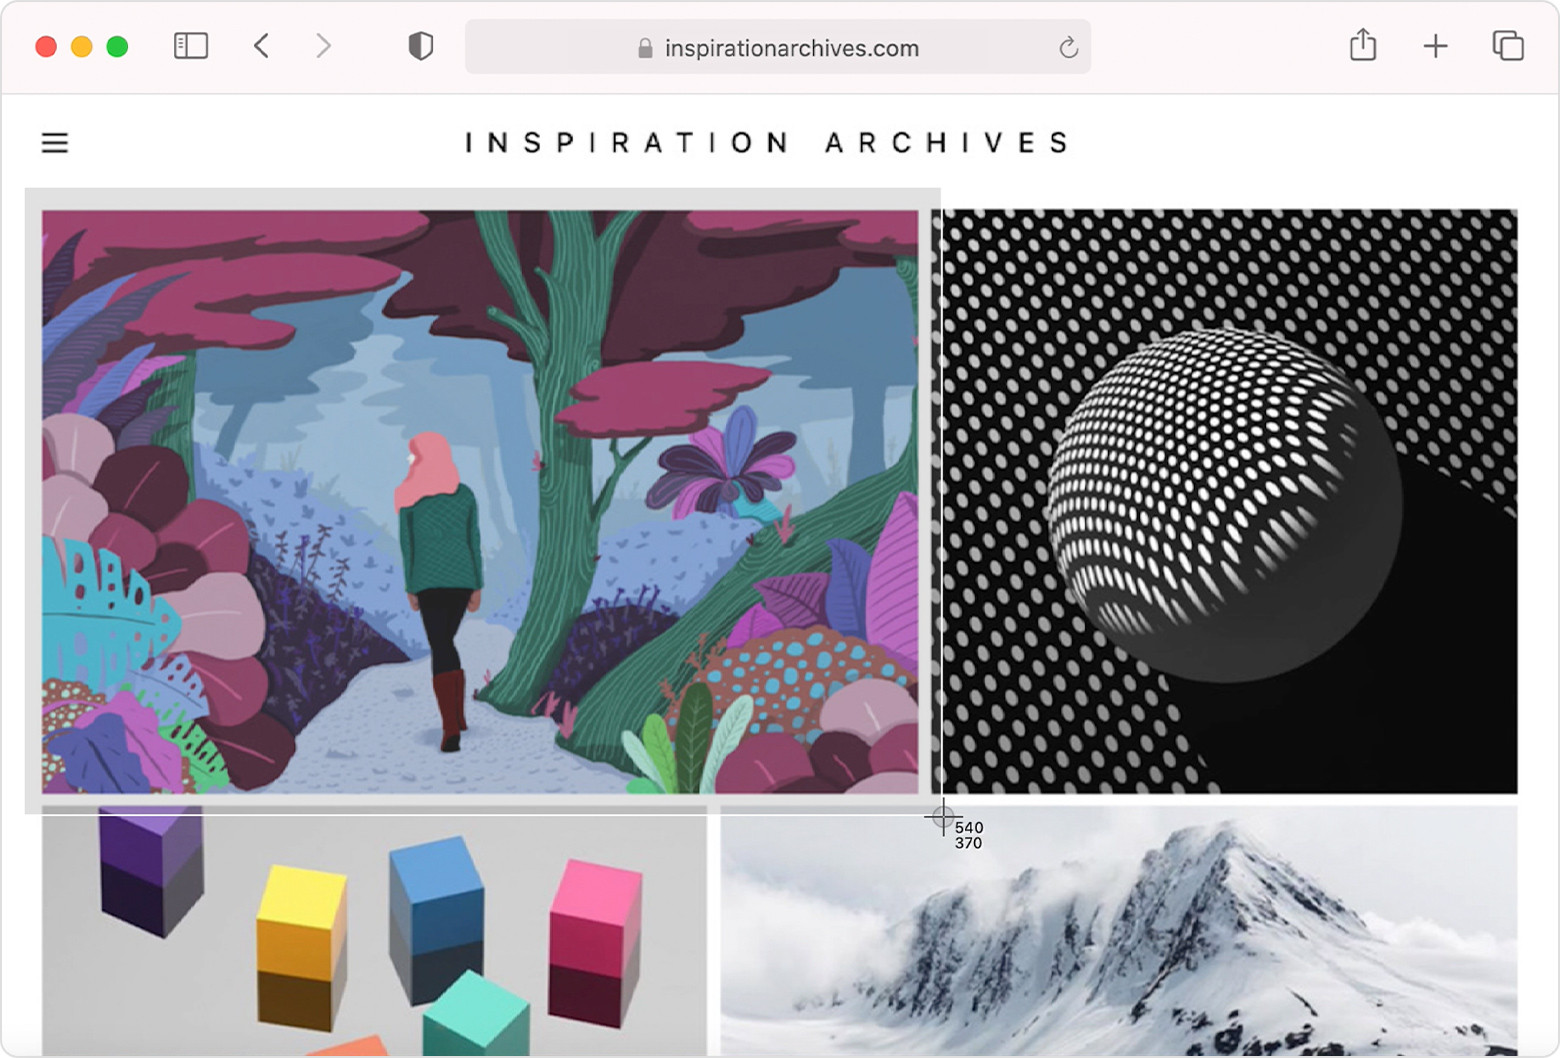
 mac-snipping-tool-key-combo-diagram
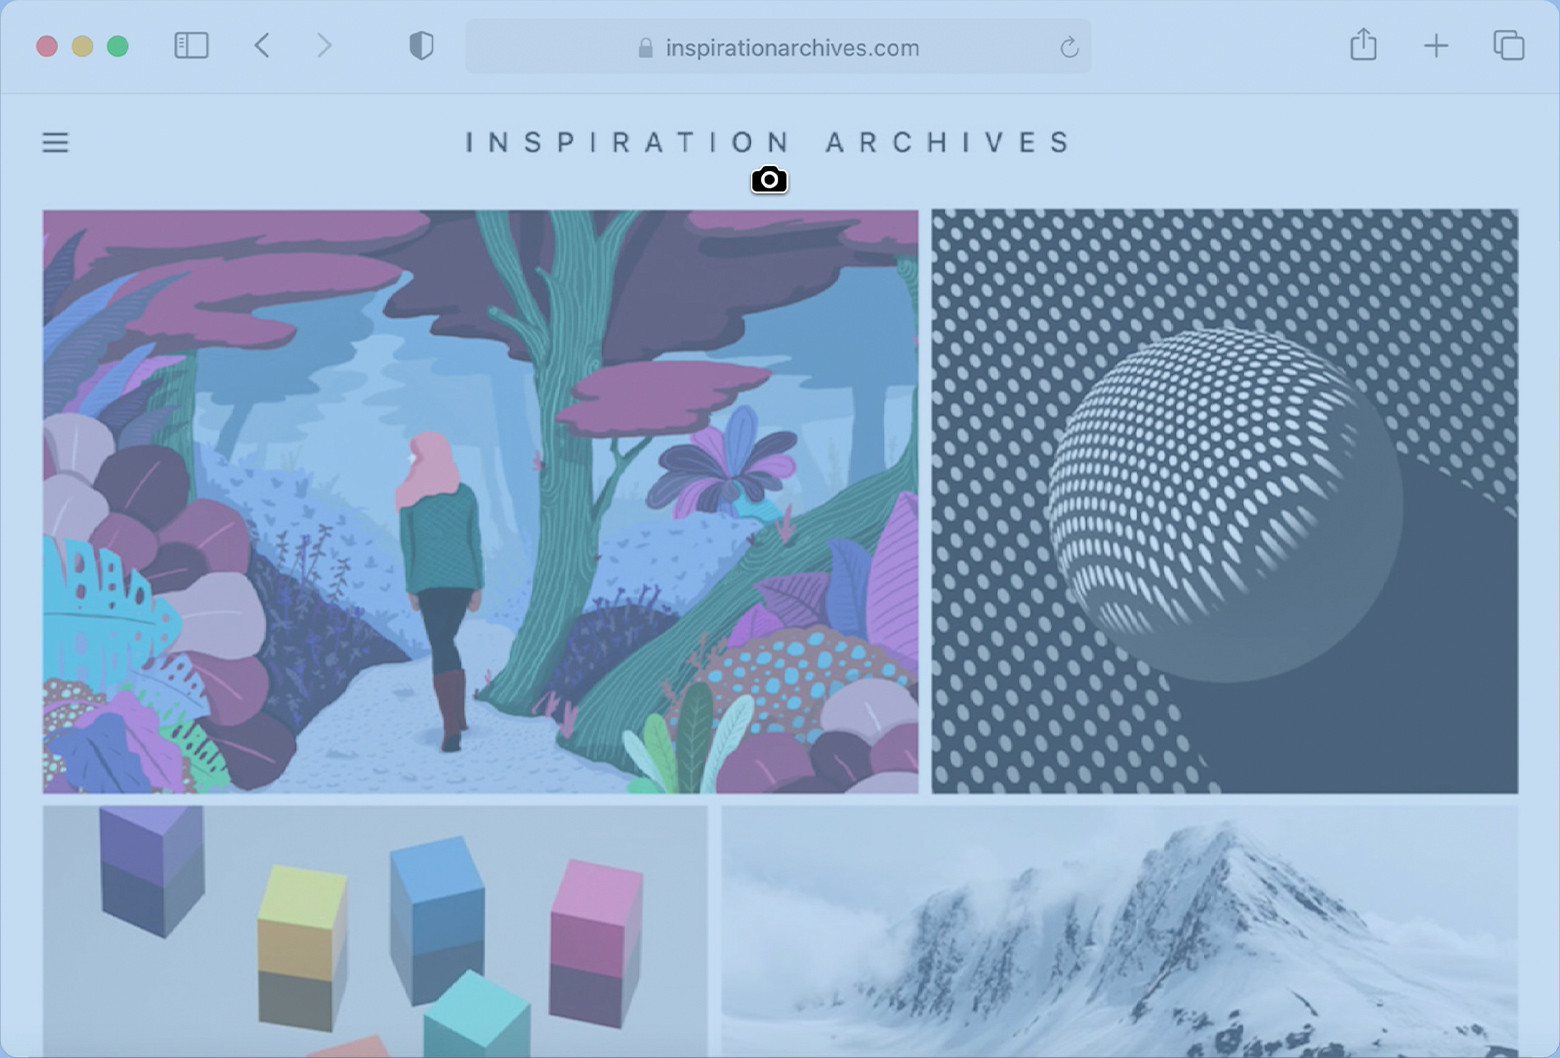
 macos-big-sur-safari-screenshot-portion
 macos-big-sur-safari-screenshot-window