
Have you ever admired the intricate patterns within a tree stump and wished you could capture that natural art? With a few simple steps, you can transform a humble tree stump into a stamp and create stunning tree ring prints for your home. This DIY project will guide you through making your own custom artwork, imprinting the beautiful growth rings onto paper to bring a touch of nature indoors. Let’s explore how to make your own Tree Print!
Materials You’ll Need for Your Tree Print Project:
 Tools and materials laid out for making tree ring prints
- Tree stump (mesquite or similar hardwood recommended)
- Belt sander
- Electric planer (optional, for rough stumps)
- Propane torch
- Wire brush
- Spray bottle with water
- Acrylic ink
- Foam roller
- Paper
- Optional: Frames for displaying your artwork
Step-by-Step Guide to Making Tree Ring Prints:
-
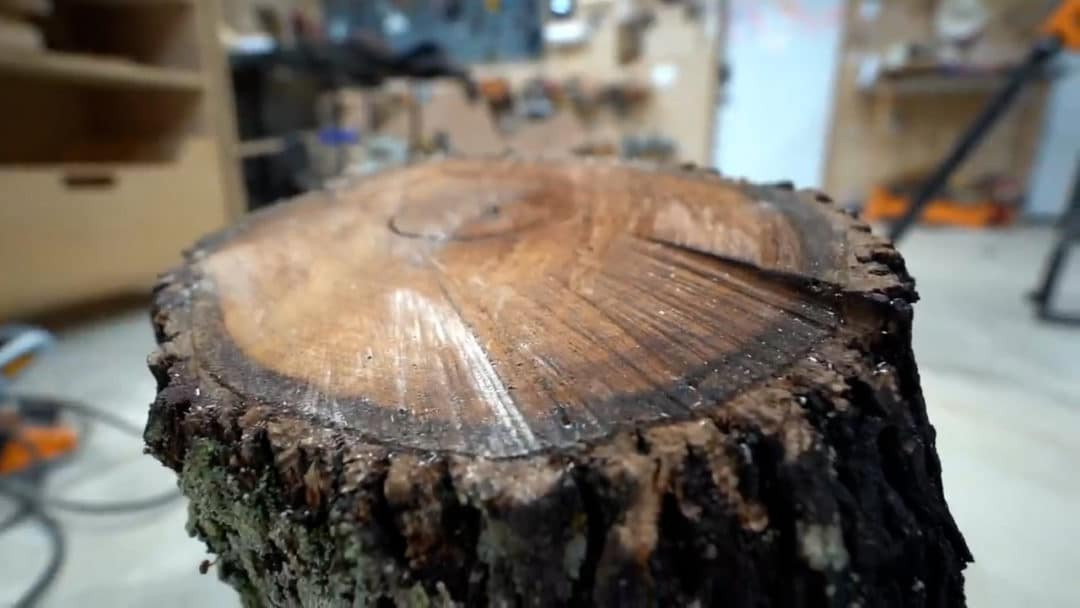
Prepare the Tree Stump:
Start by selecting a tree stump. A hardwood like mesquite works well. Ensure the stump is cut relatively flat, but don’t worry if it’s uneven initially. Use a belt sander to flatten the surface. For significantly uneven stumps, an electric planer can speed up the process. Begin with a smaller planer to tackle high spots, then switch to a larger planer for overall leveling.After planing, refine the surface with the belt sander until it’s smooth and flat. A flat surface is crucial for even contact with the paper and a clear tree ring print.
-
Enhance the Tree Rings:
To create a stamp effect, you need to accentuate the difference between the hard and soft wood within the tree rings. The goal is to slightly burn away the softer wood, leaving the harder rings more pronounced. Use a propane torch to gently burn the surface of the stump. Move the torch evenly to achieve a consistent burn without excessive charring.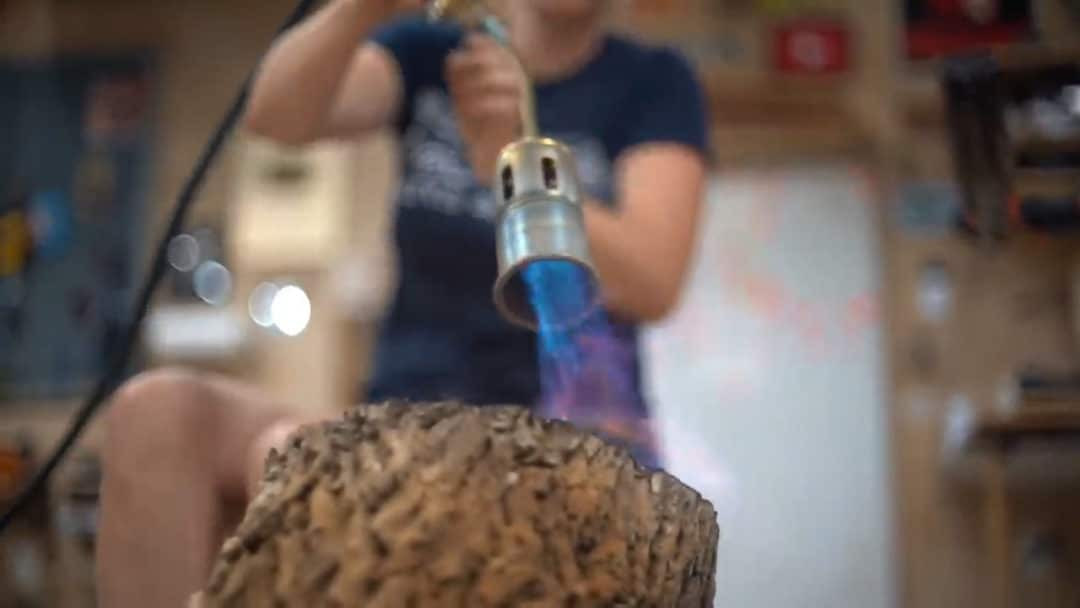 Burning the surface of a tree stump with a propane torch to define tree rings for printing
 -
Clean the Burned Surface:
After burning, use a wire brush to remove any loose debris and charred material. The surface is ready when you can feel the distinct tree rings with your fingers, indicating the varying levels created by burning the softer wood.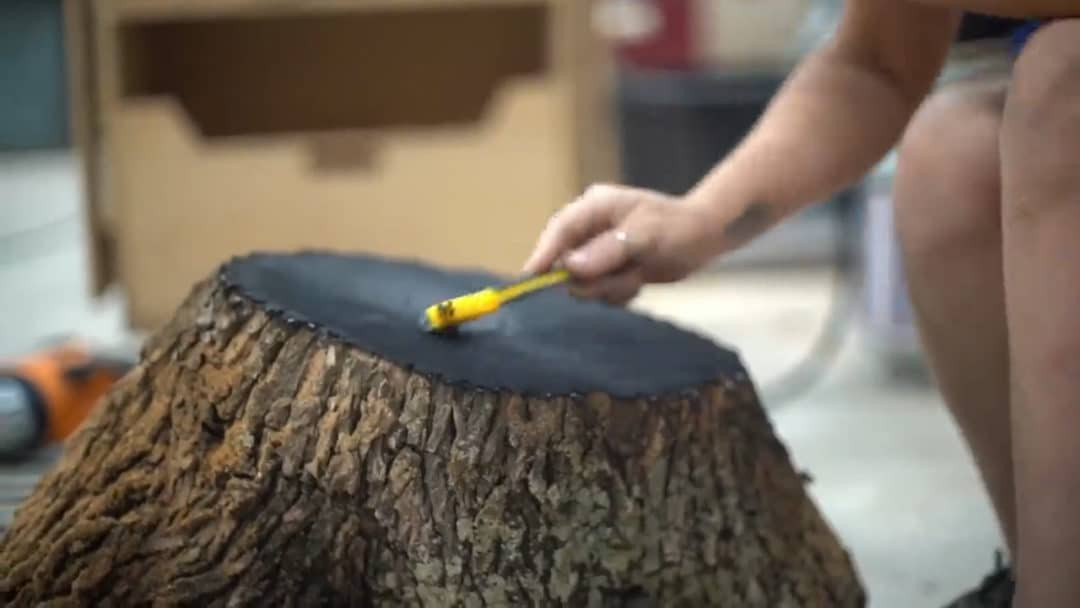 Brushing a burned tree stump to reveal defined tree rings for printmaking
 -
Apply Ink to the Stump:
Allow the stump to cool completely before applying ink. Lightly dampen the stump surface with water from a spray bottle. This prevents the acrylic ink from soaking too deeply into the wood, ensuring it remains on the surface for printing. Apply acrylic ink evenly using a foam roller, ensuring the entire surface is coated. -
Create Your Tree Ring Print:
Carefully position your paper onto the inked stump. Once placed, avoid shifting the paper to prevent smudging. Gently peel the paper away from the stump to reveal your tree ring print.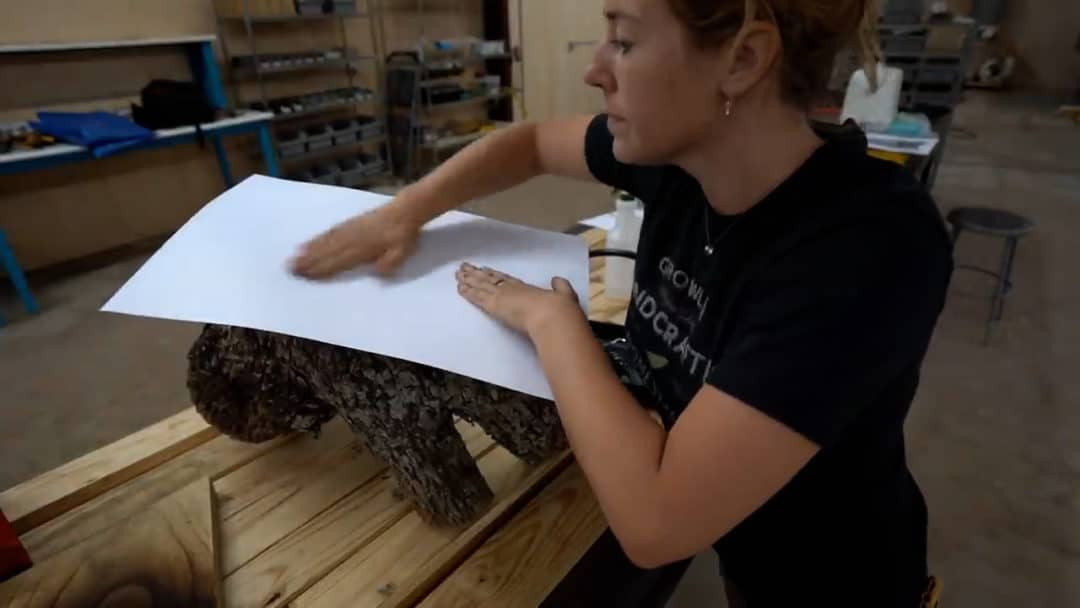 Peeling paper from an inked tree stump to reveal a unique tree ring print
 -
Experiment with Ink and Color:
Have fun experimenting with different amounts of ink and colors. Too much ink can result in a smudged print, while too little ink might produce a faded image, and the paper may stick to the stump. To change colors, rinse the stump with water between applications, then apply a new color of ink.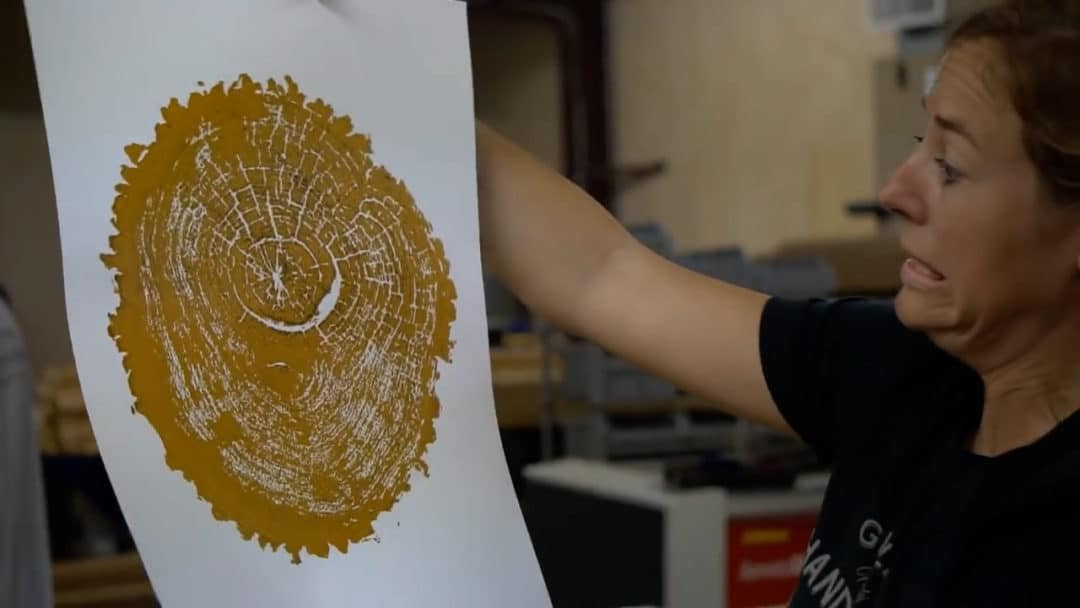 Variety of tree ring prints created with different ink colors and saturation levels
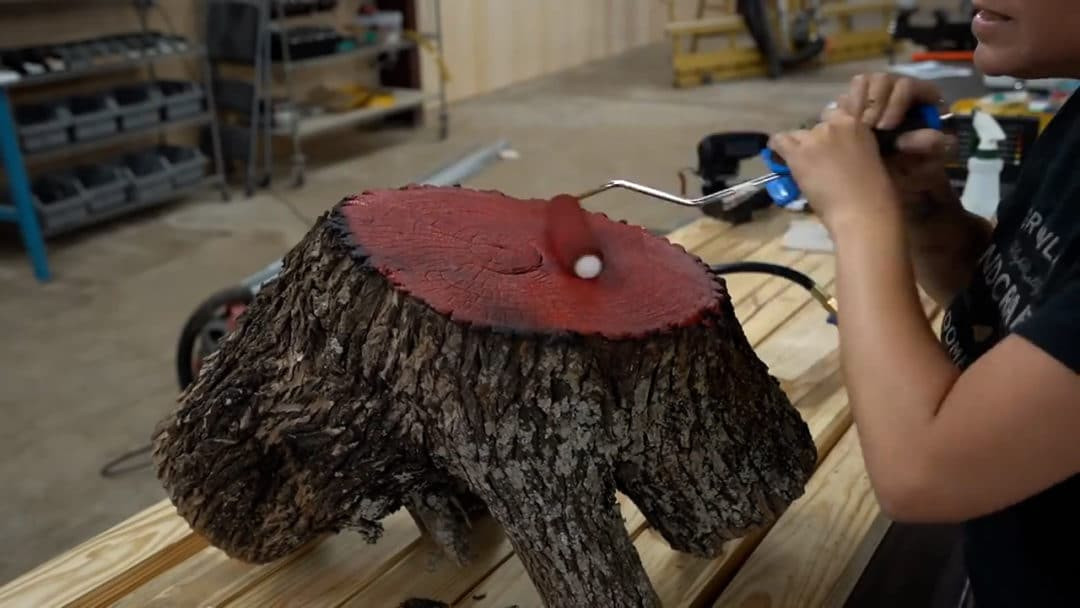 Colorful tree ring prints showcasing different ink combinations and techniques
Display Your Unique Tree Print Artwork
Once your tree prints are fully dry, consider framing them to create beautiful, custom artwork for your home. Tree ring prints add a natural, organic touch to any space and serve as a unique conversation starter.
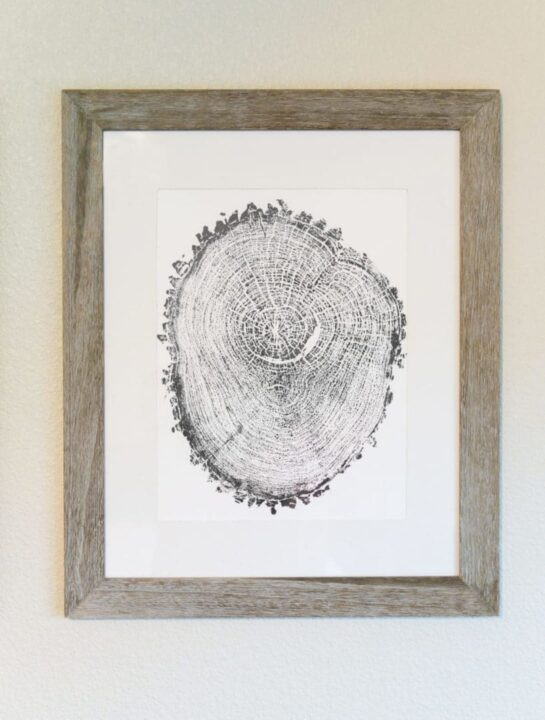 Framed tree ring print displayed as custom home decor
Creating tree prints is a rewarding DIY project that combines woodworking and art. By following these steps, you can easily transform ordinary tree stumps into personalized pieces of nature-inspired decor. Give it a try and bring the beauty of tree rings into your home!

