
Printing directly from your iPhone has never been easier, thanks to technology like AirPrint. If you’re looking for a seamless way to get documents and photos off your phone and onto paper, understanding how to use printers compatible with your iPhone is key. This guide will walk you through everything you need to know to print effortlessly from your iPhone.
What is AirPrint and Why is it Essential for iPhone Printing?
AirPrint is Apple’s technology that allows for full-quality printing without the need to download or install drivers. This means you can connect to compatible printers directly from your iPhone or iPad over a Wi-Fi network. The convenience of AirPrint is unmatched – no more transferring files to a computer just to print. It’s designed to make your mobile printing experience as smooth and straightforward as possible.
Setting Up Your Printer to Work with Your iPhone
Before you can start printing from your iPhone, there are a couple of crucial steps to ensure compatibility and connectivity:
-
AirPrint Compatibility: First and foremost, confirm that your printer supports AirPrint. Most modern wireless printers from major brands like HP, Canon, Epson, and Brother offer AirPrint. You can usually check the printer specifications on the manufacturer’s website or in the product manual.
-
Wi-Fi Connection: Your iPhone and your printer must be on the same Wi-Fi network. This is how AirPrint enables them to communicate. Make sure both devices are connected to your home or office wireless network.
Once you’ve confirmed these prerequisites, you’re ready to print.
Step-by-Step Guide: How to Print from Your iPhone
Printing from your iPhone using AirPrint is a straightforward process. Here’s how to do it:
-
Open the Document or Photo: Start by opening the document, photo, email, or webpage you wish to print. This could be in apps like Safari, Photos, Mail, or Files, as well as many third-party apps.
-
Find the Share or Actions Button: Look for the Share button (it usually looks like a square with an arrow pointing upwards) or an Actions button (often represented by three dots). These buttons are your gateway to the print options.
-
Select the Print Option: Scroll through the options in the Share or Actions menu until you find “Print” and tap on it. The print icon is easily recognizable. In some apps, the print option might be located in the app’s settings or menu – if you can’t find it immediately, check the app’s help section. Note that not all apps support AirPrint.
-
Choose Your Printer: If you haven’t printed before or if multiple AirPrint printers are available, you’ll see “No Printer Selected.” Tap this, and your iPhone will search for available AirPrint-enabled printers on your Wi-Fi network. Select your printer from the list.
-
Adjust Print Settings: You can now choose the number of copies, page range, paper size, and other print options depending on the app and printer capabilities.
-
Print! Finally, tap “Print” in the top right corner of the Print Options screen. Your print job will be sent wirelessly to your selected printer.
Managing Your Print Jobs
Need to check on a print job or cancel it? iOS provides a handy Print Center to manage your printing tasks:
-
Access Print Center: While printing, you can quickly access the Print Center through the App Switcher. To open the App Switcher, swipe up from the bottom of the screen and hold (on iPhones without a Home button) or double-click the Home button (on iPhones with a Home button). Then, look for “Print Center” and tap it.
-
View and Cancel: In Print Center, you’ll see a summary of your current print jobs.
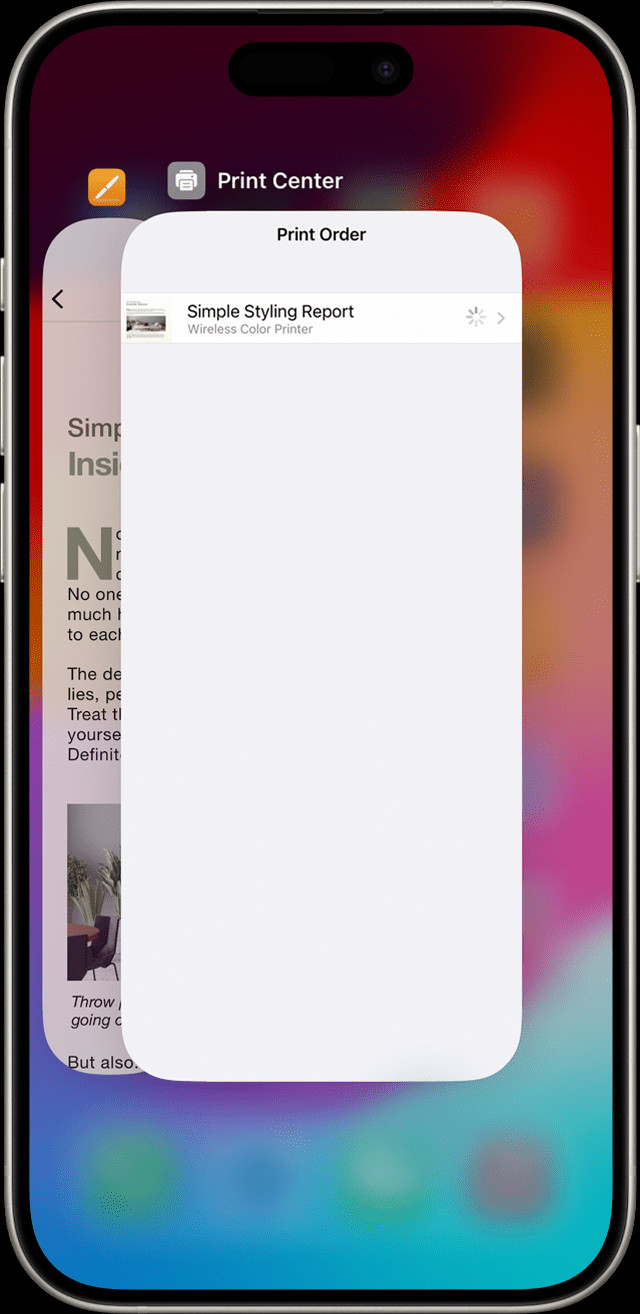 Print Center on iPhone showing active print jobs To cancel a job, simply tap “Cancel Printing.”
With AirPrint, printing from your iPhone is incredibly convenient for everyday tasks. Whether it’s tickets, documents, or photos, you can get physical copies in just a few taps, making the most of your iPhone’s capabilities.