
Are you searching for “Print On Shirt Near Me” because you need custom t-shirts? Maybe you’re after unique apparel for a special event, want to create personalized gifts, or are even thinking of starting your own clothing line. While local print shops are a convenient option, what if you could unlock a world of creative possibilities right in your own home?
Screen printing at home might sound intimidating, but it’s surprisingly accessible and incredibly rewarding. Forget the myth that it’s a complicated, industrial process. With a few simple materials and this step-by-step guide, you can master the art of screen printing and create professional-quality, custom-designed shirts, textiles, and more. This guide will demystify the process, showing you how easy and fun it can be to take control of your t-shirt designs and bring your creative visions to life, all without having to Google “print on shirt near me” again.
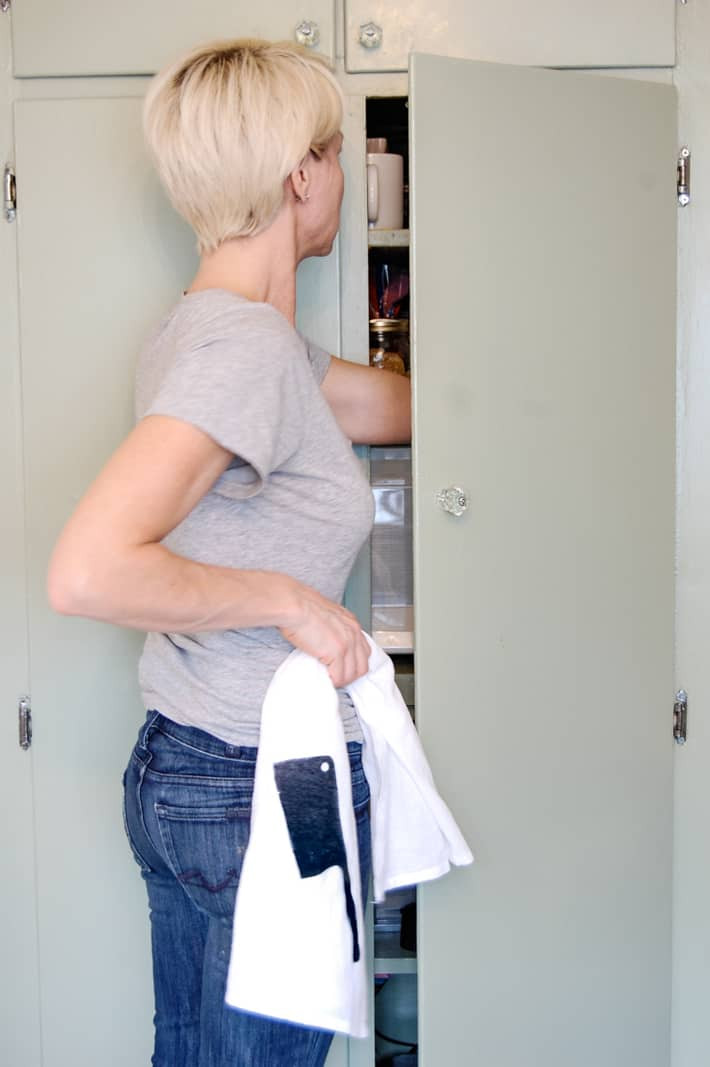 Karen Bertelsen in her pantry, wearing jeans and a grey t-shirt, holding a tea towel screen printed with a black cleaver.
Ready to ditch the search for “print on shirt near me” and embark on a DIY adventure? Let’s dive into the world of home screen printing!
Your Guide to Home Screen Printing: From Start to Shirt
In this comprehensive guide, we’ll walk you through every step of the screen printing process at home. Whether you’re a seasoned DIY enthusiast or a complete beginner, you’ll learn how to:
- Craft Your Own Screen Printing Frame: Discover how to build a simple and effective frame, or opt for a pre-made version to save time.
- Burn Your Design onto the Screen: Master the technique of transferring your chosen image onto the screen using photo emulsion and light.
- Print Like a Pro on Any Fabric: Learn the art of using your screen to apply ink flawlessly onto t-shirts, fabrics, and other materials.
Understanding the Screen Printing Basics
Screen printing operates on a straightforward principle. It’s a process of pushing ink through a mesh screen onto a material beneath, but with a clever twist. Before you start dreaming up designs for your custom shirts, let’s grasp the fundamental steps:
- Image Selection: The journey begins with your chosen design.
- Emulsion Coating: The screen is coated with a light-sensitive photo emulsion.
- Image Burning: Your design is then “burned” onto the screen using light exposure, hardening the emulsion around your image but leaving the design area soft.
- Washing Out: The unhardened emulsion is washed away, revealing your design as an open stencil on the screen.
- Printing: Finally, ink is forced through this stencil onto your fabric, transferring your design.
The beauty of screen printing is its adaptability. You can keep it incredibly DIY and resourceful by making every component yourself, or streamline the process by purchasing pre-made supplies. The choice is yours, depending on your budget and how hands-on you want to be!
Gather Your Screen Printing Materials
Before we get our hands inky, let’s gather the necessary supplies. You can find individual items or, for an easier start, consider a complete screen printing kit. Kits are a cost-effective way to try out this exciting hobby, especially if you are just starting and unsure about committing to buying each item separately after searching for “print on shirt near me” and realizing the cost of custom prints.
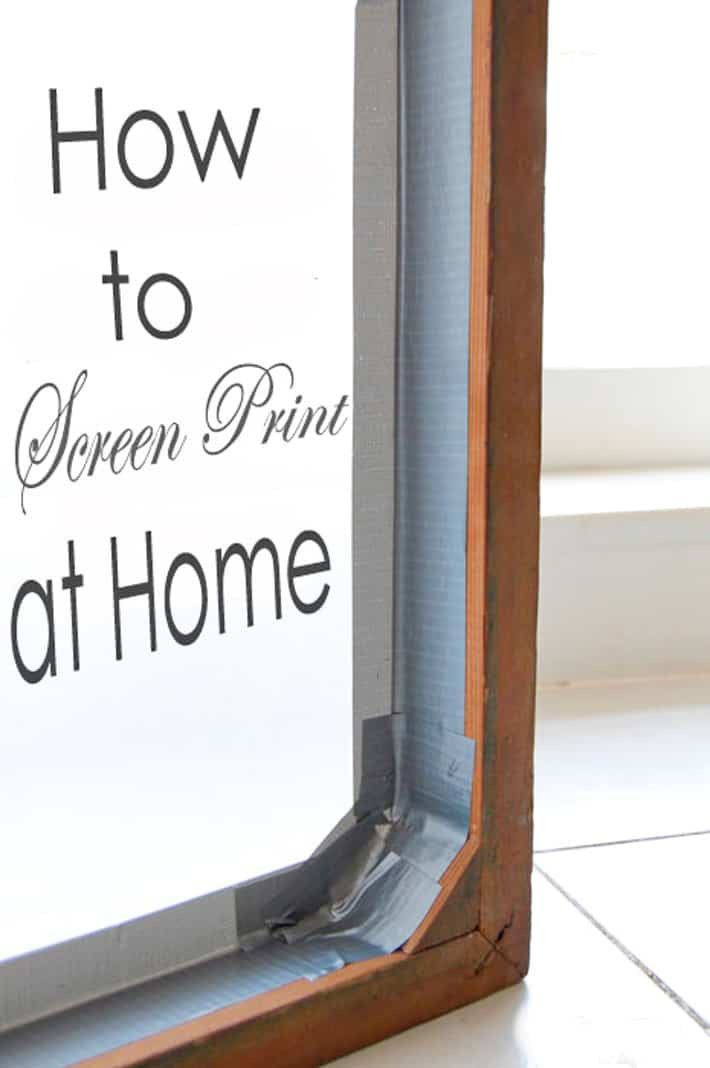 Words "How to screen print at home" written on the inside of a printing frame.
Image Prep and Printing: Step-by-Step
Let’s break down the core steps to get your design from your imagination onto a shirt, moving beyond just searching for “print on shirt near me” and taking creative control.
 White paper printed with a solid silhouette of a pine tree on it.
1. Choose Your Image: For your first screen printing project, simplicity is key. Opt for a silhouette or a single-color design. A basic shape like a tree or simple lettering works perfectly.
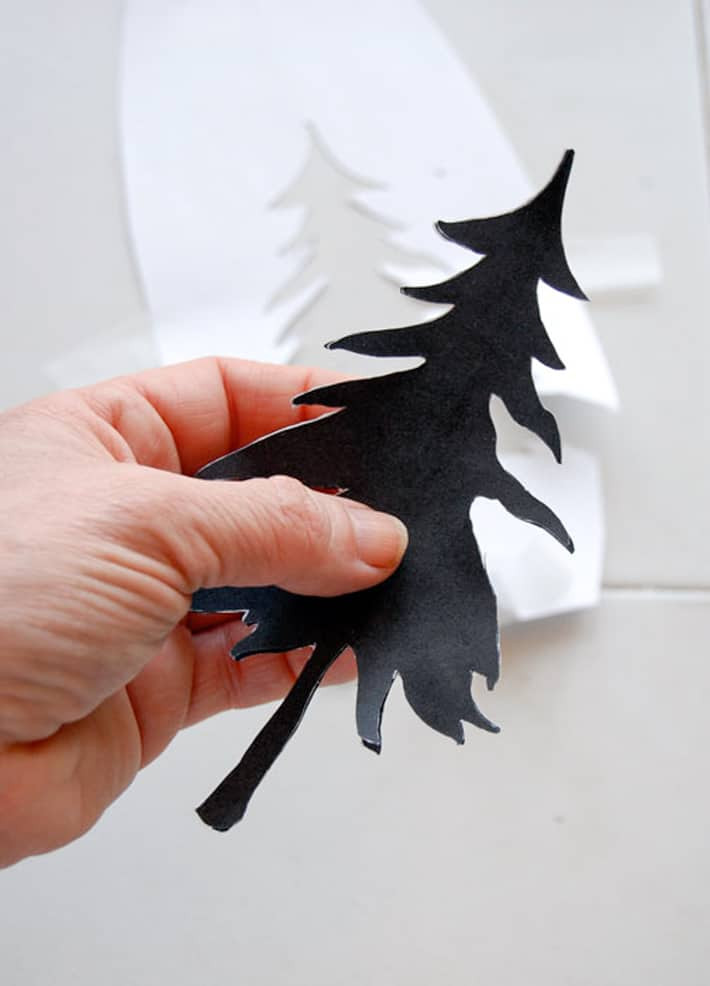 Print of a black pine tree cut away from white printer paper.
2. Print and Cut Your Design: Print your chosen image onto regular paper. While transparency paper is an option for more intricate designs later on, regular paper is sufficient for beginners. Carefully cut out your design using a craft knife.
Tip: For designs with finer details in the future, transparency paper is recommended. The key is to have an opaque image to effectively block light during the screen burning process. If your printed image isn’t dark enough, hold it up to a light source. If light shines through, reinforce it by printing another layer or using a black marker to darken it.
Crafting Your Screen Printing Frame
Now, let’s move on to creating the screen frame, the heart of your screen printing setup. A screen printing frame is essentially a mesh fabric stretched tightly over a frame, traditionally made of wood or metal. While you can construct your own frame, purchasing a pre-made screen and frame is often recommended, especially for beginners.
However, if you’re feeling particularly DIY-inclined, here’s how to make a simple wooden frame:
You can purchase 110 polyester mesh on Amazon or at craft and art supply stores.
 Side view of wooden frame construction using 2×2 lumber, screws and staples.
- Construct the Frame: Use 2×2 lumber to create a square or rectangular frame. Secure the corners with screws, ensuring the frame is solid and flat. Avoid using warped wood for this step.
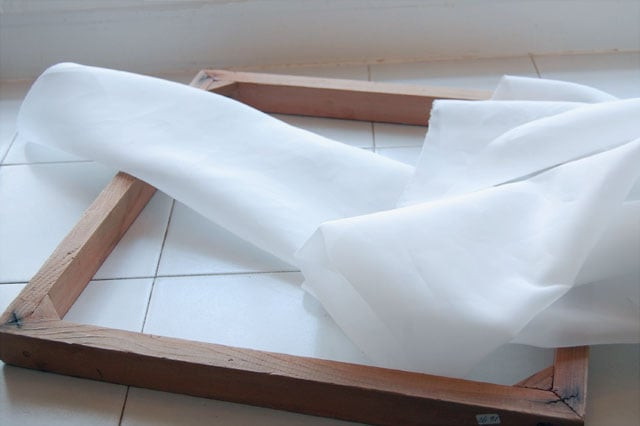
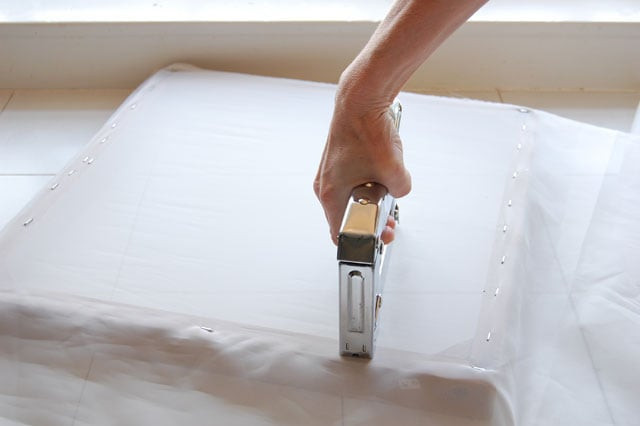 Close up view of stapling mesh fabric onto wooden frame to create printing screen.
- Attach the Mesh: Staple the “silk” (polyester mesh) tightly to the frame using a staple gun. Pull the mesh taut as you staple, but be careful not to rip it. Folding the edge of the mesh under before stapling can add durability.
Ensure all staples are flush with the frame to guarantee a flat printing surface. Protruding staples can cause the screen to wobble during printing.
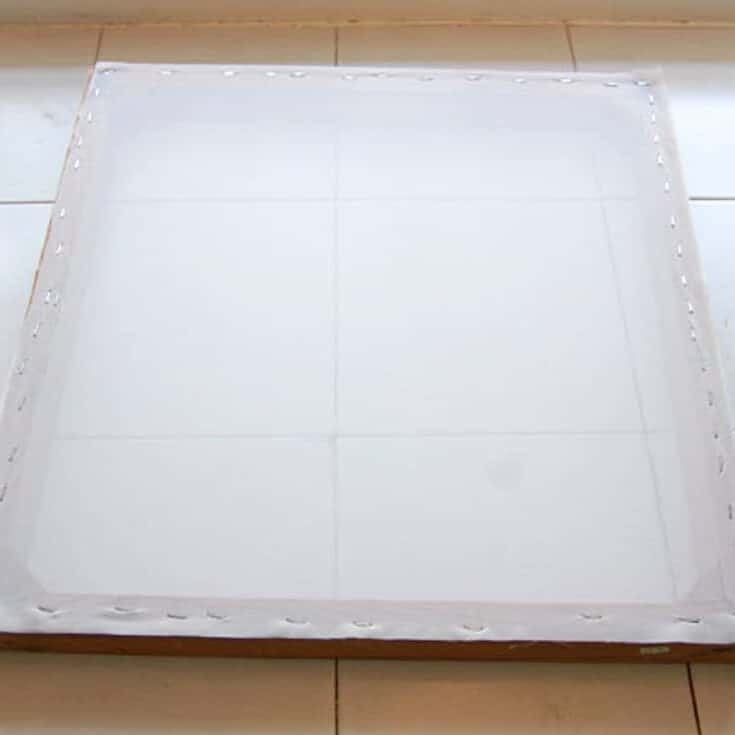 Close up of trimmed mesh edges and staples on wooden printing frame.
- Trim Excess Mesh: Once the mesh is securely stapled, trim off any excess fabric around the edges of the frame.
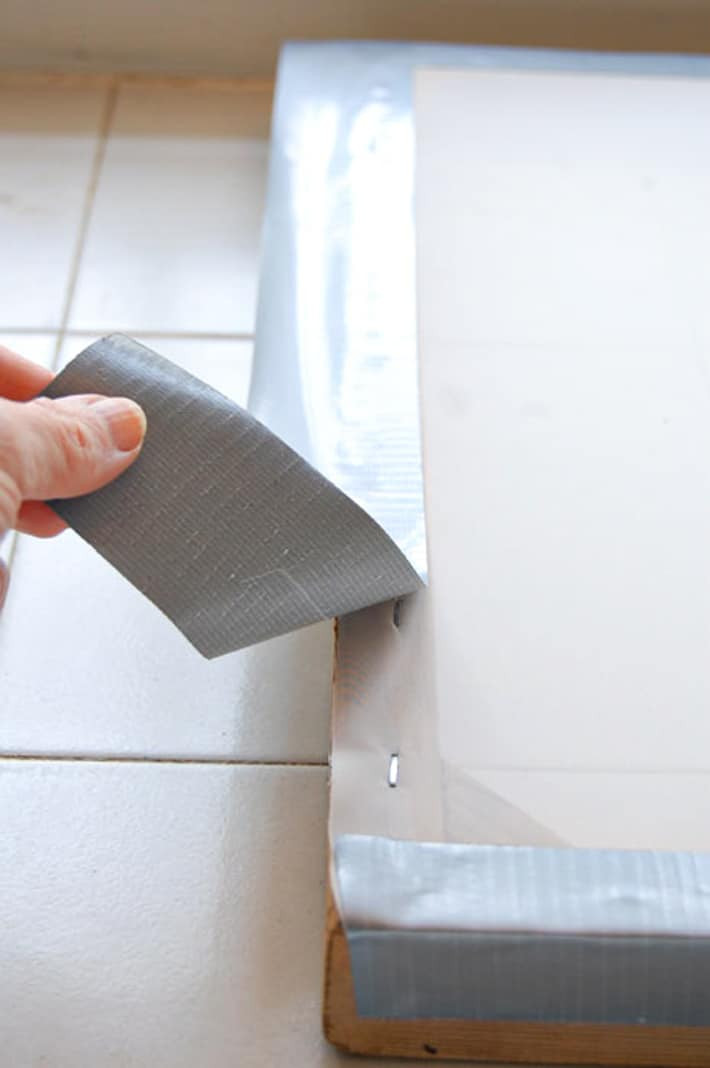 Close up of painter's tape being applied to the inside edge of a wooden printing frame to seal mesh.
- Tape the Frame: Use painter’s tape to seal both the inside and outside edges of the mesh to the frame. This prevents ink from seeping through the edges during printing. Painter’s tape is ideal; avoid duct tape as it’s not as effective and can leave residue.
Want to Save This Guide for Later?
We can email you this helpful post, so you can easily refer back to it whenever you’re ready to print!
Preparing and Burning Your Screen: A 4-Step Process
Preparing your screen for printing involves a sequence of four crucial steps, transforming your blank screen into a stencil ready for your designs.
- Emulsion Coating (Dark Room Required): In complete darkness, apply photo emulsion to your screen and allow it to dry for several hours.
- Image Placement: Once dry, position your cut-out design onto the emulsion-coated screen.
- Light Exposure (Curing): Expose the screen to light. The emulsion exposed to light will harden, while the emulsion under your design remains soft.
- Washing Out the Image: Wash away the unexposed emulsion, revealing your design as an open area on the screen.
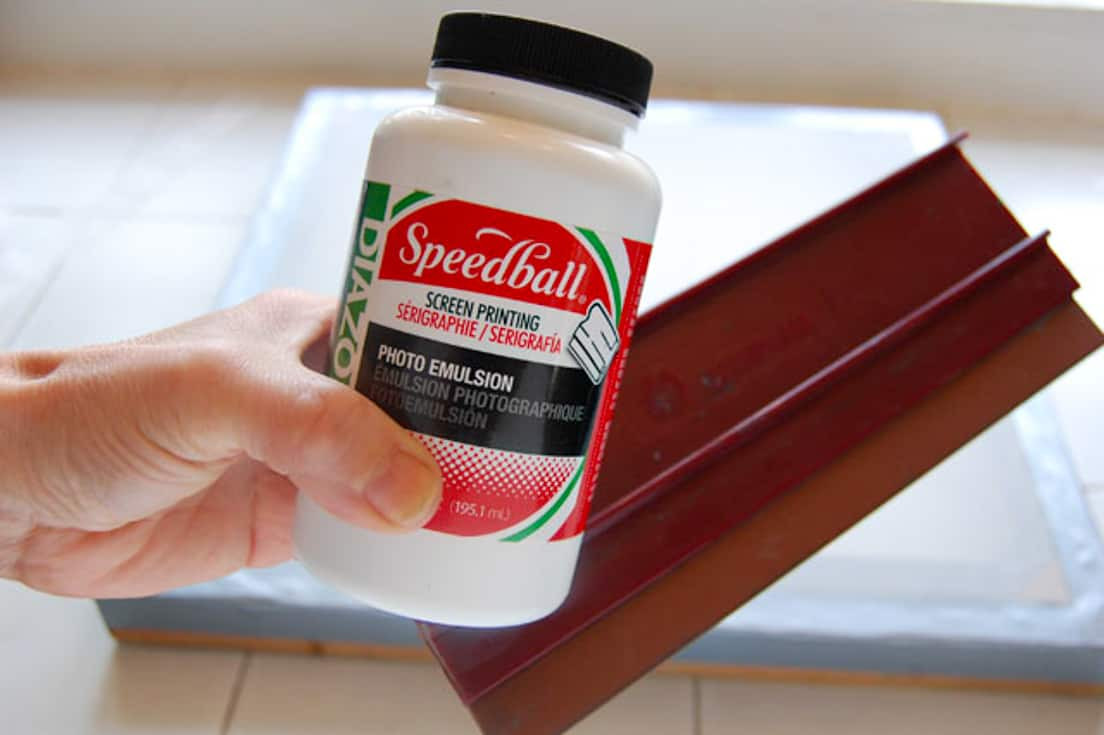 Close up of screen printing frame, squeegee, and photo emulsion bottle with instructions.
- Mix Your Photo Emulsion: Prepare your photo emulsion by mixing the two components according to the manufacturer’s instructions.
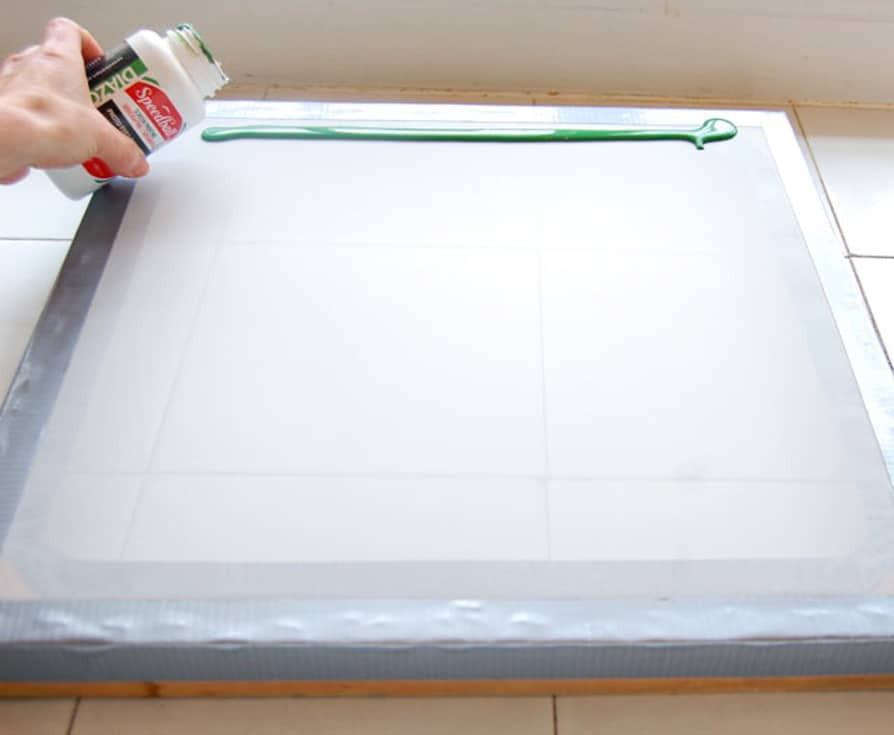 Close up of photo emulsion being applied as a bead along the top edge of a printing screen.
- Apply Emulsion in Darkness: In a completely dark room, pour a bead of emulsion along the top edge of your screen. (Note: Photos are taken in a lit room for clarity, but this step must be done in darkness).
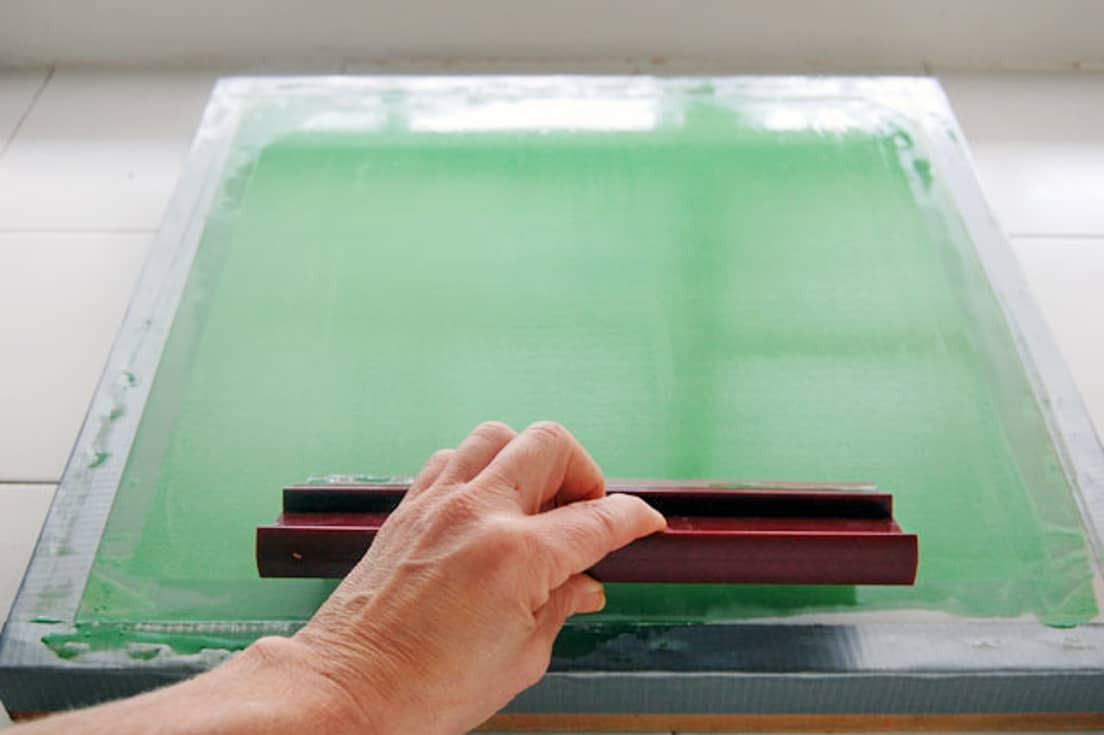 Close up of squeegee drawing photo emulsion down across printing screen mesh in darkroom environment.
- Squeegee the Emulsion: Using a squeegee, spread the emulsion evenly across the entire screen on both sides, aiming for the thinnest possible coat. Work quickly to ensure an even coat. Coat one side, then the other, and immediately move the screen to a dark area to dry.
Warning: A completely dark room is essential for drying the emulsion. A closet without windows, sealed with a towel to block any light leaks, works well.
- Drying Time: Lay the screen horizontally in the dark room to dry. Drying typically takes 1-3 hours, depending on the thickness of the emulsion layer.
(Update): To speed up drying, you can use a fan on a low setting, directed at the screen. This can reduce drying time to about half an hour.
Exposing Your Screen with Light
Once your screen is fully dry, you’re ready to transfer your image onto it. Many tutorials suggest using a lightbox for exposure, but a simple 150-watt lightbulb is perfectly adequate for beginners.
For exposing your screen, a 150-watt incandescent bulb or a 20-watt LED equivalent is sufficient.
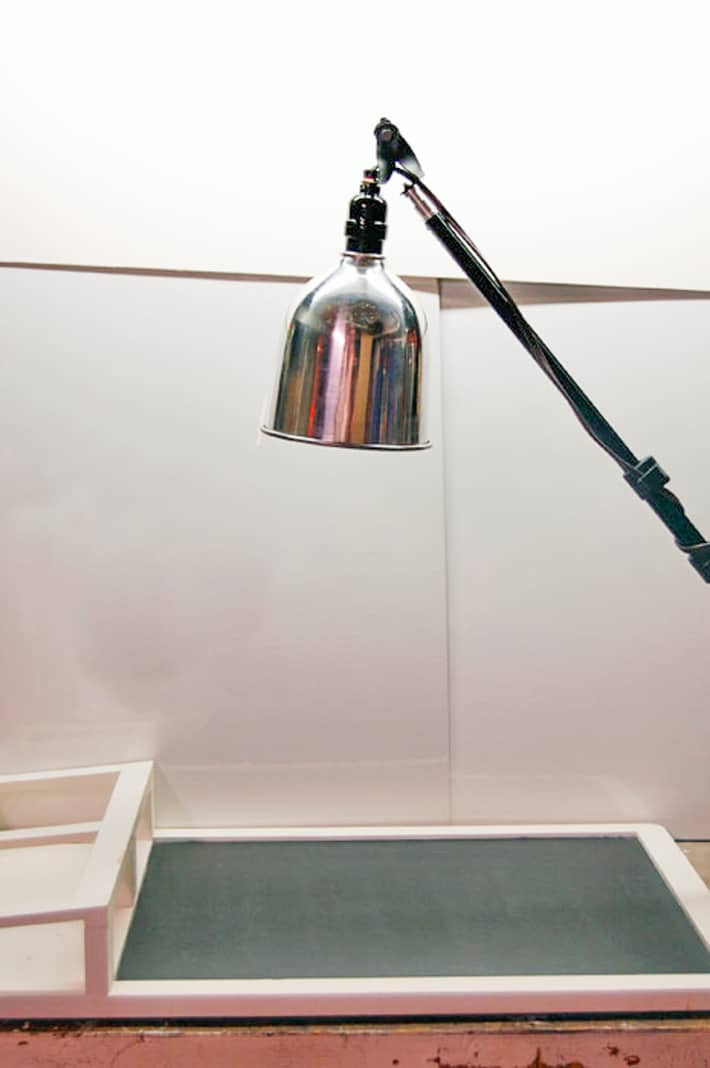 Photography light pointing down onto a blackboard.
Refer to your photo emulsion instructions for the recommended exposure time and distance between the light source and screen, which may vary based on screen size and emulsion type.
A photography light with a reflector is ideal for focusing the light onto the screen. If you don’t have a reflector, you can improvise with a tin pie plate or simply increase the exposure time by about 3 minutes.
You’ll also need a matte black surface to place under your screen during exposure. A chalkboard, black cardboard, or bristol board will work effectively.
Steps for Screen Exposure:
- Set Up Your Light Source: Position a 150-watt bulb shining down onto a matte black surface.
- Prepare Your Screen: Carefully bring your emulsion-coated screen to the light exposure area, keeping it covered with a towel to prevent premature light exposure.
- Position the Screen: Place the screen on the black surface with the “back” side (non-recessed side) facing upwards.
- Place Your Image (Reversed): Position your cut-out or transparency-printed image onto the screen, ensuring it’s reversed (flipped horizontally).
Tip: To ensure correct image orientation, hold your design as you want it to appear on your t-shirt, then flip it over before placing it on the screen.
- Cover with Glass: Place a clean piece of glass over your image to ensure it lies flat and in close contact with the screen.
- Expose to Light: Turn on your light source and expose the screen for the recommended time.
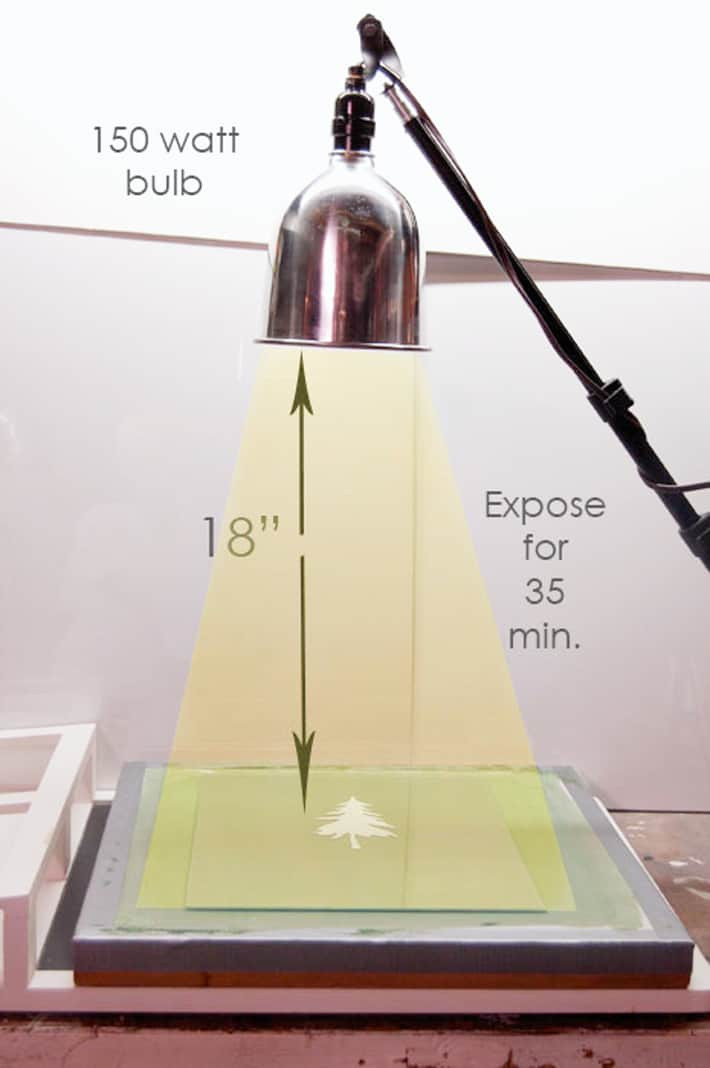 Descriptive diagram of a 150 watt bulb, 18 inches above a printing screen setup.
For a screen size similar to the one in this guide, an exposure time of 35 minutes at an 18-inch distance with a 150-watt bulb should be effective. However, always consult your emulsion instructions for precise timing.
Once the exposure time is complete, remove the glass and image. A faint outline of your design should be visible on the screen. The emulsion around the image has hardened, while the area covered by your design remains unexposed and soft.
 Newly burned screen printing frame showing faint pine tree silhouette on mesh.
- Wash Out the Image: Using lukewarm water and a high-pressure water source like a showerhead or garden hose, wash your screen. Focus the spray on the image area. The unexposed emulsion will gradually wash away, revealing your stencil. Congratulations, you’ve just created your first silkscreen!
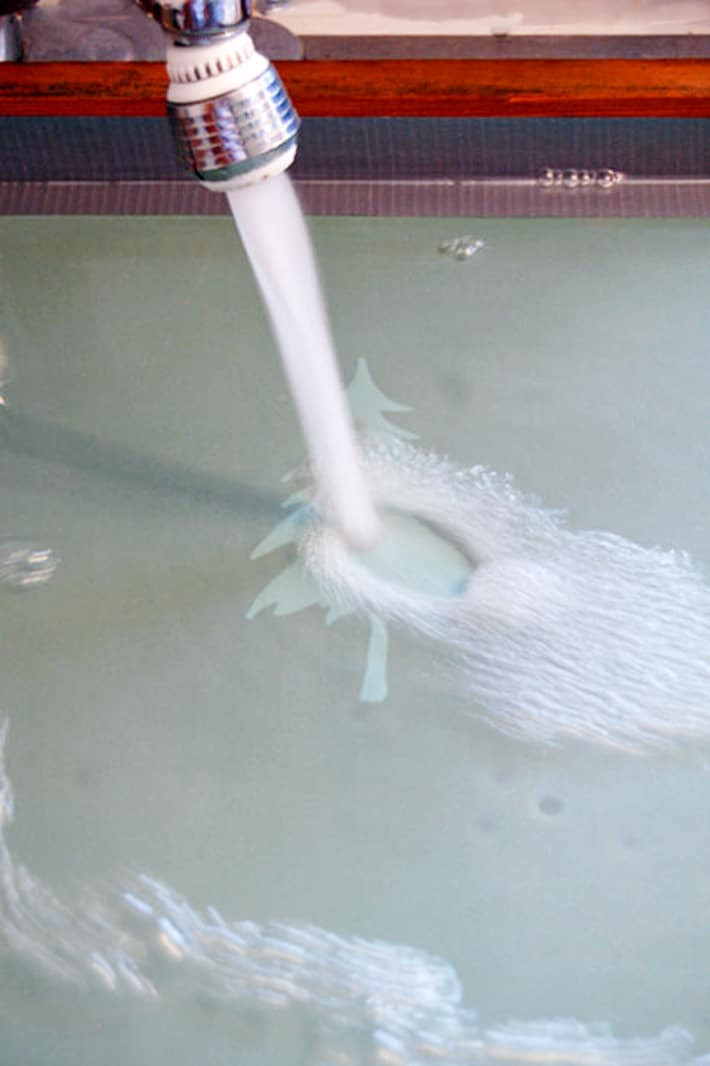 Washing emulsion off of screen after burning it at kitchen tap, revealing image.
The Fun Part: Screen Printing Your Design
Now for the most exciting step – printing your design! Lay out your t-shirt (or chosen material), position your screen, apply ink, and squeegee your first print. Get ready for the satisfaction of seeing your design come to life!
Video Tutorial
Since this might be your first attempt, practicing your technique is recommended. Use an old t-shirt to practice your squeegee technique until you feel confident before moving onto your final piece.
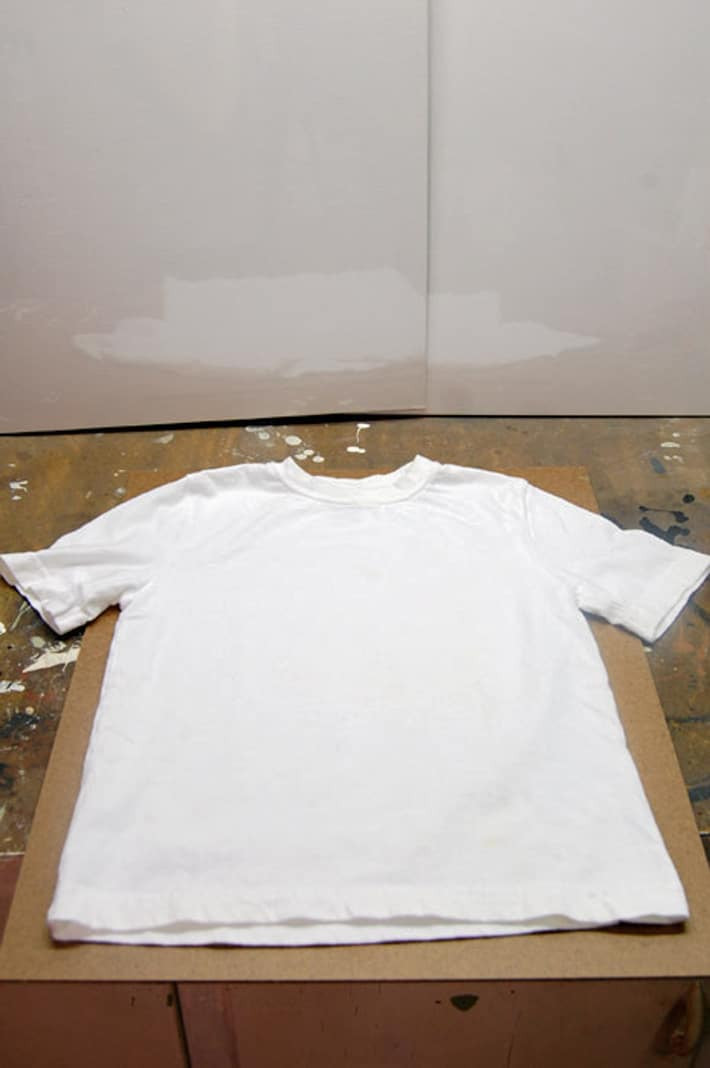 Close up of hand smoothing out a t-shirt on a flat surface in preparation for screen printing.
- Prepare Your Fabric: Lay your t-shirt flat on a smooth surface and smooth out any wrinkles.
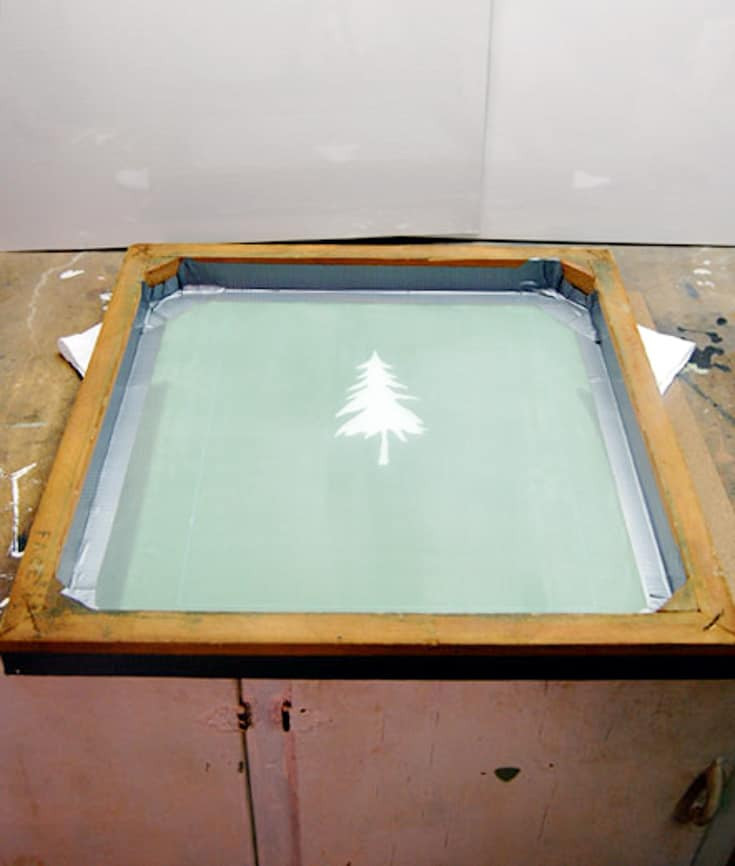 Close up of hands positioning a screen printing frame over a t-shirt.
- Position Your Screen: Place your screen printing frame over your t-shirt, ensuring the recessed side of the screen faces upwards.
In the image, you might notice tape on the inside of the screen frame. This is only necessary for DIY frames to cover any gaps. Store-bought screens typically don’t require this extra taping.
Important Tip: Screen Inspection and Taping
Before applying ink, hold your screen up to a light source to check for any pinholes in the emulsion. If you find any, cover them with small pieces of tape to prevent ink from bleeding through and creating unwanted spots on your print.
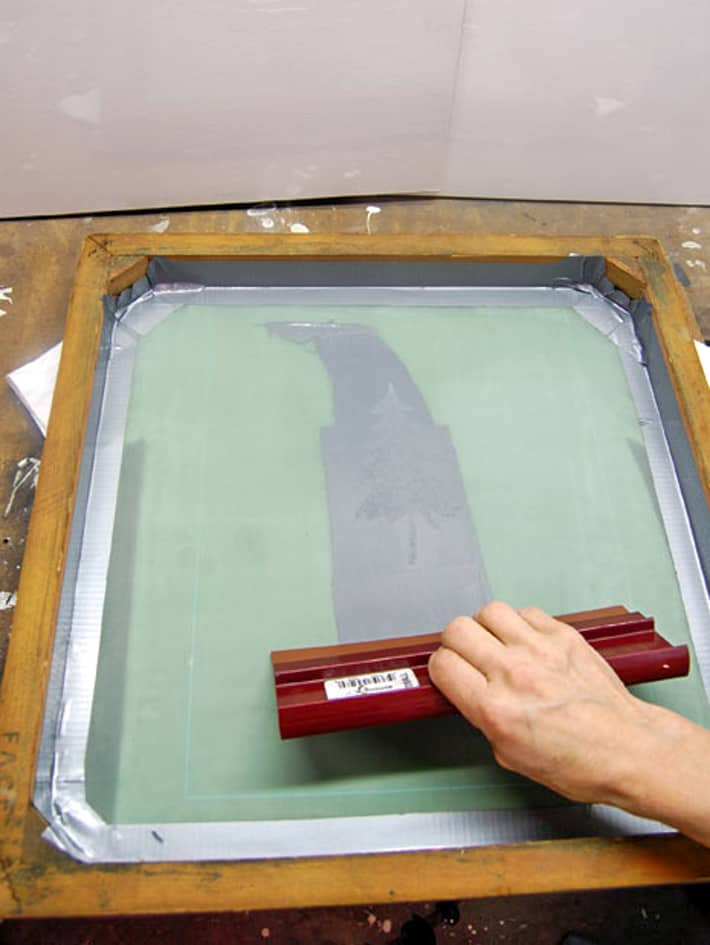
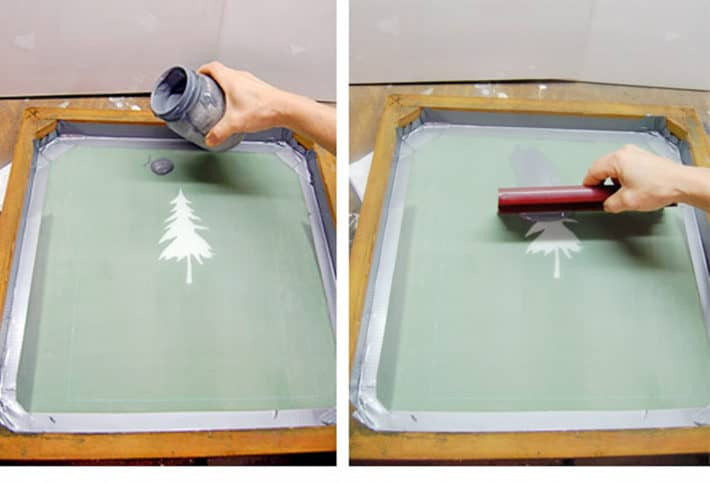 Close up of black paint being poured onto a screen printing frame, preparing to flood image.
-
Apply Ink: Pour a line of fabric ink along the top edge of your screen, above your design area. For this example, a mix of black and white ink creates a dark grey. Remember, fabric ink usually dries darker than it appears when wet.
-
Flood the Image: Using your squeegee, drag the ink lightly over your design area without applying pressure. This step, known as “flooding,” ensures the entire design is covered with ink and ready for printing.
-
Squeegee the Print: In the same direction, drag the squeegee again over the design, this time applying firm, even pressure to push the ink through the screen stencil onto the t-shirt.
 Close up of hand dragging squeegee across screen printing frame to transfer ink onto fabric.
-
Remove the Screen: Carefully lift the screen straight up from the t-shirt. It might stick slightly due to the ink.
-
Dry Your Print: Hang your printed t-shirt to air dry completely.
-
Screen Cleaning: Immediately after printing, clean your screen by rinsing it with cool water to remove all remaining ink.
-
Heat Setting: Once the ink is fully dry, heat-set your design by ironing over it with a dry iron to make the print permanent and washable.
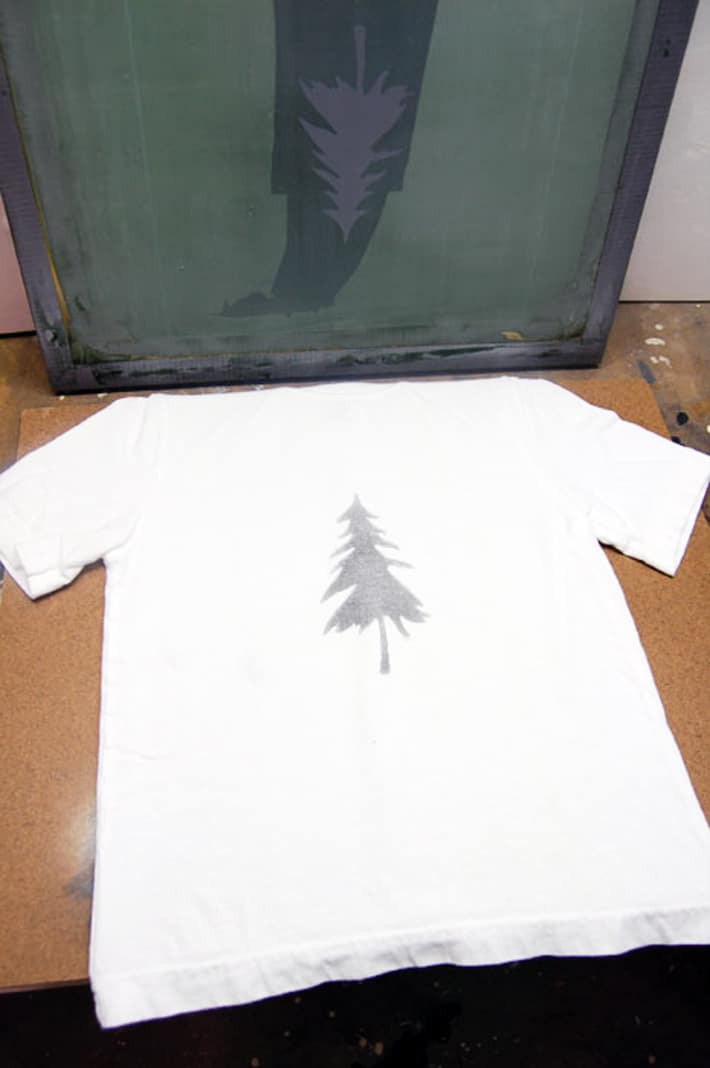 Close up of faded screen print on fabric due to insufficient squeegee pressure.
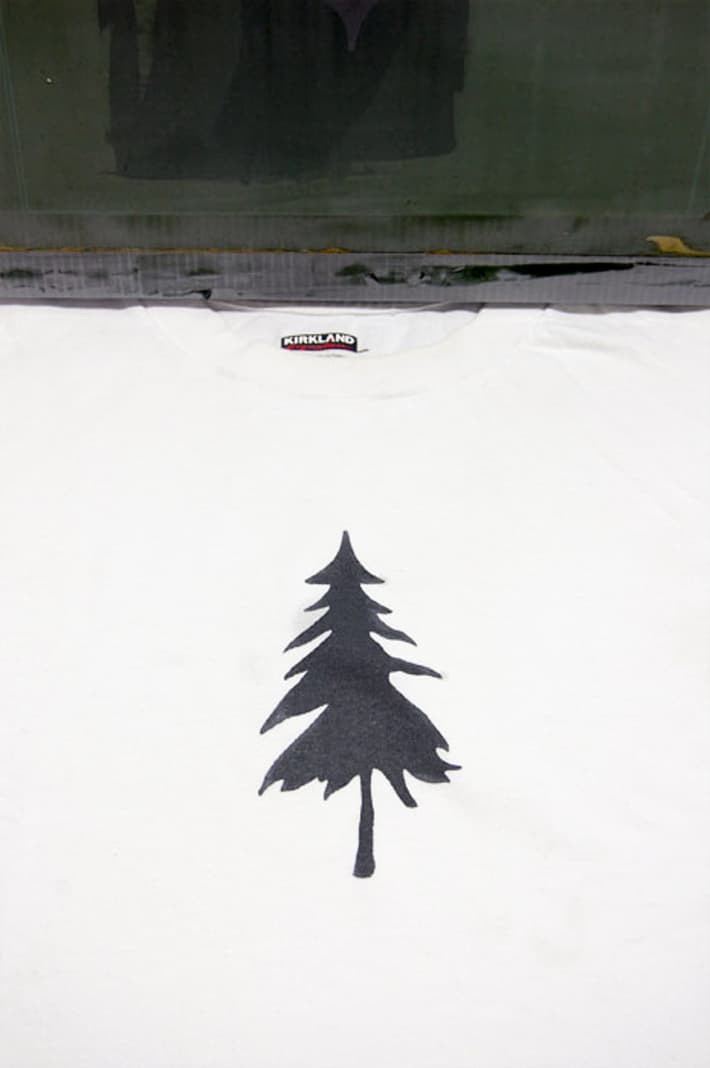 Close up of solid, crisp screen print on fabric achieved with proper squeegee pressure.
If your print appears faded, as shown in the example, apply more pressure with the squeegee during your next print to achieve a bolder, more solid image.
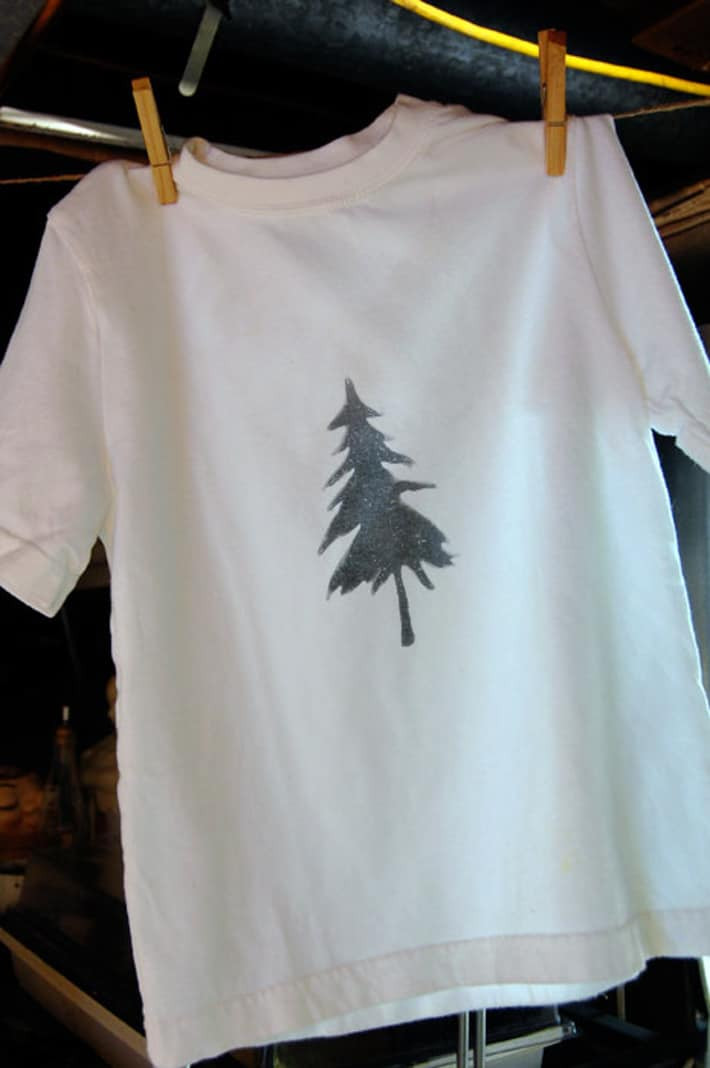 Newly screen printed t-shirt hanging on a clothes hanger to dry.
Watch this video for a visual demonstration of the screen printing process.
And there you have it! Screen printing at home in just a few steps. It’s an incredibly rewarding DIY skill that’s easier than you might think, and far more satisfying than just searching for “print on shirt near me.”
It’s a bit like the fun of dodgeball or maybe… well, never mind.
Materials Checklist
- Squeegee – ~$9
- Photo Emulsion – ~$10 (sufficient for numerous screens)
- Fabric Ink – ~$8.00 (enough for many t-shirts)
- Screen with Frame – ~$20
- 150-watt Lightbulb – ~$3
- T-shirt Blank – ~$5
Step-by-Step Instructions
IMAGE SELECTION
- Choose a Design: Select a simple, single-color design or silhouette for your first screen printing project, such as a tree or basic lettering.
- Print Your Image: Print your design on regular paper. For more detailed designs later, transparency paper can be used. Cut out the design carefully with a craft knife.
- Prepare Your Frame: Use a pre-made screen printing frame or construct your own wooden frame and attach “110” polyester mesh. Purchase 110 polyester mesh on Amazon or at art supply stores.
FRAME CONSTRUCTION (DIY Option)
- Build the Frame: Assemble a frame using 2×2 lumber, ensuring it is solid and flat.
- Attach the Mesh: Staple the polyester mesh tightly to the frame with a staple gun.
- Trim Excess Mesh: Cut away any excess mesh around the edges of the frame.
- Tape the Edges: Seal the inside and outside edges of the mesh to the frame using painter’s tape.
PHOTO EMULSION COATING (Darkroom Required)
- Mix Emulsion: Combine the two parts of the photo emulsion as directed.
- Apply Emulsion: In a dark room, apply a bead of emulsion along the top of your screen.
- Squeegee Coating: Spread a thin, even coat of emulsion across both sides of the screen using a squeegee. Work quickly and move the screen to a dark drying area immediately.
- Drying: Allow the screen to dry horizontally in a completely dark room for 1-3 hours.
SCREEN EXPOSURE
- Light Setup: Position a 150-watt lightbulb to shine onto a matte black surface.
- Prepare Screen: Bring your dried, emulsion-coated screen to the light area, keeping it covered until ready.
- Position Screen: Place the screen on the black surface with the “back” side facing up.
- Place Reversed Image: Position your cut-out image (reversed) onto the screen.
- Cover with Glass: Place a clean piece of glass over the image to ensure firm contact.
- Expose to Light: Turn on the light and expose the screen for the recommended duration (refer to emulsion instructions).
- Wash Out Image: Wash the screen with lukewarm water and a high-pressure water source to remove the unexposed emulsion and reveal your design.
PRINTING PROCESS
- Prepare Fabric: Lay your t-shirt flat and smooth.
- Position Screen: Place the screen over your t-shirt with the recessed side facing up.
- Apply Ink: Pour a line of fabric ink across the top of the screen.
- Flood Image: Drag the squeegee lightly over the design to flood it with ink.
- Squeegee Print: Drag the squeegee again with firm pressure to print the design onto the fabric.
- Remove Screen: Carefully lift the screen from the t-shirt.
- Dry Print: Hang the printed item to dry.
- Clean Screen: Wash the screen immediately with cool water.
- Heat Set Ink: Once dry, heat-set the ink with a dry iron.
Helpful Tips
- For intricate designs, use transparency paper to ensure image opacity for effective light blocking. If your printed image isn’t opaque enough, double layers or darken with a marker.
- When purchasing a screen printing frame, consider aluminum frames over wood. Aluminum frames are more durable and warp-resistant. A good, affordable starter aluminum frame is available here.
- If your prints appear faded, increase squeegee pressure for more solid ink transfer.
This guide covers the basics of home screen printing. As you gain experience, you can explore more advanced techniques like using a screen printing press and printing grayscale images. If DIY screen printing seems like too much, remember that complete starter screen printing kits are available, including screens, emulsion, inks, and squeegees.
The easiest and most economical way to begin is with a screen printing starter kit.
Find a starter screen printing kit on Amazon US.
Find a starter screen printing kit on Amazon Canada.
If you have any questions, feel free to ask! And be sure to follow me on Instagram for more DIY inspiration.
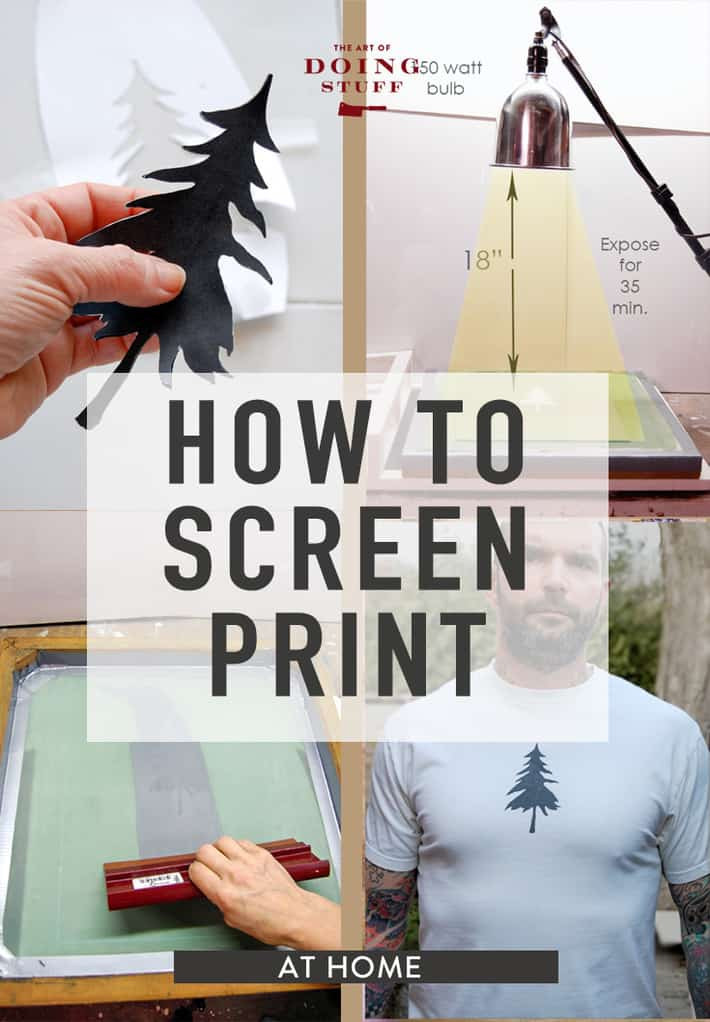 Pin image for How to Screen Print at Home.