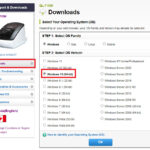
Printing from File Explorer in Windows can be streamlined using keyboard commands. While right-clicking and selecting “Print” is a common method, keyboard shortcuts offer a faster alternative. This guide will show you how to leverage keyboard commands to print efficiently in Windows, focusing on the context menu and its associated shortcuts.
For many, the default approach to printing involves opening a file and then navigating to the print option within the application’s menu. However, Windows provides a more direct method through the context menu in File Explorer. By selecting a file and pressing Shift + F10, you can instantly access the context menu, which is typically opened by right-clicking.
Once the context menu is open, you can use the keyboard to select the “Print” option. Often, menu items have underlined letters indicating keyboard shortcuts. If “Print” has an underlined ‘P’, you can press Alt + P to activate the print command directly from the context menu. This combination of Shift + F10 followed by Alt + P effectively becomes your Keyboard Command For Print within File Explorer.
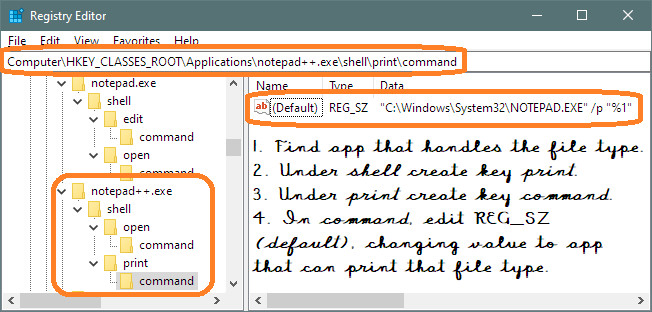
 Use Regedit to make Print context menu item
Image alt text: Regedit window showing the print command key under Notepad++ application shell, illustrating context menu customization for print functionality.
For advanced users, customizing the context menu itself to ensure “Print” is readily available and easily accessible via keyboard can further enhance workflow. This can involve using the Registry Editor (Regedit) to add or modify context menu options for specific file types, as demonstrated in the original article for text files. By tailoring the context menu, you ensure that the “Print” command is always just a Shift + F10, then Alt + [underlined letter] away, making printing a swift and keyboard-centric task. Remember to exercise caution when using Regedit and back up your system before making changes.