Have you ever wished you could capture the fleeting beauty of flowers? With Flower Printing, you can! This delightful DIY technique allows you to transfer the natural colors and delicate shapes of flowers onto paper, creating unique and personalized art. It’s a fantastic way to repurpose flowers that are past their prime and transform them into lasting keepsakes.
What’s truly wonderful about flower printing is its simplicity. You don’t need any fancy equipment or artistic expertise. Just a few readily available supplies and a bit of creativity are all it takes to start making your own stunning flower prints. Imagine crafting bespoke cards, unique wrapping paper, or even personalized stationery adorned with the vibrant hues of nature – all through the magic of flower printing.
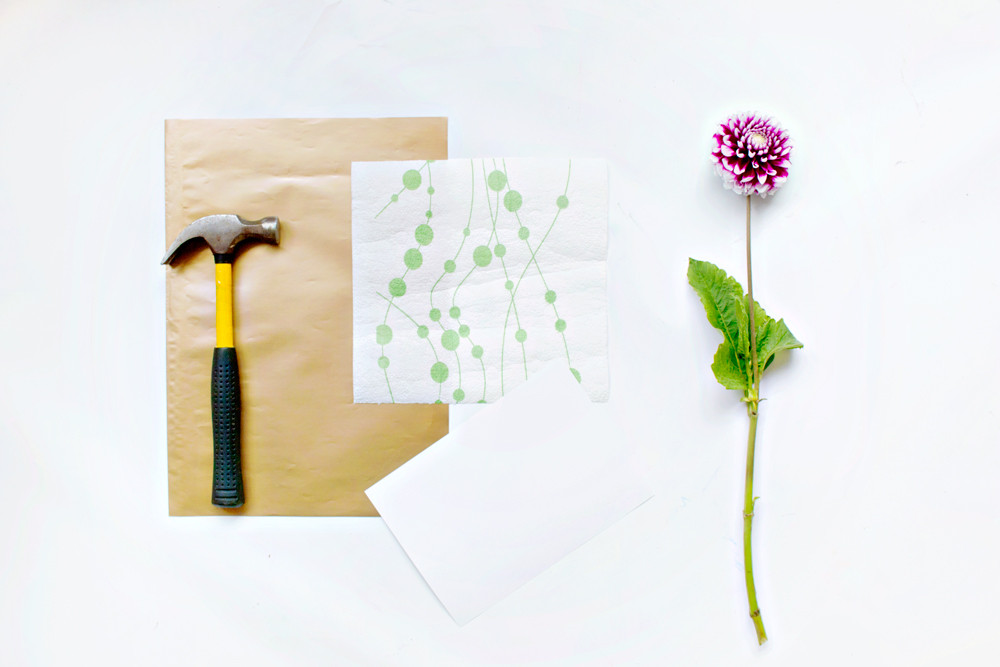 Overhead shot of flower printing supplies including flowers, hammer, paper towels, and paper.
Unleash Your Creativity with Natural Flower Prints
Flower printing, also known as flower pounding or botanical printing, is an eco-friendly and engaging craft suitable for all ages. It’s not just about creating beautiful art; it’s also a wonderful way to connect with nature and appreciate the intricate details of flowers. This method works by gently hammering flower petals and leaves to release their natural pigments onto paper, leaving behind delicate and organic prints.
Whether you’re looking for a relaxing afternoon project, a fun activity to do with kids, or a unique way to add a personal touch to your gifts, flower printing offers endless possibilities. Let’s explore how you can easily create your own floral masterpieces.
Supplies You’ll Need for Flower Printing
Before you begin your flower printing journey, gather these simple supplies:
- Fresh Flowers and Leaves: Choose flowers with vibrant colors and interesting shapes. Petals and leaves from your garden, local flower market, or even foraged finds will work beautifully. Consider using flowers like pansies, violas, roses, and leaves with interesting venation.
- Hammer or Mallet: A standard hammer or a rubber mallet will work to gently pound the flowers.
- Absorbent Paper Towels or Scrap Paper: These will be placed over the flowers to protect them and help absorb the released pigments.
- Paper or Cardstock: Select paper that is slightly absorbent but sturdy enough to withstand the hammering. Watercolor paper, cardstock, or even thicker printer paper are excellent choices.
- A Hard, Smooth Surface: Protect your work area with a sturdy surface like a wooden board or a cutting mat.
 Close-up of hands arranging colorful flower petals on white paper for flower printing.
Step-by-Step Guide to Stunning Flower Prints
Follow these easy steps to create your own beautiful flower prints:
Step 1: Gather Your Flowers and Leaves
Start by collecting your chosen flowers and leaves. For the best results, use fresh flowers as they contain more moisture and pigment. If you’re using flowers from your garden, pick them just before you start printing for optimal color transfer.
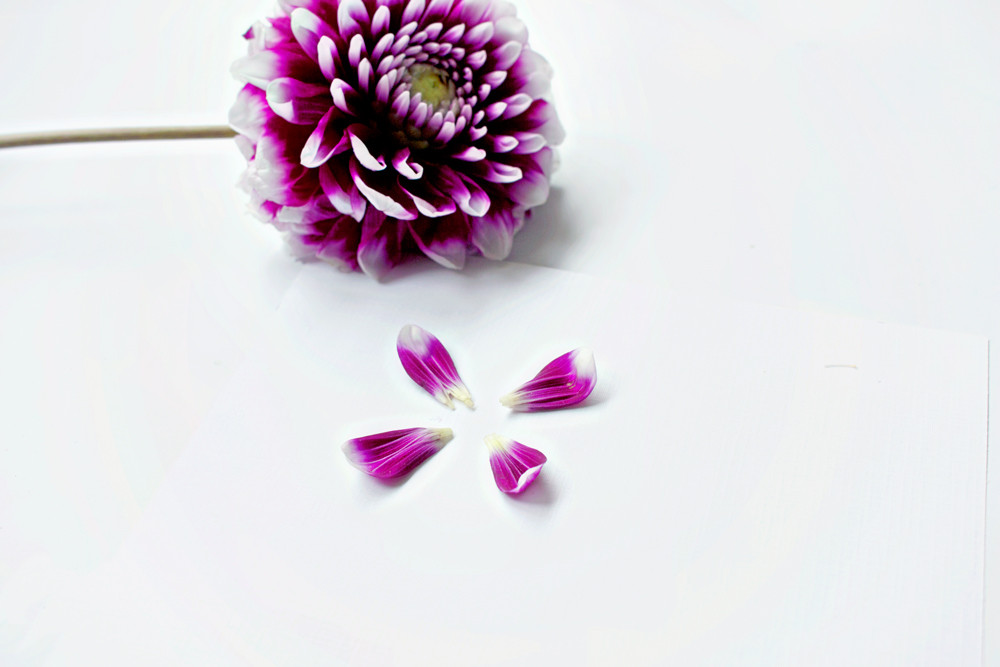
Step 2: Arrange Your Floral Design
Place your paper on your protected work surface. Carefully arrange your flower petals and leaves on the paper to create your desired design. You can create patterns, borders, or even floral shapes – let your creativity guide you! Gently unfold petals to maximize the surface area in contact with the paper for a more pronounced print.
 Detailed shot of flower petals laid out in a circular design on paper, ready for printing.
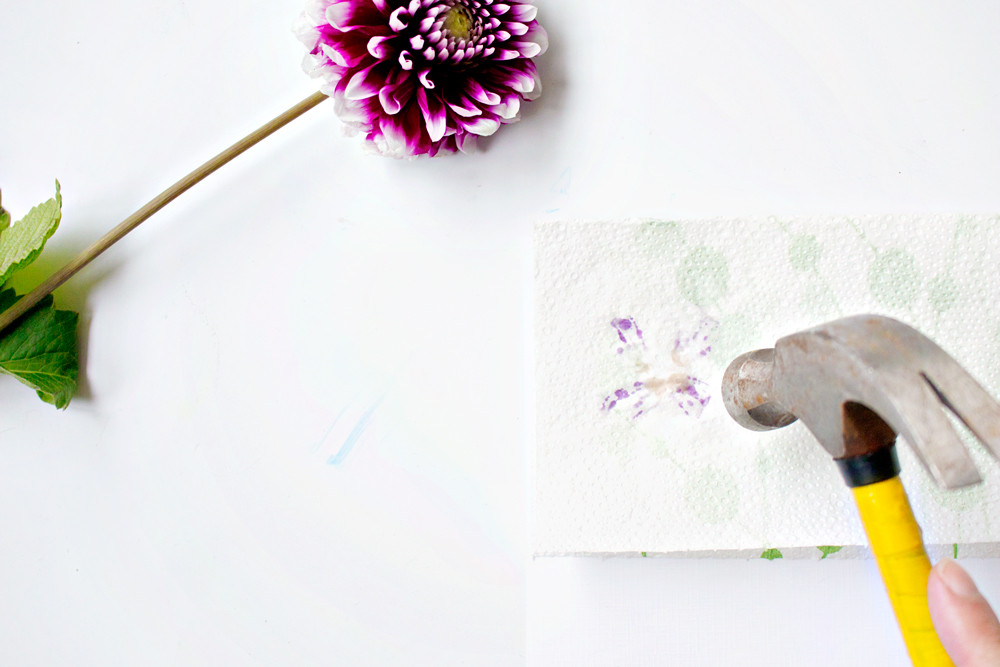
Step 3: Gently Hammer to Release the Colors
Once you’re happy with your arrangement, carefully place a paper towel or a piece of scrap paper over your floral design. This prevents the flower pieces from sticking to the hammer and helps to absorb the moisture and pigment as they are released.
Using your hammer or mallet, gently tap or pound over the paper towel, directly above the flowers and leaves. Apply even pressure, and avoid moving the flowers underneath the paper towel. The force of the hammering will crush the flowers and release their natural colors onto the paper below.
 Action shot of a hammer gently pounding paper towel covered flower petals on paper for printing.
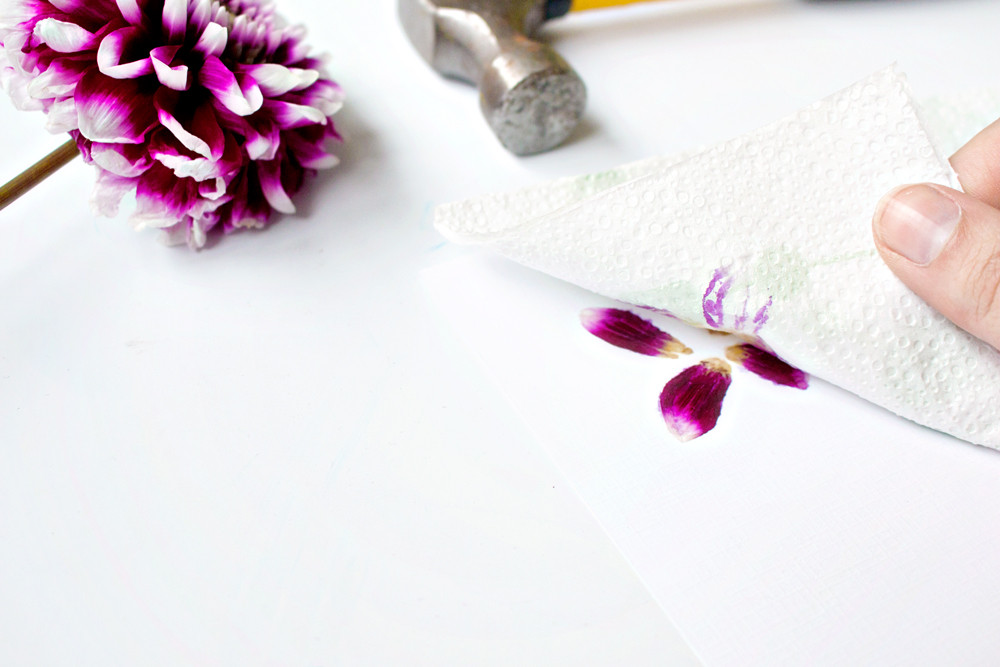
Step 4: Reveal Your Botanical Print
Carefully lift the paper towel to reveal your flower print! You’ll see the beautiful colors and shapes imprinted onto the paper. If you want a more intense print, you can replace the paper towel and gently hammer over the areas again.
Step 5: Remove Flower Petals and Let It Dry
Once you’re satisfied with your print, gently remove the flower petals and leaves from the paper. Allow your flower print to air dry completely. This may take a few hours, depending on the thickness of your paper and the moisture content of your flowers.
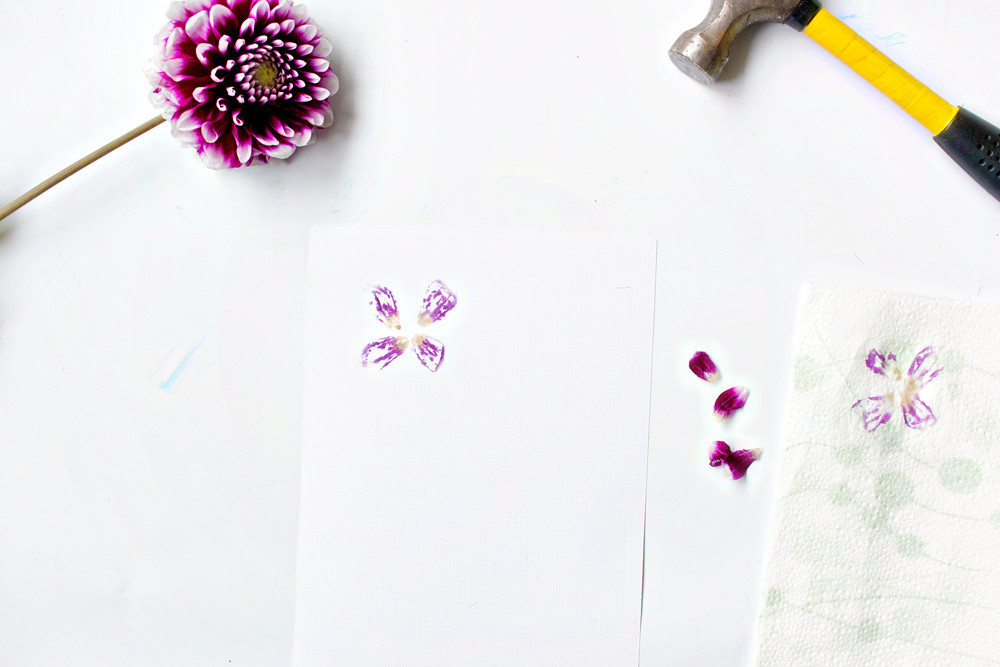 Finished flower print with delicate floral shapes and colors on paper, flower remnants beside it.
Explore Different Flowers and Designs
Now that you’ve mastered the basics of flower printing, experiment with different types of flowers and leaves to discover the variety of colors and patterns you can achieve. Try layering different flowers, using leaves with interesting textures, or creating more intricate designs.
Flower printing is a wonderfully versatile craft that allows you to bring the beauty of nature into your everyday life. So gather your flowers, get creative, and start printing! We’d love to see your floral creations – share your flower printing projects with us!