Have you ever dreamed of having a personalized action figure? With the rise of accessible 3D printing technology and user-friendly 3D modeling software, creating your own custom 3d Printed Action Figures is now within reach. This guide will walk you through the process of designing a unique action figure using free resources and software like MeshMixer and NetFabb.
The first step in crafting your 3D printed action figure is to find a suitable base model. A quick Google search for “free 3d model human figure” will reveal several excellent resources. Websites like Artist-3D (http://artist-3d.com/) and Archive3D.net (http://archive3d.net/) offer a variety of 3D body models. These models are often available in 3DS format, a format commonly used by Autodesk’s 3D Studio. Don’t worry if you’re not familiar with this format; we can easily convert it. For this project, a model like the one pictured below can serve as a great starting point.
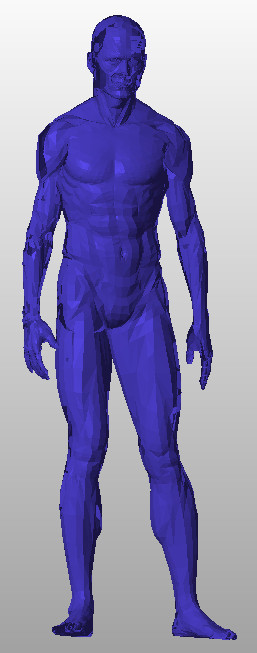 A 3D human body model selected from online resources, ready for customization.
To work with these 3DS files, we’ll use NetFabb, a versatile software that can open various 3D file formats and export them into OBJ format, which is compatible with MeshMixer, our primary modeling tool. Once you’ve downloaded your chosen body model, open it in NetFabb and export it as an OBJ file.
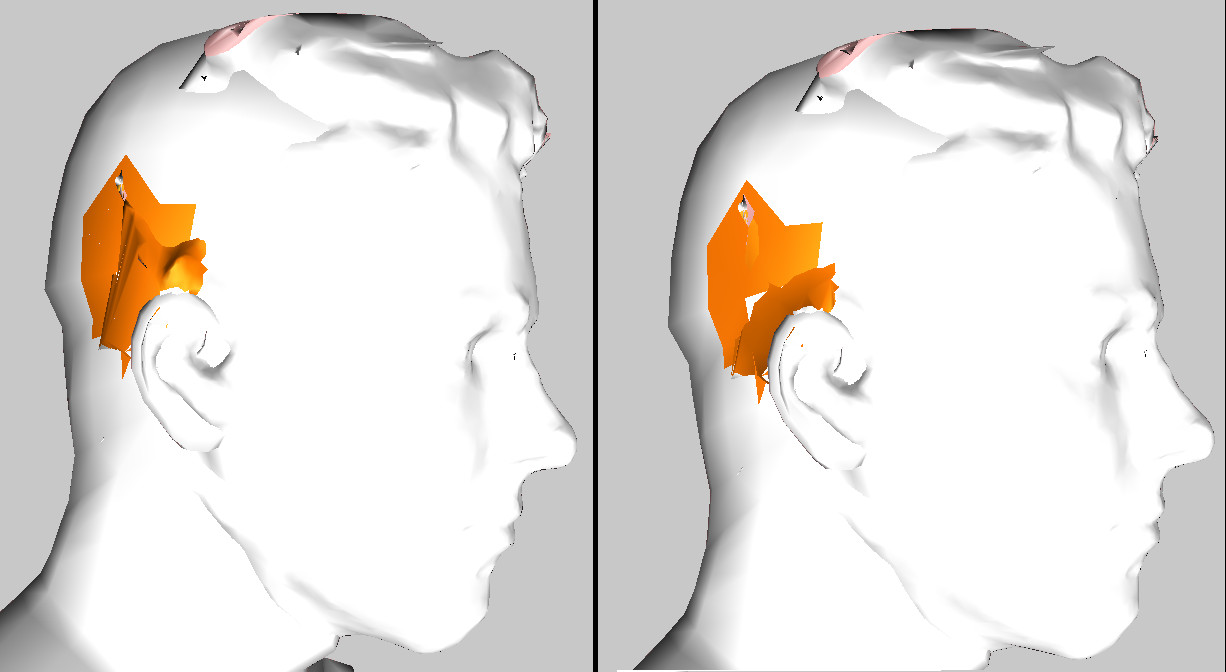
Next, import the OBJ body model into MeshMixer. If you already have a 3D model of a head (perhaps a scan of your own face), import that as well, making sure to select Append rather than Replace during import. You might notice a significant size difference between the head and body models, as shown below.
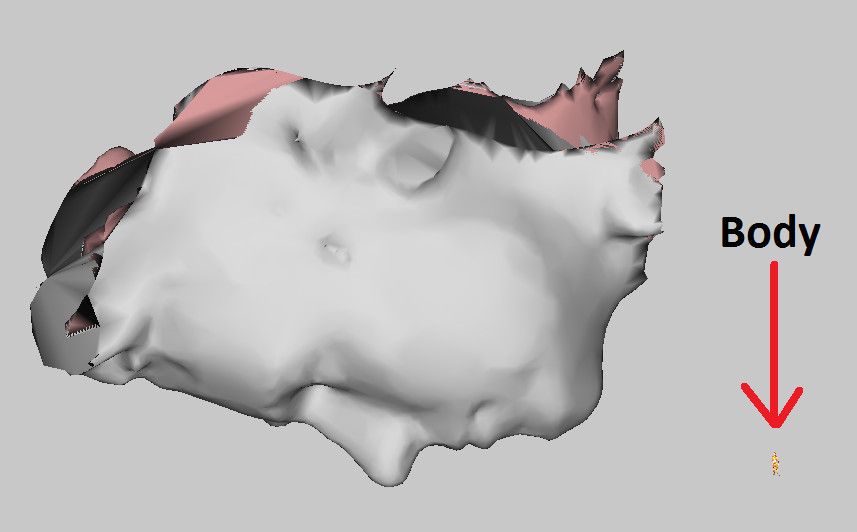 Initial import of head and body models into MeshMixer, showing a significant size discrepancy.
Instead of trying to enlarge the body model, which can be complex and sometimes problematic, it’s easier to scale down the head model to match the body’s proportions. This process might take some time and adjustment. You’ll need to rotate, pan, zoom, and transform the head model repeatedly to achieve the correct size and position it close to the body for easier manipulation. Patience is key here to get the sizing just right.
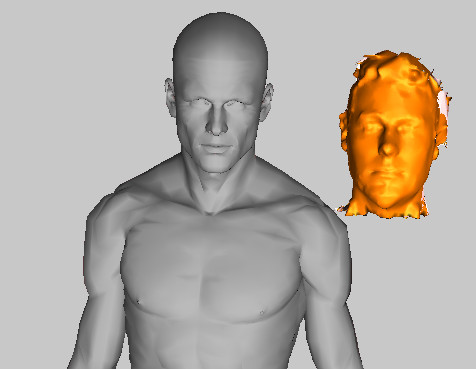 Head model scaled down and positioned near the body model in MeshMixer, ready for merging.
To seamlessly integrate your head model, we need to remove the original face from the body model. Select the body and use the lasso tool to carefully highlight the face area, from forehead to chin and cheek to cheek. Then, use the Discard edit to completely remove the selected face. While Erase and Fill might seem like an option, the complexity of pre-existing facial features like eyes and mouth can sometimes cause issues, making Discard a cleaner approach for creating a blank canvas for your custom face. This step helps prevent potential mesh conflicts when merging the models.
Now it’s time to attach your head model to the modified body. Carefully adjust the scale, rotation, and position of the head until it sits correctly on the body. Use features like the body’s ears as guides for proper depth and alignment, ensuring the head isn’t tilted. This step requires careful tweaking to achieve a natural look. Occasionally, parts of the model might seem to detach during movement in MeshMixer. As long as the main section is correctly positioned, this is usually not a problem.
Once the head is in place, you’ll likely notice some intersections where parts of the original body (like the jaw or forehead) are still visible, or where parts of your head model overlap awkwardly. Select the body model and use the lasso tool to highlight these protruding areas, then use Discard to remove them. Similarly, clean up your head model by discarding any parts of the neck, ears, or hair that extend beyond the body in an unnatural way.
With both models aligned and cleaned up, it’s time to merge them into a single, cohesive 3D model. Select one model, then Shift+Click the other to select both. Navigate to Edit > Combine to merge them into a single mesh.
After merging, you can further refine your 3D printed action figure. Focus on the areas where the head and body join, typically around the jawline, back of the head, and ears. Using the Erase and Fill tool with small brush sizes, smooth out any remaining awkward transitions and refine the overall shape.
 Merged 3D model in MeshMixer with smoothed transitions between head and body using the Erase and Fill tool.
At this stage, feel free to get creative! MeshMixer offers various sculpting brushes to add unique features, like horns or accessories, to personalize your action figure further. Once you’re satisfied with your design, export the model as an OBJ file by going to File > Export.
Finally, for optimal 3D printing, open your exported OBJ file in NetFabb again. Run the repair function to ensure the model is watertight and ready for printing (you might need to toggle between default and simple repair settings). Export the finalized, repaired model from NetFabb as an STL file.
Congratulations! You’ve successfully created a printable 3D model for your custom action figure. The next steps involve 3D printing your model and then bringing it to life with paint, which we’ll cover in a future guide. Now you’re ready to bring your digital creation into the physical world and enjoy your very own 3D printed action figure!