Paw prints are universally recognizable symbols, instantly bringing to mind our beloved pets and the natural world. From playful puppies to curious cats, these charming marks are a part of our everyday lives. You’ve likely seen paw prints adorning advertisements, clothing, and countless designs, making them a popular subject for art and crafts.
Learning to draw a paw print is a fun and accessible skill for artists of all ages. Once you master the basic shape, you unlock a world of creative possibilities. Imagine customizing your paw prints with unique patterns, incorporating them into pet portraits, or even designing personalized stationery.
This easy-to-follow guide will break down the process of drawing a paw print into simple steps. Let’s grab your pencils and paper and begin our artistic adventure!
 drawing paw print in 9 steps
Getting Started: Drawing Your Paw Print
Let’s embark on our step-by-step journey to create a perfect paw print drawing!
Step 1: Sketch the Metacarpal Pad
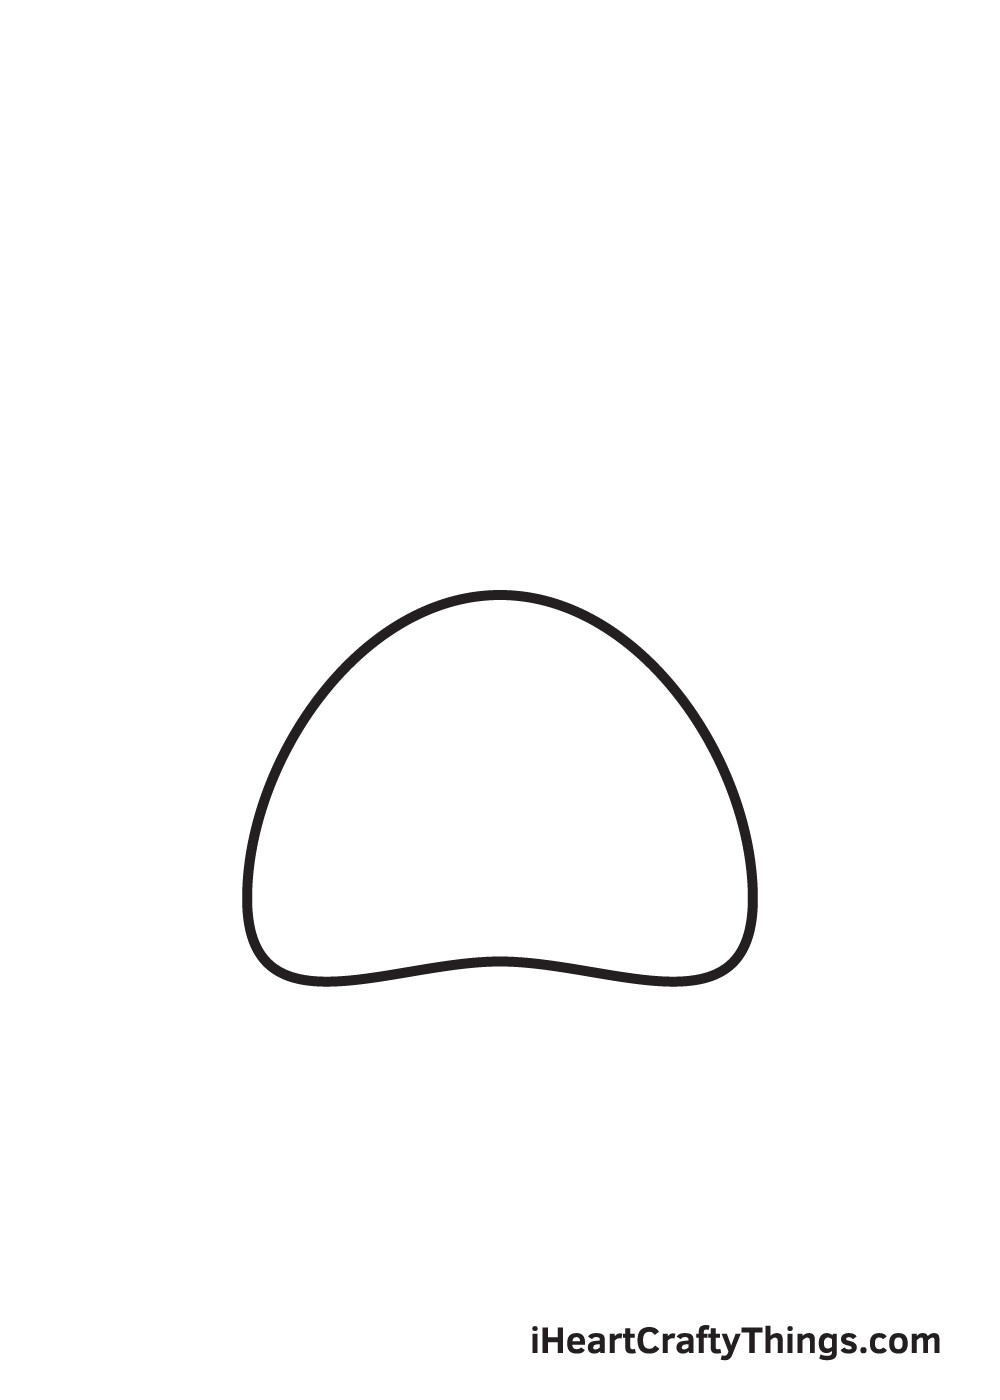 paw print drawing step 1Begin by drawing the largest part of the paw print – the metacarpal pad. This is the central, bottom-most pad. Start by sketching a gentle, downward-curving line near the lower part of your paper. Then, complete the shape by drawing a slightly uneven horizontal line that connects to the ends of the curved line. Add a small bump in the middle of this horizontal line to give it a natural paw pad shape.
Ensure all the corners of your metacarpal pad are rounded for a softer, more realistic look, as shown in the image. Starting at the bottom of your page provides ample space for the digital pads we’ll add in the next steps, ensuring your entire paw print fits comfortably.
Step 2: Draw the First Digital Pad
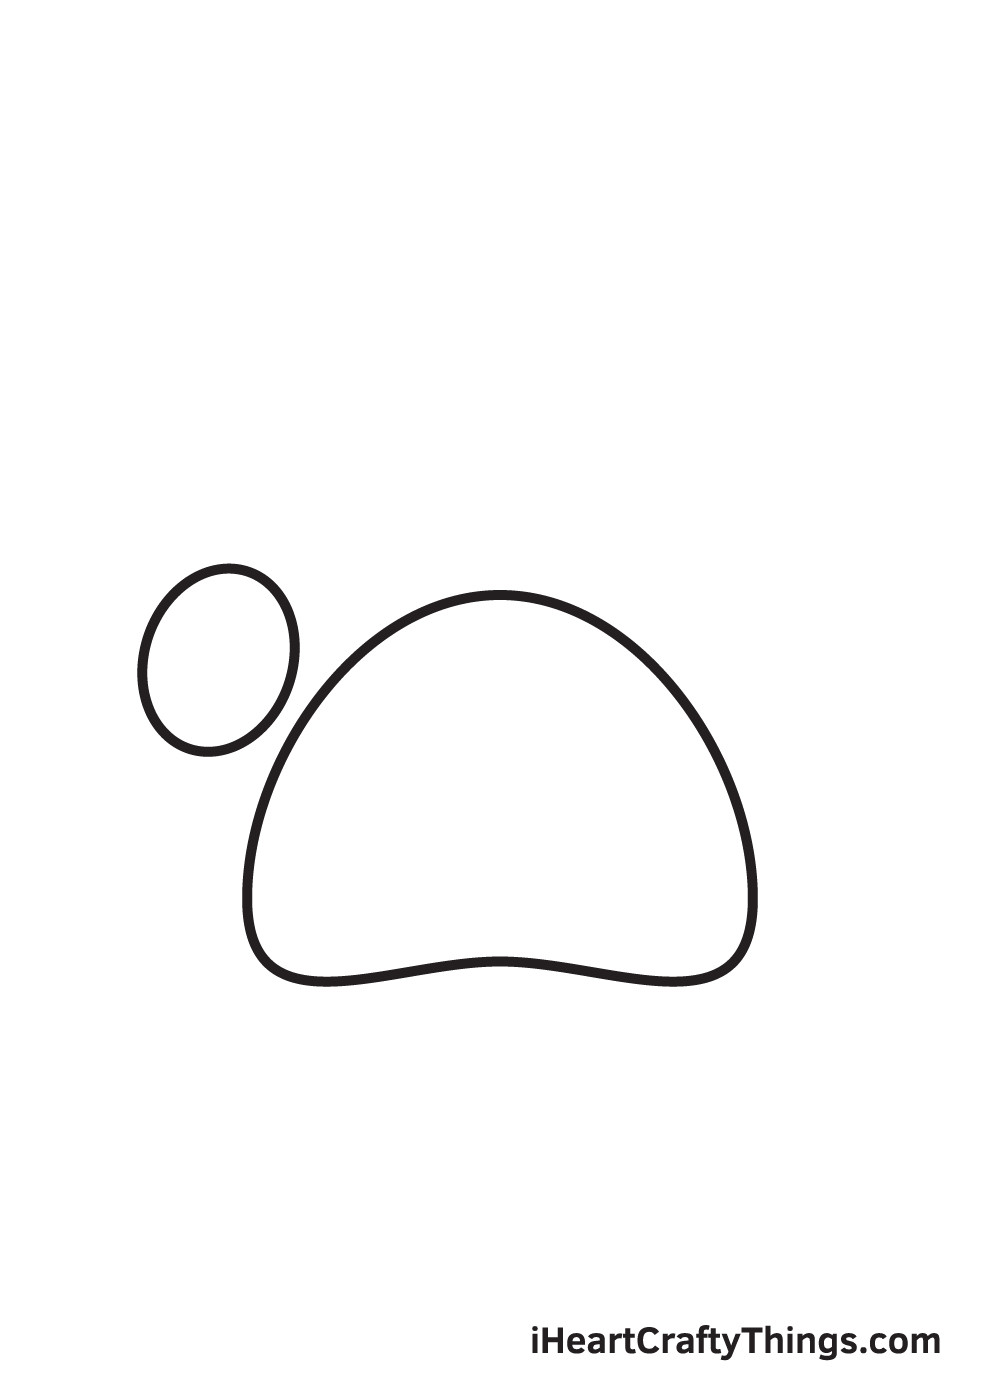 paw print drawing step 2Now, let’s add the first digital pad. On the left side, above the metacarpal pad, sketch a diagonal oval shape. This will be the first of four toe pads, also known as digital pads, positioned on the leftmost side of your drawing.
It’s important to leave a small gap between this digital pad and the metacarpal pad. They shouldn’t be directly connected, creating a more defined paw print shape, just like in the illustration.
Step 3: Add the Second Digital Pad
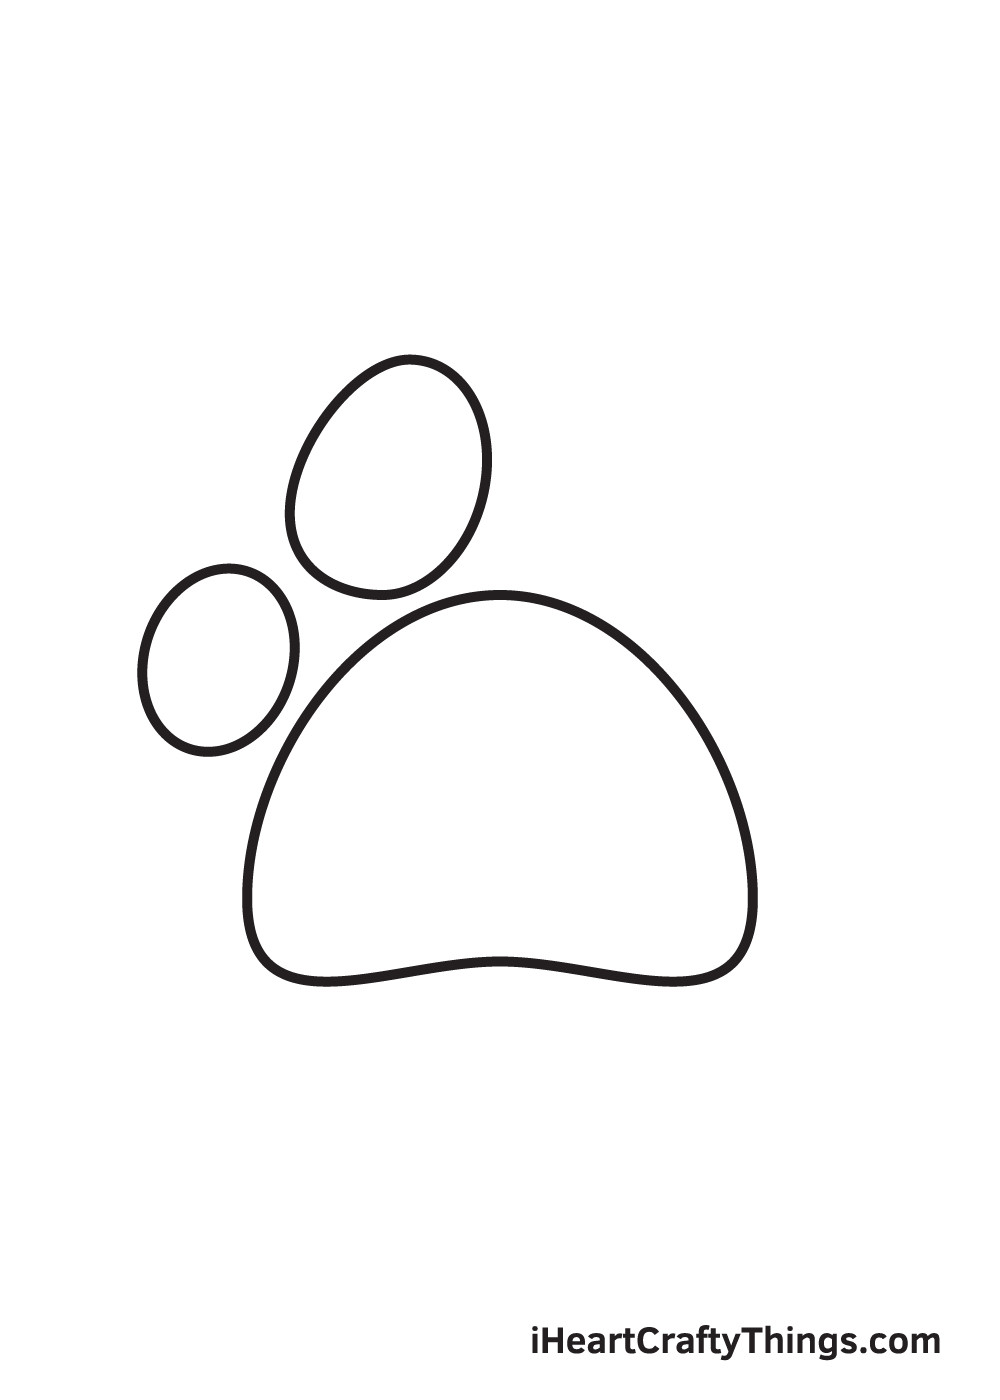 paw print drawing step 3Next, draw a slightly larger oval shape right next to the first digital pad you just drew. This forms the second digital pad. It should be placed directly beside the first one, moving towards the center of the paw print.
Don’t worry about making these digital pads perfectly symmetrical or identical. In fact, a little variation in their shapes will give your paw print a more natural and organic appearance. Slightly uneven shapes can make your drawing look even more realistic!
Step 4: Create the Third Digital Pad
 paw print drawing step 4Repeat the previous step to draw the third digital pad. Make this one approximately the same size as the second digital pad and position it right next to it.
By this stage, you should have three digital pads clustered together above the metacarpal pad. We’re just one pad away from completing the set of toe pads!
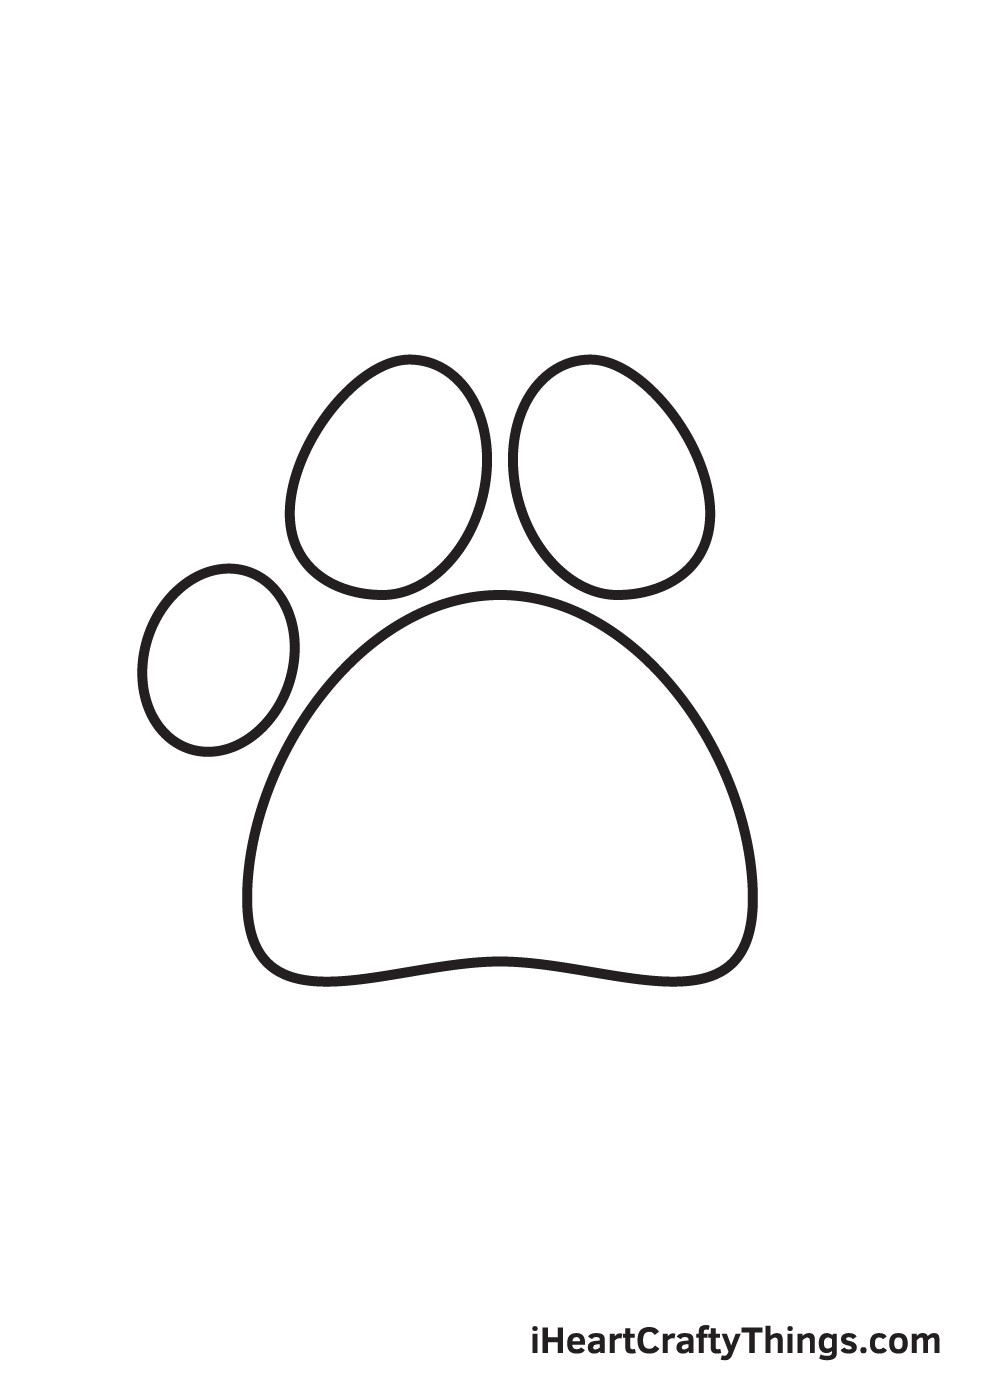
Step 5: Complete the Four Digital Pads
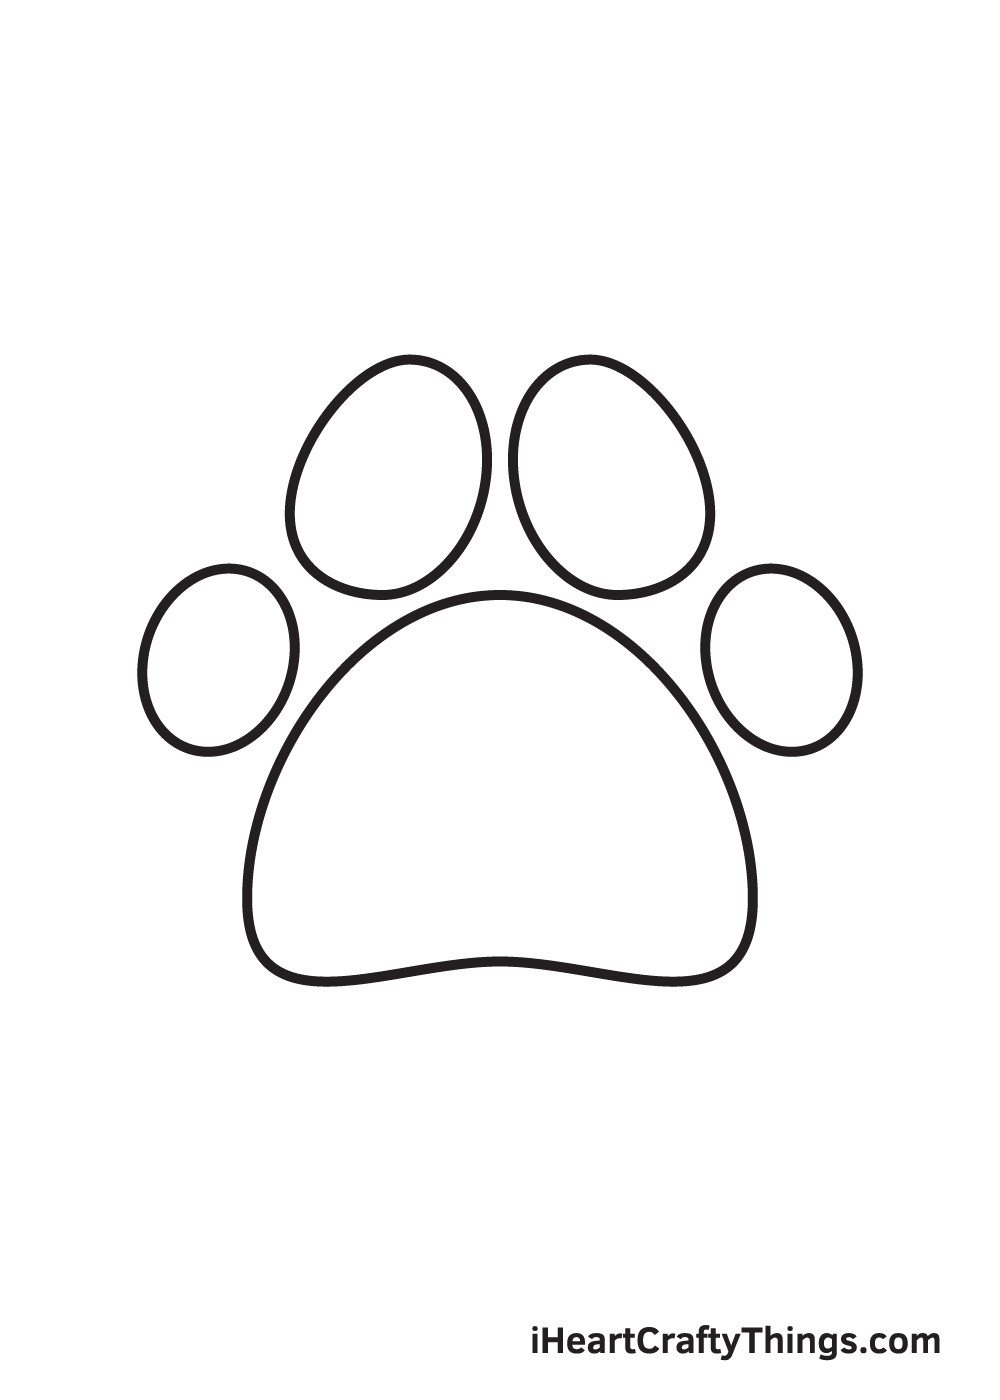 paw print drawing step 5For the final digital pad, draw a smaller oval shape, similar in size to the first digital pad you drew in Step 2. Place this fourth digital pad on the rightmost side, mirroring the position of the first pad.
With this step completed, you should now have all four digital pads in place, arranged above the metacarpal pad. The basic structure of your paw print is taking shape!
Step 6: Draw the First Claw
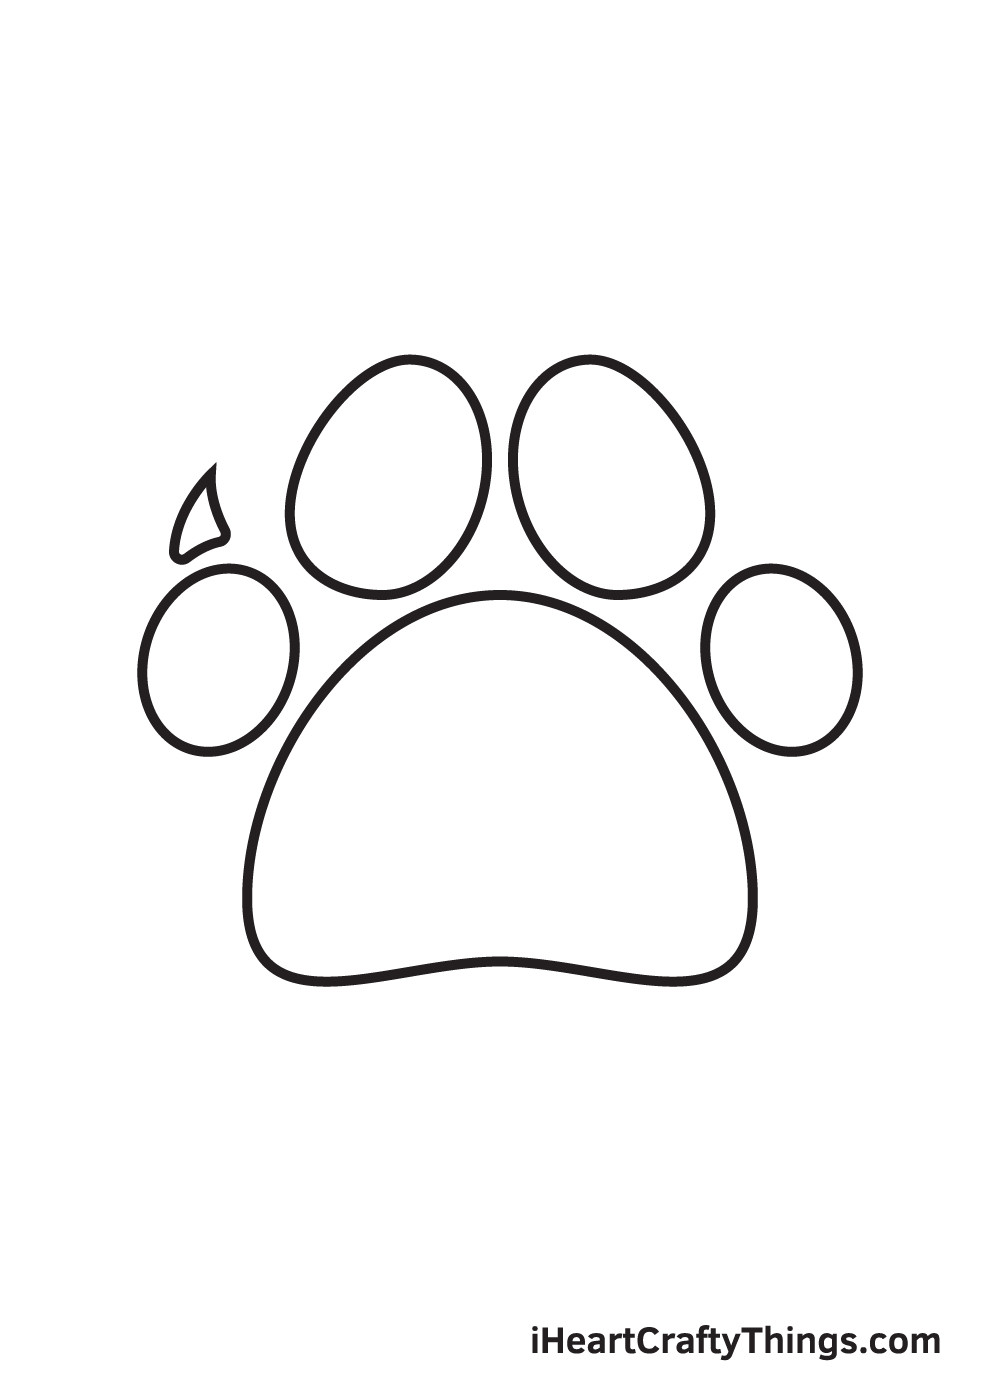 paw print drawing step 6Now, let’s add the claws! Above the first digital pad on the leftmost side, draw a small, slightly curved triangle shape. This will represent the sharp claw extending from the toe pad – a distinctive feature of a paw print.
Ensure there’s a small separation between the digital pad and its claw. They shouldn’t be directly touching, maintaining the definition of each element, as illustrated.
Step 7: Add the Second Claw
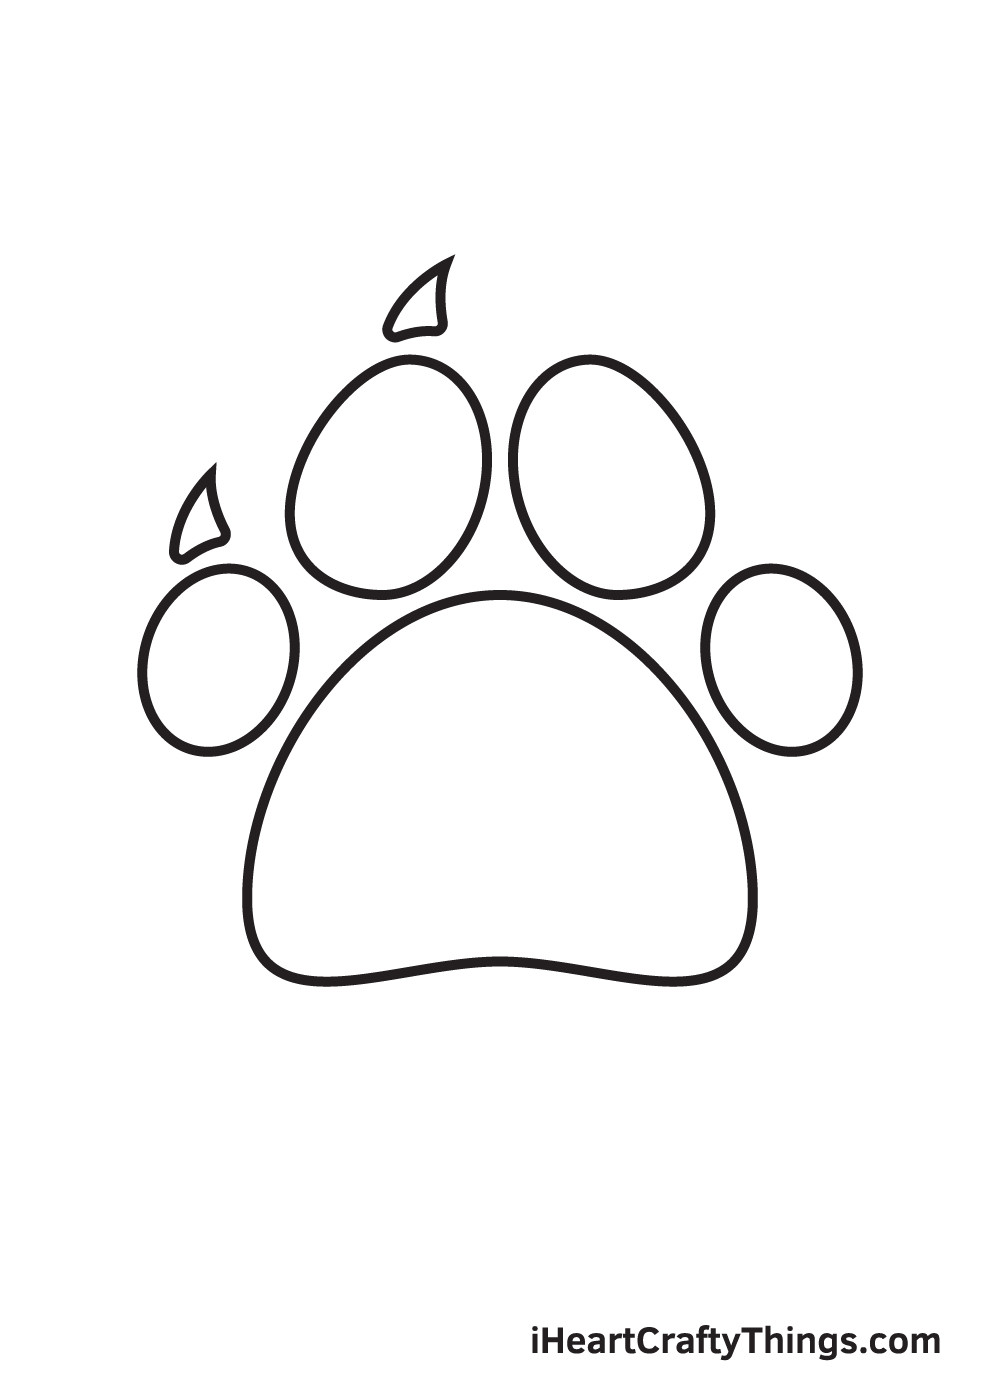 paw print drawing step 7Repeat the previous step above the second digital pad, the one located next to the first.
This will create the claw for the second toe pad, adding to the recognizable form of the paw print. Keep the size and style of the claw consistent with the first one for a uniform look.
Step 8: Draw the Third Claw
 paw print drawing step 8Moving to the third digital pad, draw another small triangle shape above it, mirroring the previous steps. This creates the claw for the third toe pad.
Notice how the claws are adding a touch of sharpness and character to your paw print. Imagine those tiny, pointed claws!
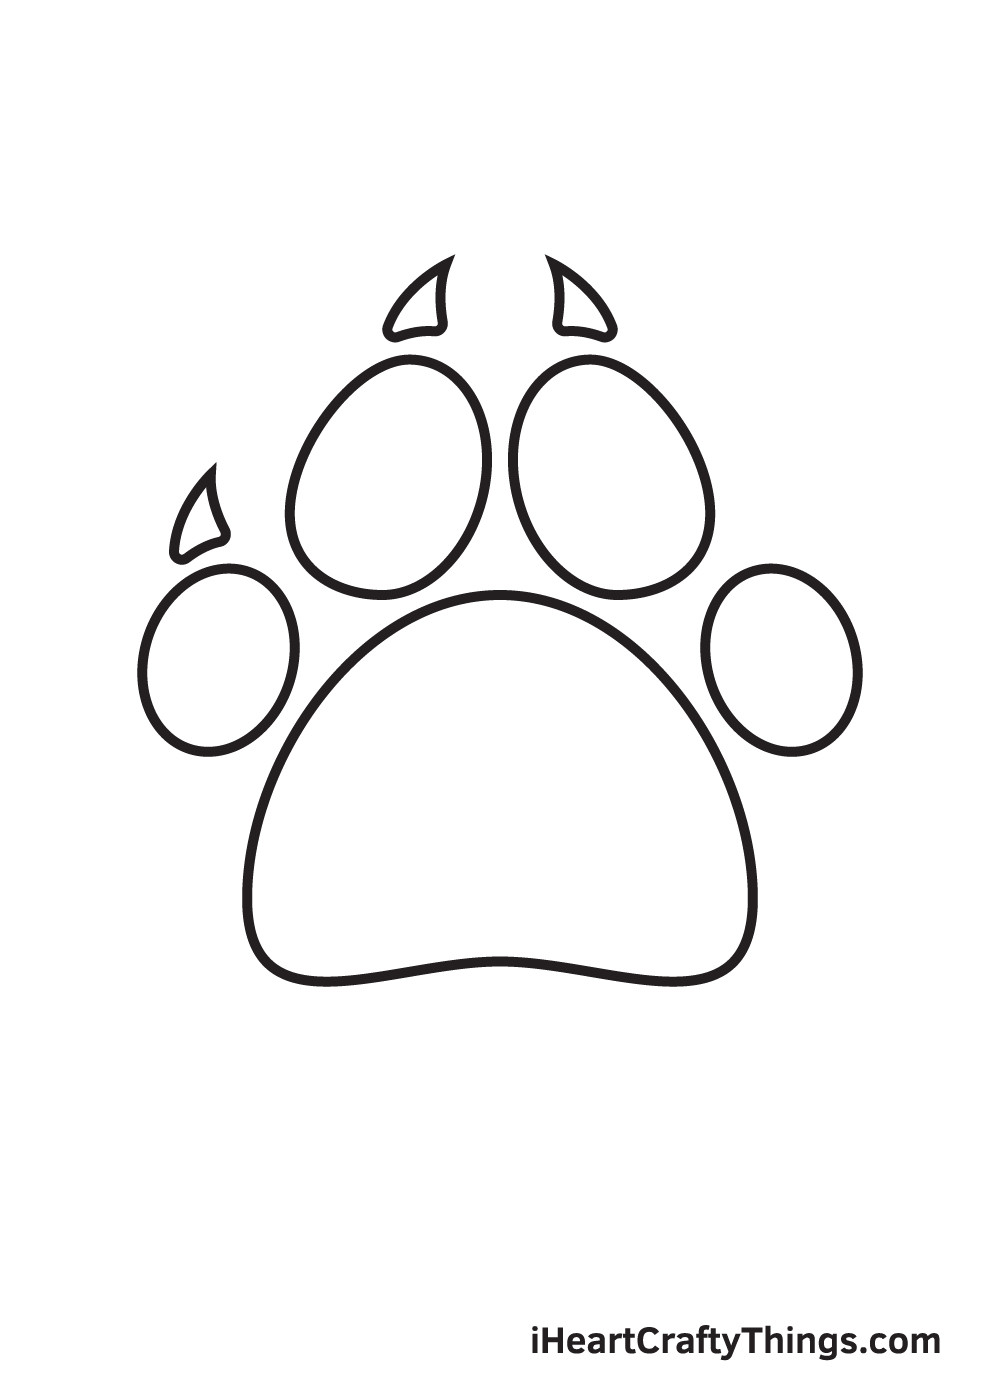
Step 9: Complete All Four Claws
 paw print drawing step 9Finally, draw one last triangular shape above the remaining digital pad on the rightmost side.
At this point, all four digital pads should now be adorned with claws. Congratulations, your paw print drawing is structurally complete! Now, it’s time to think about adding color and personal touches to truly bring it to life.
You’ve successfully drawn a paw print! The next exciting step is coloring your artwork.
As you can see in our examples, we’ve opted for a classic and realistic look by coloring the entire paw print in black. This creates a strong, clear image.
However, feel free to unleash your creativity! You can choose to color your paw print in any color you like. Consider using brown, gray, or even playful colors like pink or blue. You could even create a vibrant, multi-colored paw print using different shades for each pad and claw. Have fun experimenting with colors and making your paw print uniquely yours!
 paw print drawing 9 steps
Elevating Your Paw Print Art
Now that you’ve mastered the basic paw print, let’s explore some creative techniques to make your drawings even more impressive and unique! With the foundational shape complete, you can enhance your paw prints with details and imaginative ideas.
One fun idea is to create a trail of paw prints. Imagine a dog or cat walking across your page, leaving a path of paw prints behind them. This adds a sense of movement and story to your artwork. What other creative scenarios can you imagine for your paw prints?
Paw prints are often found on natural, softer surfaces. To add realism, consider drawing the surrounding environment. For example, you could depict your paw print in mud. Observe real muddy footprints or look up reference photos to see how mud textures and shapes form around the edges of a print. You could even experiment with drawing paw prints in sand, snow, or grass, each offering unique textural possibilities.
While realism is one approach, you can also embrace a more stylized and decorative approach. Think about adding patterns and designs directly onto the paw print itself. Imagine filling the pads with leopard spots, polka dots, stripes, or any pattern that sparks your imagination. This is a fantastic way to personalize your paw prints and create eye-catching designs.
Finally, consider experimenting with different art materials and coloring techniques. We’ve shown simple flat coloring, but you can explore shading techniques to add depth and volume to your paw pads and claws. Try using watercolors for softer washes of color, or acrylic paints for bold, vibrant hues. Mixing different mediums, like combining colored pencils with ink outlines, can also create interesting visual effects.
Your Paw Print Drawing Journey is Complete!
We hope you enjoyed this step-by-step tutorial on How To Draw A Paw Print. Now that you have this skill, think about how you can use it in your future artwork. Perhaps you could draw an entire portrait of your pet surrounded by their adorable paw prints?
Explore our website for more drawing tutorials featuring a variety of animals and subjects that would pair perfectly with your newly learned paw print technique!
Once you’ve finished drawing and coloring your paw print masterpiece, take a moment to appreciate your accomplishment! Don’t forget to capture a photo of your artwork and share it on your favorite social media platforms or with friends and family. We’d love to see your incredible paw print creations!