
Taking screenshots on Windows 10 is a fundamental skill, whether you’re capturing a funny meme, documenting a software bug for tech support, or creating a tutorial for friends and family. Windows 10 offers a variety of built-in methods to print screen, catering to different needs and preferences. From simple keyboard shortcuts to more advanced tools, mastering these techniques will significantly enhance your digital communication and productivity. This guide will walk you through seven distinct and easy methods on How To Print Screen In Windows 10, ensuring you can capture your screen exactly as you need it, every time.
Methods to Print Screen on Windows 10
To print screen or take screenshots of your Windows screen, you have several effective methods at your disposal. Let’s explore each one, starting with the classic Print Screen key.
Method 1: Using the Print Screen (PrtScn) Key for Full Screen Capture
Step 1: Identify what you want to capture on your screen. Once you’re ready, simply press the “PrtScn” key on your keyboard. It’s usually located in the upper-right corner, often near the F12 key.
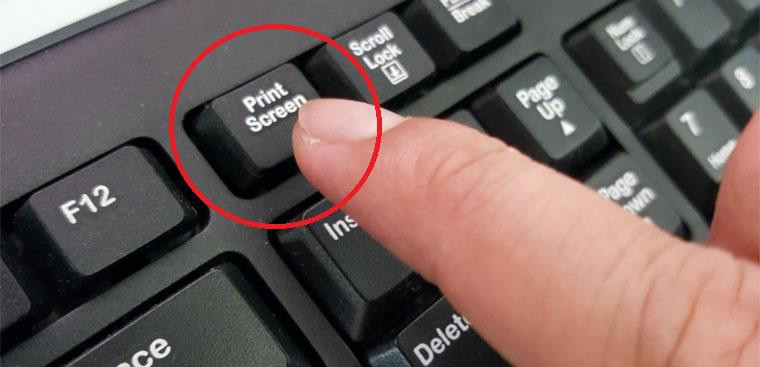 Press the Print Screen Button to Capture Full Screen
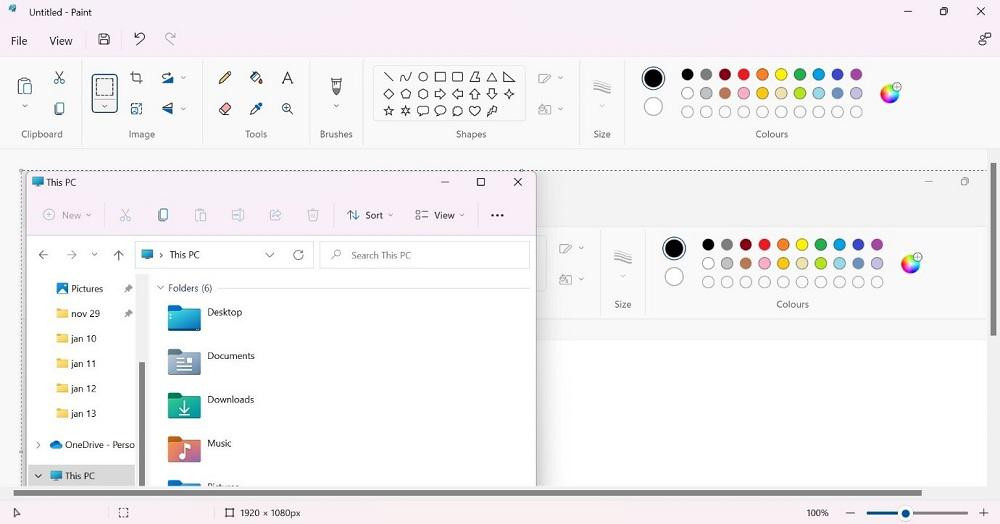
Step 2: Pressing “PrtScn” captures the entire screen and copies it to your clipboard. It doesn’t save the screenshot as a file automatically. To save it, you need to open an image editing application like Paint, which comes standard with Windows.
Step 3: In Paint, paste the screenshot from your clipboard by pressing “Ctrl + V”. The captured screen will appear on the blank canvas.
Step 4: To save your screenshot as an image file, click on “File” > “Save As”. Choose your desired file format (like PNG or JPG), name your file, select a save location, and click “Save”.
Method 2: Capturing a Specific Window with Alt + PrtScn
Step 1: If you only want to capture the active window (the window you are currently working in), make sure it’s selected. Then, press “Alt + PrtScn” keys simultaneously.
Step 2: Unlike the “PrtScn” key alone, using “Alt + PrtScn” copies the screenshot of the active window to your clipboard. You will still need to paste it into an application like Paint to save it as a file, following steps 3 and 4 from Method 1.
 Capture a Screenshot of a Specific Window using Alt + PrtScn
Method 3: Saving Screenshots Directly as Files with Windows Key + PrtScn
For a faster way to print screen and save it directly as a file, use the Windows key combination.
Step 1: Ensure the screen you want to capture is visible. Press “Windows Key + PrtScn” together.
Step 2: The screen will briefly dim, indicating that a screenshot has been taken. The screenshot is automatically saved as a PNG file in the “Pictures” > “Screenshots” folder. You can access this folder through File Explorer.
Method 4: Using the Snipping Tool for More Control
The Snipping Tool is a built-in Windows utility that offers more flexibility in capturing screenshots.
Step 1: Open the Snipping Tool by clicking the Start Menu (Windows icon) and typing “Snipping Tool”. Click on the “Snipping Tool” app to launch it.
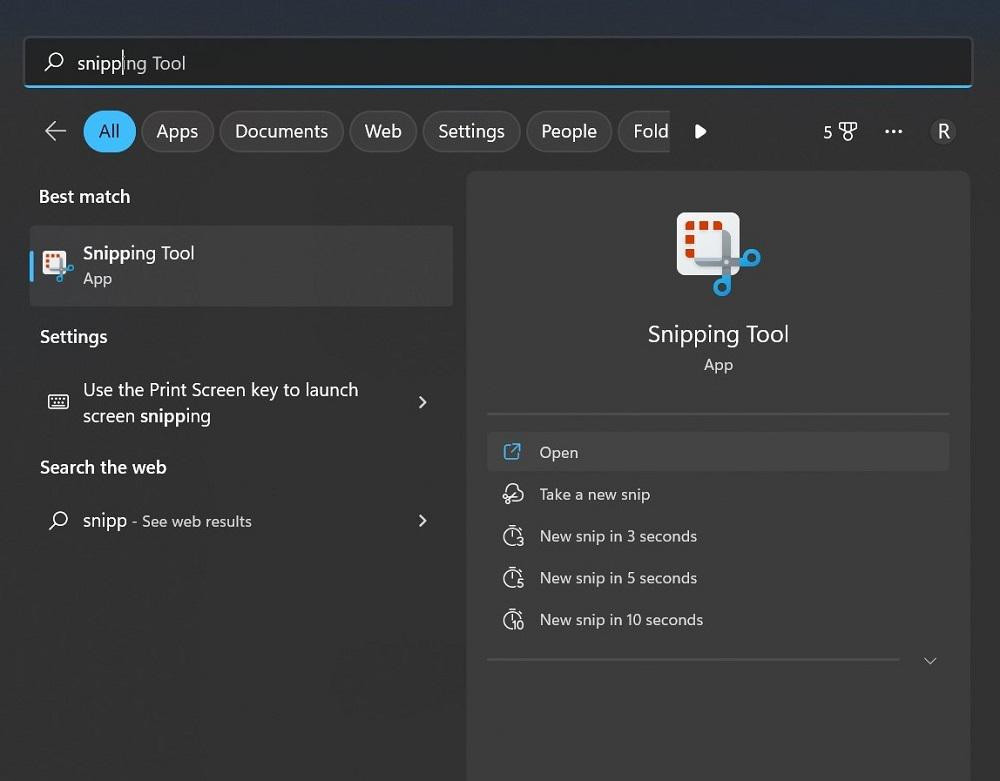 Open Snipping Tool to Capture Screenshots
Step 2: The Snipping Tool interface is simple. It provides several “Mode” options:
- Rectangular Snip (Default): Drag a rectangle to select the area you want to capture.
- Free-form Snip: Draw a freehand shape around the area to capture.
- Window Snip: Capture a specific window by clicking on it.
- Full-screen Snip: Captures the entire screen, similar to the PrtScn key.
You can also set a “Delay” before the screenshot is taken, useful for capturing menus or pop-up elements.
Step 3: Click the “New” button to start a snip. The screen will dim, and depending on the chosen mode, you can select the area you want to capture.
Step 4: Once you’ve captured the snip, it will open in the Snipping Tool window, where you can annotate it with a pen or highlighter.
Step 5: To save the snip, click the “Save” icon (diskette icon) or go to “File” > “Save As”. Choose your file format, name, and location, then click “Save”.
Method 5: Snip & Sketch – The Modern Snipping Experience
Snip & Sketch is the updated and recommended replacement for the Snipping Tool in newer versions of Windows 10. It offers similar functionality with a more modern interface and features.
Step 1: Launch Snip & Sketch using “Windows Key + Shift + S” keyboard shortcut. Alternatively, you can find it in the Start Menu by searching for “Snip & Sketch”.
Step 2: When activated, the top of your screen will display a small toolbar with snipping options:
- Rectangular Snip (Default): Click and drag to select a rectangular area.
- Freeform Snip: Draw a freeform shape.
- Window Snip: Capture a specific window.
- Full-screen Snip: Capture the entire screen.
Choose your desired snip mode by clicking on the corresponding icon.
Step 3: After taking a snip, a notification will appear in the bottom-right corner of your screen. Click on the notification to open the snip in the Snip & Sketch editor.
Step 4: In the Snip & Sketch editor, you can annotate, crop, and share your screenshot.
Step 5: To save your snip, click the “Save” icon (diskette icon) in the top right corner or press “Ctrl + S”. Choose your save location, file name, and format, and then click “Save”.
Method 6: Utilizing the Game Bar for Screenshots
While primarily designed for gaming, the Xbox Game Bar in Windows 10 can also be used to take screenshots of any application window.
Step 1: Ensure Game Bar is enabled. Go to “Settings” > “Gaming” > “Xbox Game Bar” and make sure the toggle is turned “On”.
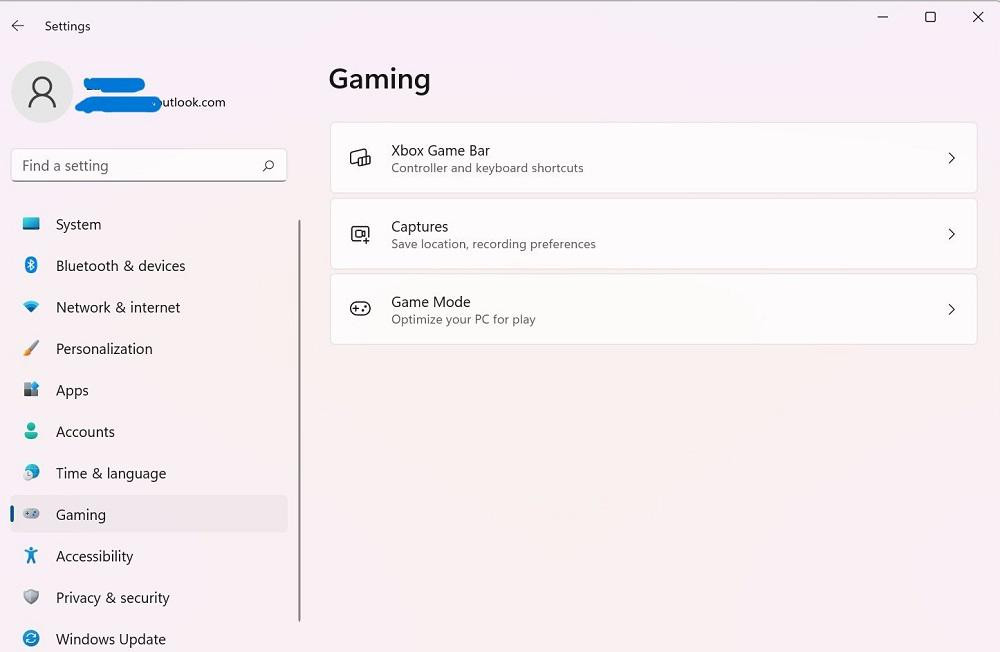 Enable Game Bar for Screenshots
Step 2: Open the application window you want to capture. Press “Windows Key + G” to open the Game Bar overlay.
Step 3: On the Game Bar, locate the “Capture” widget (it looks like a camera icon). Click the “Screenshot” button (camera icon) within the Capture widget. Alternatively, use the keyboard shortcut “Windows Key + Alt + PrtScn”.
Step 4: Screenshots taken with the Game Bar are automatically saved as PNG files in the “Videos” > “Captures” folder.
Method 7: (Correction – Original Method 7 was redundant) Using Alt + Print Screen for Active Window (Already Covered in Method 2)
Method 7 in the original article was redundant as it described the same functionality as Method 2 (Alt + PrtScn for active window). We have already thoroughly covered capturing the active window using Alt + PrtScn in Method 2.
Taking a screenshot on your Windows 10 PC is a straightforward process with multiple options to suit your needs. Whether you prefer quick keyboard shortcuts or more feature-rich tools like Snipping Tool and Snip & Sketch, Windows 10 provides all the necessary tools. This step-by-step guide on how to print screen should equip you with the knowledge to capture anything on your screen effectively.
Frequently Asked Questions about Print Screen in Windows 10
How do I take a basic screenshot on Windows 10?
For a basic full-screen screenshot, simply press the “PrtScn” key. The screenshot will be copied to your clipboard, and you’ll need to paste it into an application like Paint to save it.
How can I take a screenshot without using the PrtScn key?
If your keyboard lacks a PrtScn key or you prefer an alternative method, you can use the “Windows Key + Shift + S” shortcut. This opens the Snip & Sketch tool, allowing you to capture specific portions of your screen or the entire screen.
Can Windows automatically take screenshots?
No, Windows 10 does not have a built-in feature to automatically take screenshots at set intervals or based on specific triggers without user intervention. All the methods described require manual initiation to capture a screenshot.
Where are my screenshots saved in Windows 10?
The save location depends on the method used:
- Windows Key + PrtScn: “Pictures” > “Screenshots” folder.
- Game Bar (Windows Key + Alt + PrtScn or Game Bar Screenshot Button): “Videos” > “Captures” folder.
- Snipping Tool and Snip & Sketch: You choose the save location when you save the file. They do not automatically save screenshots without prompting you to save.
What is the best method for taking screenshots in Windows 10?
The “best” method depends on your needs:
- Quick Full-Screen Capture: “Windows Key + PrtScn” for direct file saving, or “PrtScn” if you need to edit or copy to clipboard first.
- Capturing a Specific Window: “Alt + PrtScn” or “Window Snip” mode in Snipping Tool/Snip & Sketch.
- Selective Area Capture: “Rectangular Snip” or “Freeform Snip” in Snipping Tool/Snip & Sketch.
- Annotations and Editing: Snipping Tool and Snip & Sketch offer built-in annotation tools.
Snip & Sketch is generally recommended for its modern interface and versatile features, offering a good balance of ease-of-use and functionality for most screenshotting needs.