
It’s been a while since I shared a build log, but this particular project, creating custom goggles using 3D printing, has been simmering on the back burner for quite some time. Like many hobbyists, life and family often mean personal projects take a backseat. However, once I finally carved out some dedicated time, these goggles came together surprisingly quickly, taking shape over about a month.
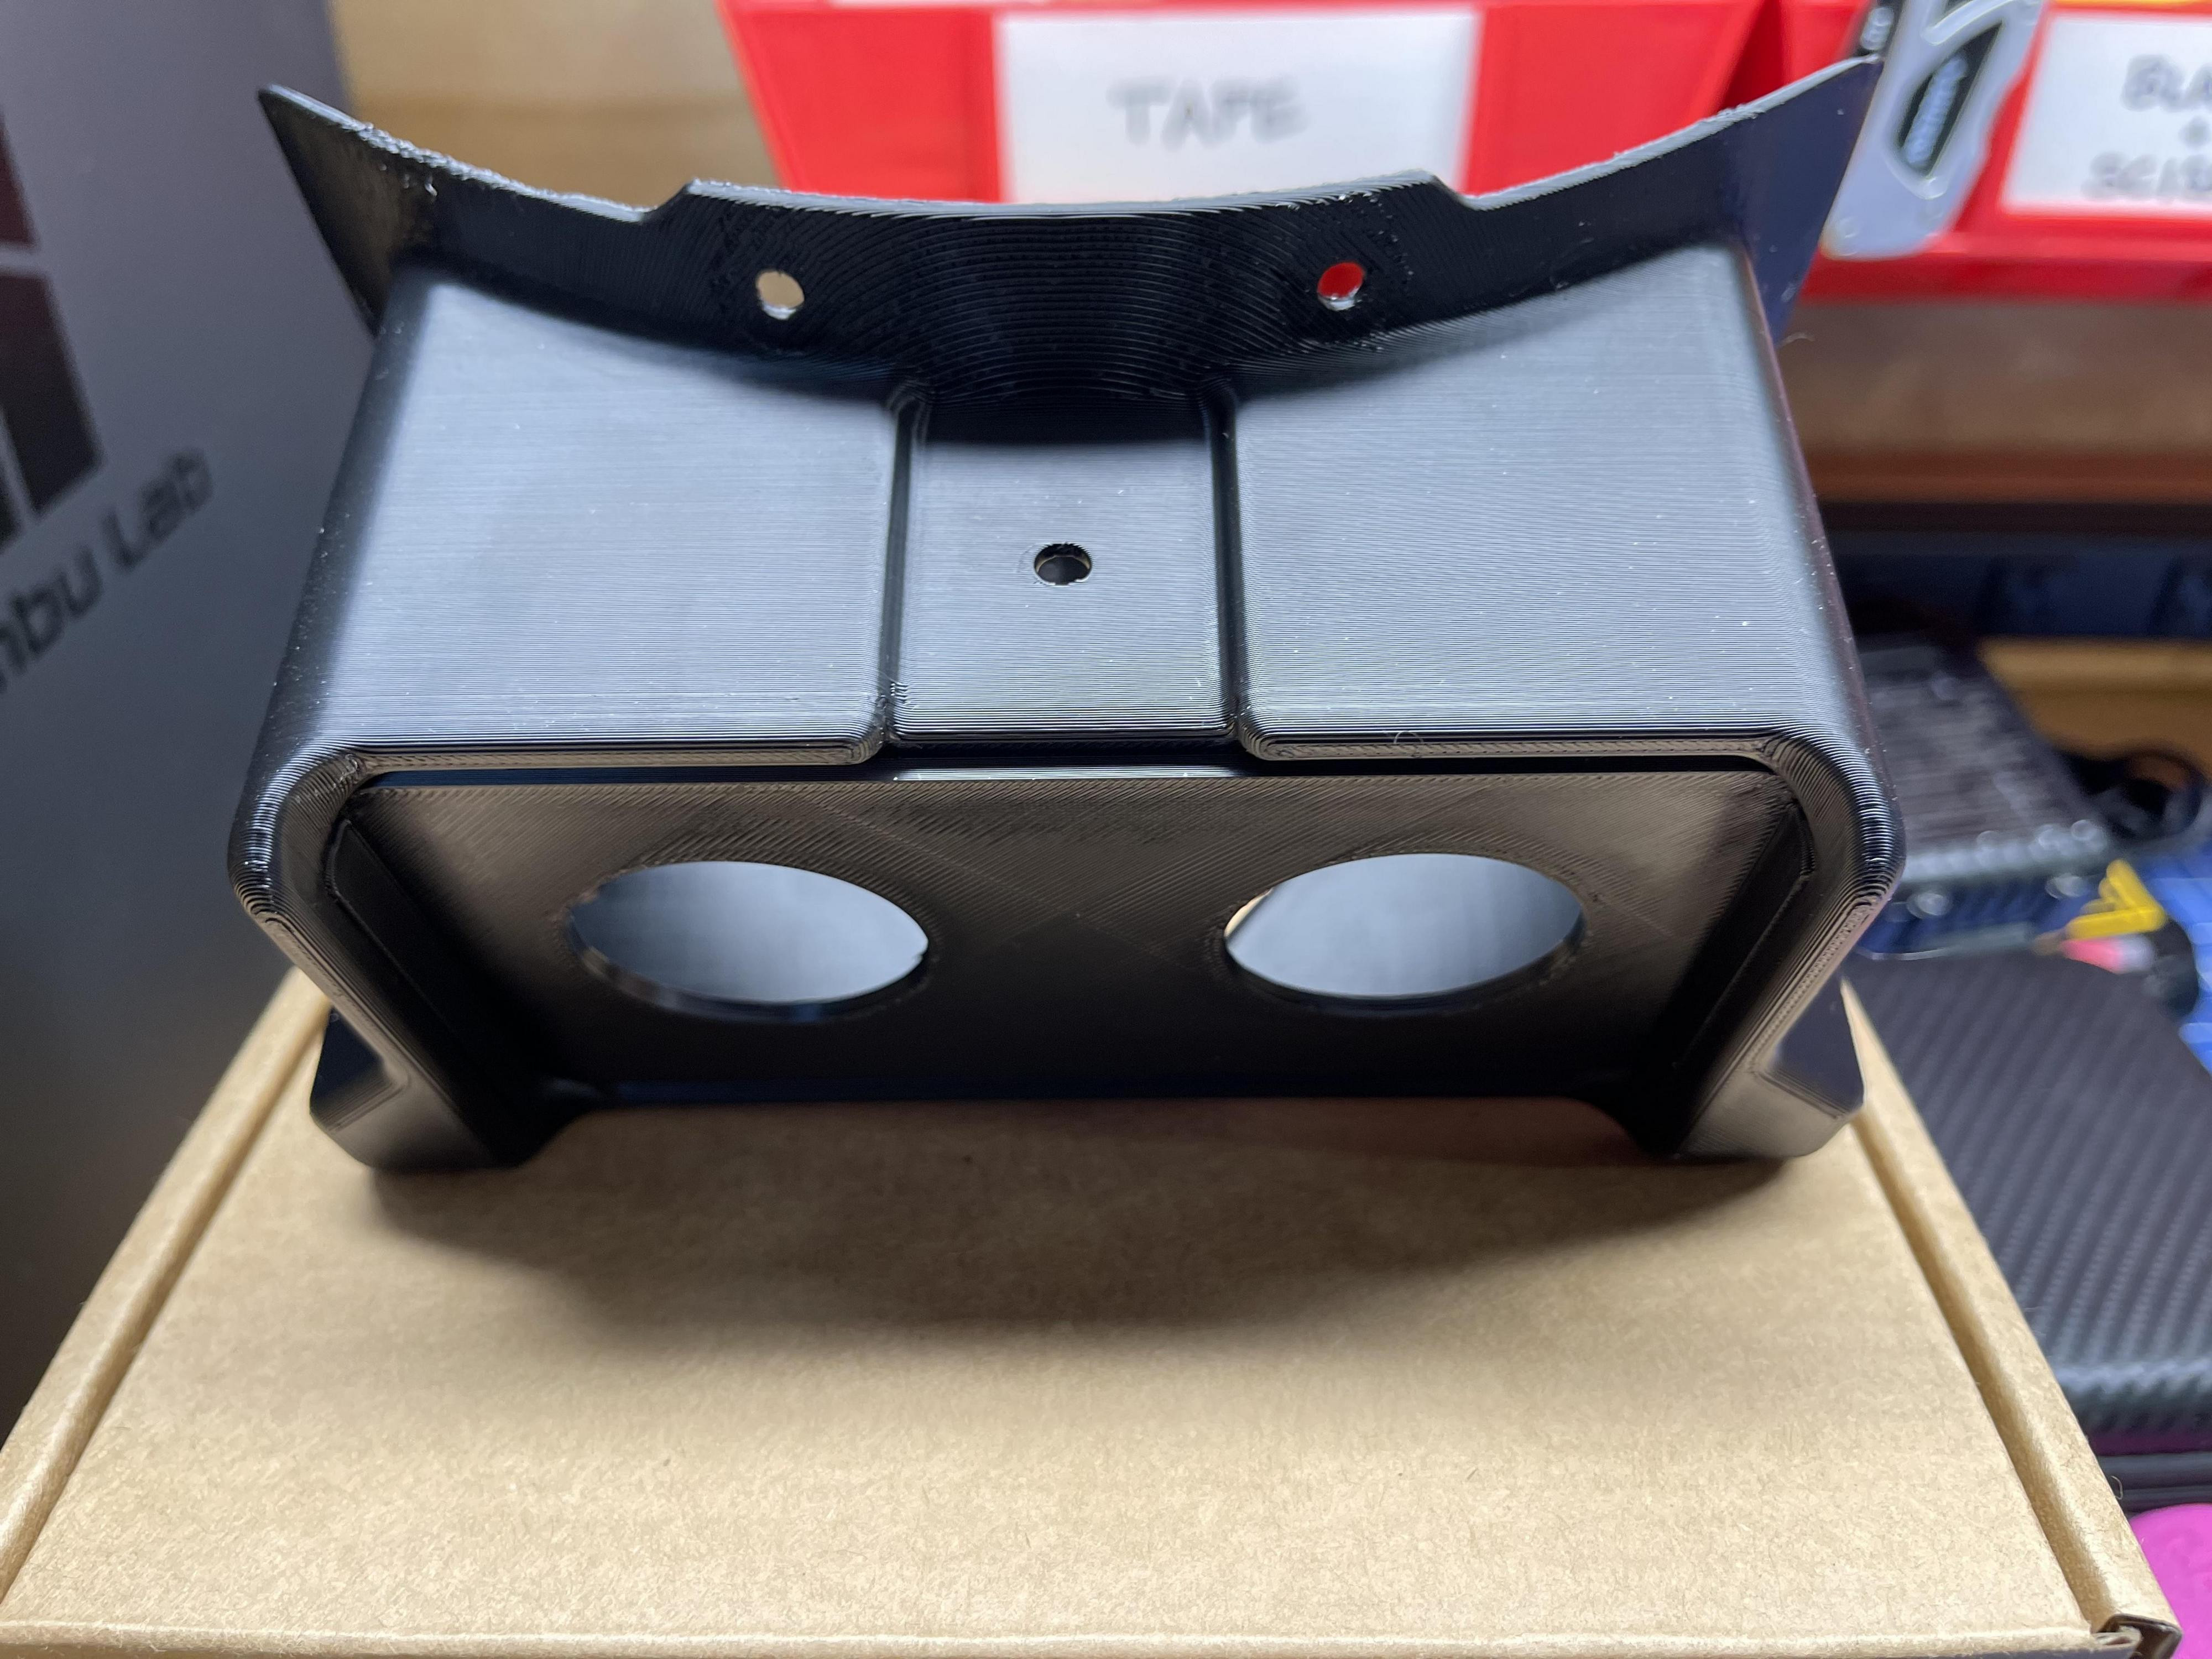
 ABS 3D printed goggle frames ready for finishing.
The catalyst for this 3D print project was the acquisition of a Bambu Lab P1S 3D printer. Noticing the growing community sharing 3D models for goggles, I decided to dive in and 3D print my own frame using ABS. The goal was to push beyond just printing and assembling, and truly refine the 3D printed part through sanding and filling techniques to achieve a more polished, non-printed aesthetic. For me, the joy of this hobby is deeply rooted in the hands-on process – the building, filling, priming, sanding, painting, and the inevitable problem-solving that arises. Simply assembling a kit wasn’t enough; I was eager to learn and expand my skillset.
 3D printed goggle frame being test fitted during the build process.
I opted for a frame design from TheGoon, initially considering a fully 3D printed goggle project incorporating lenses designed by NotSabbot. However, as is often the case with DIY projects, the scope evolved as I invested more time and effort. I chose to print with ABS plastic primarily for its resistance to shrinkage and warping, ensuring dimensional stability for the goggle frame. ABS is also known for its robustness, crucial for a project that might see handling and wear.
Mastering 3D Print Finishing Techniques
My preferred method for smoothing out the characteristic layer lines of 3D prints involves applying thin layers of DAP Plastic Wood filler. This process is iterative: wipe on a thin coat, allow it to dry thoroughly, sand it back, and repeat. I dedicated a couple of days to this cycle, gradually building up a smooth base form. To further refine the surface and address any remaining fine lines, I employed Rust-Oleum Hi-build formula Filler Primer. This primer is excellent for revealing imperfections and providing a uniform surface for painting.
 Applying filler to the 3D printed goggle frame to smooth out layer lines.
 Sanding the filler on the 3D printed goggle frame for a smooth finish.
Adding Authentic Details with Transfers and Labels
During the finishing stages, I also sourced dry transfers from Mack’s Factory and various labels from VanOaks Props. These details are essential for adding a layer of authenticity and visual interest to any prop or replica project, elevating the final piece beyond a simple 3D print.
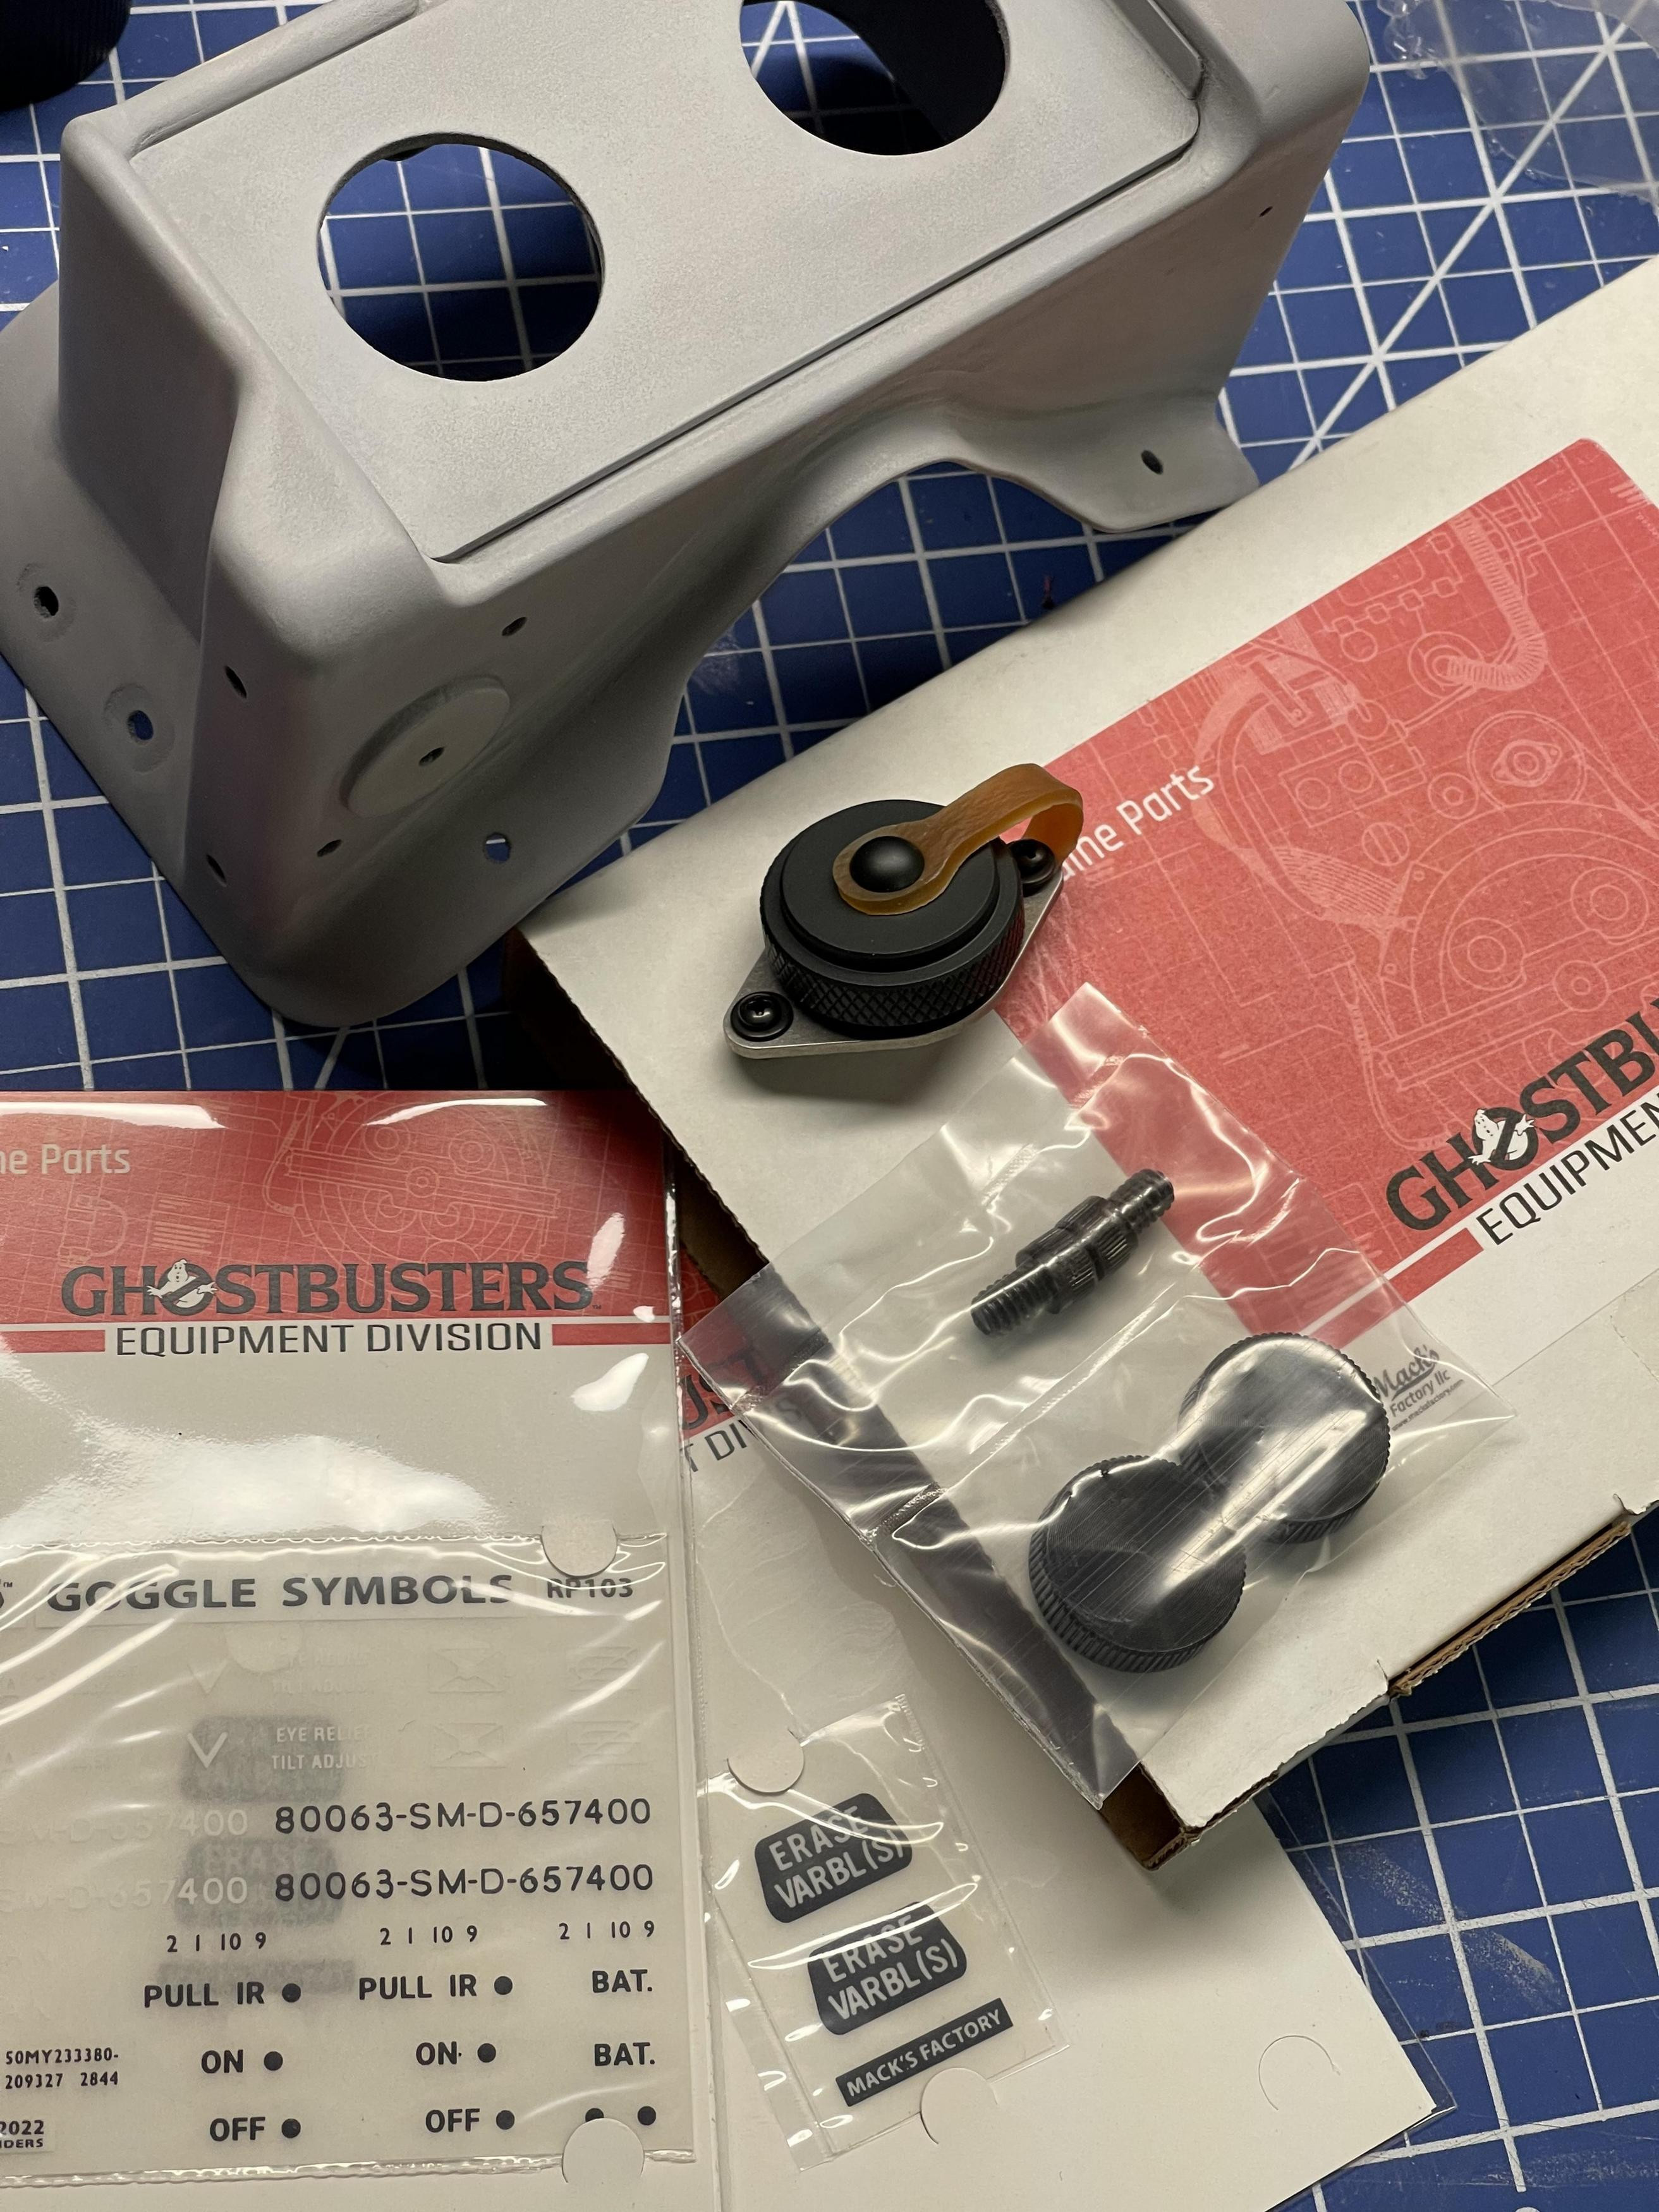 Selection of dry transfers and labels for detailing the 3D printed goggles.
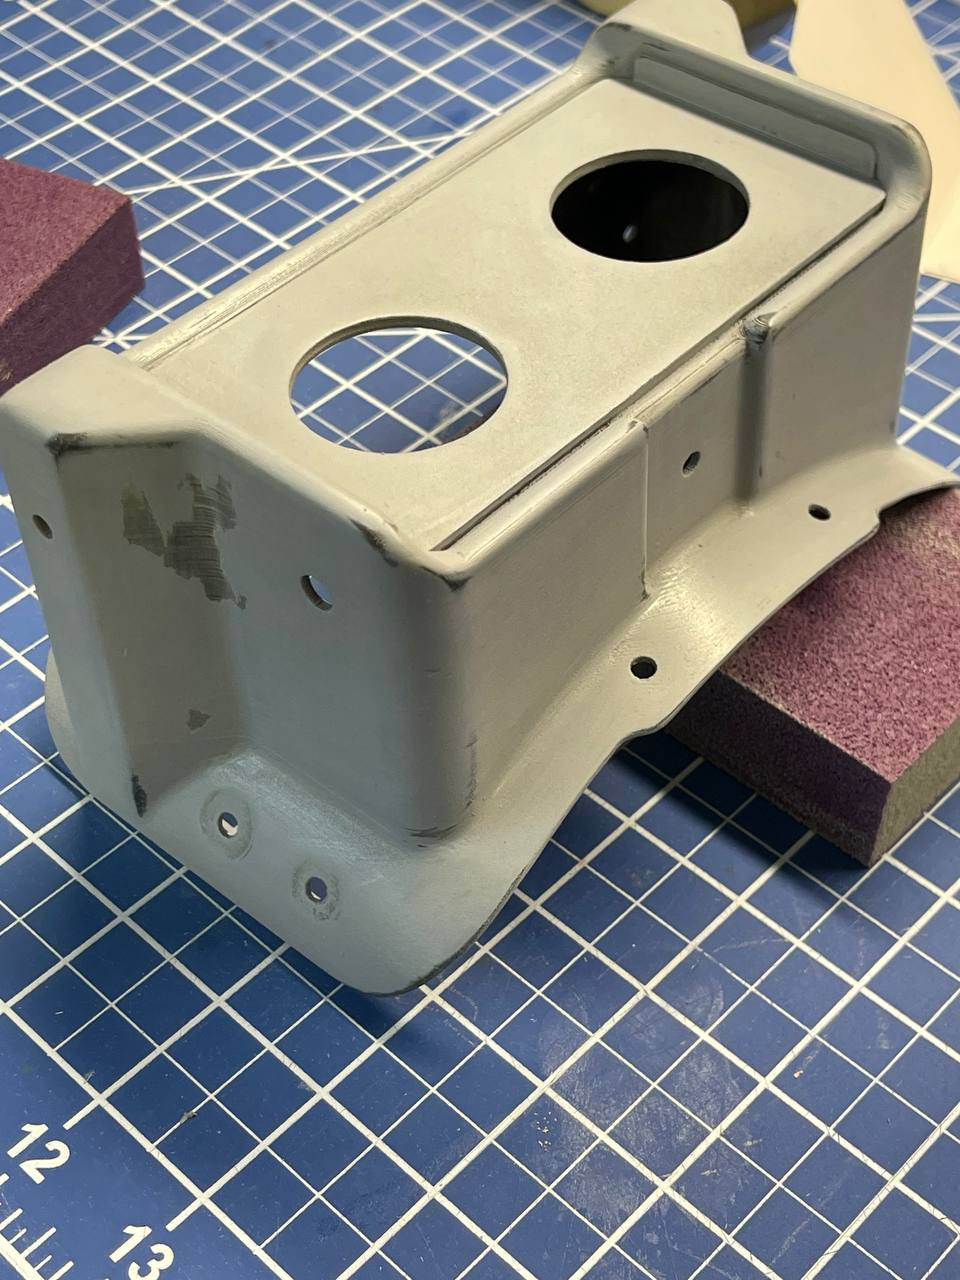
After several rounds of priming, sanding, and repeating, I reached a level of surface finish I was satisfied with. The next step was applying a base coat of matte black enamel paint, providing a solid foundation for the final color layers.
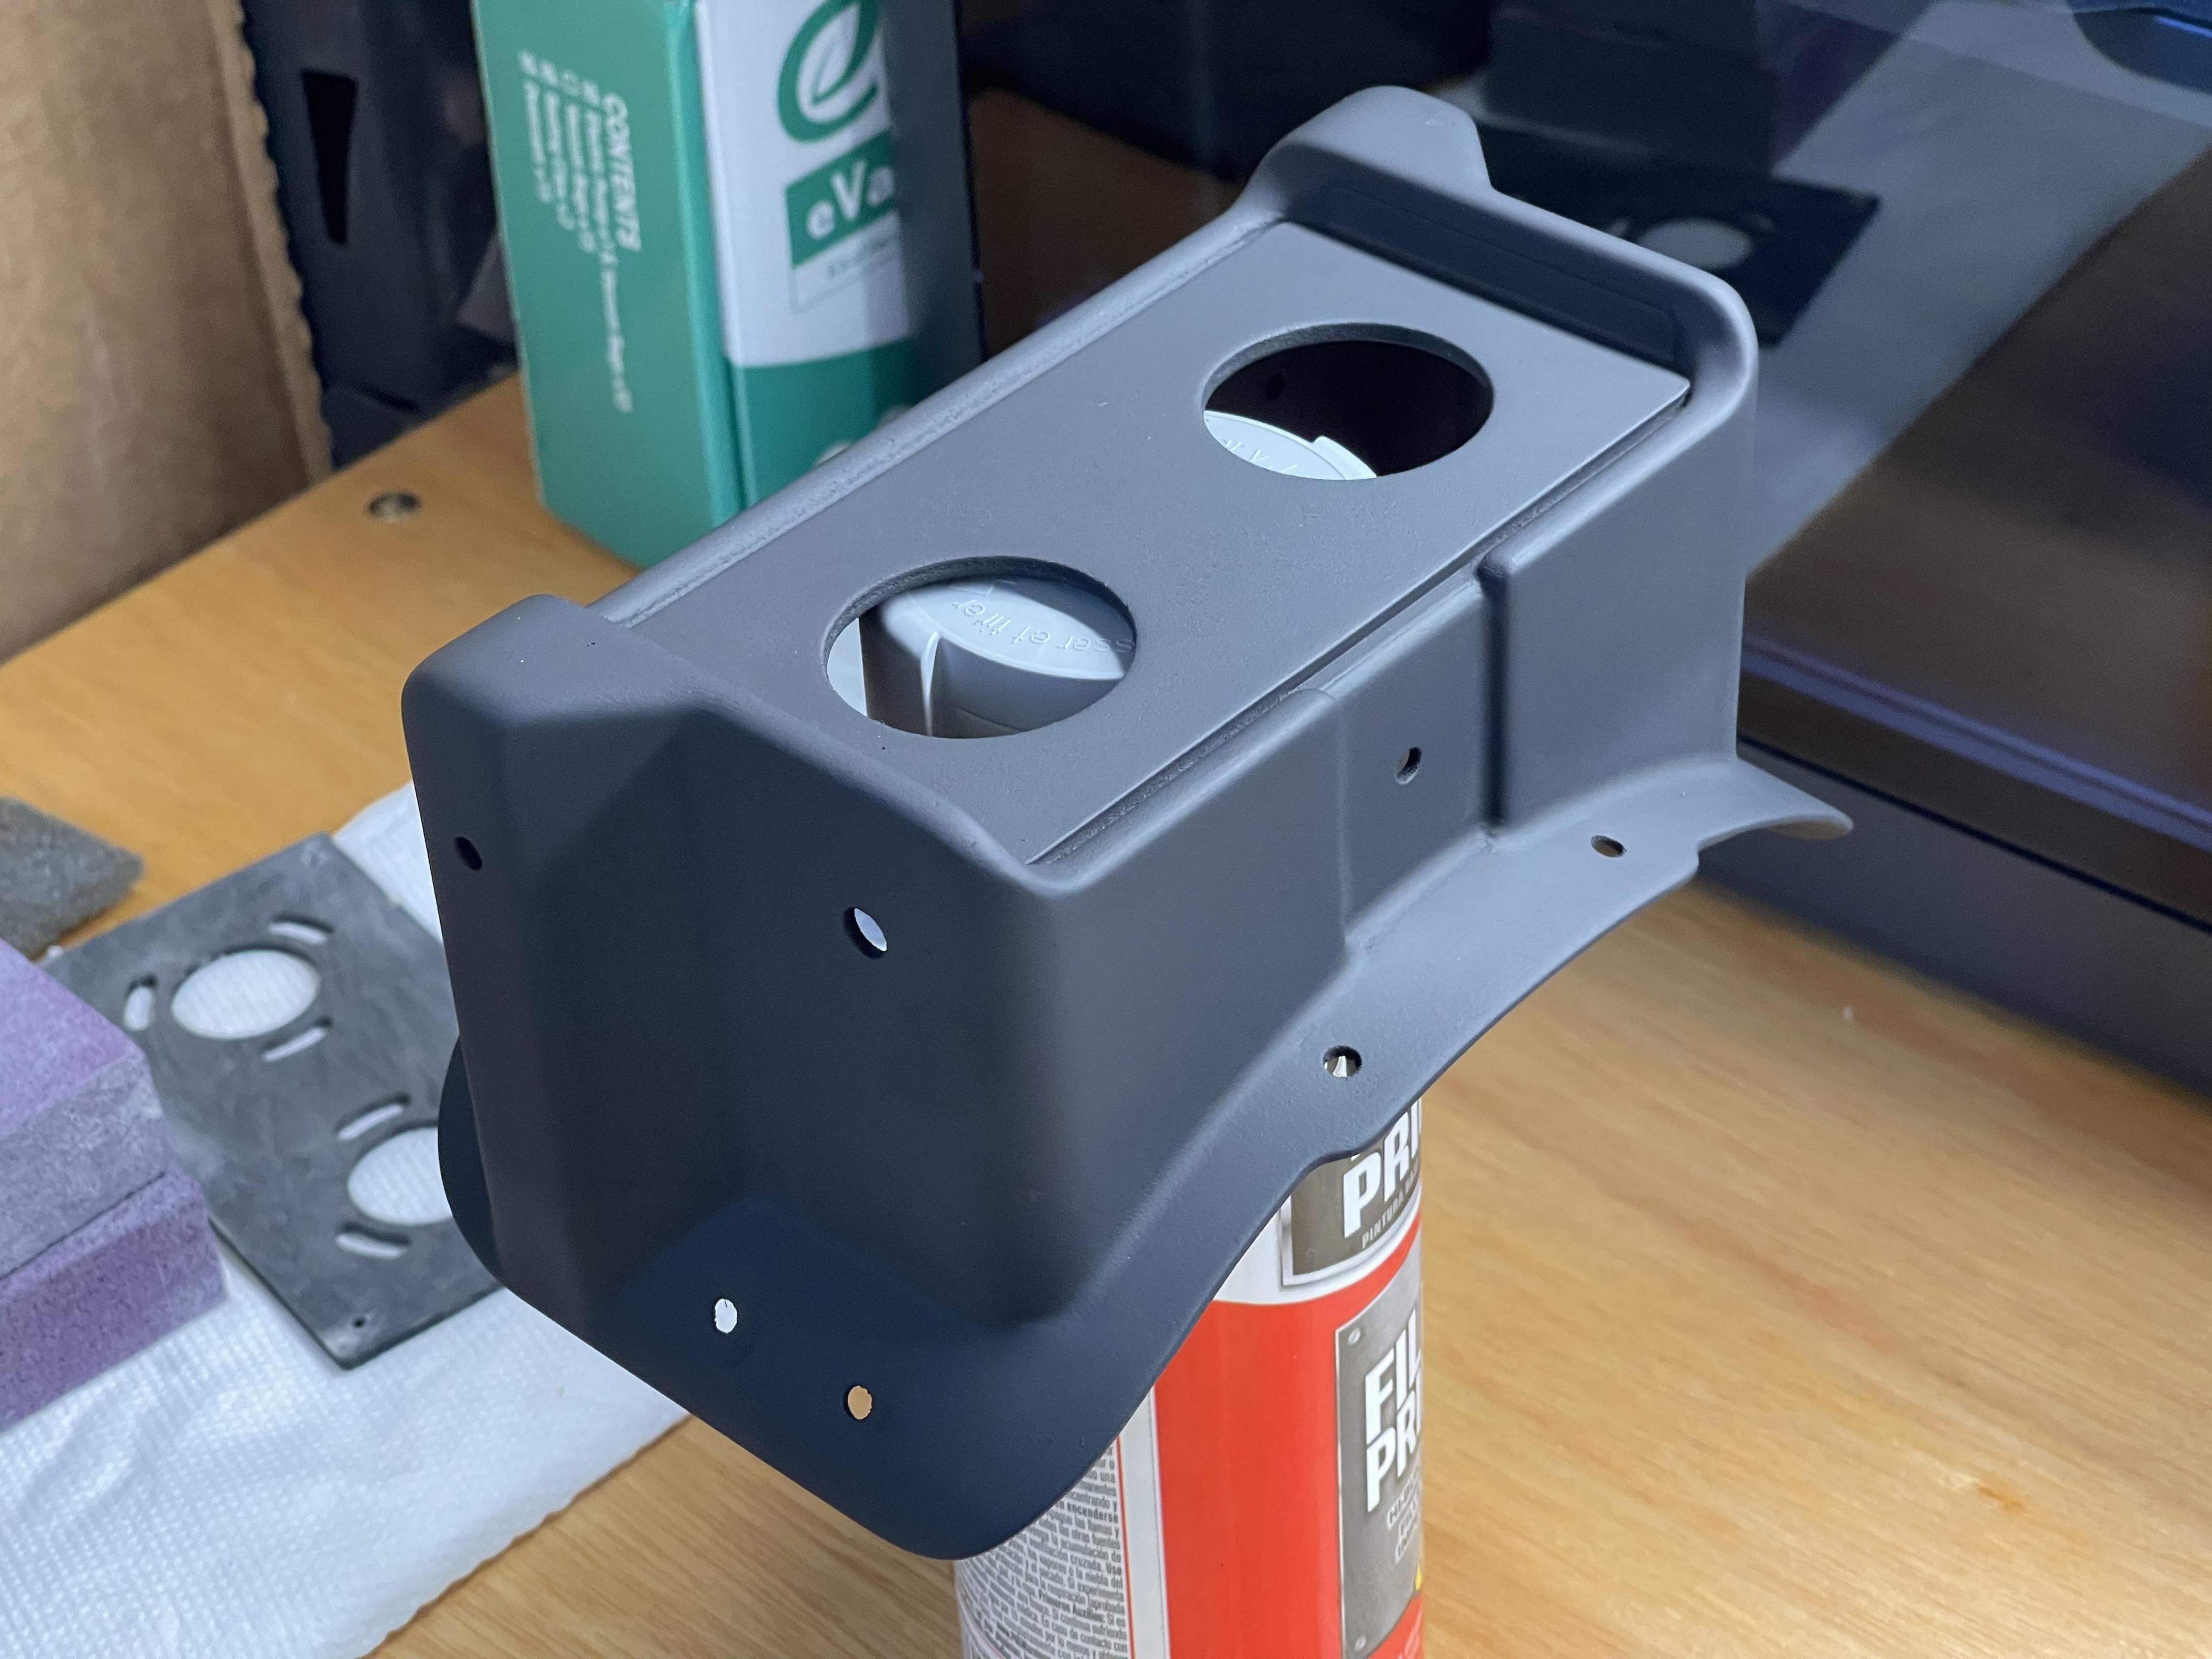 3D printed goggle frame after base coating with matte black enamel paint.
This was followed by a top coat of Tamiya Olive Drab (TS-28) spray paint. After allowing ample time for the paint to cure properly, I moved on to attaching snaps.
Tackling Hardware and Snap Installation
Installing the snaps onto the meticulously finished and painted 3D print was surprisingly challenging. This was a new technique for me, and the process, especially for the lower front corner snaps, proved to be very tricky. The tool I had on hand was slightly too bulky to effectively clamp the snaps down in the confined space, and I inadvertently caused minor damage to the frame while attempting to secure them. To overcome this, I had to improvise, using a large pair of channel locks and a metal rod to carefully press down the center of each snap. This was arguably the most demanding part of the entire build, but overcoming such challenges is a key aspect of learning and improving in DIY projects.
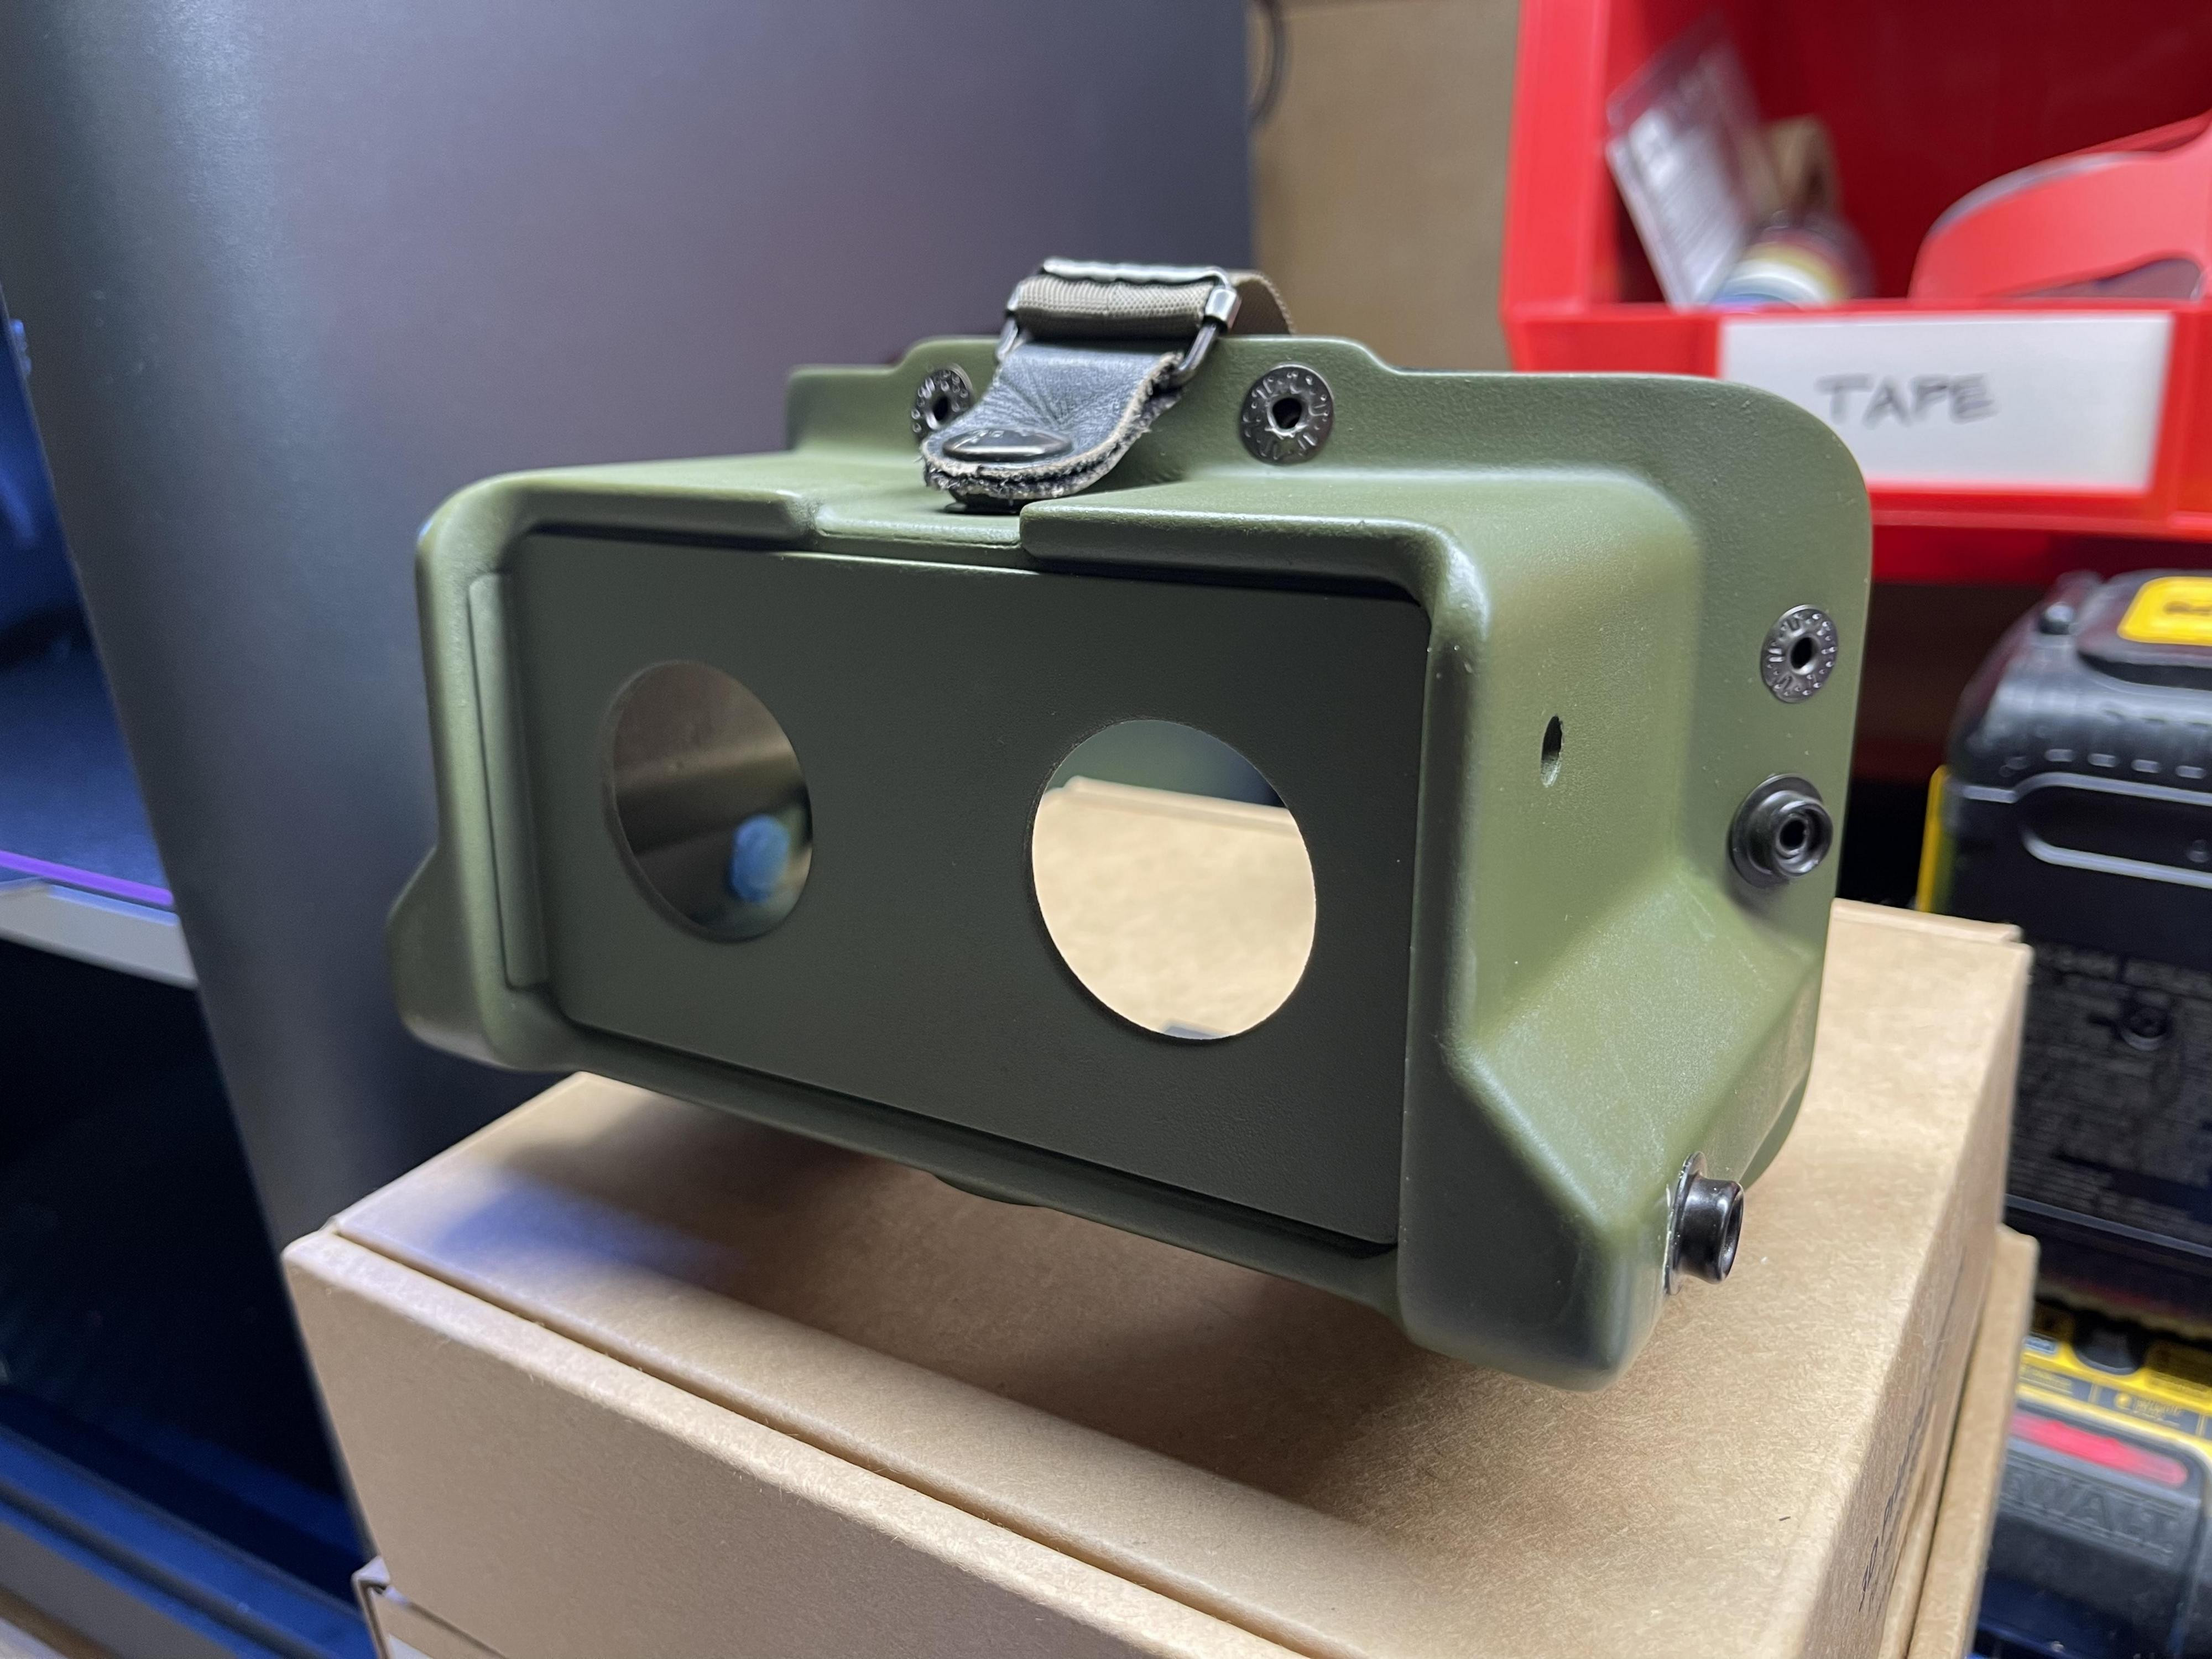 Installing snaps onto the 3D printed goggle frame, a challenging step in the build.
Integrating Comfort and Visual Accuracy
Next, I focused on finding a suitable face pad. While I considered laser-cutting foam, I was drawn to the classic aesthetic of shiny, foam-filled leather often seen on vintage headphones from the 70s and 80s. Serendipitously, I discovered a third-party Meta Quest face pad on Amazon that perfectly captured this look. Although slightly smaller vertically than ideal, I found an acceptable position on the frame. Since the pad was designed to attach via Velcro, I simply transferred small sections of Velcro to my 3D printed frames for easy and secure attachment.
 Attaching a third-party VR headset face pad to the 3D printed goggle frame for comfort.
With the project nearing completion and the overall look exceeding my expectations, I decided to invest in a set of high-quality GBfans goggle lenses. These lenses are exceptionally well-crafted and significantly enhance the realism of the goggles, making them appear much more like a ‘real’ prop. If you’re undertaking a similar goggle project and aiming for screen accuracy, I highly recommend considering these lenses – they are a worthwhile upgrade.
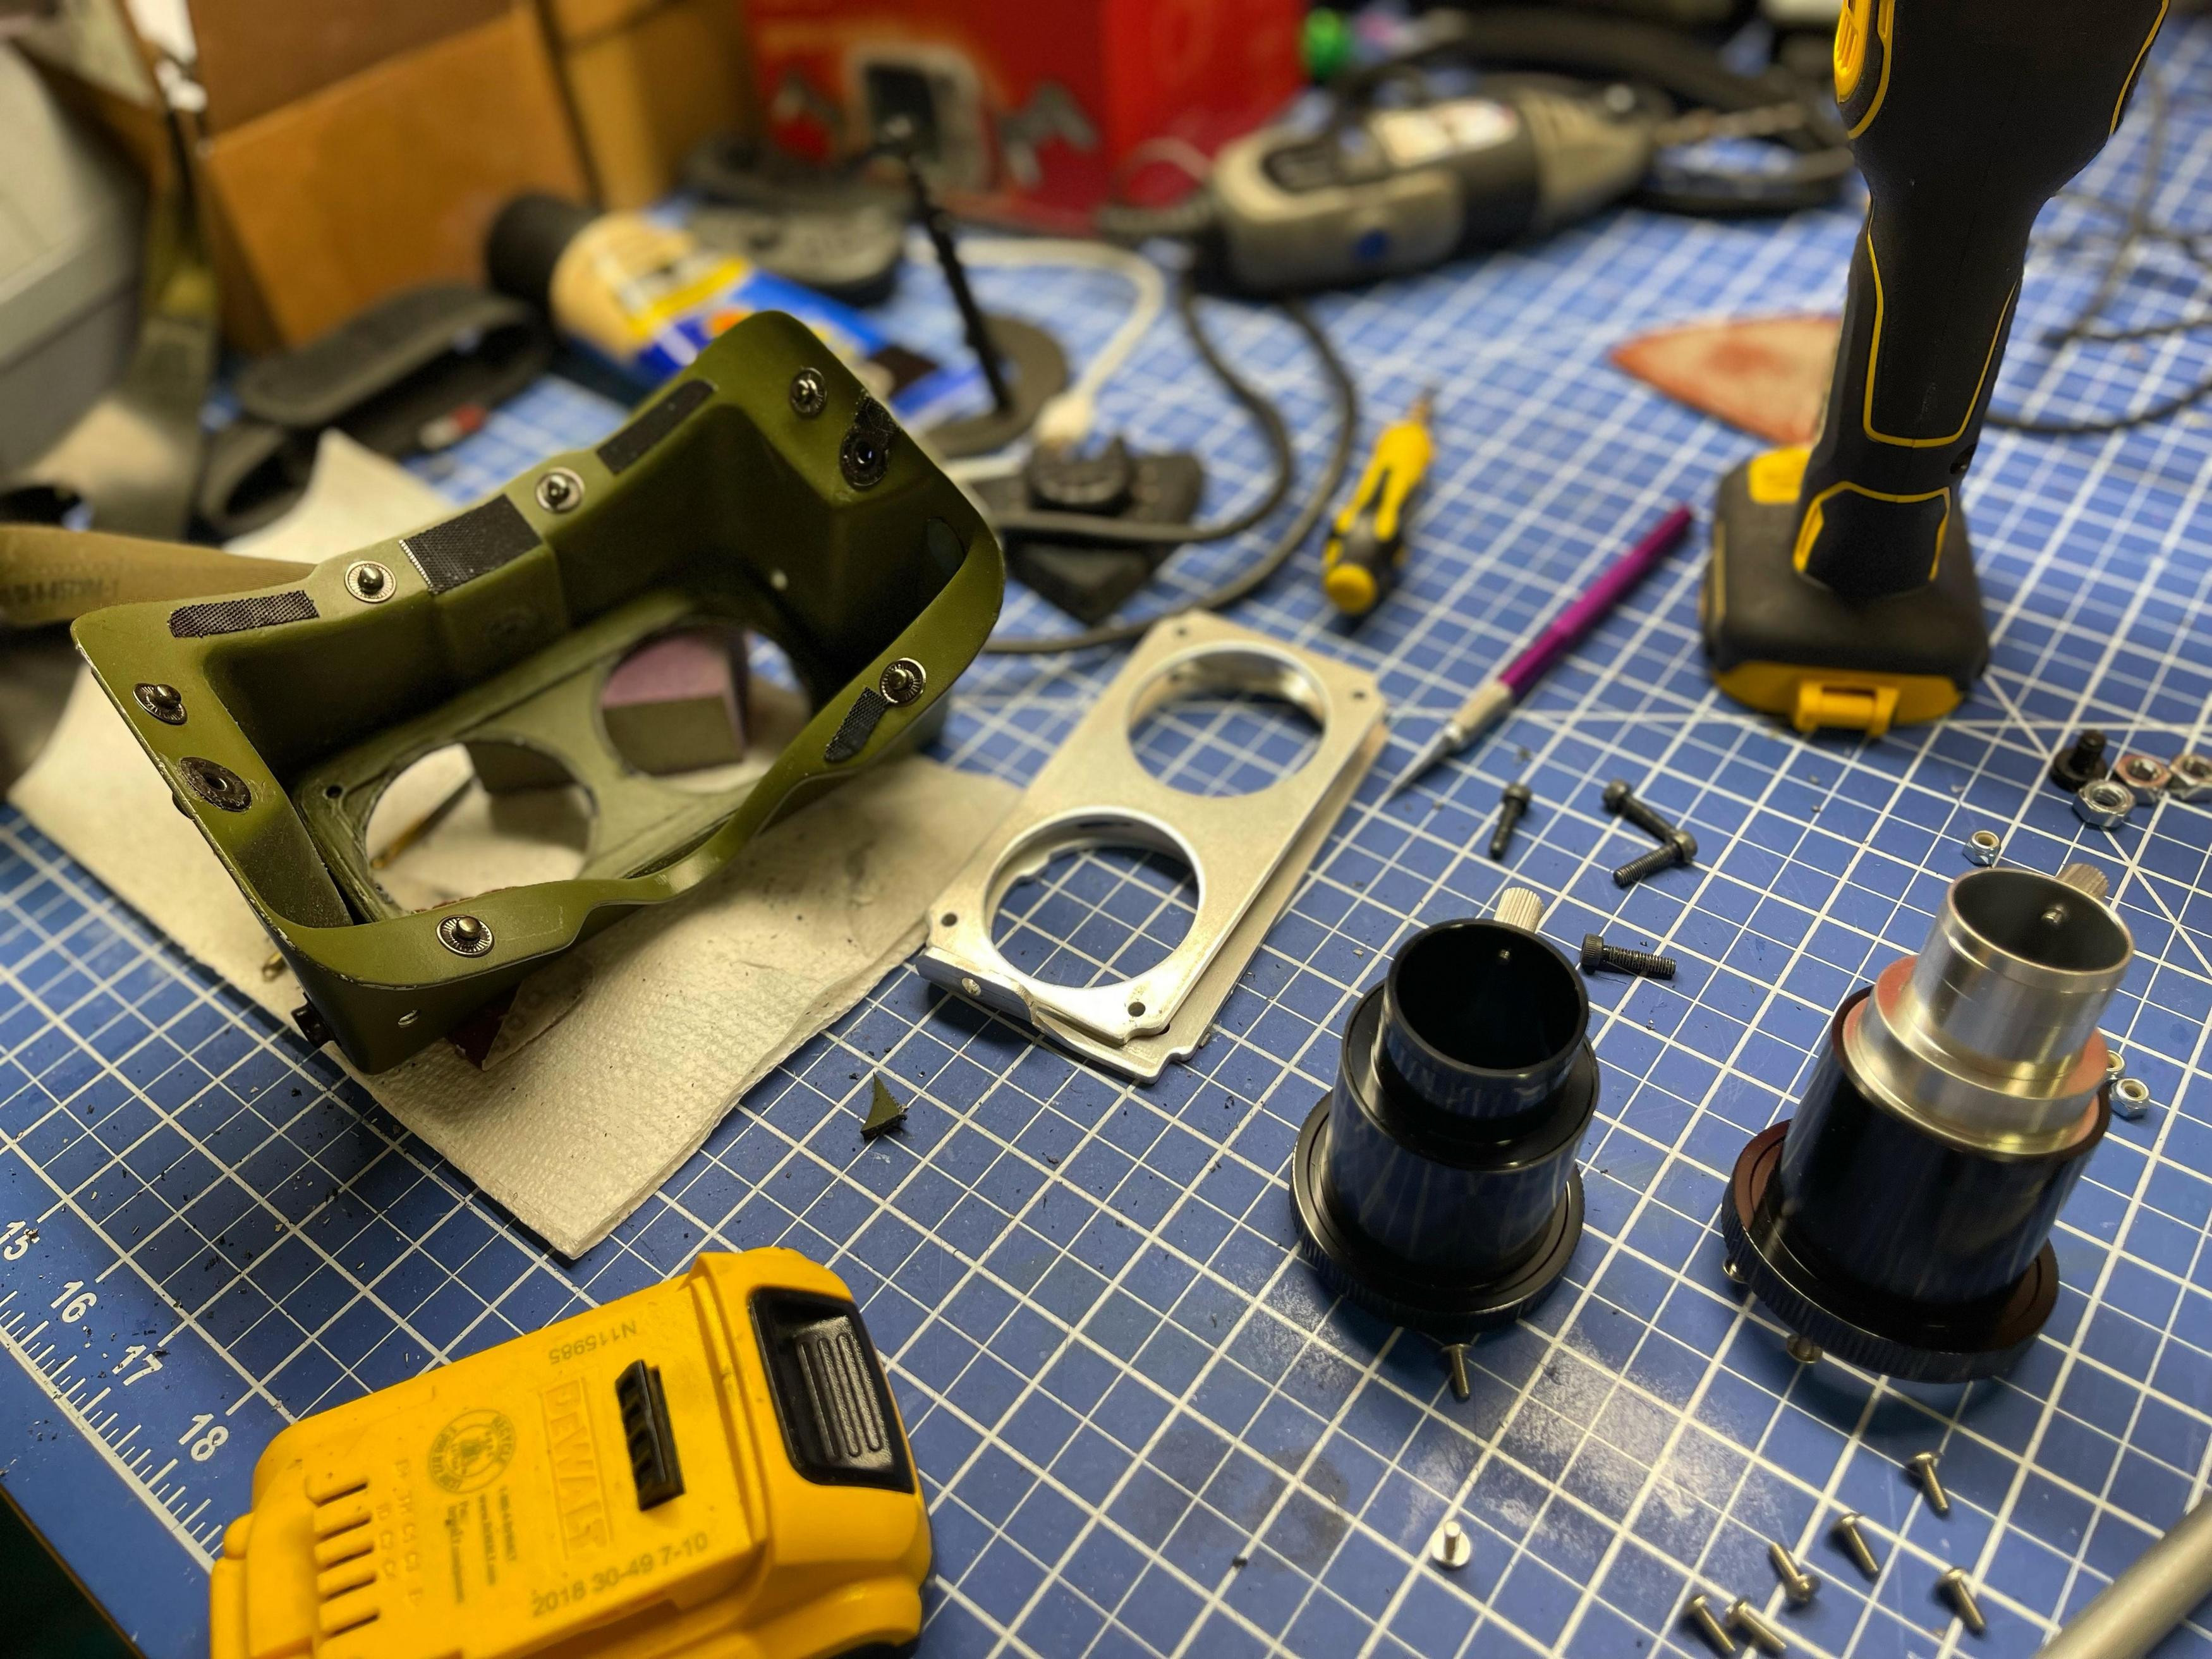 High-quality GBfans lenses ready to be installed in the 3D printed goggles.
Final Assembly and Project Showcase
And now, for the moment of truth – the final assembly! Here are some shots showcasing the completed 3D printed goggles.
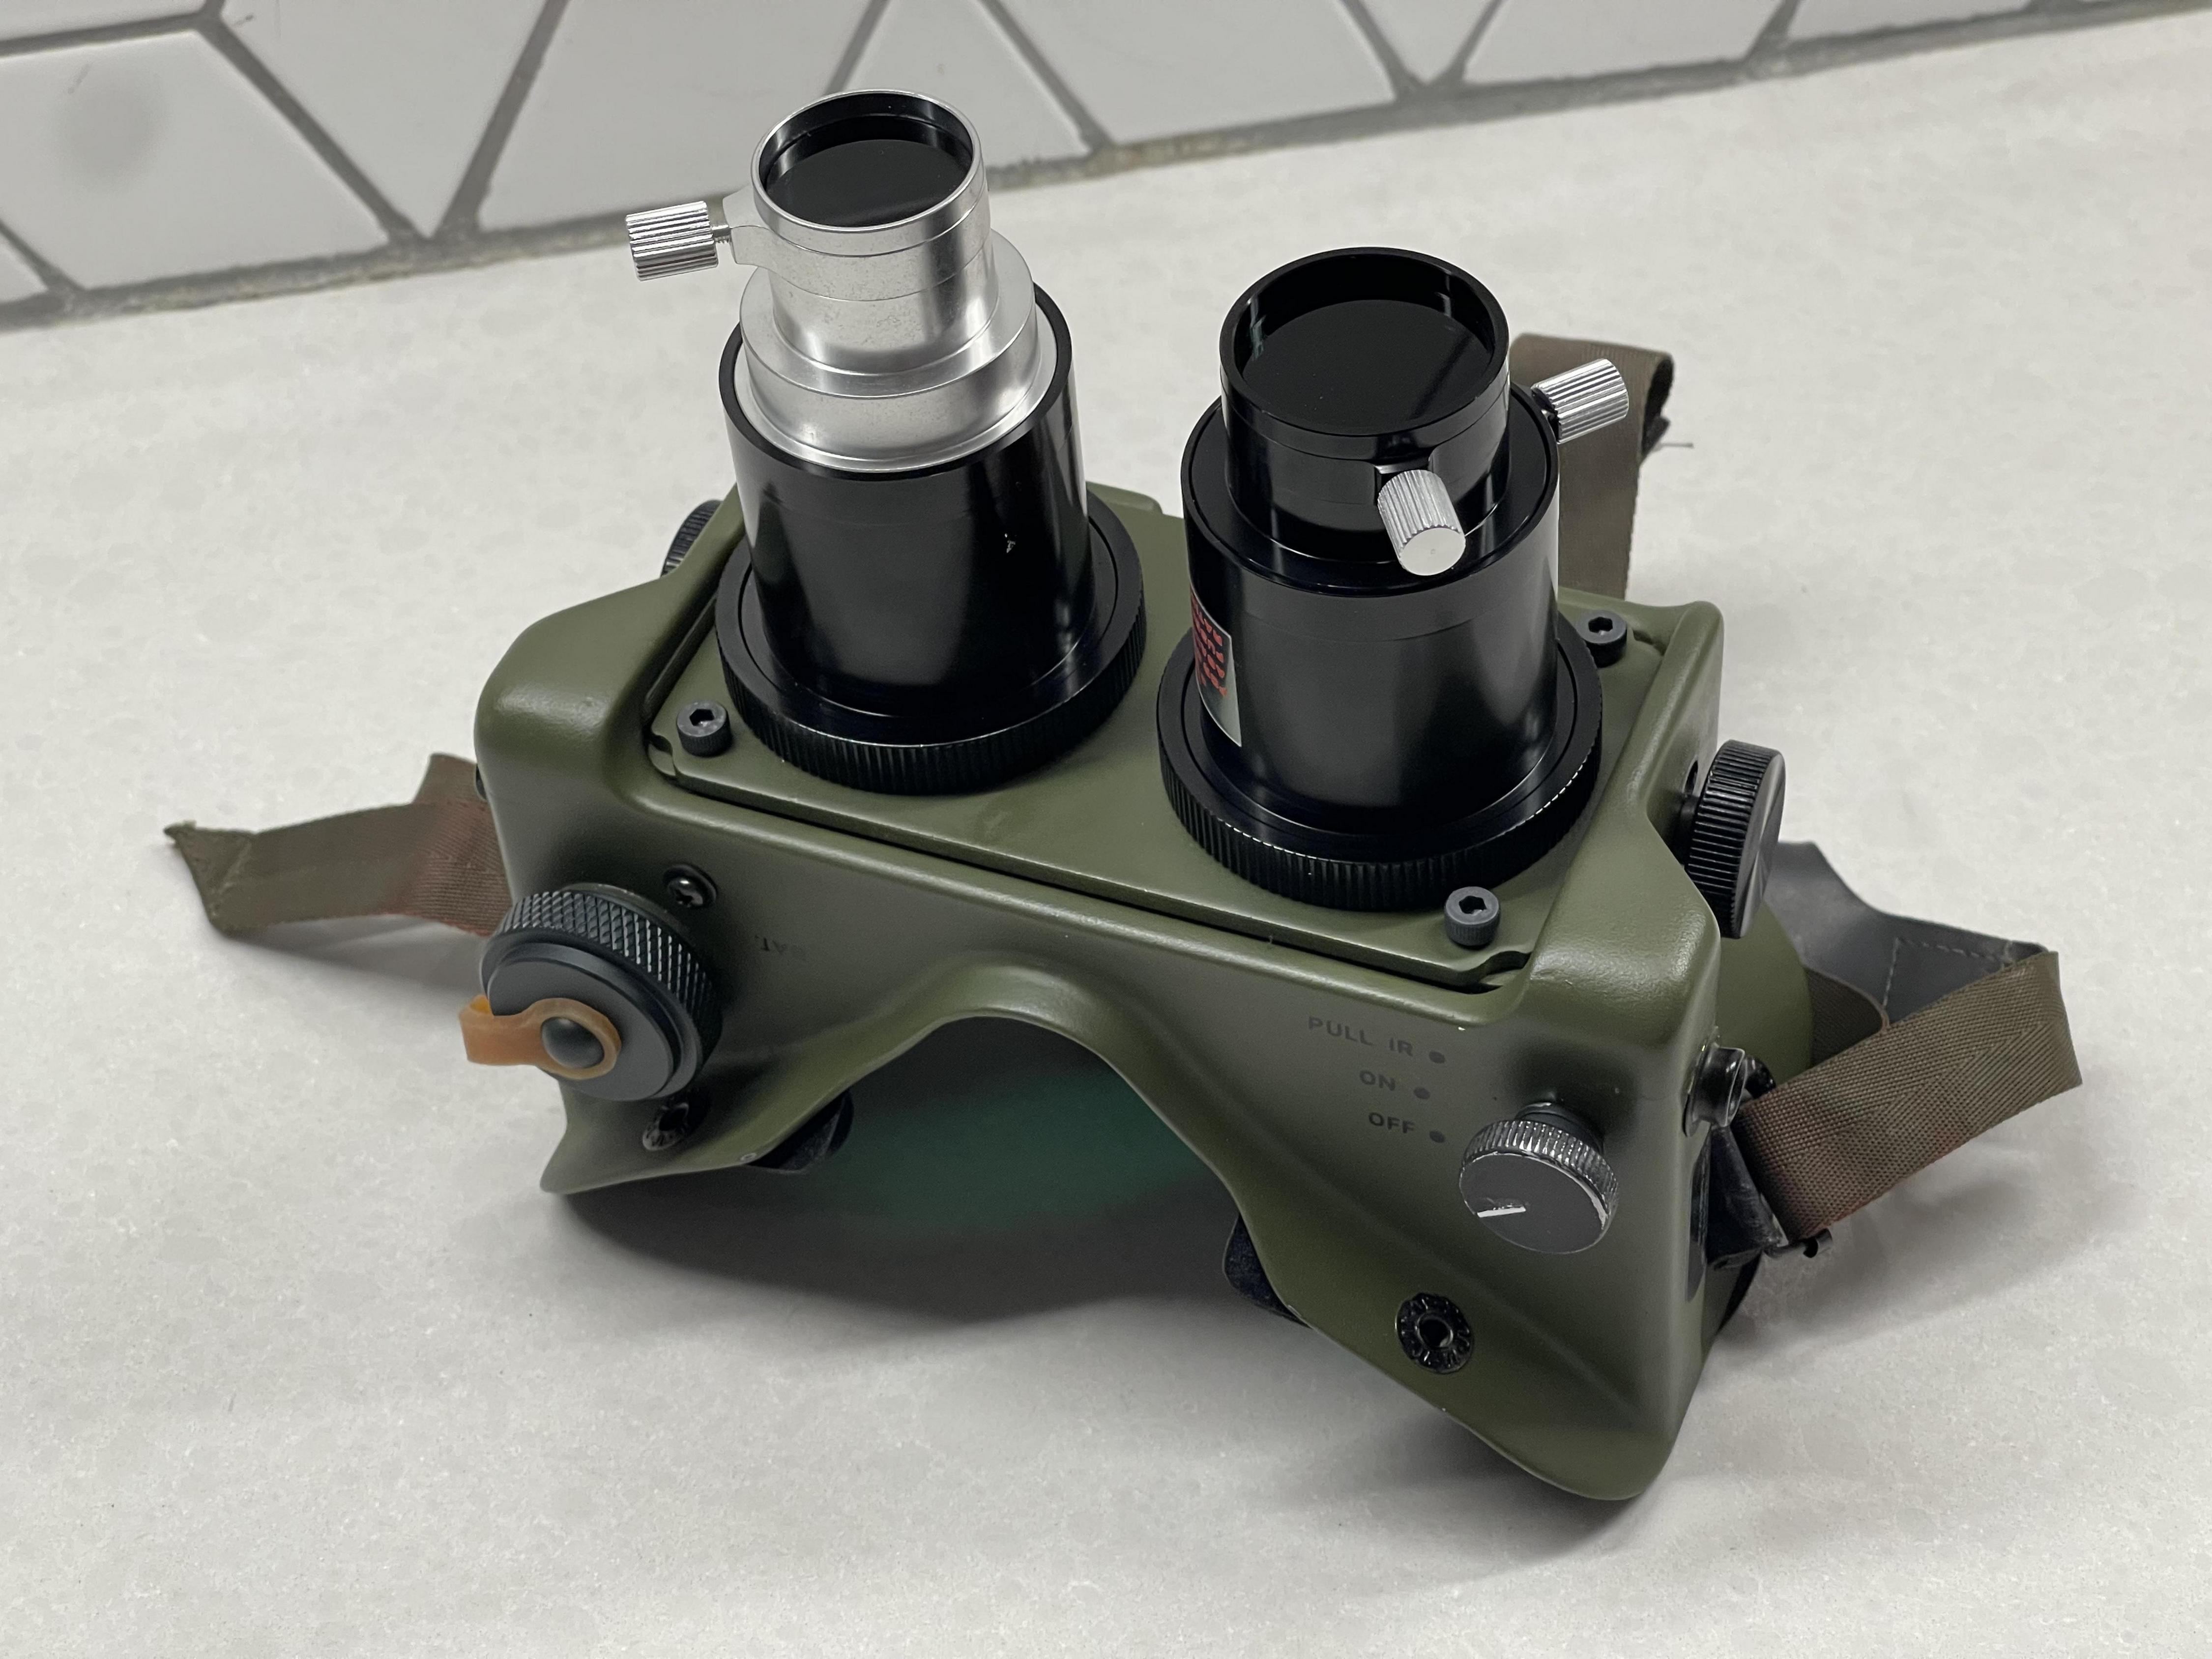
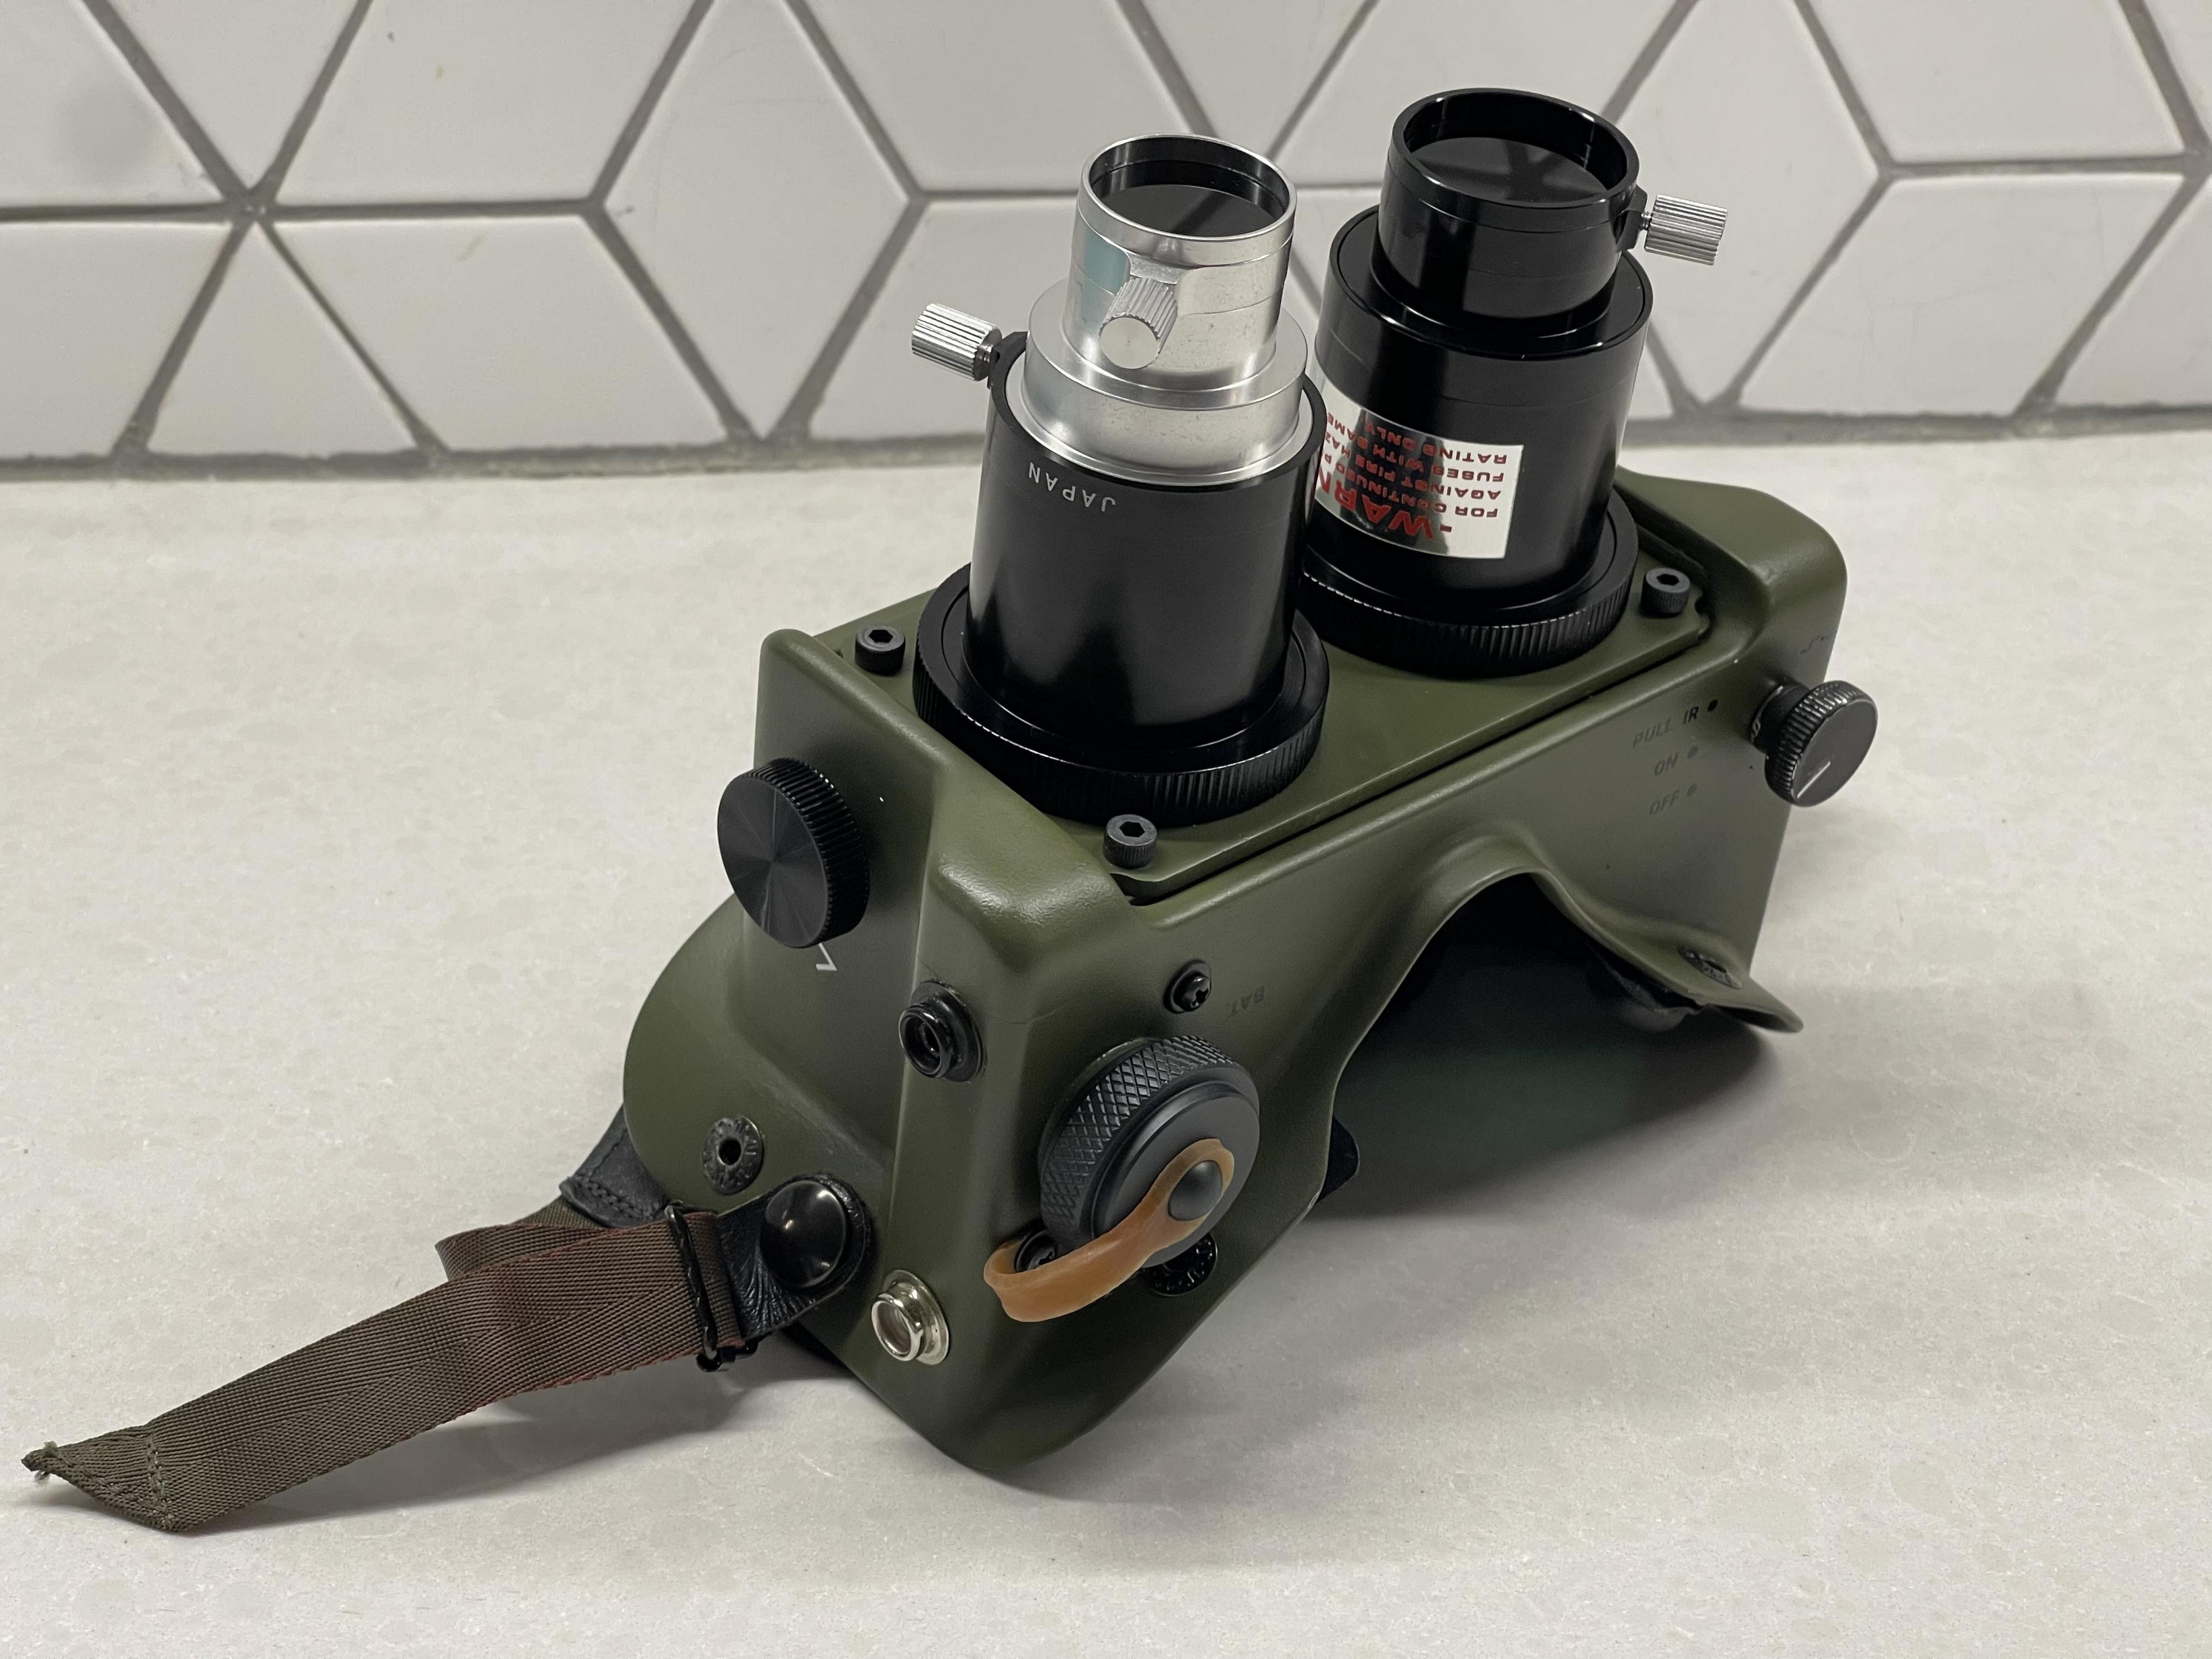 Front view of the fully assembled 3D printed goggles, showcasing the lenses and finish.
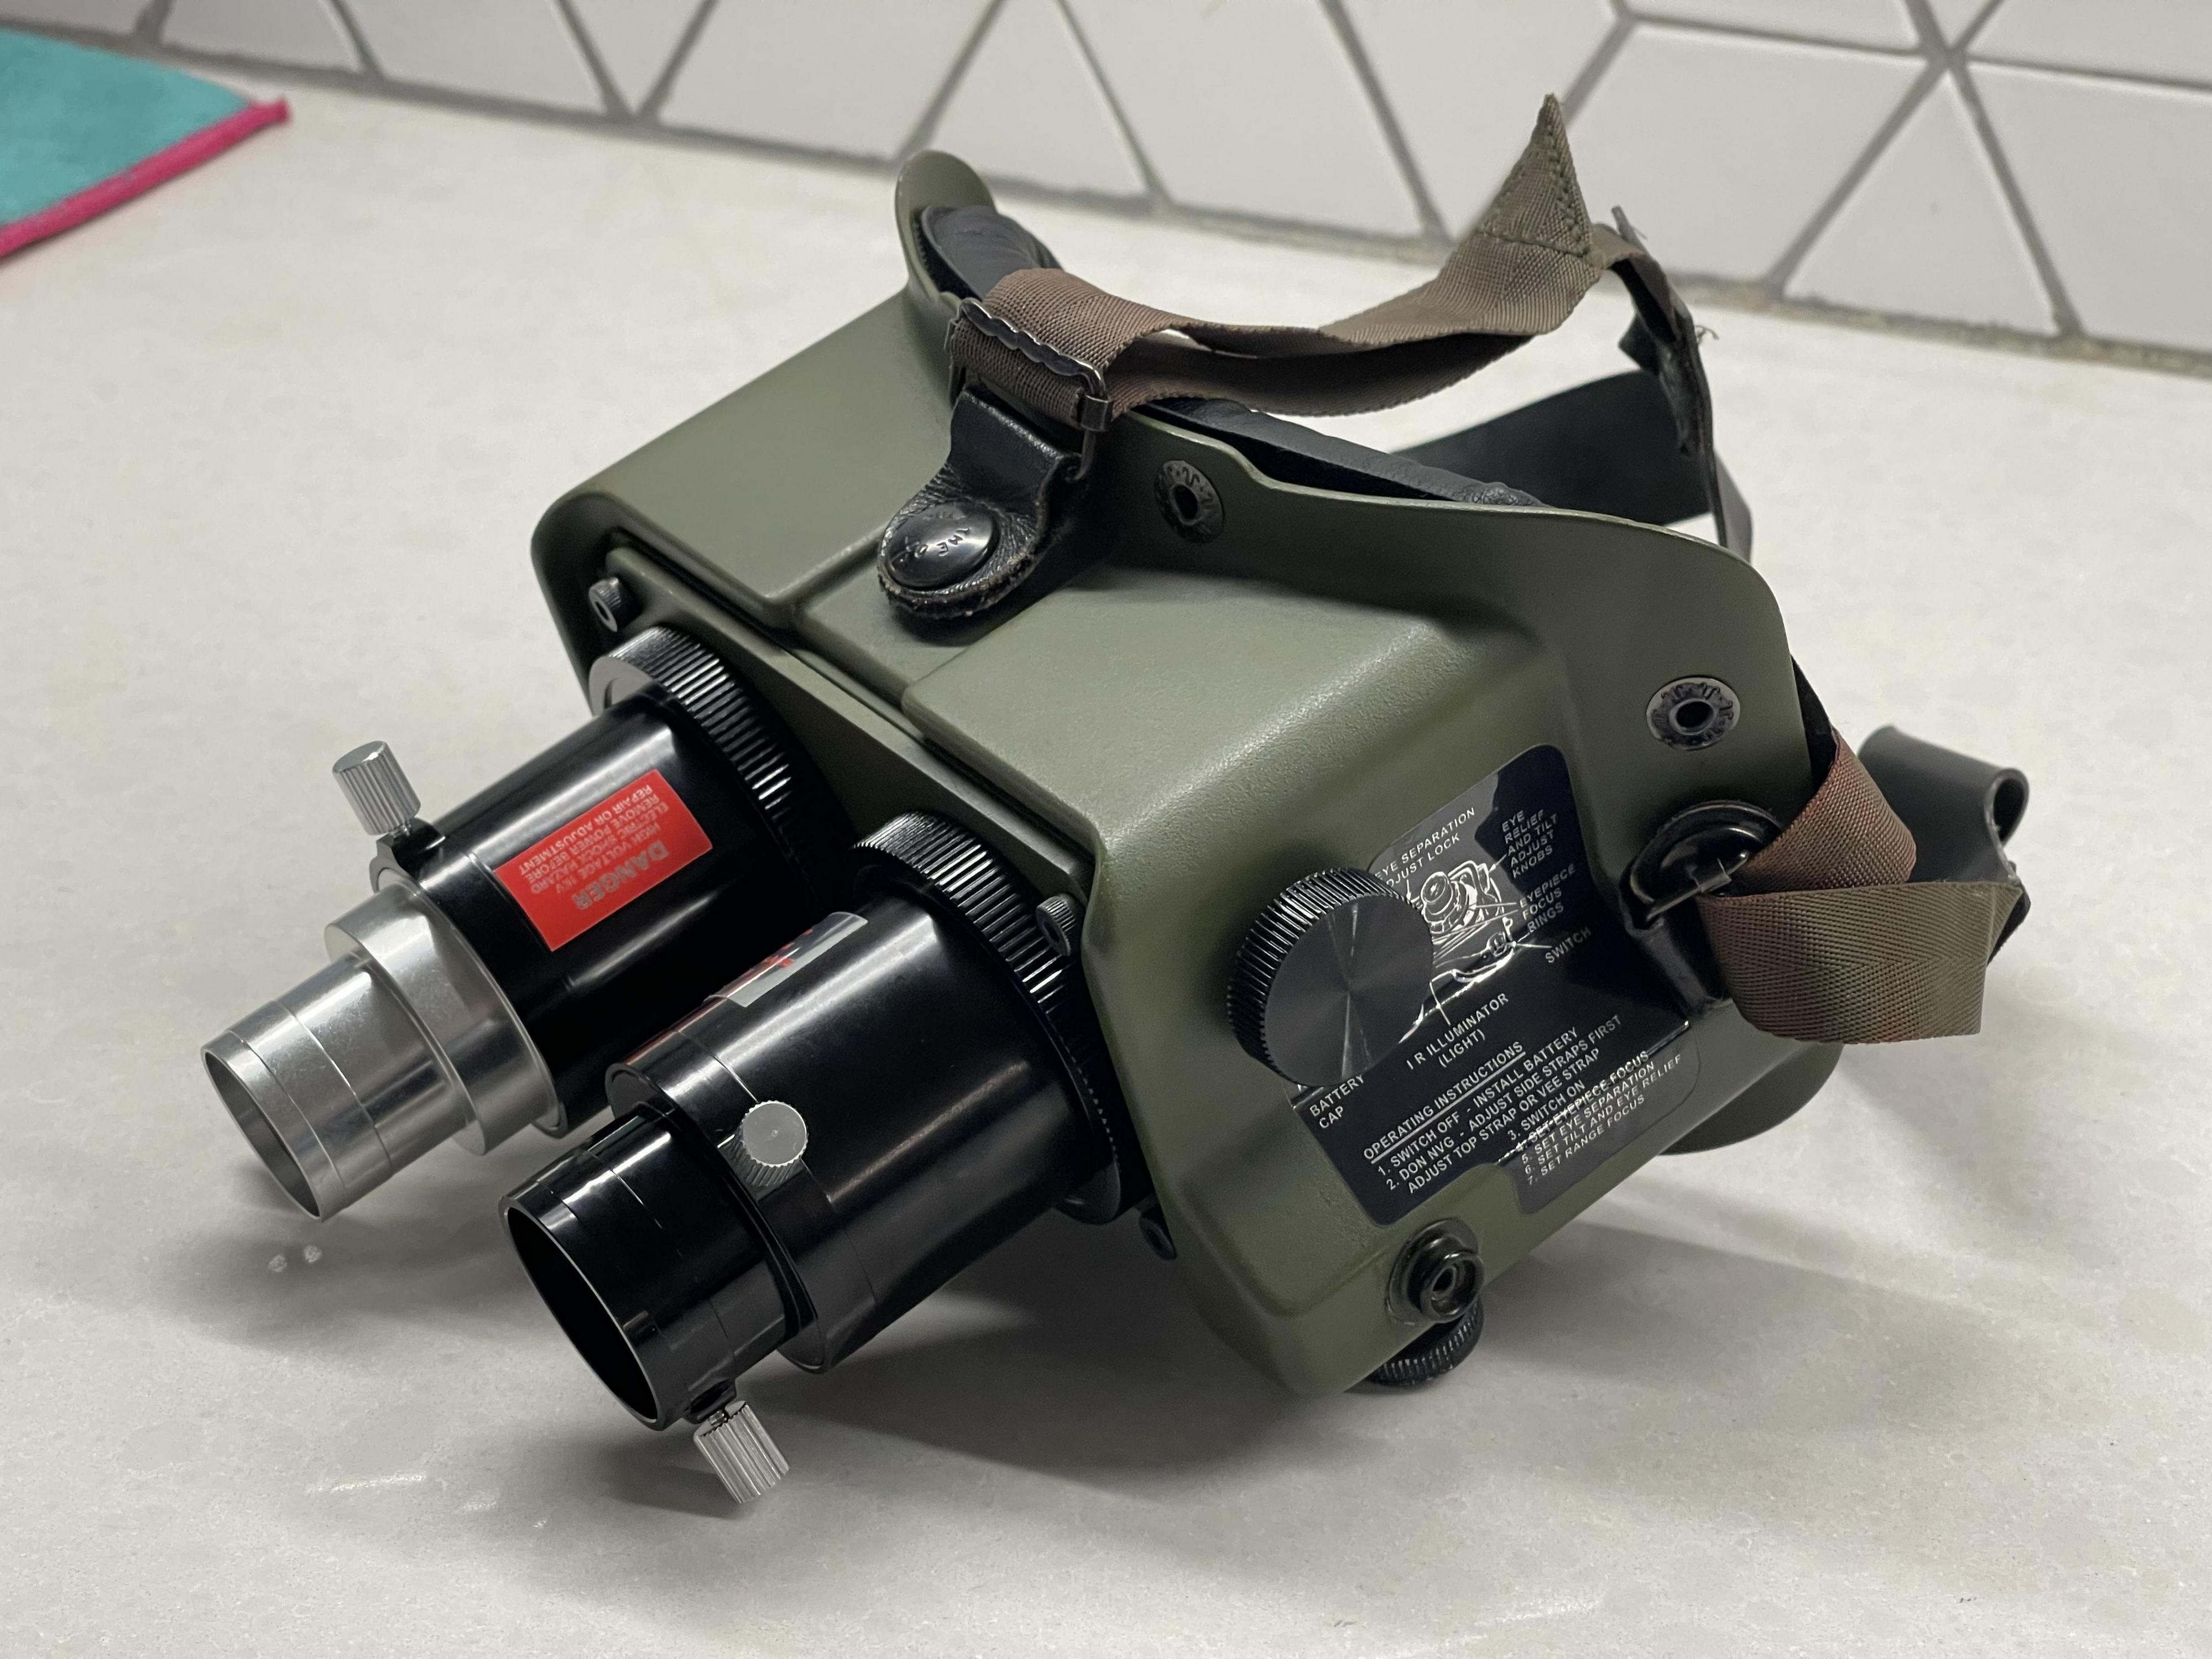
 Side view of the completed 3D printed goggles, highlighting the details and straps.
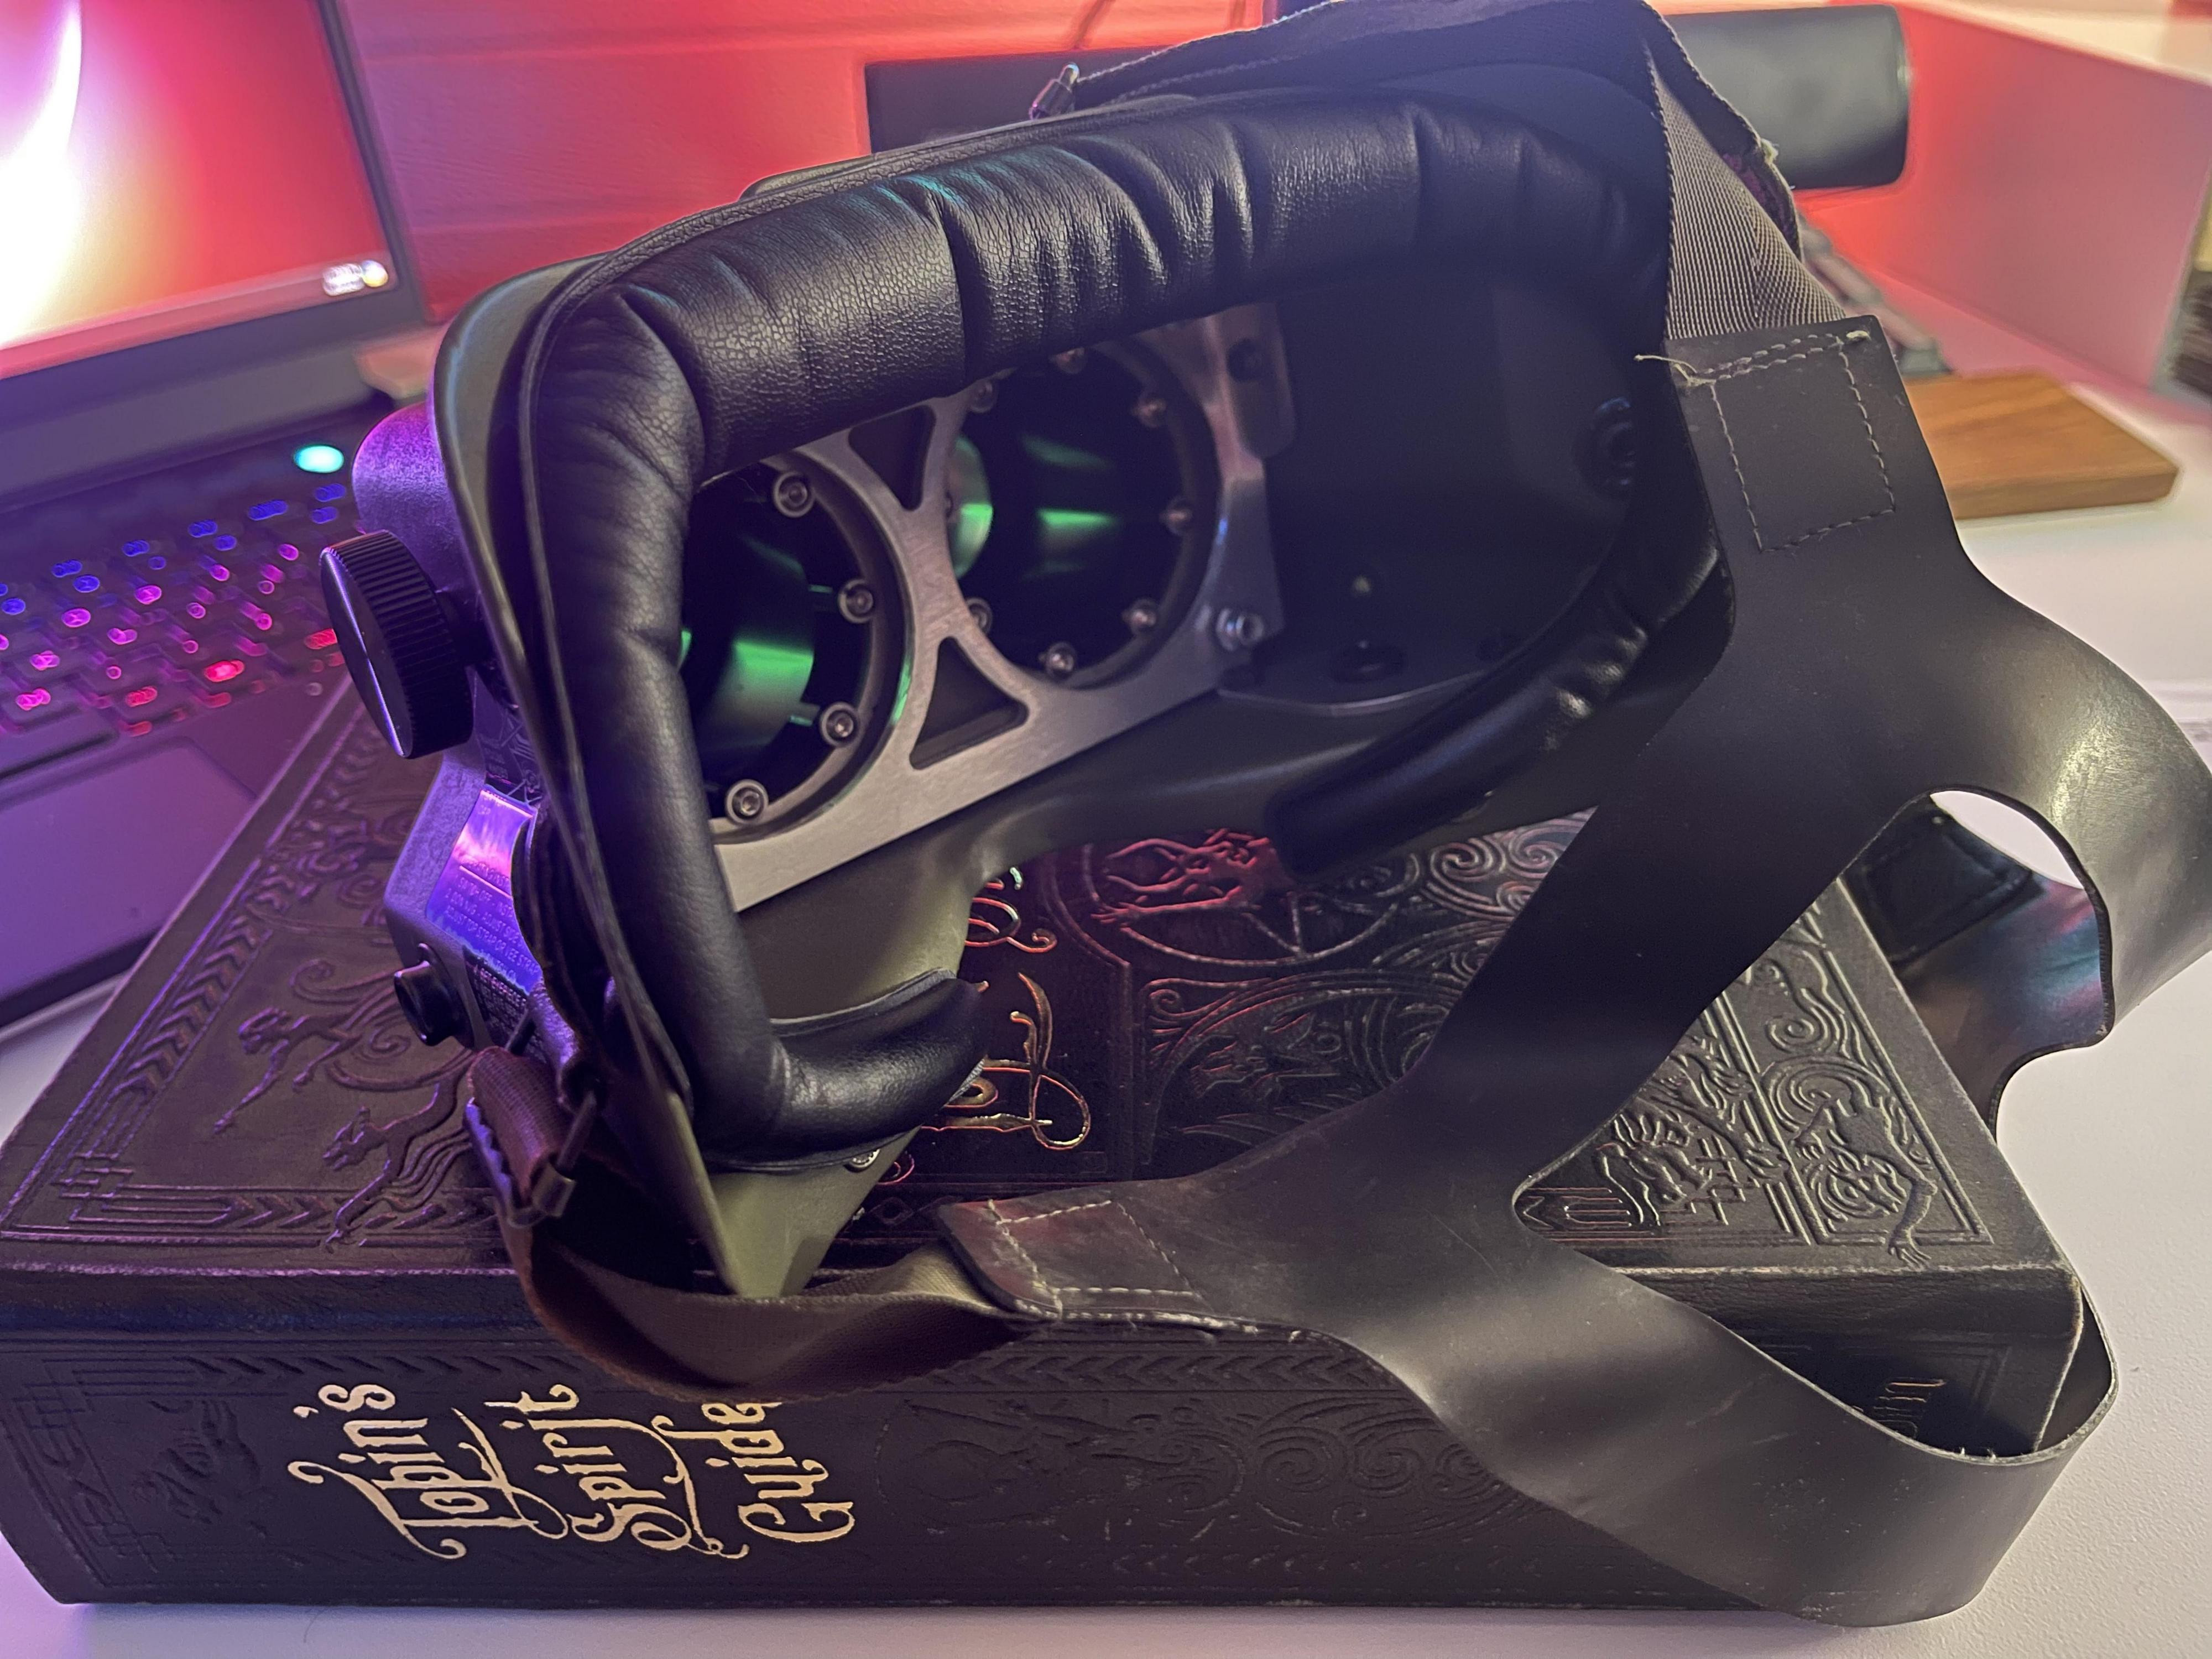
 Close-up detail shot of the 3D printed goggles, showing the paint and label details.
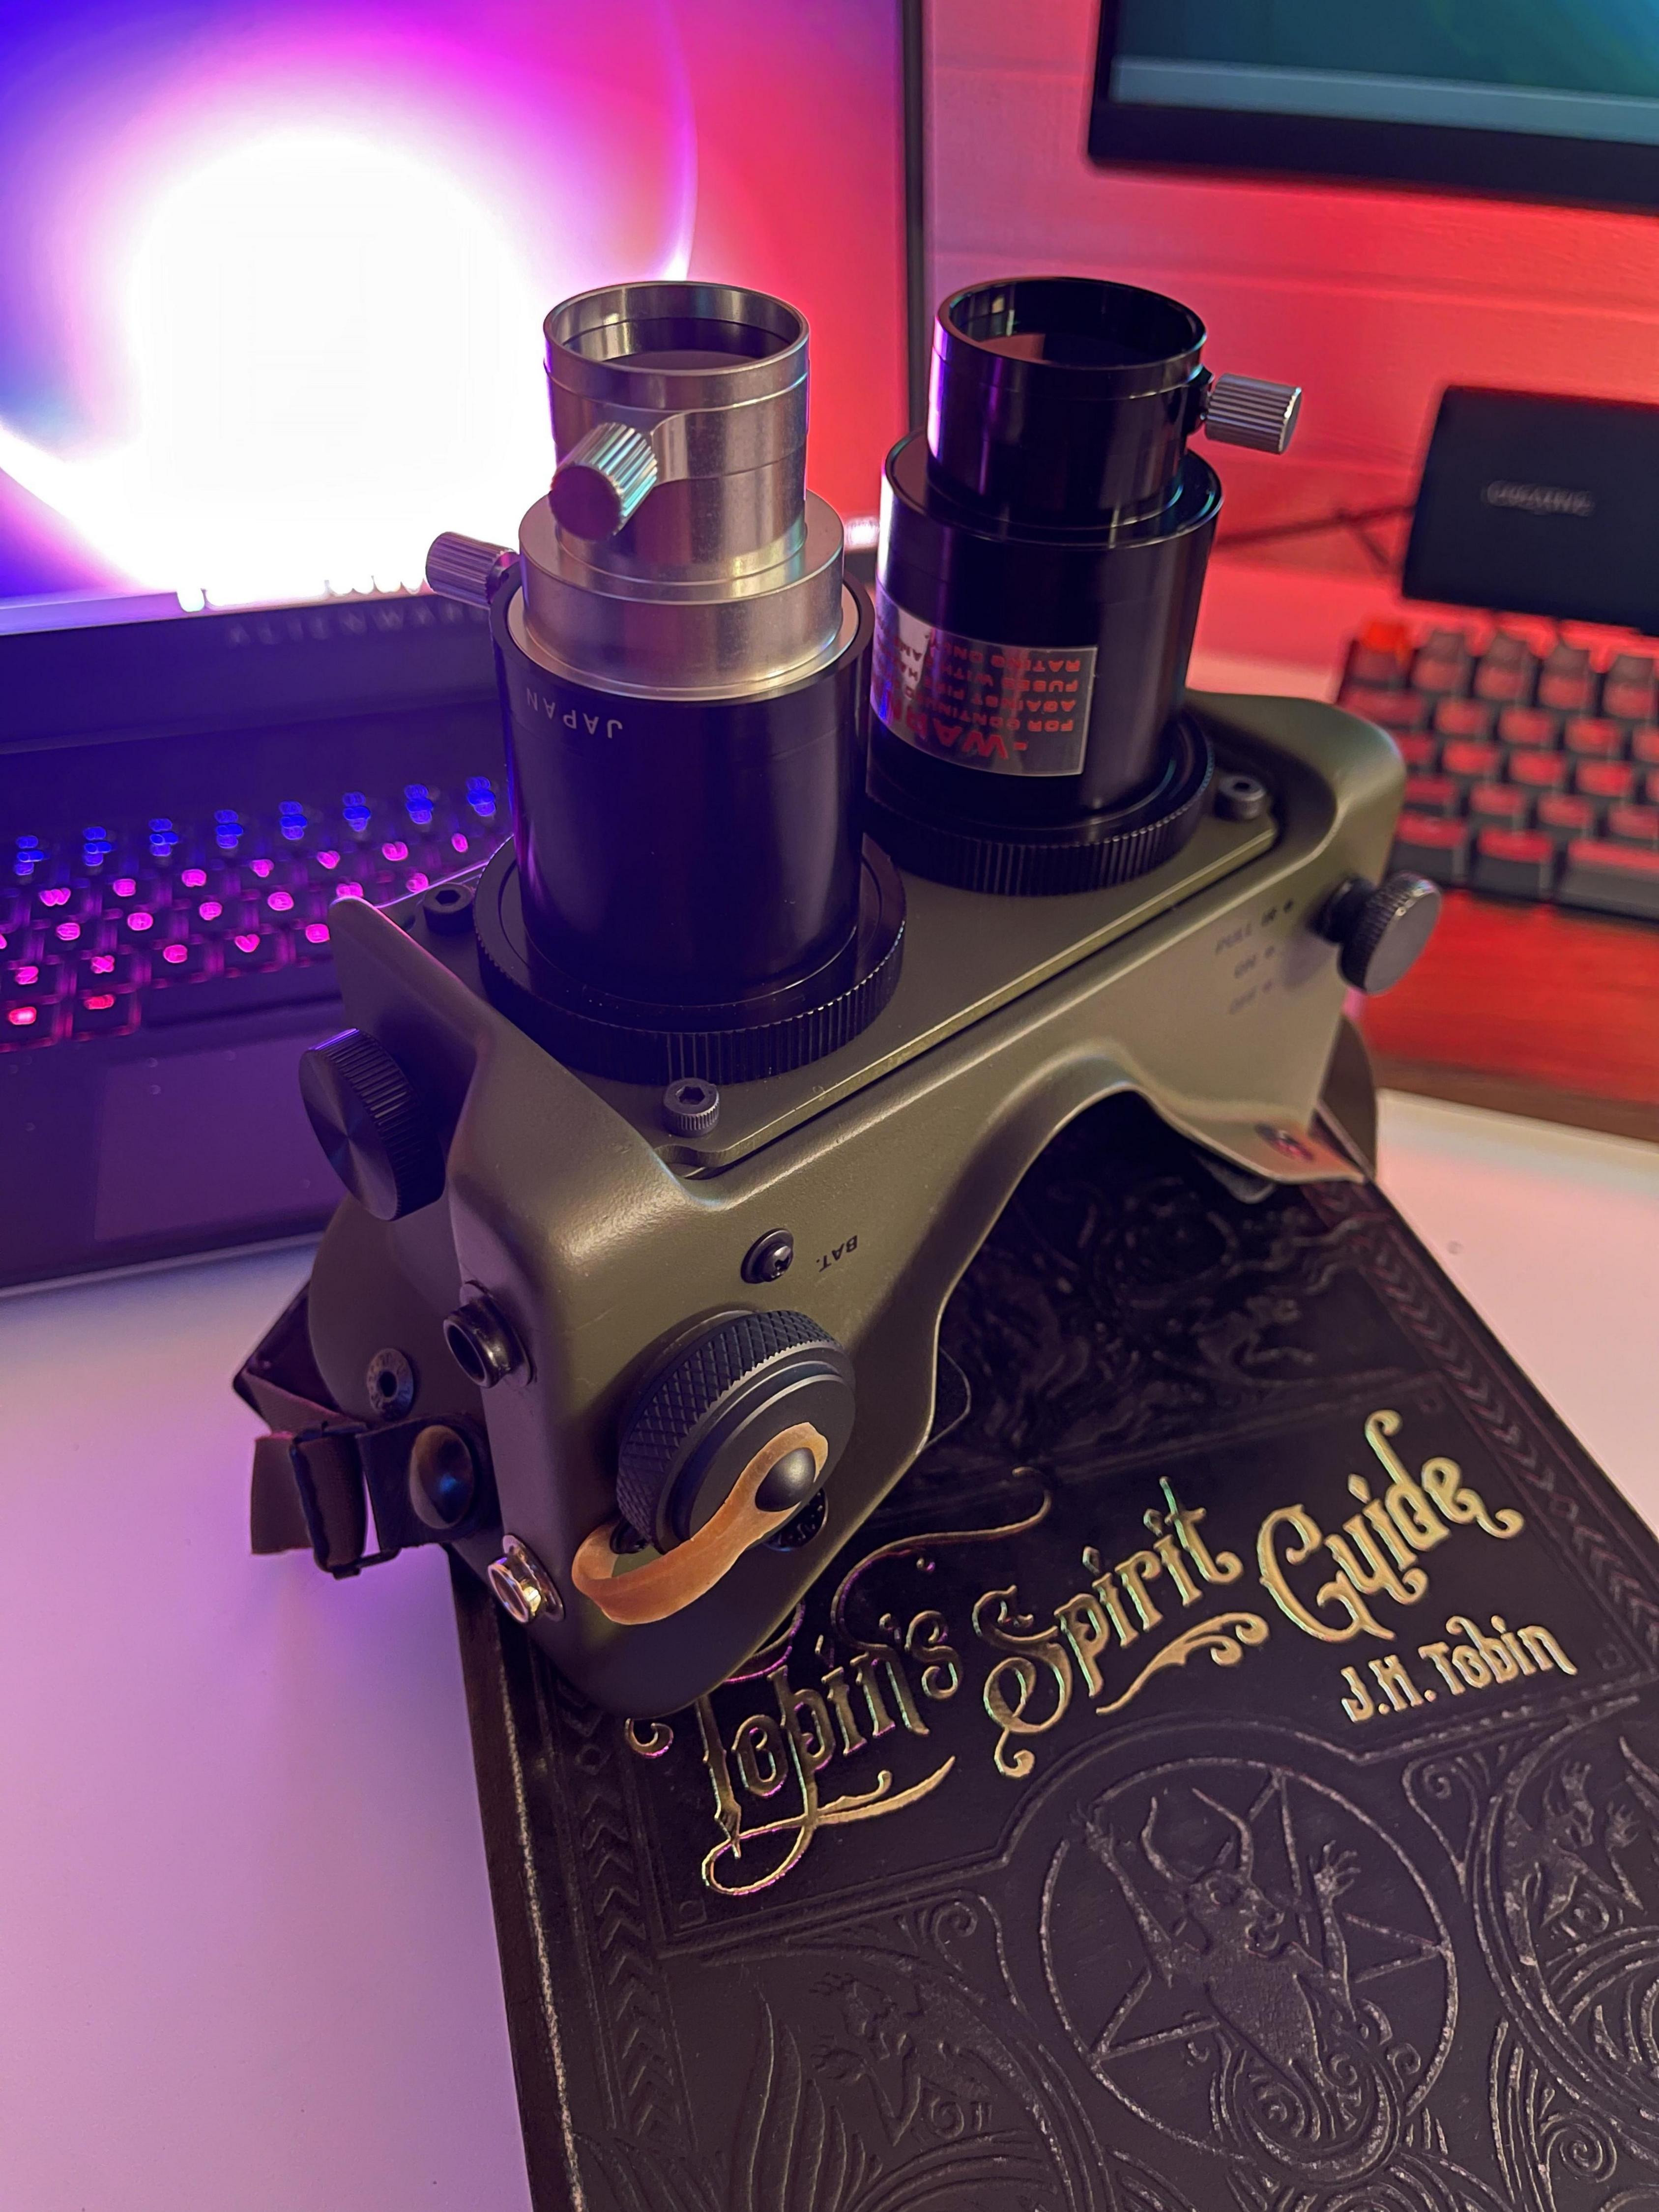
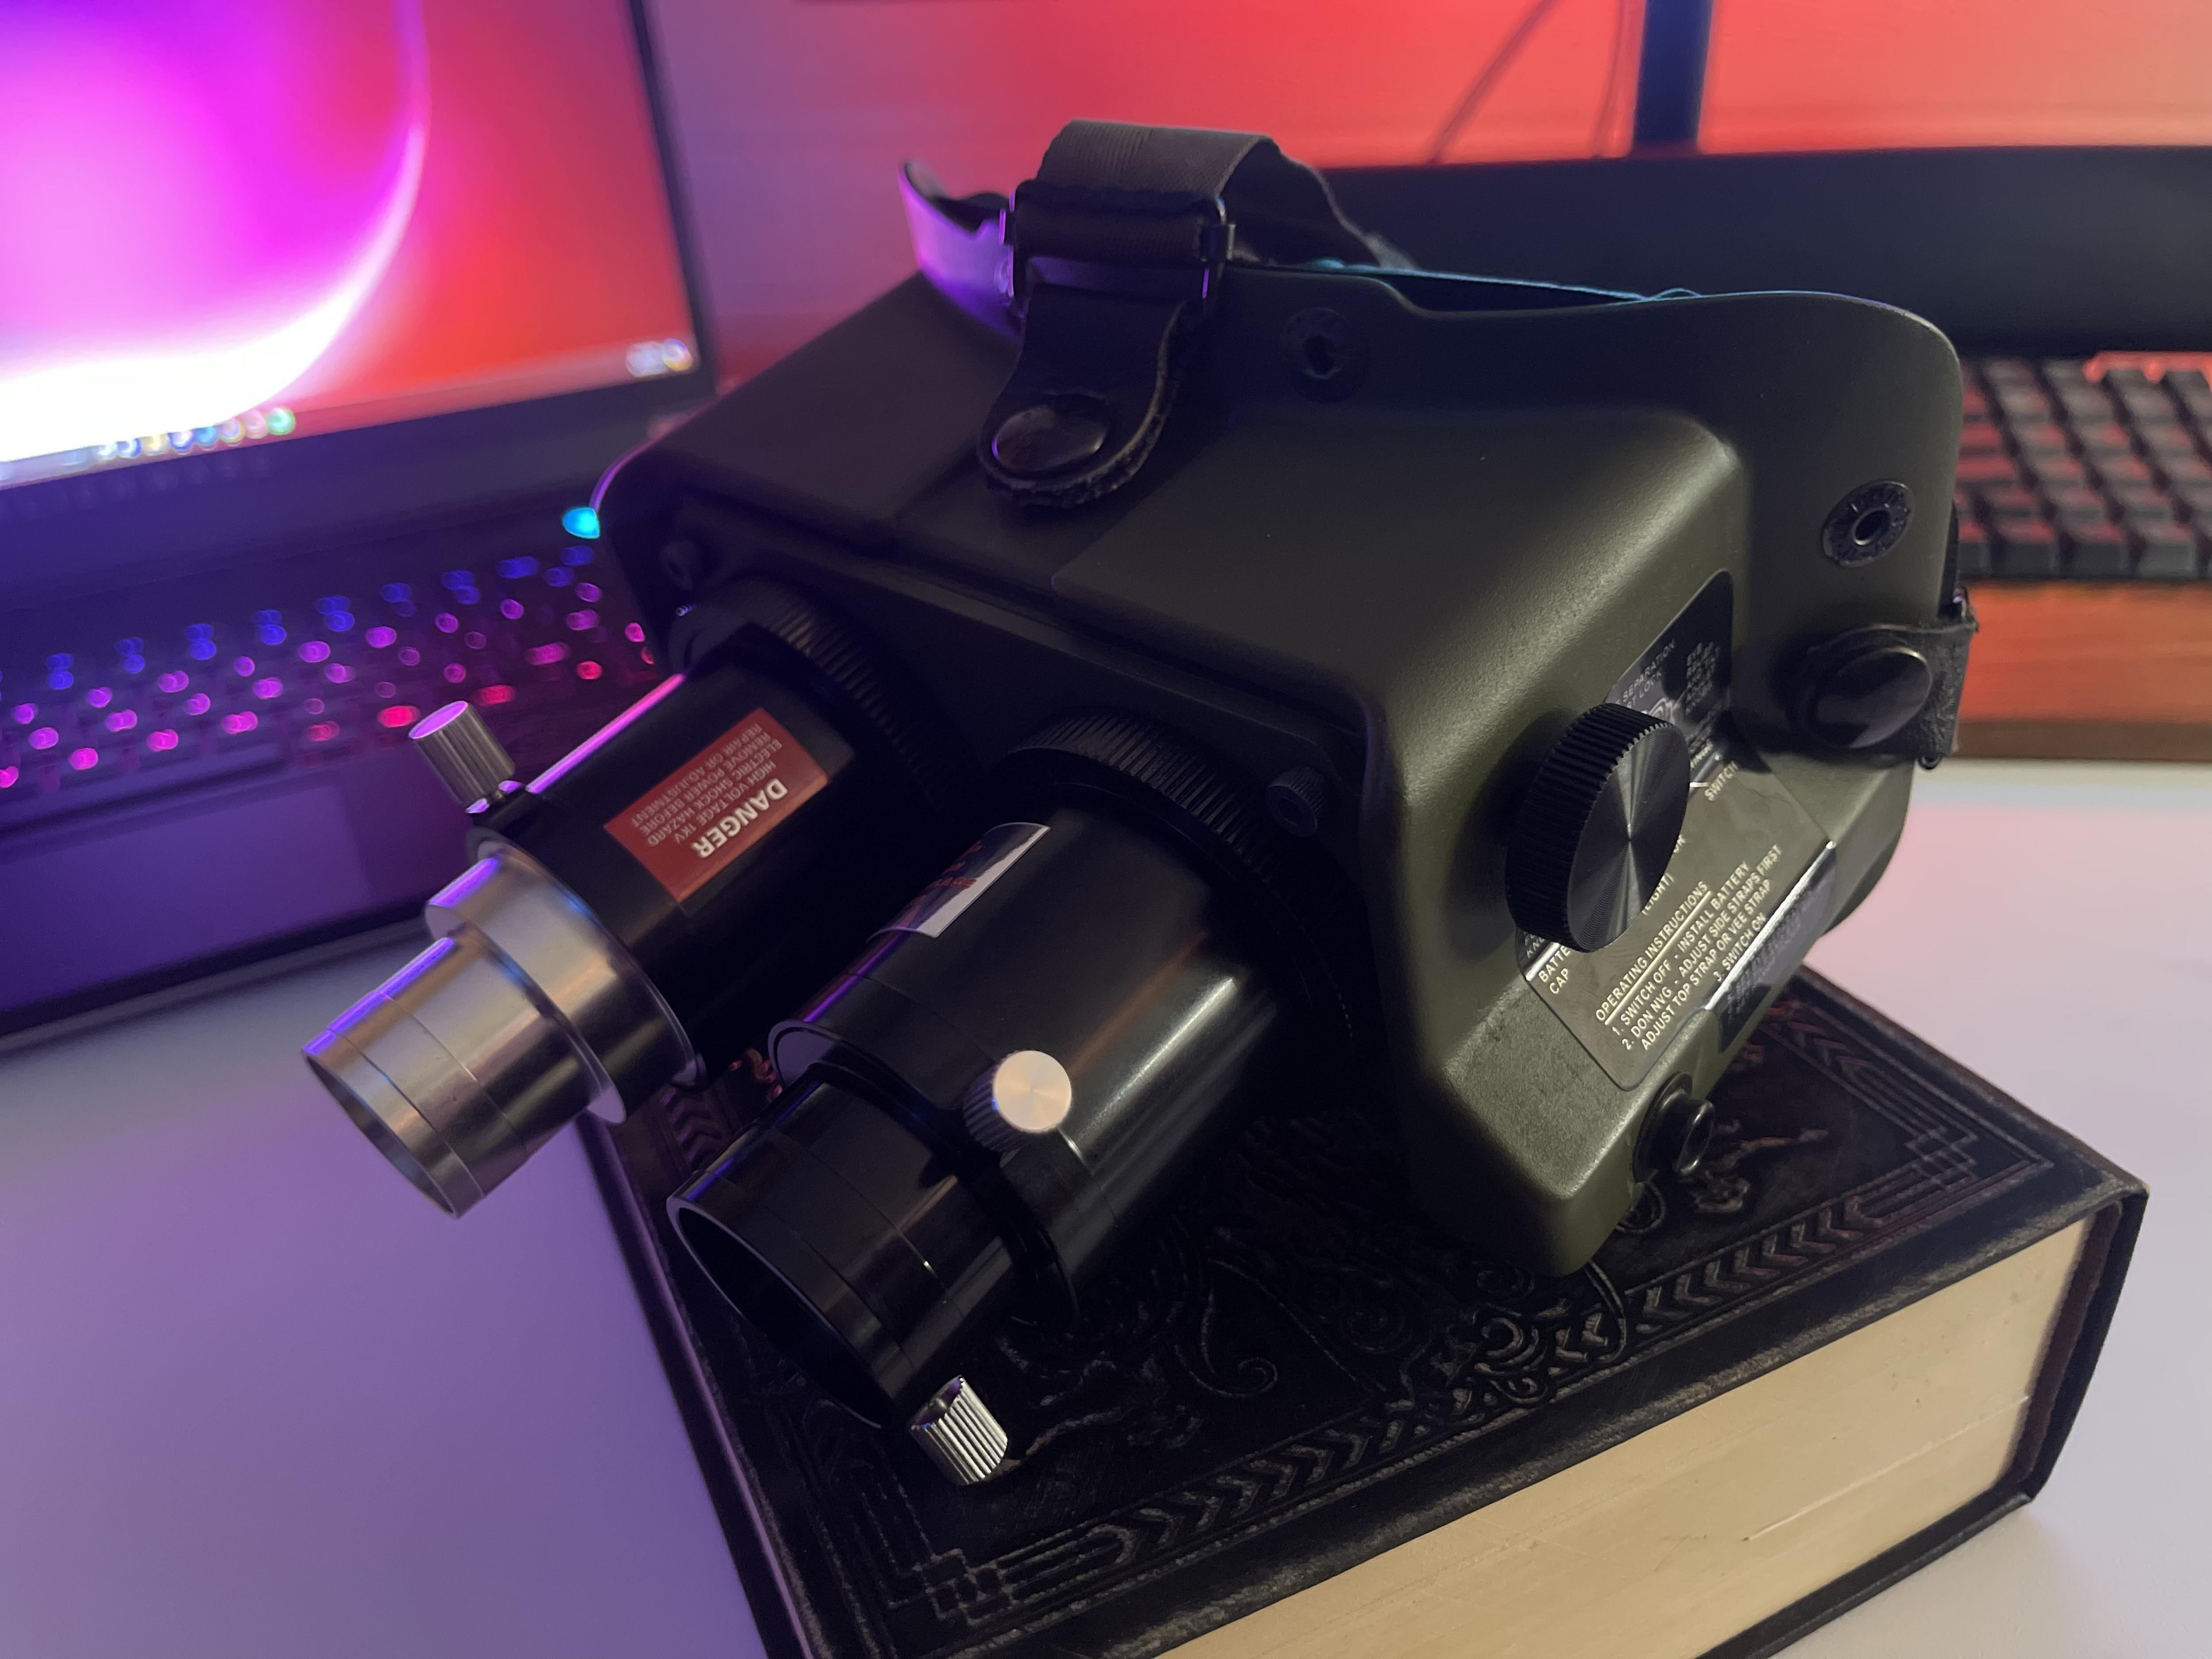
To add to the fun, another fantastic prop from Indy Magnoli arrived just as I was finishing up these goggles…
 The 3D printed goggles paired with another prop, showcasing them in context.
 Action shot of the 3D printed goggles and other prop, demonstrating their use.
And finally, these 3D printed goggles have found their place as another addition to my studio corner, joining other completed projects and props.