
For fabric enthusiasts and DIY creators, the desire for unique, custom-printed fabrics is always strong. Imagine having access to any design you want, printed directly onto your chosen material, right in your home. With an Epson Inkjet Printer, this dream can become a reality. While it might sound intimidating, printing on fabric with your home inkjet printer is a surprisingly accessible and rewarding craft.
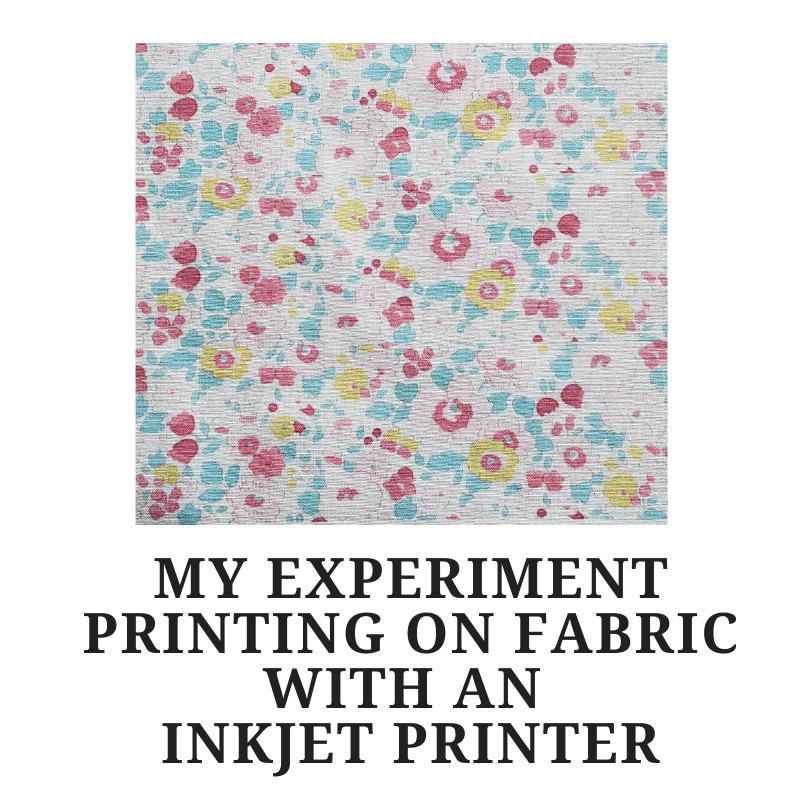 Close-up of printed fabric showing detailed design
This guide will walk you through the essentials of printing on fabric using an Epson inkjet printer, perfect for small projects, personalized gifts, or bringing your unique fabric visions to life. We’ll cover key considerations, step-by-step tips, and what to expect from your home fabric printing adventures.
Key Considerations for Inkjet Fabric Printing
Before you dive into printing, there are two crucial aspects to understand to ensure successful and lasting results when using your epson inkjet printer for fabric:
-
Ink Type and Washability: Standard inkjet printers, including many Epson models, often use dye-based inks. These inks are beautiful and vibrant for paper prints, but they are water-soluble and will fade or wash away when fabric is laundered. For fabric printing, especially if the item will be washed, you need to address ink fastness.
- Solutions: Fabric pre-treatments and post-treatments are available to help set the ink and improve washability. Some crafters also explore pigment inks, known for better light and wash fastness, though compatibility depends on your specific epson inkjet printer model. Always check your printer specifications. Alternatively, you can purchase pre-treated fabric sheets specifically designed for inkjet printing, simplifying the process.
-
Fabric Stabilization: Fabric is flexible and can easily jam in a printer designed for paper. Stabilizing the fabric is essential to ensure it feeds smoothly through your epson inkjet printer and produces a clear, smudge-free print.
- Methods: Several effective stabilization techniques exist. Freezer paper is a popular choice: you temporarily adhere fabric to freezer paper using an iron, creating a stiff, paper-like sheet for printing. Double-sided tape applied to paper is another method to secure fabric edges. Experiment to find what works best with your epson inkjet printer and fabric type.
Step-by-Step Fabric Printing with Your Epson Printer
Let’s outline a basic process for printing on fabric at home using your epson inkjet printer. This example is inspired by a desire to replicate a specific fabric design, like the sought-after Liberty Betsy print.
-
Prepare Your Design: Start with the digital image you want to print. If you’re working with a scanned fabric swatch or online image, you might need to adjust it. Basic image editing software like Microsoft Paint (as used in the original example) or more advanced programs like Photoshop can be used to crop, resize, and adjust colors.
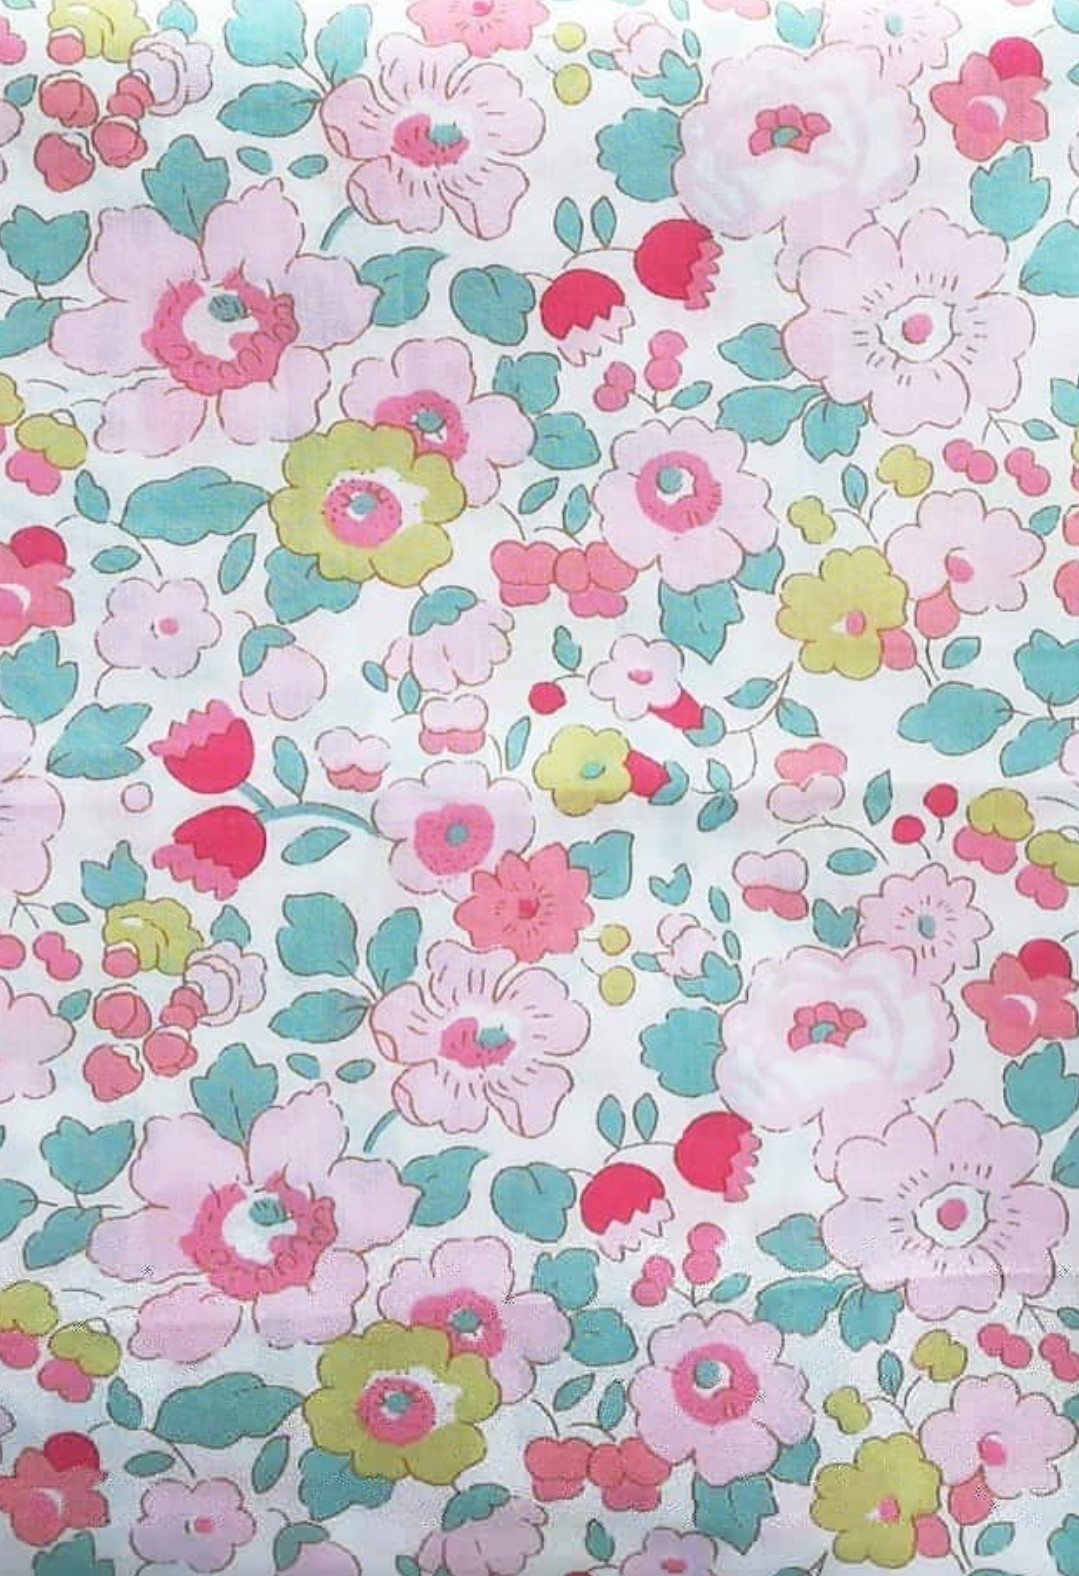 Screenshot of Liberty Betsy fabric design being cropped in image editing software
- Color Saturation: Inkjet prints on fabric can sometimes appear lighter than they look on screen. Test prints and adjusting saturation levels in your image editing software can help achieve richer colors on fabric. Experiment to find the optimal settings for your epson inkjet printer and fabric.
-
Stabilize Your Fabric: Choose your preferred stabilization method. For freezer paper:
- Cut your fabric slightly larger than your printing paper (e.g., 8.5 x 11 inches for standard letter size).
- Cut freezer paper to the same size.
- Place freezer paper shiny side down on your ironing board, lay fabric on top, and iron to adhere them together. Ensure the fabric is smooth and wrinkle-free.
-
Printer Settings and Printing:
- Load your stabilized fabric sheet into your epson inkjet printer paper tray, just as you would load paper. You may need to adjust paper settings to “photo paper” or a similar setting for better ink laydown, depending on your printer model.
- In your print dialog box, select your design and choose appropriate print quality settings. A higher quality setting will generally yield better results for fabric printing.
- Print your design onto the fabric.
-
Drying and Ink Setting:
- Carefully remove the printed fabric from the freezer paper backing (if used).
- Allow the ink to dry completely. Drying time will vary depending on ink type and humidity.
- Ink Setting: To improve washability, you’ll need to set the ink. Heat setting with an iron is a common method for some inks. Fabric treatments, applied before or after printing, are also available to enhance ink fastness. Research specific recommendations for your ink type and desired level of washability.
Comparing Home-Printed vs. Store-Bought Fabric
It’s important to have realistic expectations. Fabric printed at home with an epson inkjet printer may not perfectly replicate the quality and durability of commercially printed fabrics. Colors might not be as vibrant, and wash fastness can be a limitation without proper treatment.
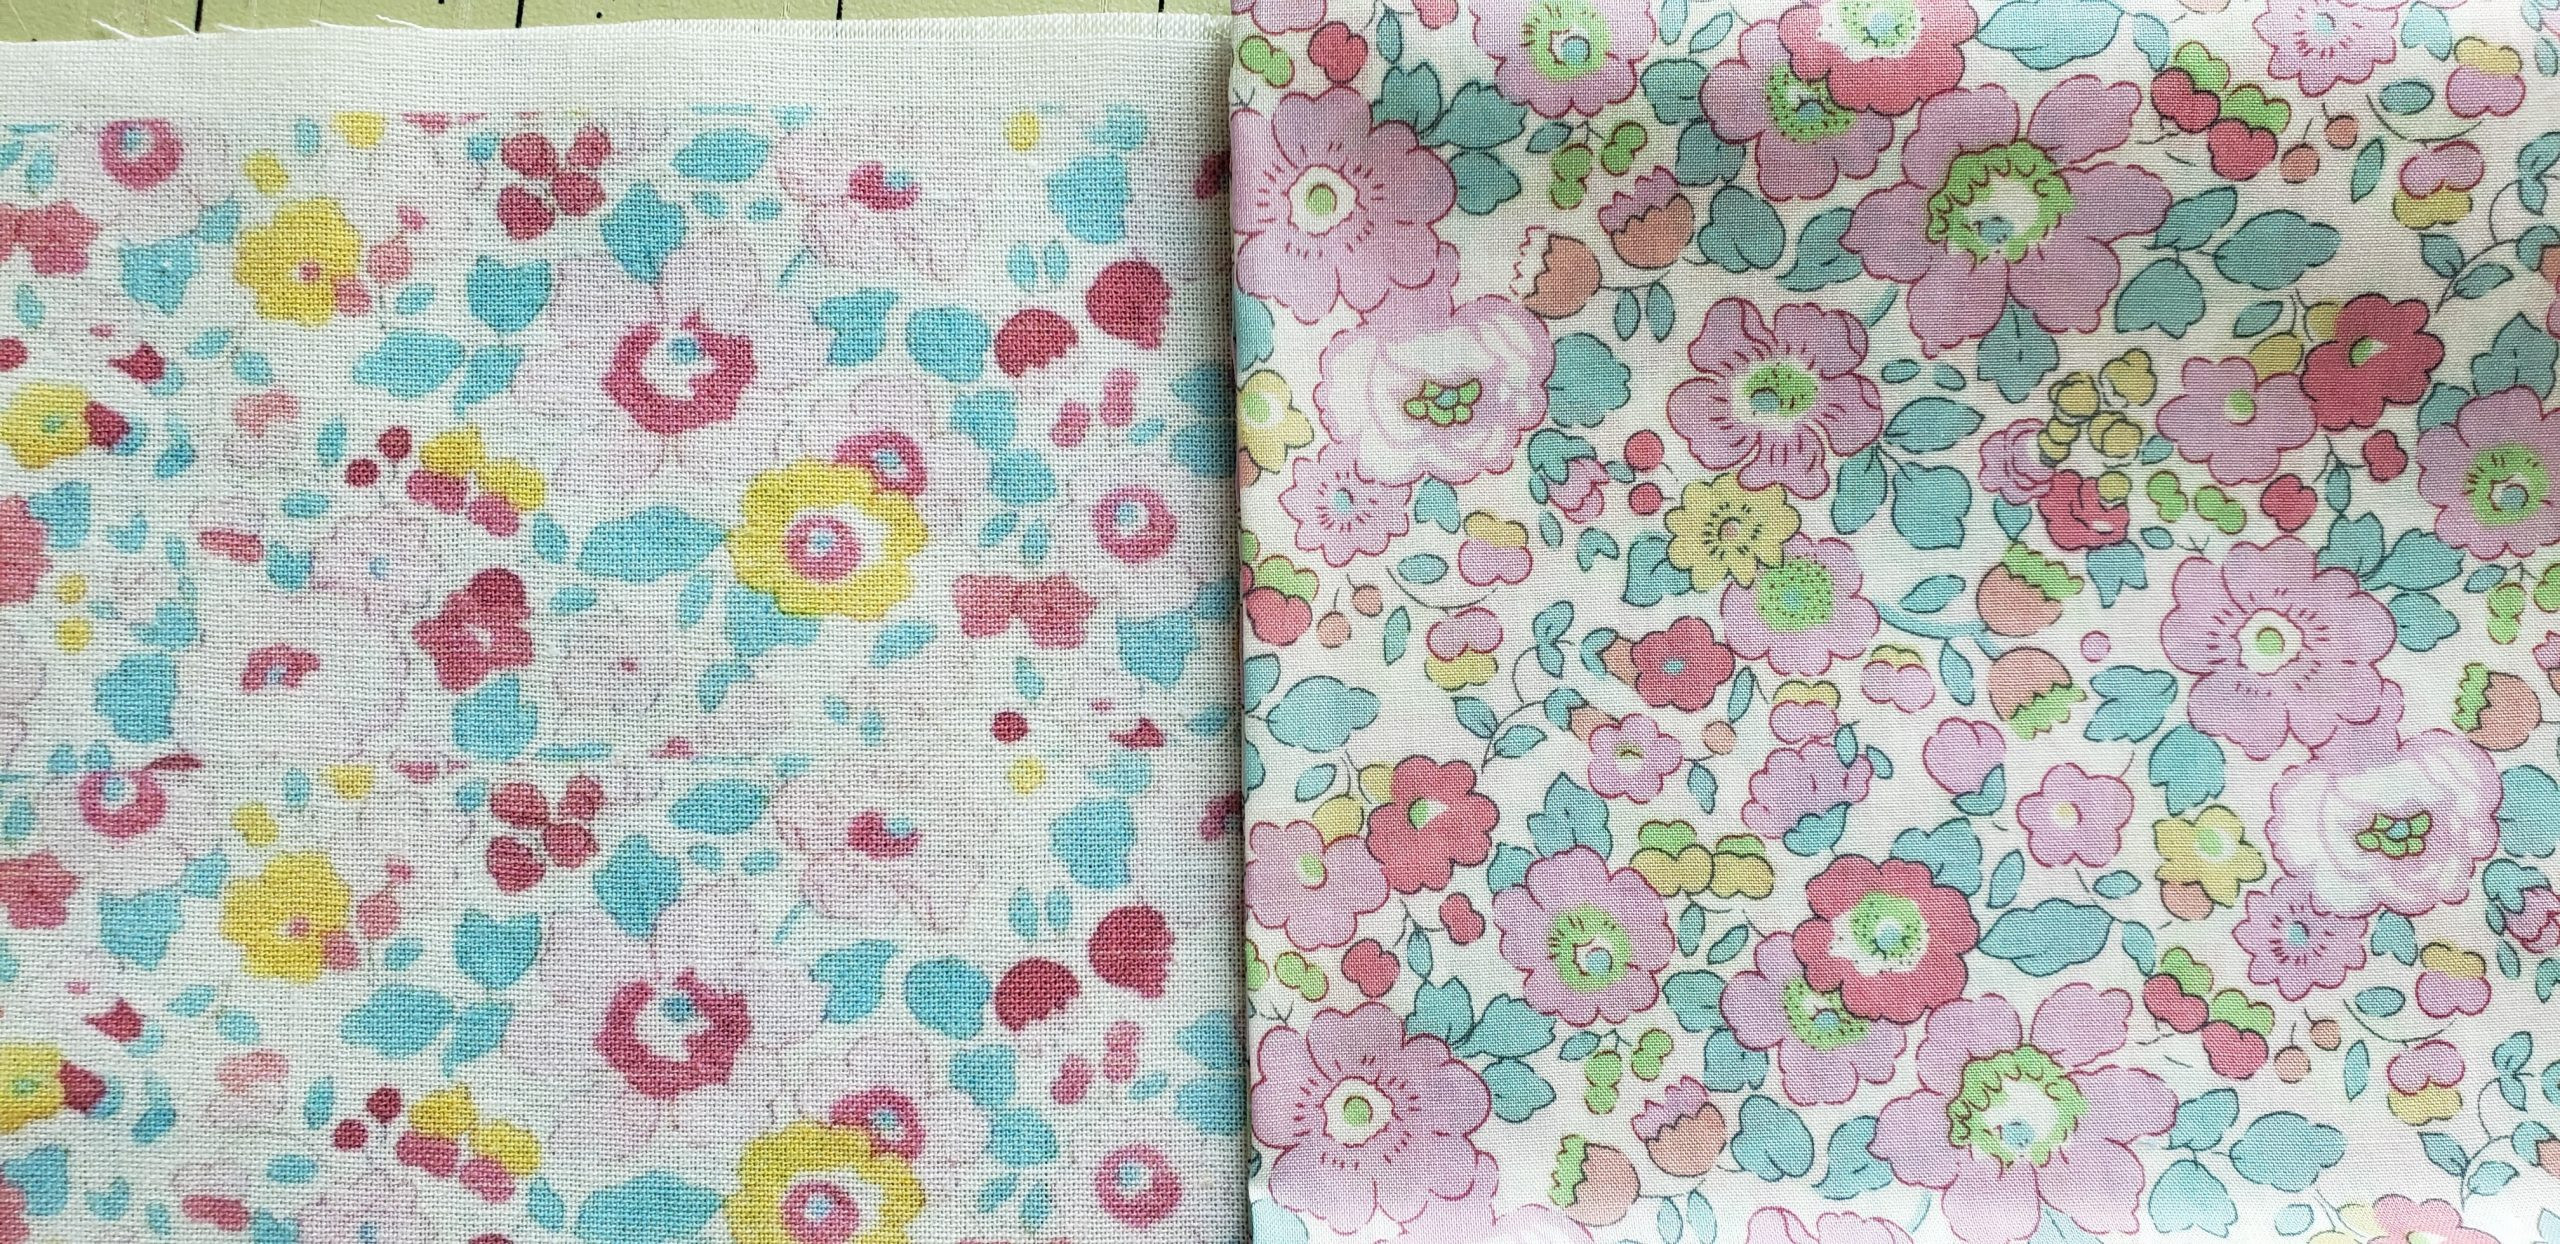 Side-by-side comparison of home-printed fabric and commercially printed Liberty fabric
However, the beauty of home fabric printing lies in its accessibility and creative freedom. It empowers you to:
- Create unique, one-of-a-kind fabrics: Print custom designs, photos, or artwork.
- Reproduce out-of-print or hard-to-find designs: As illustrated by the Liberty Betsy example, you can bring beloved but unavailable patterns back to life for personal projects.
- Experiment and personalize: Fabric printing with your epson inkjet printer opens up a world of creative possibilities for quilting, crafting, apparel accents, and home décor.
Troubleshooting and Tips
-
Smudging: Ensure your fabric and stabilizer are completely flat to avoid smudges during printing. Wrinkles or uneven surfaces can lead to ink smearing.
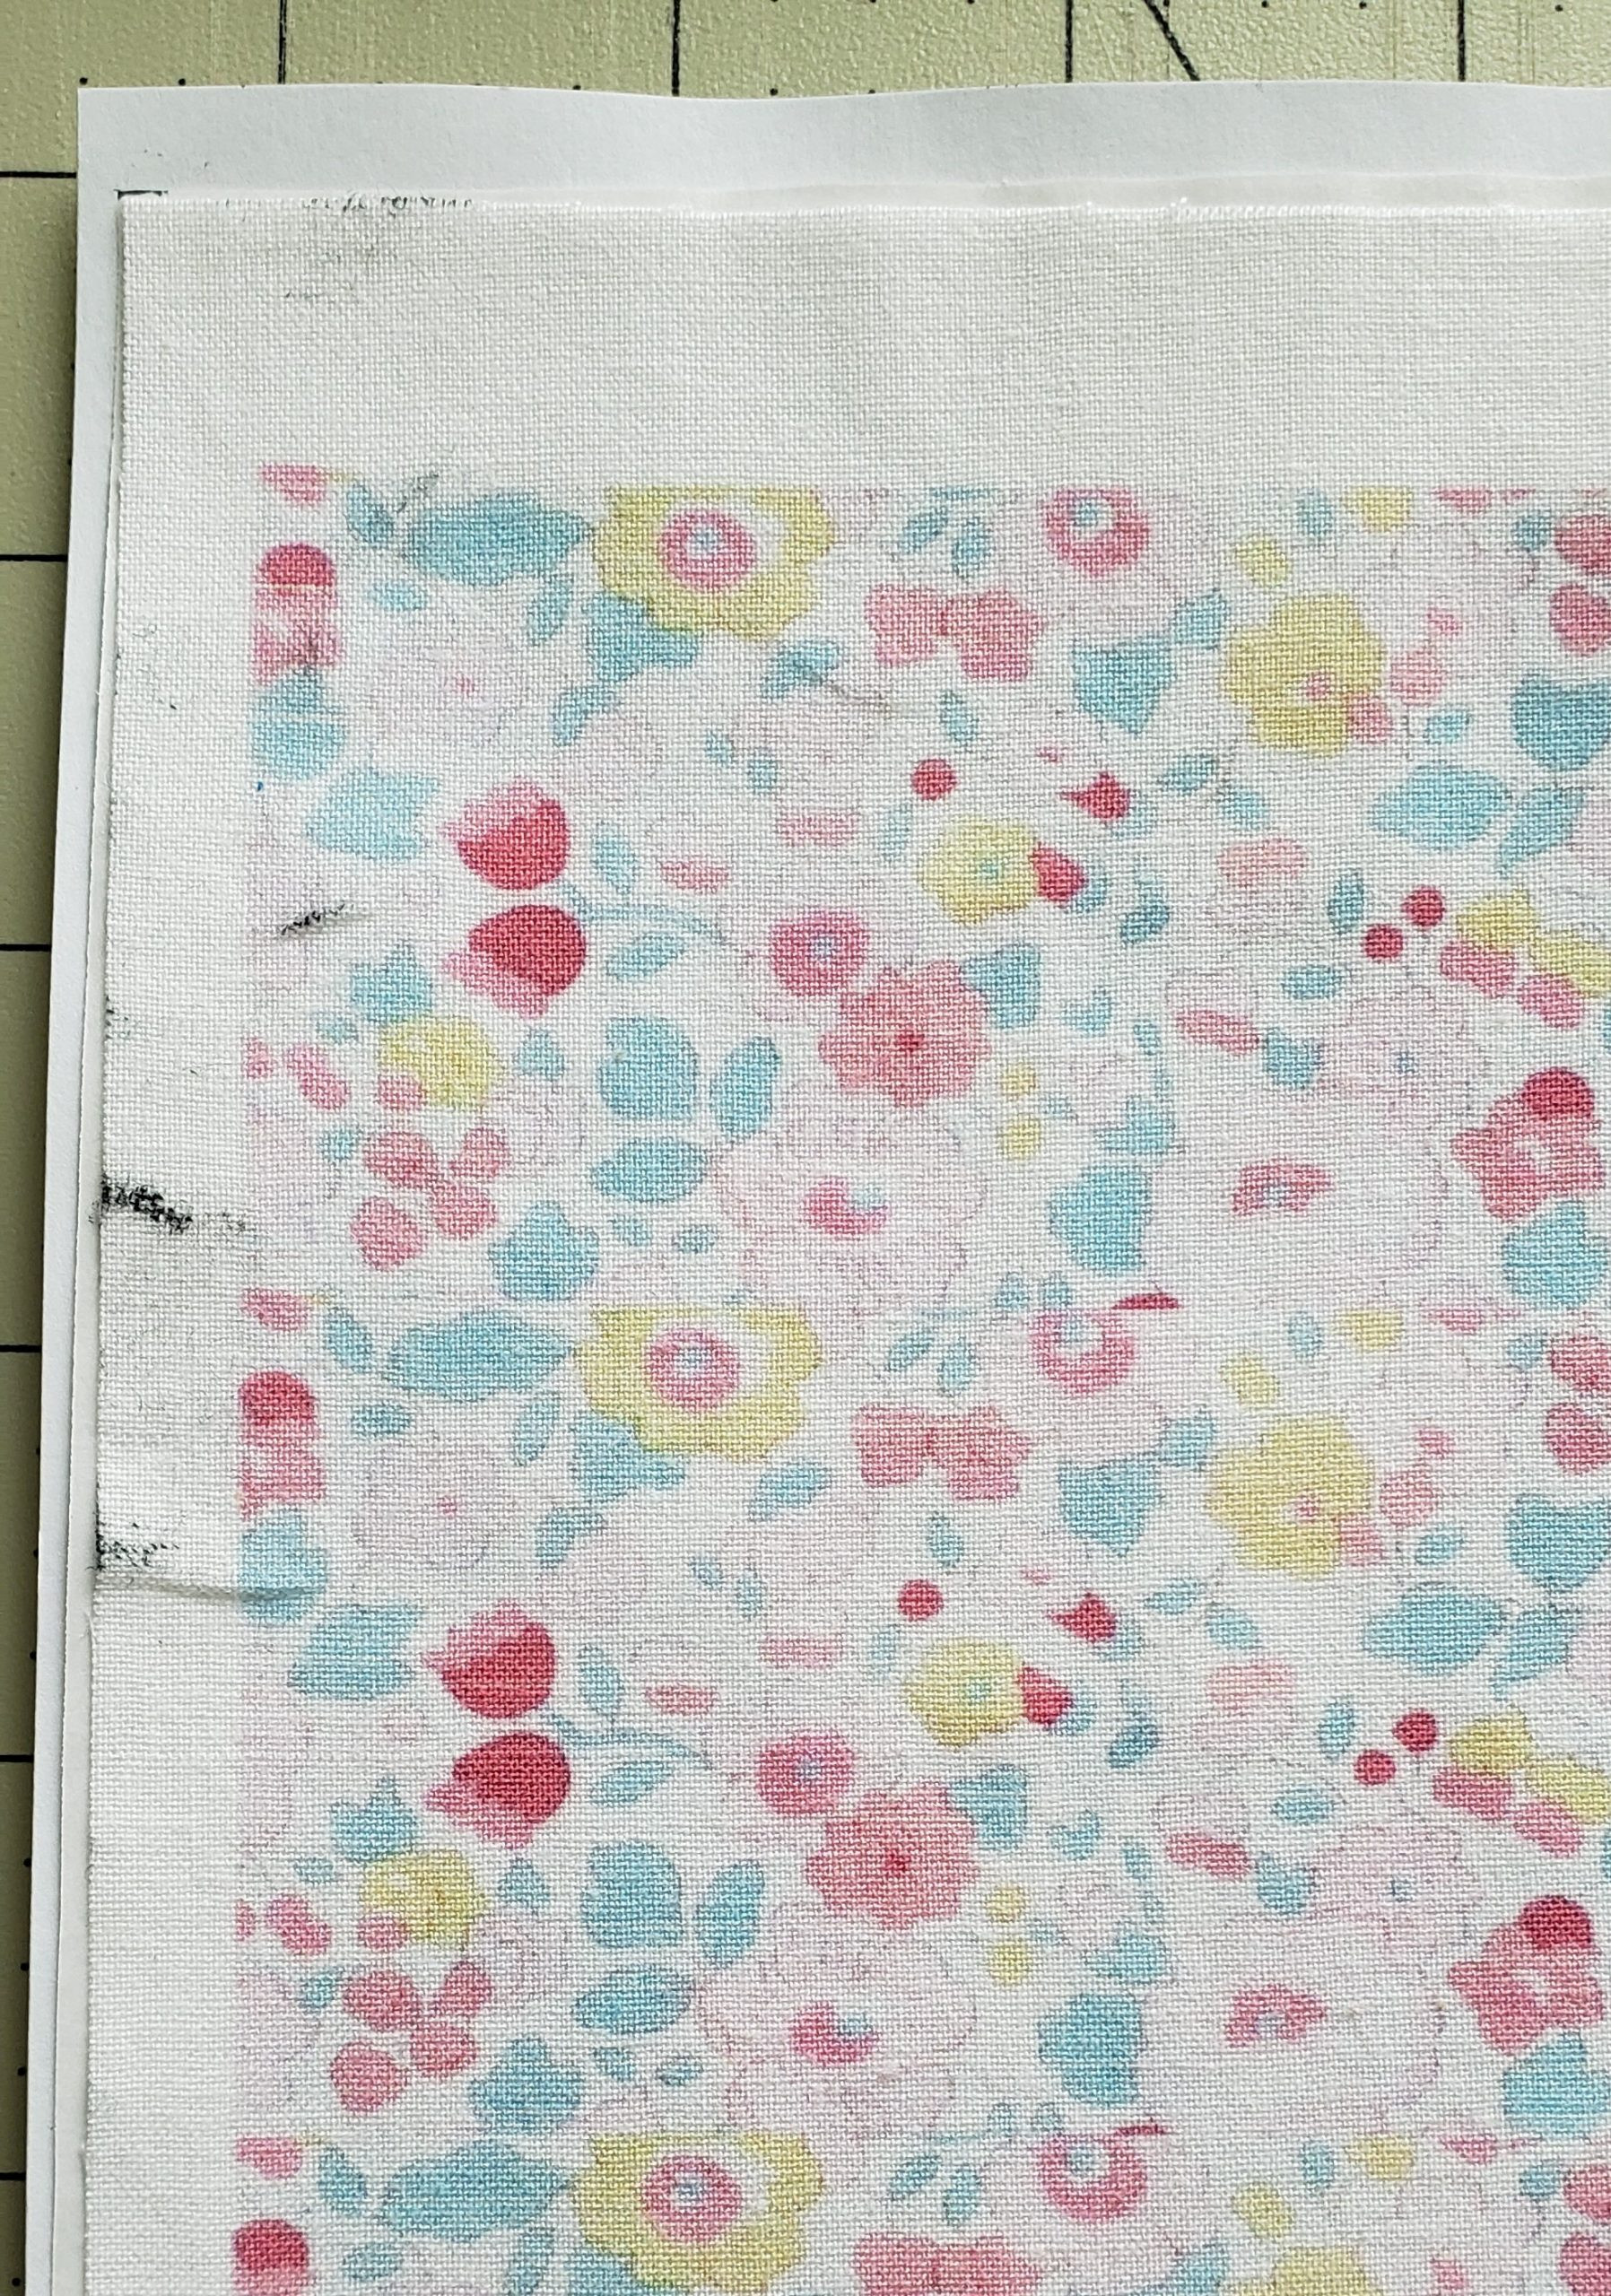 Close-up of ink smudges on fabric printed with inkjet printer
 -
Test Prints: Always do test prints on scrap fabric to check color saturation, print quality, and stabilizer adhesion before printing your final design.
-
Printer Compatibility: While this guide focuses on epson inkjet printers, results can vary between models. Consult your printer manual for paper handling recommendations and ink specifications.
Start Your Fabric Printing Journey
Printing on fabric with your epson inkjet printer is a fantastic way to explore textile crafts and create personalized items. While it requires some experimentation and understanding of the process, the ability to print custom fabrics at home is incredibly rewarding. Why not try printing your own designs and see what you can create? Share your experiences and tips in the comments below!