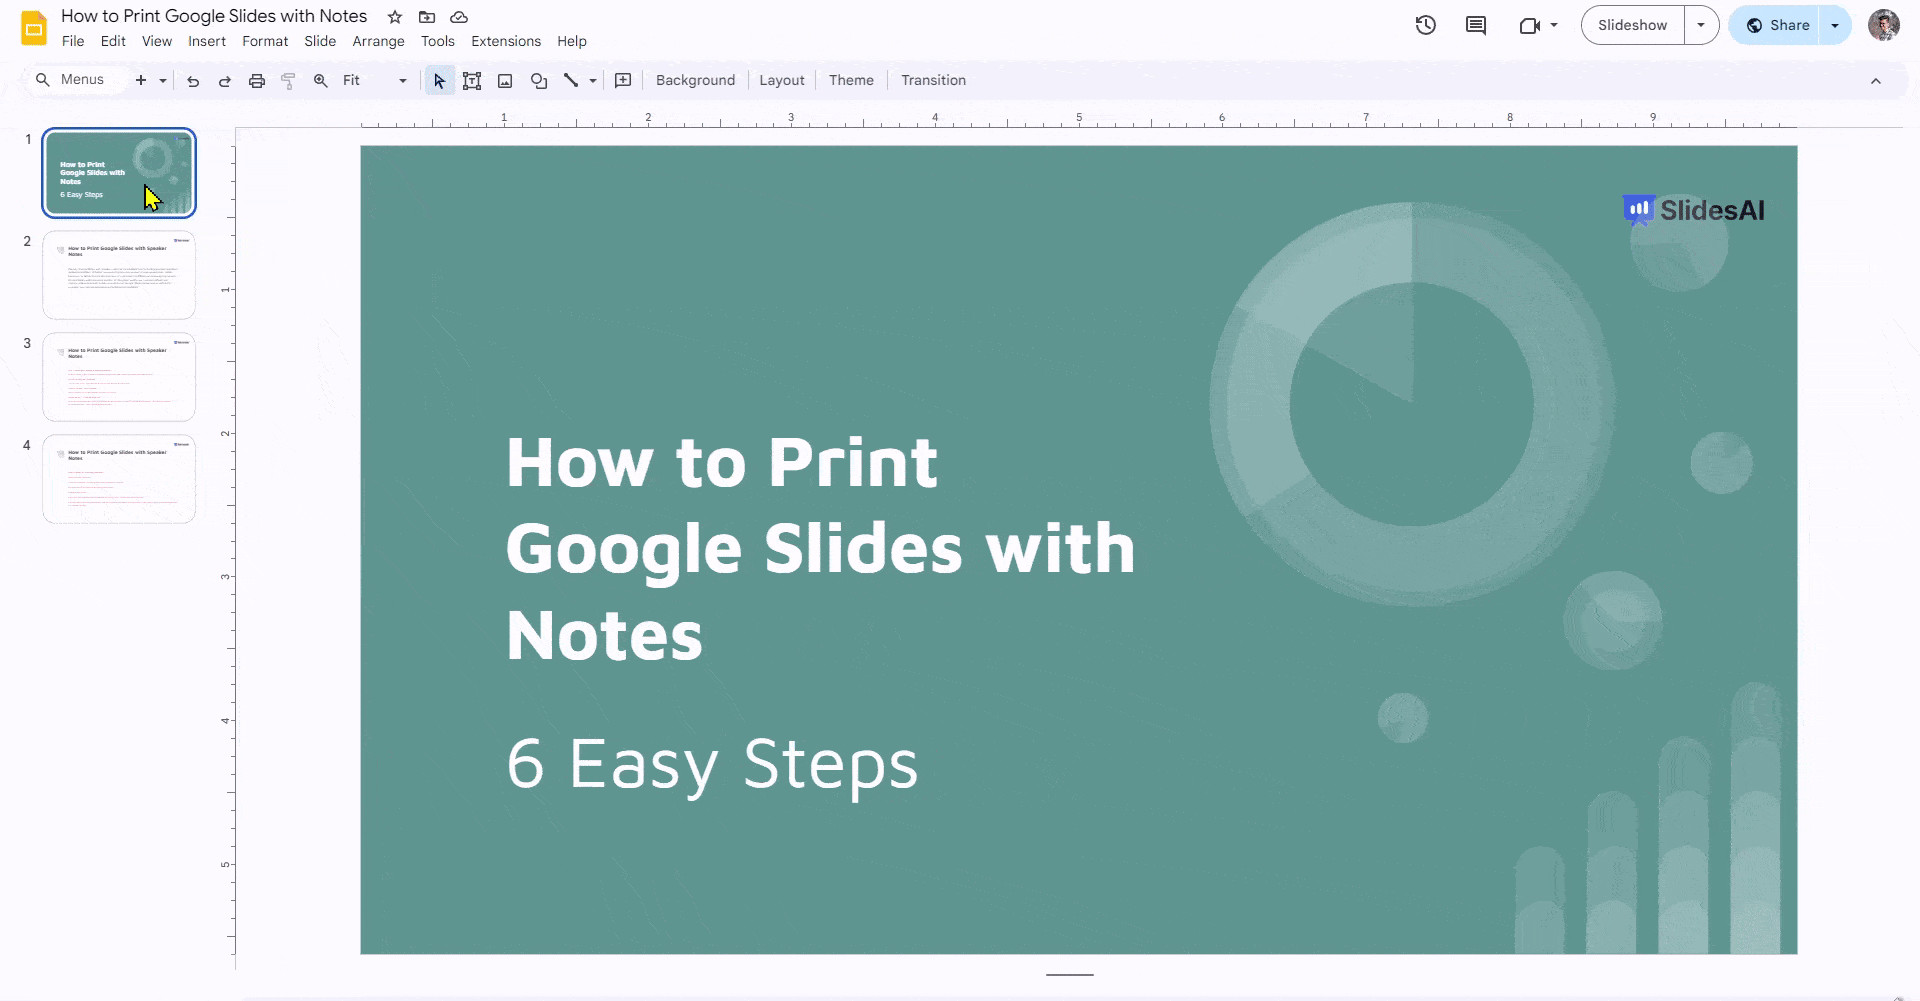
Printing your Google Slides with speaker notes is a valuable skill for anyone who presents, teaches, or collaborates using this platform. Whether you need handouts for your audience, a personal reference during your presentation, or a hard copy for review, knowing how to print your slides with notes enhances your preparation and delivery. This guide offers a detailed walkthrough, ensuring you can easily print Google Slides with speaker notes and optimize them for various purposes.
Step-by-Step Guide to Printing Google Slides with Speaker Notes
Google Slides provides a straightforward process to include your speaker notes when printing. Follow these steps to get your presentation ready for paper.
Step 1: Open Your Google Slides Presentation
First things first, navigate to Google Slides in your web browser and open the presentation you intend to print. Ensure you are logged into your Google account.
Step 2: Access the Print Preview Settings
Once your presentation is open, locate the “File” menu at the top left corner of your Google Slides interface. Click on “File” to reveal a dropdown menu. From this menu, select “Print preview”. This action will open a new tab or window displaying your presentation’s print preview options.
Step 3: Choose “1 Slide With Notes” Layout
Within the print preview interface, you’ll see a dropdown menu, typically defaulting to “1 Slide without notes”. Click on this dropdown menu. You’ll then see several layout options. To print your speaker notes along with your slides, select “1 Slide with notes”. As soon as you choose this option, the preview will update to show how each slide will appear on the printed page, with the corresponding speaker notes directly beneath each slide.
Step 4: Customize Your Print Settings (Optional but Recommended)
Before you proceed to print, take a moment to review and adjust the print settings to match your specific needs. These optional settings can significantly enhance the printed output.
-
Color vs. Black and White (Grayscale): Decide whether you need a color print or if black and white (grayscale) will suffice. Color printing is excellent for visual presentations where color is crucial, but black and white can be more economical for drafts or text-heavy presentations. Select your preference in the print settings dialog, typically under “Color”.
-
Paper Size and Orientation: Ensure the paper size is set correctly for your printer (e.g., Letter, A4). Orientation (Portrait or Landscape) is usually less critical when printing slides with notes as the layout is pre-defined, but it’s good practice to check. These settings are also usually found in the print settings dialog.
-
Slide Range: Do you need to print the entire presentation, or just a specific selection of slides? Under “Slides,” you can specify a range of slides to print. Options include “All,” “Current slide,” or “Custom” where you can enter specific slide numbers (e.g., 1-5, 8, 10-12). This is particularly useful if you only need hard copies of certain sections.
-
Headers and Footers: You might want to include headers and footers on your printed slides, such as page numbers or presentation titles. These options can usually be configured within the “Print settings and preview” area, although they might be less prominent when printing with notes.
-
Margins: While generally managed automatically for “1 Slide with notes” layout, some advanced print settings might allow margin adjustments if needed.
Step 5: Initiate Printing
Once you are satisfied with all your settings and the preview looks correct, click the “Print” button. This button is usually prominently displayed in the print preview interface. Your browser will then initiate the printing process using your default printer settings. Ensure your printer is turned on, has paper, and is connected to your computer.
 Print Google Slides with Speaker Notes Selection
After printing, review your pages to ensure everything printed as expected. You now have a printed version of your Google Slides presentation, complete with speaker notes, ready for your presentation practice, handouts, or offline review.
Advanced Tips and Troubleshooting for Printing Speaker Notes
While the basic printing process is straightforward, here are some advanced tips and solutions to common issues you might encounter when printing Google Slides with speaker notes.
Adjusting Speaker Notes Size and Formatting
1. Before Printing: Modify Directly in Google Slides
The easiest way to control the size of speaker notes is to adjust the font size directly within the Google Slides editor. Simply navigate to the “Speaker notes” pane below each slide and modify the text as you would in a document editor. Increasing the font size here will result in larger notes when printed. You can also adjust font styles, add bullet points, and format the text to improve readability in print.
2. Using Notes Master for Advanced Control
For more global control over the appearance of your printed notes, you can use the “Notes Master” feature.
- Go to the “View” menu in Google Slides.
- Select “Notes master.”
- In Notes Master view, you can modify the layout and style of the notes pages, including font styles, sizes, and the positioning of the notes box relative to the slide image. Changes made in Notes Master will apply to all printed notes in your presentation.
Remember that the space for notes is limited on a printed page, so while you can adjust the font size, extremely lengthy notes might get truncated or run onto multiple pages. Keep your notes concise and focused for effective printing.
Printing Multiple Presentations with Notes
Google Slides doesn’t offer a direct batch print feature for multiple presentations with notes. However, here are efficient workarounds:
1. Merge Presentations:
If you need to print notes from several presentations, a simple solution is to combine them into one master presentation.
- Open one of your presentations.
- Go to “File” > “Import slides.”
- Select the other presentations you want to include and import the slides you need.
- Once all presentations are merged, you can print “1 Slide with notes” for the entire combined document.
2. Explore Google Workspace Add-ons:
The Google Workspace Marketplace offers various add-ons that can extend the functionality of Google Slides. Search for add-ons related to “batch print” or “advanced print options.” Some of these tools might offer features to print multiple presentations in batch, although specific functionality can vary.
3. Print to PDF and Combine:
A more manual but reliable method is to print each presentation to PDF format (choosing “1 Slide with notes” for each). Then, use a PDF merging tool (many free online tools are available) to combine these PDF files into a single document for printing or sharing.
Troubleshooting Formatting Issues in Printed Notes
Sometimes, formatting inconsistencies might occur when printing slides with notes. Here’s how to address common problems:
1. Simplify Slide Formatting:
Complex slide designs with numerous images, animations, transitions, or unusual fonts can sometimes cause formatting issues in print previews and printed outputs. Try simplifying your slides if you encounter problems. Using standard fonts, reducing the number of high-resolution images, and minimizing complex animations can improve printing reliability.
2. Preview Carefully Before Printing:
Always utilize the “Print preview” feature in Google Slides. What you see in the preview is generally what you’ll get in print. If you notice formatting glitches in the preview, address them before sending the job to the printer.
3. Print as PDF to Preserve Formatting:
Printing to PDF first can often resolve formatting issues. When you choose “Print preview,” look for the “Download as PDF” option. Saving your presentation as a PDF with notes often preserves the layout and formatting more accurately than direct printing from the browser. Then, print the PDF file.
Printing Only Speaker Notes (Without Slides)
Google Slides is designed to print slides with notes, but not notes alone directly. Here are workarounds if you need a printout of just your speaker notes:
1. Copy and Paste to a Document:
The most straightforward method is to manually copy your speaker notes from Google Slides and paste them into a Google Doc or another word processing document. You can then format and print this document as needed. This gives you full control over the layout and formatting of your notes-only printout.
2. Notes Master Modification (Advanced):
For a more direct approach within Google Slides, you can use the Notes Master.
- Go to “View” > “Notes master.”
- In the Notes Master view, temporarily delete or resize the slide image placeholder so that only the notes placeholder is prominent.
- Now, when you go to “Print preview” and select “1 Slide with notes,” it will essentially print pages with just the notes, as the slide image area will be suppressed or minimized. Remember to revert the Notes Master to its original state after printing your notes if you need to print slides with notes later.
Saving Google Slides as PDF with Notes
To save your Google Slides presentation as a PDF file that includes speaker notes:
- Go to “File” > “Print settings and preview.”
- Ensure you have selected “1 slide with notes” from the layout dropdown.
- Instead of clicking “Print,” look for and click the “Download as PDF” option (or similar wording, depending on your browser and system). This will save your presentation as a PDF file on your computer, with each slide followed by its speaker notes. This PDF can then be easily shared, emailed, or printed later without needing to revisit Google Slides.
Conclusion
Printing Google Slides with speaker notes is a simple yet essential function for effective presentations. By following this comprehensive guide, you can confidently create printed versions of your presentations, whether for personal use, audience handouts, or offline backups. Understanding the various settings, troubleshooting tips, and advanced techniques will ensure you can always get your Google Slides presentations from screen to paper perfectly. Remember to experiment with the different options and find the workflow that best suits your presentation needs.