Printing on fabric at home can open up a world of creative possibilities, from personalized gifts to unique home décor. If you’re looking for an affordable and straightforward method, the freezer paper technique is an excellent starting point. This guide will walk you through how to print on fabric using just freezer paper and your inkjet printer, making it accessible for beginners and seasoned crafters alike.
 Close-up of freezer paper roll, essential for DIY fabric printing
This method, often referred to as the freezer paper method, is incredibly budget-friendly and uses readily available materials. The secret lies in freezer paper, a kitchen staple known for wrapping food for freezing. Its unique properties make it perfect for temporarily stabilizing fabric so it can easily pass through your home inkjet printer. Let’s dive into the simple steps to get you printing on fabric in no time.
Gather Your Supplies:
Before you begin, ensure you have everything you need for a smooth printing process. Here’s a quick checklist:
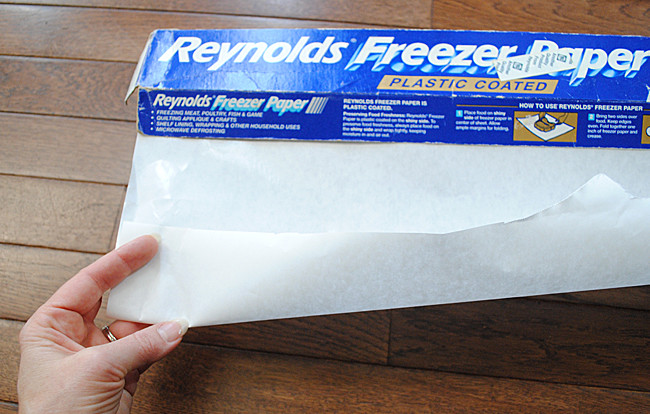
- Freezer Paper: Look for it in the food storage aisle of your grocery store. It has a shiny side (plastic coated) and a dull paper side.
- Fabric: Canvas drop cloth is a fantastic choice for beginners. It’s inexpensive, readily available, and accepts ink beautifully. Cotton, linen, and other tightly woven fabrics also work well.
- Iron: A standard household iron will do.
- Scissors or Rotary Cutter: For precise fabric and freezer paper cutting.
- Printer: An inkjet printer is required for this method.
- Printer Cardstock (Optional): To use as a template for accurate sizing.
 List of supplies needed for freezer paper fabric printing method
Step-by-Step Guide to Printing on Fabric:
Now, let’s move on to the step-by-step instructions to transform your chosen fabric with your desired prints.
Step 1: Prepare Your Fabric and Freezer Paper
Begin with a clean and wrinkle-free piece of fabric. Ironing your fabric beforehand is crucial for achieving crisp, clear prints. Cut a piece of freezer paper slightly larger than a standard 8.5″ x 11″ printer paper. Place the fabric on your ironing board and position the freezer paper on top, shiny side down, facing the fabric. Iron the freezer paper onto the fabric with a medium heat setting. The shiny side of the freezer paper will temporarily adhere to the fabric, creating a stable surface for printing. Ensure the freezer paper is firmly attached and smooth, eliminating any wrinkles or bubbles.
 Ironing freezer paper onto canvas fabric for printing preparation
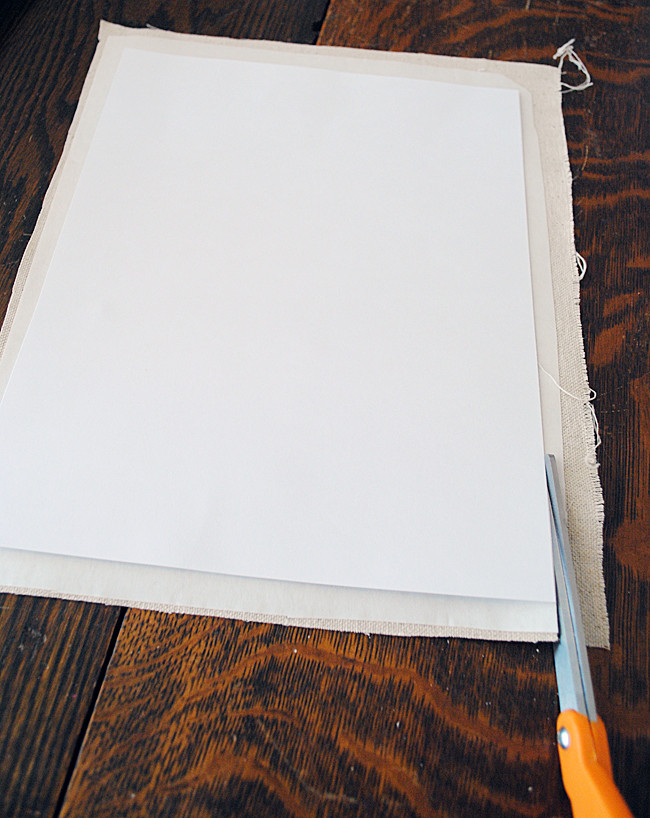
Step 2: Trim to Printer Paper Size
For smooth feeding through your printer, it’s essential to trim the fabric and freezer paper to the exact size of standard printer paper (8.5″ x 11″). Using scissors or a rotary cutter, carefully trim the fabric and freezer paper together. For precision, you can use a piece of printer cardstock as a template. Place the cardstock on top of the freezer paper and fabric, and trim along its edges. Pay close attention to ensure there are no frayed fabric edges or any fabric overhanging the freezer paper. These imperfections can cause jams in your printer and compromise the print quality.
 Trimming fabric and freezer paper to standard printer paper dimensions
Step 3: Load into Your Inkjet Printer
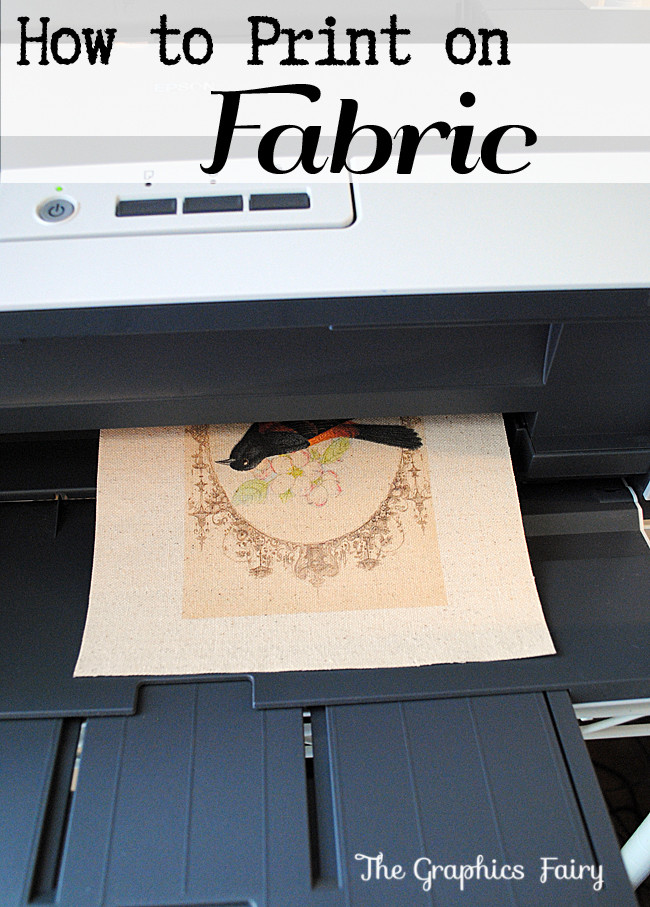
Carefully place the freezer paper-backed fabric into your printer’s paper tray. The orientation is crucial: ensure that the fabric side is facing the print head, so the ink is applied directly to the fabric and not the freezer paper. You may need to consult your printer manual to determine the correct paper orientation for manual feed or paper tray loading.
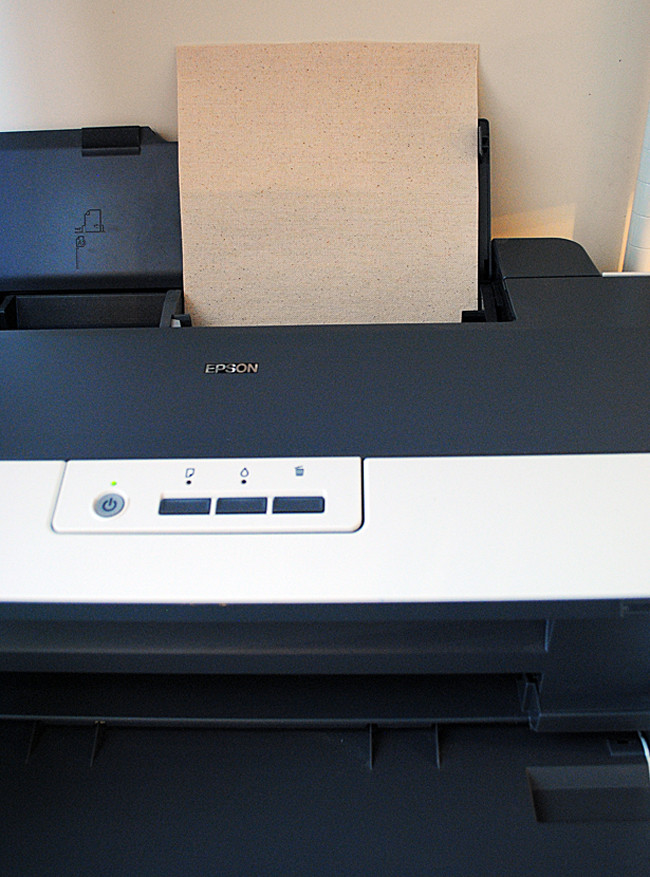 Loading freezer paper backed fabric into inkjet printer tray
Step 4: Adjust Printer Settings for Optimal Fabric Printing
Before printing, adjust your printer settings to ensure the best possible print quality on fabric. Access your printer preferences through the print dialog box. Look for options like “Media Type” or “Paper Type” and select a setting that’s suitable for thicker media or photo paper. Choosing “Best Photo” or “High Quality” print settings will typically increase the ink density, resulting in a more vibrant and durable print on your fabric.
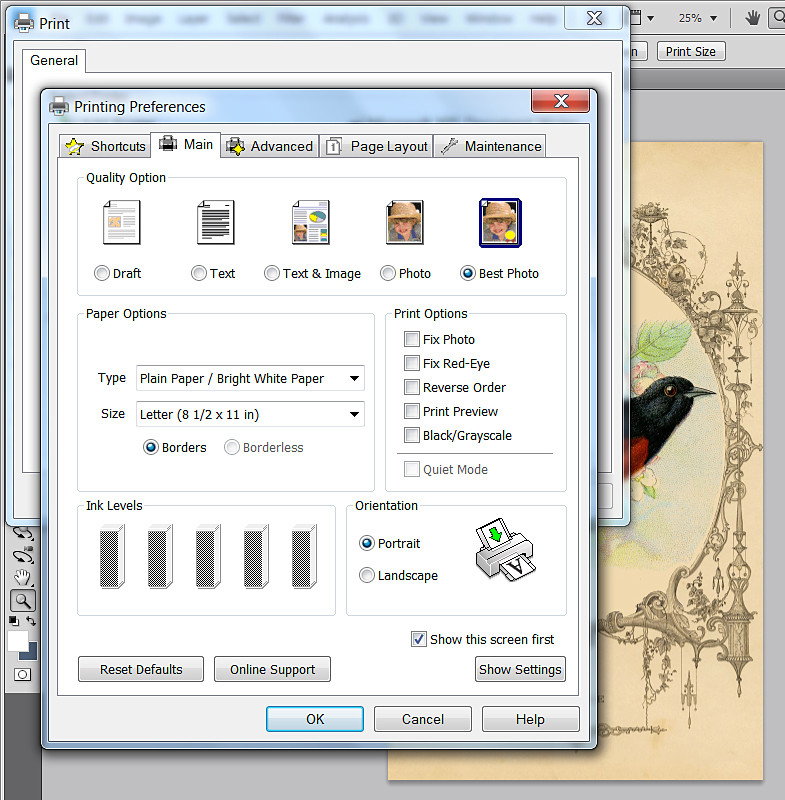 Printer settings adjustment for best photo quality fabric prints
Step 5: Print Your Design and Remove Freezer Paper
Initiate the printing process from your computer. Monitor the printer closely as the fabric sheet is fed through. Sometimes, the printer might hesitate to recognize the fabric-backed paper. Gently guide the sheet if needed, but avoid forcing it. Once printing is complete, carefully remove the printed fabric sheet from the printer. Allow the ink to dry for a few moments, then gently peel off the freezer paper from the fabric. You can often reuse the freezer paper multiple times – up to 10 times or more – for subsequent prints. Simply save the freezer paper and iron it onto new fabric pieces for future projects.
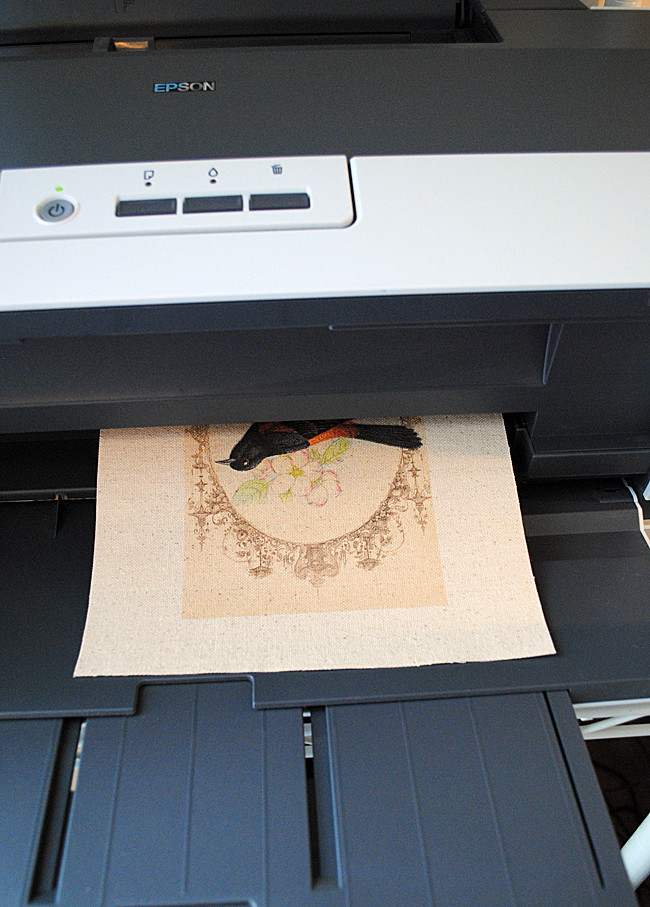 Beautifully printed design on fabric using freezer paper method
Finishing Touches and Ink Setting:
Admire your beautifully printed fabric! The freezer paper method delivers surprisingly crisp and clear prints. If you’re using pigment ink, which is often waterproof (check your printer specifications), your print will be more durable. For dye-based inks that are not waterproof, you can set the ink to improve its wash-fastness. A common technique is to use a vinegar solution. Gently hand wash the printed fabric in a solution of cold water and a bit of white vinegar. This helps to set the ink into the fabric fibers, making it more resistant to washing.
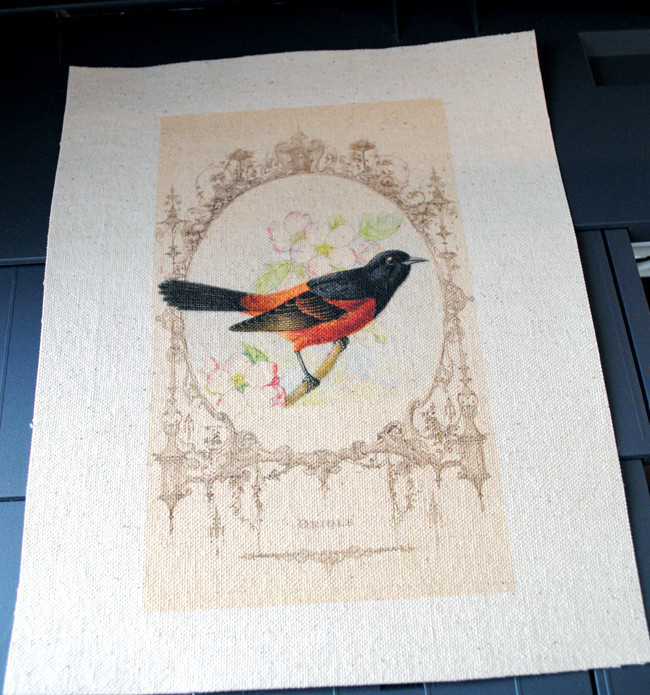 Close up of crisp and clear image printed on fabric
Unleash Your Creativity with Fabric Printing
Printing on fabric opens up endless creative avenues. Use this technique to create custom tea towels, personalized tote bags, unique quilt blocks, or one-of-a-kind clothing embellishments. Experiment with different fabric types and designs to discover the full potential of home fabric printing with the freezer paper method.
 Examples of fabric printing applications for creative projects
With just a few simple supplies and steps, you can transform plain fabric into personalized masterpieces. The freezer paper method is a fantastic and accessible way to explore the world of fabric printing right in your own home.