
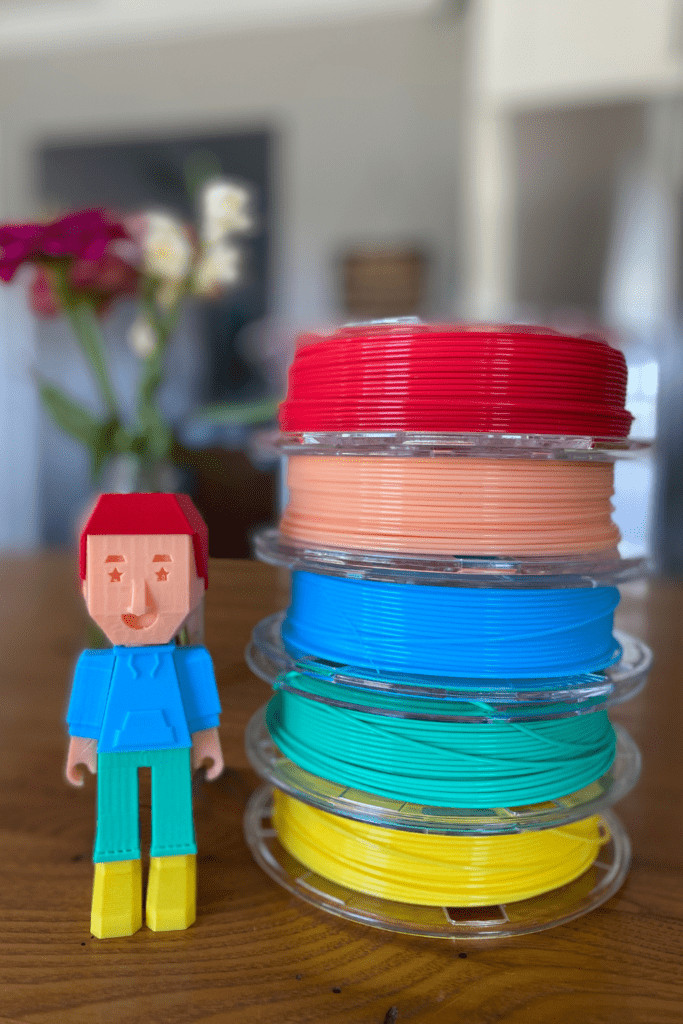
 A 3D printed toy stands next to a stack of printer filament
Are you on the hunt for a 3D printer that’s not only easy for kids to use but also powerful enough to bring complex designs to life, all while being kind to the planet? I’ve been exploring the world of kid-friendly 3D printers, eager to introduce my children to the fascinating realm of three-dimensional creation. The science, technology, engineering, and math (STEM) applications of 3D printing are incredibly engaging, and I was excited to share this with my 8 and 11-year-olds. My search led me to the ToyBox 3D Printer, and I’m thrilled to share my honest review. This printer isn’t just user-friendly; its commitment to sustainability, using corn-based filament, sets it apart, making the creations we print potentially compostable in industrial facilities.
Before we jump into the pros and cons of the ToyBox 3D printer, let’s understand the magic behind this technology and how it works.
Understanding 3D Printing: Building Worlds Layer by Layer
Think of your regular inkjet printer, which lays down ink on paper to create images and text. A 3D printer operates on a similar principle but instead of printing on a flat surface, it constructs objects layer upon layer, transforming digital designs into tangible three-dimensional forms.
Here’s a simplified breakdown of the 3D printing process:
- Digital Design: It all starts with a digital blueprint of your desired object. This design can be created using specialized 3D modeling software or by downloading pre-designed models from online platforms.
- Slicing the Design: The digital 3D model is then virtually sliced into countless thin, horizontal layers – imagine slicing a loaf of bread into very thin pieces. This slicing process translates the digital design into a series of instructions that the 3D printer can understand.
- Layer-by-Layer Construction: The 3D printer follows these instructions meticulously, building the object layer by layer. It precisely deposits material – commonly plastic, but also metal or resin – according to the sliced design. This material is laid down in exact locations, gradually building up the object from the bottom.
- Layer Bonding: As each layer is deposited, it adheres to the previous one, cooling and hardening to fuse together. Over time, the object begins to take shape, growing layer by layer. The printer continues this process until the entire object is complete.
- Post-Processing (Optional): Once printing is finished, some objects may require a little post-processing. This could involve removing support structures used during printing, sanding rough edges, or painting for a finished look.
Essentially, 3D printing is like sculpting with layers, stacking thin slices of material to create a complete three-dimensional object. This innovative process opens up a world of possibilities, from crafting toys and prototypes to producing machine parts and even medical implants!

Filament Variety: The Building Blocks of 3D Prints
The world of 3D printing filaments is diverse, offering a spectrum of materials with varying complexities and durabilities. The choice of filament depends heavily on the intended use of the 3D printed object. For instance, toys made with sugarcane-based filament have different strength requirements compared to robust mechanical gears produced from nylon filament. Given the vast array of products achievable through 3D printing, numerous filament types are available. Let’s explore some of the most common filaments in 3D printing:
1. PLA (Polylactic Acid): The Eco-Friendly Favorite
PLA is often celebrated as the “star” of 3D printing. It’s derived from renewable resources like corn starch or sugarcane, making it a more environmentally conscious choice. PLA is known for its ease of use, generally not requiring a heated print bed, and comes in a wide spectrum of colors. However, PLA is less heat-resistant than some other materials.
2. ABS (Acrylonitrile Butadiene Styrene): Durable and Robust
ABS is known for its strength and toughness, similar to the plastic used in LEGO bricks. It’s well-suited for creating durable parts but typically requires a heated bed and an enclosed printing environment to prevent warping as it cools.
3. PETG (Polyethylene Terephthalate Glycol): The Balanced Material
PETG bridges the gap between ABS and PLA. It offers a good balance of strength and durability while being easier to print than ABS, requiring less heat. PETG is a versatile option for parts that need to withstand some wear and tear.
4. TPU (Thermoplastic Polyurethane): Flexible Creations
TPU is the flexible filament in 3D printing. Its elasticity and bendability make it ideal for creating items like phone cases, shoe insoles, or anything requiring flexibility.
5. Nylon: The High-Performance Choice
Nylon stands out for its exceptional strength, reminiscent of materials used in durable backpacks. It’s tough, flexible, and suitable for functional parts that need to endure stress and wear.
6. Resin (for SLA/DLP Printers): Precision and Detail
Resin is a liquid material that solidifies when exposed to light, used in Stereolithography (SLA) and Digital Light Processing (DLP) printers. Resin printing excels at creating highly detailed and smooth objects, such as jewelry, dental models, and intricate miniatures. Interestingly, 3D printing with resin is used in orthodontics to create precise models for treatments.
7. Wood Filaments: Natural Aesthetics
Wood filaments incorporate fine wood particles, giving prints a wood-like texture and appearance. These are perfect for decorative items, rustic-looking crafts, or projects where a natural aesthetic is desired.
8. Carbon Fiber Filaments: For Ultimate Strength
Carbon fiber filaments are engineered for extreme strength and rigidity, similar to materials used in high-performance sports equipment. They are used for producing parts that demand exceptional toughness and stiffness.
The world of 3D printing filaments is vast and varied. For this review, we will focus on PLA, the eco-friendly filament that powers the ToyBox 3D Printer.
ToyBox 3D Printer: Bringing Imagination to Life, Step-by-Step
The Toybox 3D printer is specifically designed to empower children to transform their imaginative ideas into tangible toys and small objects. Let’s explore how it works:
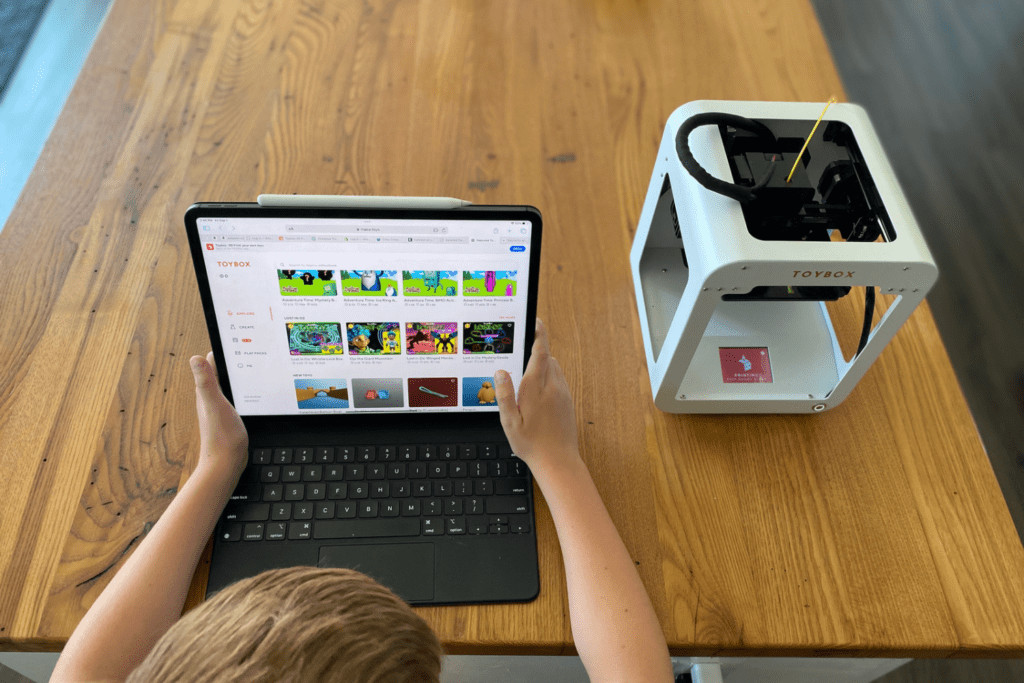
Step 1: App Download and Printer Connection
Begin by downloading the ToyBox App onto your chosen device. Then, power on your ToyBox 3D printer and connect it to the app via WiFi. Once paired, you’re ready to embark on your 3D printing journey!
Step 2: Unleash Your Creativity with Design
Next, it’s time to decide what to create! You can craft your own design using the intuitive “Create” tab in the ToyBox app, select from the extensive Toybox library of pre-designed toys, or even import designs in STL, OBJ, or gCode formats. This is where creativity takes center stage.
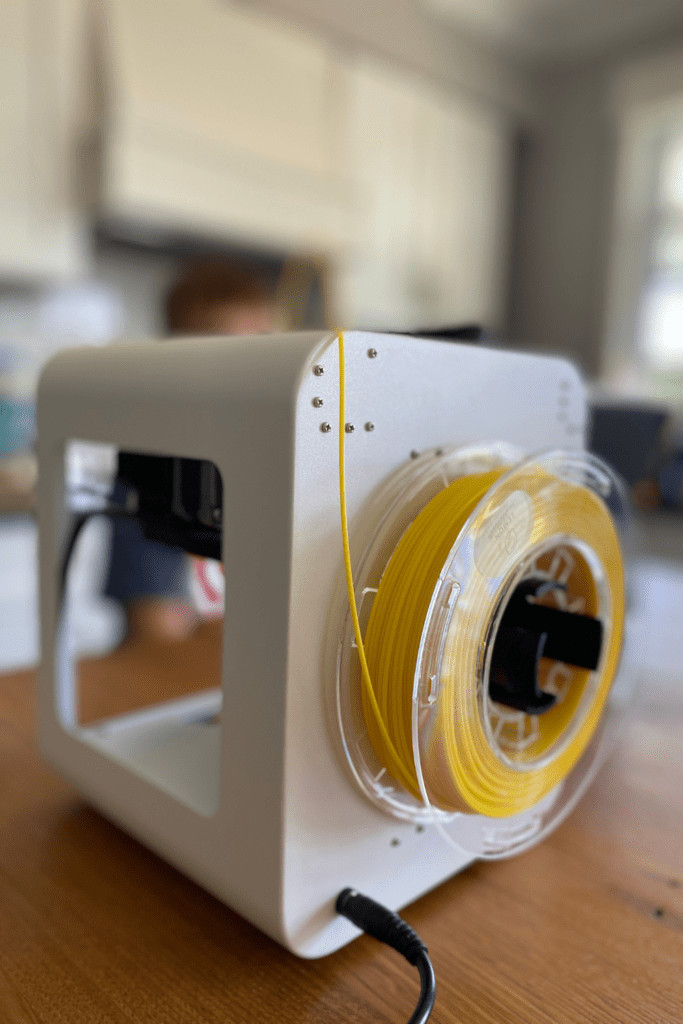
Step 3: Filament Loading – Adding the Color
The filament is the “ink” for your 3D printer. ToyBox uses a bioplastic filament called polylactic acid (PLA), derived from cornstarch, which melts and molds into your design. Choose your desired filament color, load it into the printer as instructed, and you’re set.
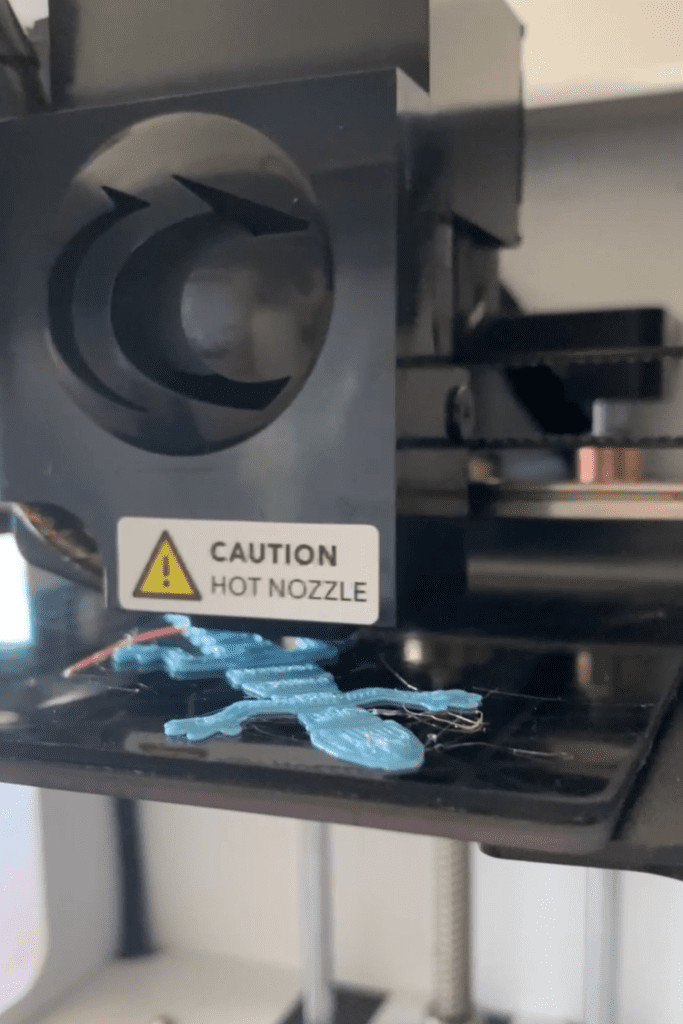
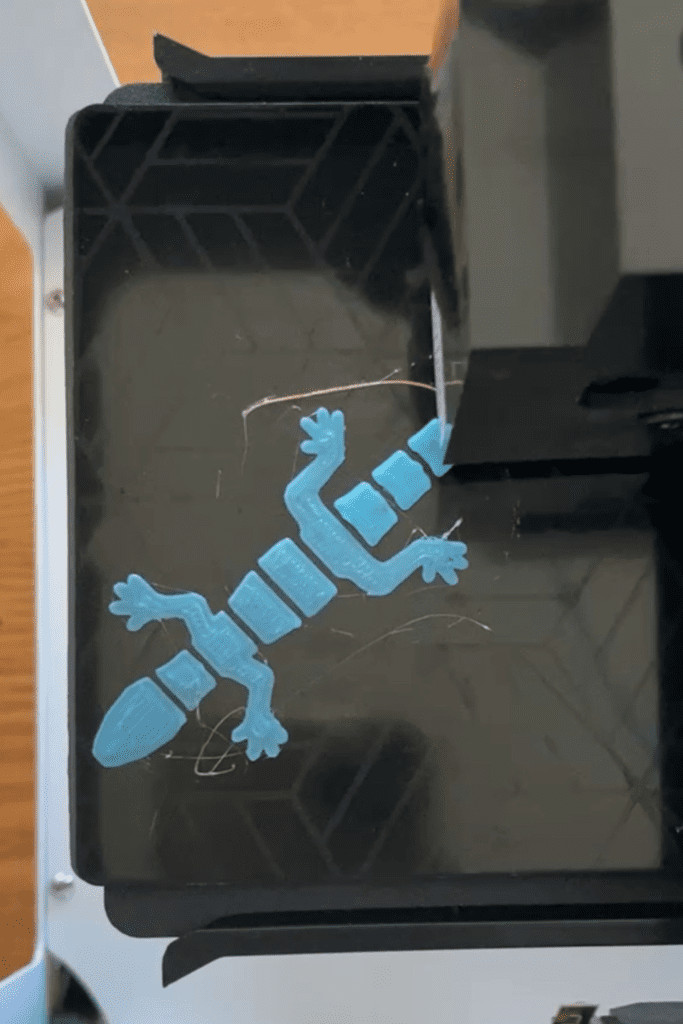
Step 4: Printing Layer by Layer – The Magic Unfolds
This is where the magic happens! The Toybox printer follows the instructions from your design and begins the printing process. It precisely deposits thin layers of melted filament, building your toy from the ground up, layer by layer. The print time can range from a few minutes to several hours, depending on the complexity of your design.
Step 5: Cooling and Solidification – From Liquid to Solid
The melted plastic filament rapidly cools and solidifies as each layer is added. This quick cooling process allows your toy to gradually take shape, right before your eyes.
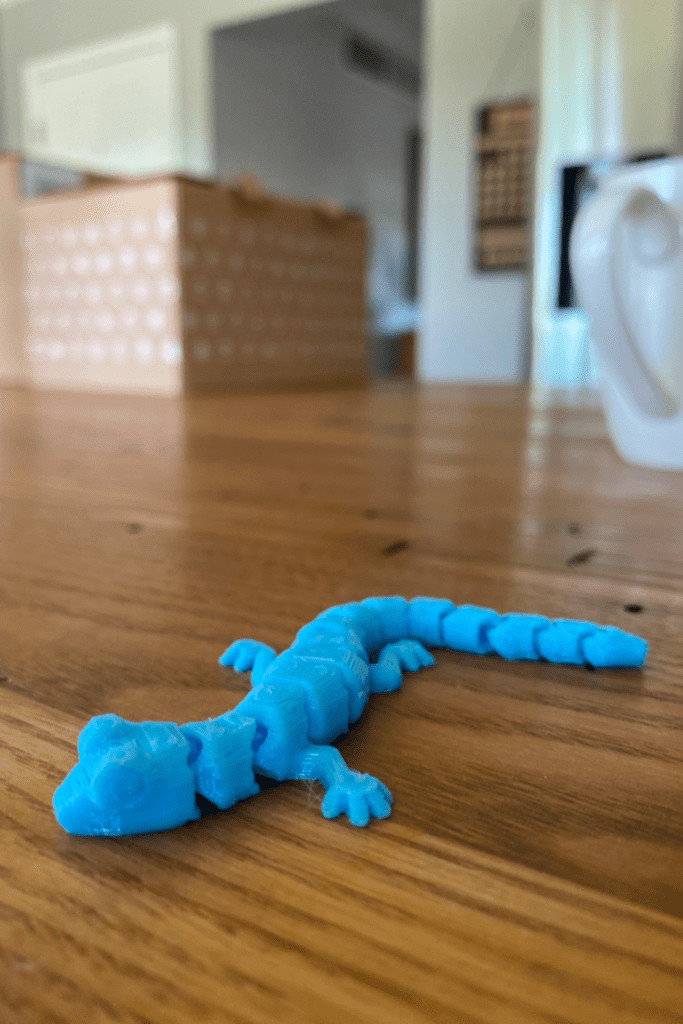
Step 6: Toy Removal – Unveiling Your Creation
Once printing is complete, carefully remove your newly created 3D printed toy from the printer. It might need minor cleanup or finishing touches, but your 3D creation is now ready!
Step 7: Playtime Begins!
Finally, it’s time for fun! Your freshly printed toy is ready for action, whether it’s a figurine, a gadget, or a decorative piece – enjoy your 3D printed masterpiece.
Step 8: Experiment and Repeat – Endless Possibilities
The fun doesn’t stop here! You can continue designing and printing new toys, exploring different colors, experimenting with shapes and sizes, or collaborating on designs. It’s like having a mini-toy factory that uses eco-friendly, cornstarch-based filament, right at your fingertips!
Why the ToyBox 3D Printer Earns My Praise
It’s probably clear by now that I’m a fan of the ToyBox 3D printer, and a significant reason is its commitment to sustainability. The filament, often called “printer food,” is made from corn starch, a renewable resource. This makes it a more planet-friendly option compared to filaments derived from non-renewable materials. While it’s important to note that these PLA toys won’t decompose in a typical backyard compost bin (industrial composting facilities are needed for PLA decomposition), the use of corn-based material is a significant step towards eco-consciousness in 3D printing.
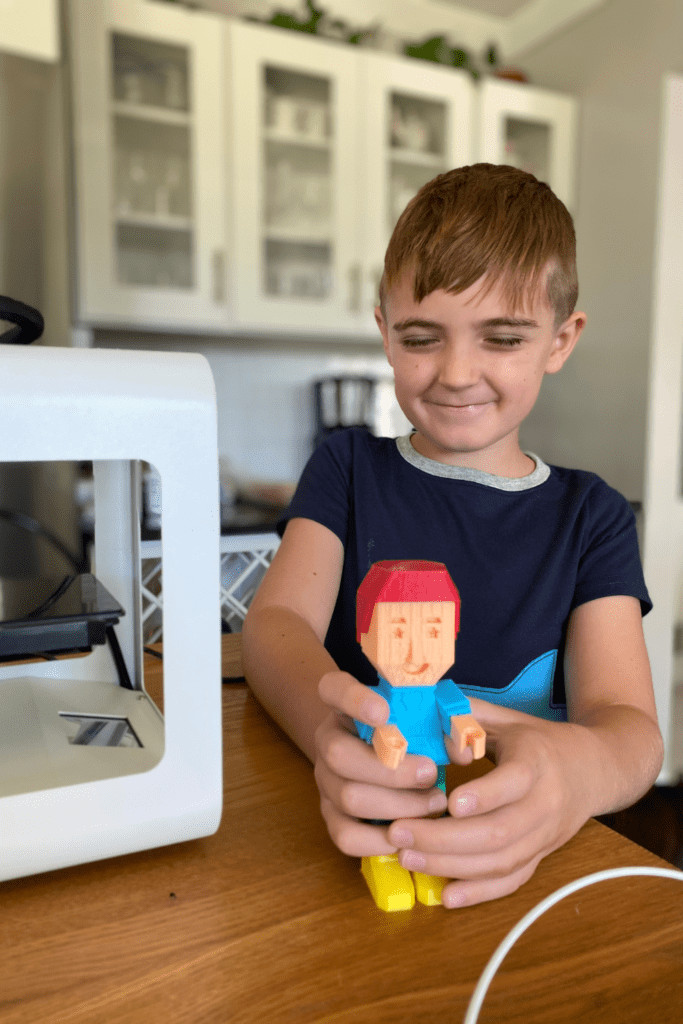
Beyond the eco-friendly aspect, I appreciate how independently my kids can use the ToyBox 3D printer. After a few initial demonstrations on filament loading/unloading and safety reminders about the hot nozzle, my 8 and 11-year-olds confidently navigate the ToyBox app, choose or design their prints, operate the printer, and initiate the printing process themselves. While I recommend parental supervision, especially initially, the ToyBox is designed for ease of use for children.
Another valuable aspect of 3D printing, particularly with the ToyBox, is the inherent time investment. Print times in the free ToyBox design library range from 5 minutes to as long as 5 hours. This eliminates the possibility of rapid mass-production of fleeting toys. Instead, children witness their chosen design slowly materialize, layer by layer, fostering an appreciation for the creation process. This aligns with a broader life lesson: understanding the time and effort involved in creating something often leads to greater appreciation, whether it’s a toy, a meal, or a garden.
I opted for a ToyBox 3D printer bundle, which included the printer and eight rolls of filament in various colors, offering cost savings compared to individual purchases. ToyBox also offers pre-owned, refurbished printers at discounted prices, promoting a circular economy and making 3D printing more accessible and sustainable.
To help you save money, you can use my promo code “THOUGHTFULLYSUSTAINABLE” to get a 10% discount on all printers! Explore the ToyBox 3D printer collection here.
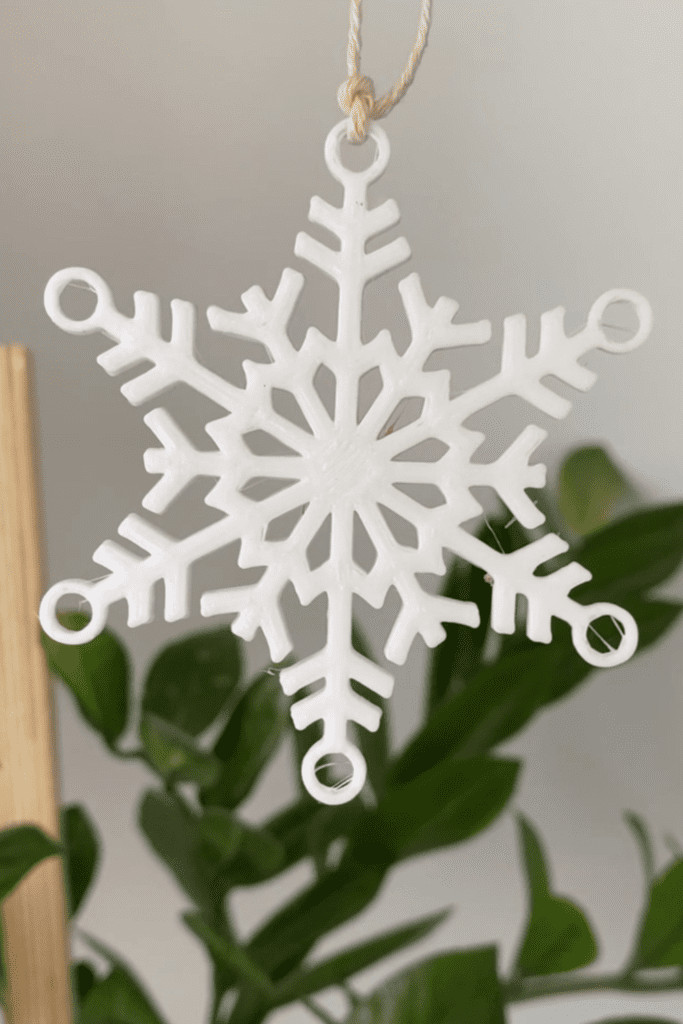 A 3D printed snowflake ornament
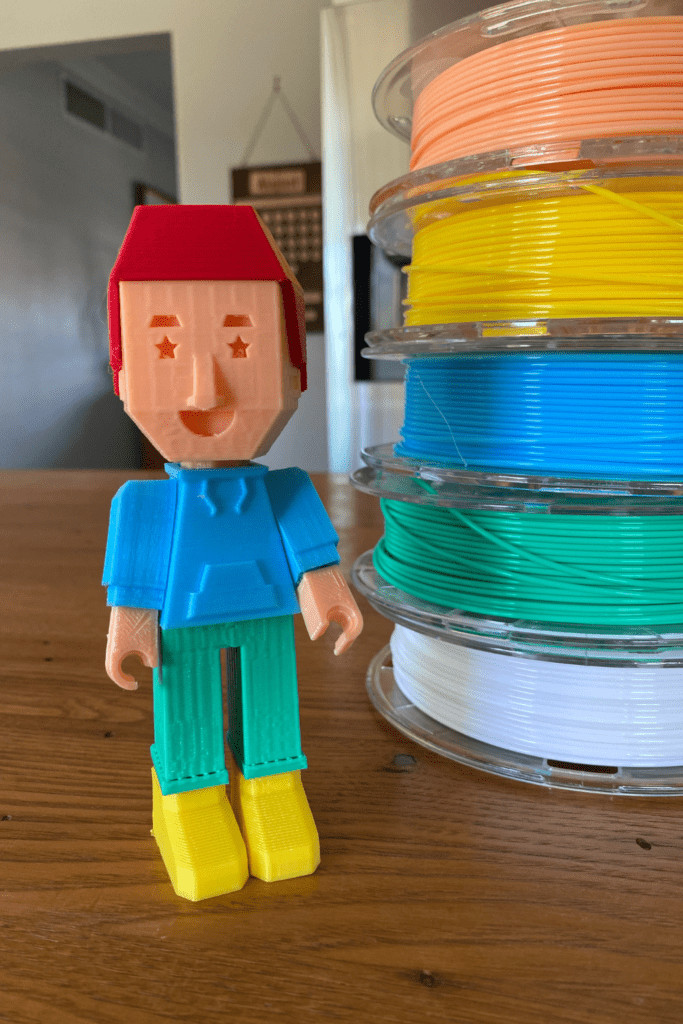 A 3D printed toy stands next to a stack of printer filaments.
Addressing Common Questions About the ToyBox 3D Printer
My children’s 3D printed creations, especially toys and holiday ornaments gifted to friends, sparked some insightful questions from parents. Here are some of the common queries and my responses:
Will the novelty wear off? Will my kids continue using it?
It’s a valid concern – purchasing an item only for it to be briefly used and then forgotten. To prevent this, I rotate toys in our house, and the ToyBox 3D printer is brought out periodically, reigniting excitement. The printer is particularly popular during holidays when my kids enjoy designing and printing gifts for friends, family, and teachers.
The cyclical use is actually a positive aspect for me. I didn’t want constant, rapid printing of disposable toys. The printer’s use in cycles keeps it engaging and special.
Is a ToyBox Plus subscription necessary?
No, absolutely not. We operate without a ToyBox Plus subscription. The free ToyBox library is vast, offering thousands of designs.
What are “bolts” in the ToyBox app?
Bolts are ToyBox’s digital currency used to unlock premium toy designs, often featuring licensed content. Bolts support content creators and allow ToyBox to offer licensed characters from major entertainment brands like Cartoon Network, Warner Brothers, and more. We haven’t needed to purchase bolts, as the free library is already extensive.
What’s the ideal age range for the ToyBox 3D Printer?
The ToyBox 3D printer is suitable for a broad age range, from early elementary through high school. With supervision, younger children can enjoy watching their simple designs come to life. For older students, the printer’s compatibility with external design software allows high schoolers to explore advanced CAD and create more complex, unique projects.
What are the limitations of the ToyBox 3D Printer?
In my experience, there are two main limitations. First, the print size is limited to approximately 3″ x 3″. However, creative solutions exist, like printing designs in parts and assembling them, as demonstrated by my son in the image above. Second, the PLA filament, while eco-friendlier, is less durable than plastics like ABS. While the toys haven’t broken easily in our experience, they might not withstand very rough play from toddlers.

Unlocking STEM Learning with 3D Printers
3D printing is an exceptional tool for STEM education, and I truly wish these were more accessible when I was teaching in the classroom. Here are some ways 3D printing can be integrated into learning, along with a link to a free 15-page downloadable workbook on real-world 3D printing applications:
Science:
- Material Properties: Students can learn about different 3D printing materials and their properties, understanding why PLA or ABS are chosen for specific applications based on their characteristics.
- Chemical Reactions: The process of materials changing from solid to liquid and back again during 3D printing can introduce concepts of phase changes and chemical reactions.
Technology:
- Hardware Understanding: Learning about the components of a 3D printer and how they function together introduces kids to technology and mechanics.
- CAD Skills: Teaching basic Computer-Aided Design (CAD) software provides valuable digital modeling and design skills.
Engineering:
- Design Thinking: Designing objects for 3D printing introduces the engineering design process – problem identification, brainstorming, prototyping, and design iteration based on feedback.
- Prototyping: 3D printing enables rapid prototyping, demonstrating how engineers create and test models before final production.
Mathematics:
- Measurement and Scale: 3D modeling involves measurements and dimensions, enhancing understanding of geometry and spatial reasoning.
- Problem Solving: Designing for 3D printing often requires mathematical concepts like angles, proportions, and calculations, fostering problem-solving abilities.
Real-World Applications:
- Industry Relevance: Exploring 3D printing applications in aerospace, medicine, and architecture demonstrates the real-world relevance of STEM principles.
- Hands-On Learning: Practical STEM application through 3D printing projects makes learning more engaging and relatable.
3D printing provides an engaging, hands-on way to teach and reinforce STEM concepts to learners of all ages. It encourages creativity, problem-solving, and a deeper understanding of science, technology, engineering, and mathematics, making learning both fun and practical!
If you are interested in purchasing a ToyBox 3D printer, don’t forget to use the code “THOUGHTFULLYSUSTAINABLE” for a 10% discount on all printers.
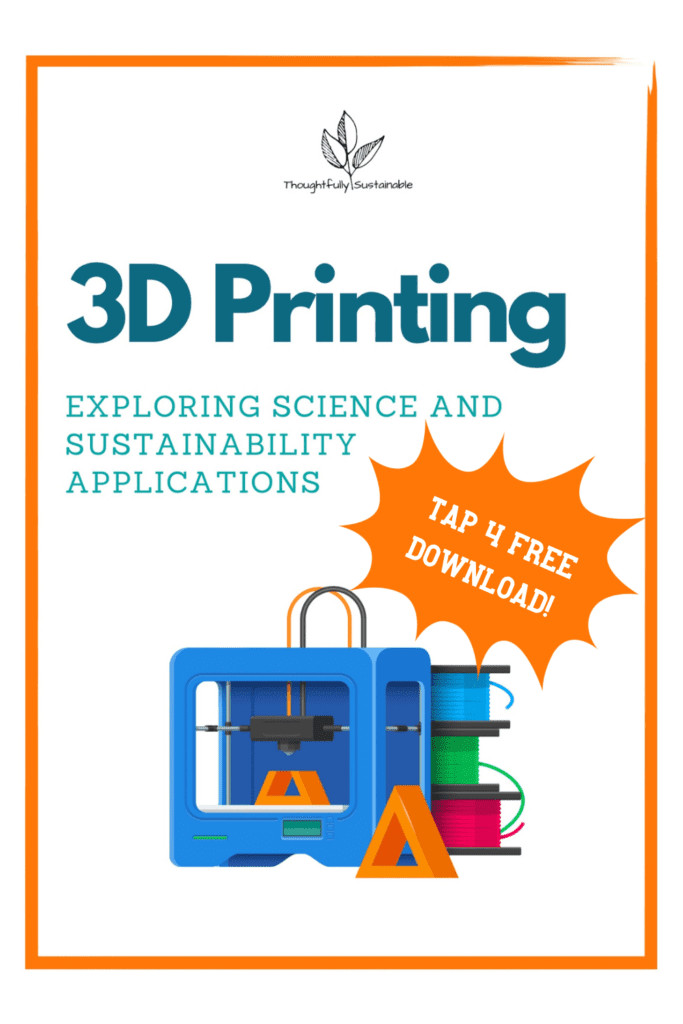 Cover of free, 15-page workbook for students about 3D printing real-world applications
Free 3D Printing Workbook for Kids
I’m passionate about the blend of art and STEM in 3D printing. To further explore this, I created a free 15-page workbook for students to discover real-world applications of 3D printing technology. Click below to get your copy delivered to your inbox!
FREE 3D Printing workbook for kids
For a deeper dive, I’ve also written a blog post focusing on the real-world applications of 3D printing. If you have any more questions about incorporating 3D printing at home or in the classroom, please leave a comment below!