
The Print Screen key has long been the go-to for capturing screenshots on Windows. But what if your keyboard lacks this button, it’s malfunctioning, or you simply seek a more efficient method? Relying solely on Print Screen, pasting into Paint, and saving feels outdated and time-consuming.
Fortunately, taking screenshots on Windows without the Print Screen key is not only possible but often more convenient. Let’s explore several excellent ways to capture your screen on Windows, no Print Screen required.
1. Leverage the Power of Snip & Sketch or the Snipping Tool
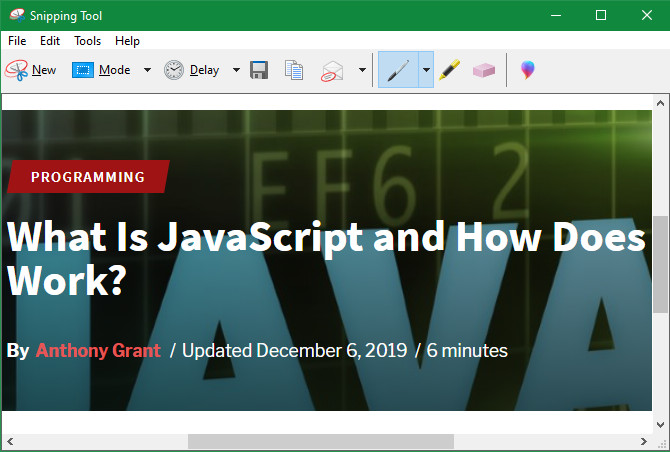 Screenshot of Windows Snipping Tool interface
Windows has included a built-in screenshot utility for years, known as the Snipping Tool. This handy tool allows you to capture various types of screenshots: full screen, active window, rectangular selections, and even free-form shapes.
To access it, simply open the Start Menu and type “Snipping Tool”. Pin it to your taskbar for quick access. For a detailed walkthrough, check out our guide to using the Snipping Tool. It’s a significant upgrade from the basic Print Screen-to-Paint method.
If you’re running Windows 10 or Windows 11, you have access to an even more advanced tool: Snip & Sketch. Snip & Sketch largely mirrors the Snipping Tool’s functionality but adds some welcome enhancements. The most notable is the keyboard shortcut Win + Shift + S, which instantly launches the screenshot utility from anywhere.
This combination makes capturing, annotating, and saving screenshots incredibly streamlined – and completely bypasses the need for the Print Screen key. For most users, Snip & Sketch provides the ideal balance of ease of use and features for regular screenshot needs.
 Screenshot of Windows 10 Snip & Sketch interface showcasing annotation tools
2. Explore Third-Party Screenshot Applications
While Windows offers capable built-in screenshot options, the world of third-party screenshot applications unlocks a new level of control and customization. By installing dedicated software, you can gain access to a wider array of features and tailor your screenshot workflow to perfection. Consider exploring some of the best screenshot tools for Windows to discover the possibilities.
These apps often allow you to define custom keyboard shortcuts for different screenshot types. Imagine setting Ctrl + Shift + 3 for capturing the entire screen and Ctrl + Shift + 4 for grabbing just an active window. The flexibility is immense.
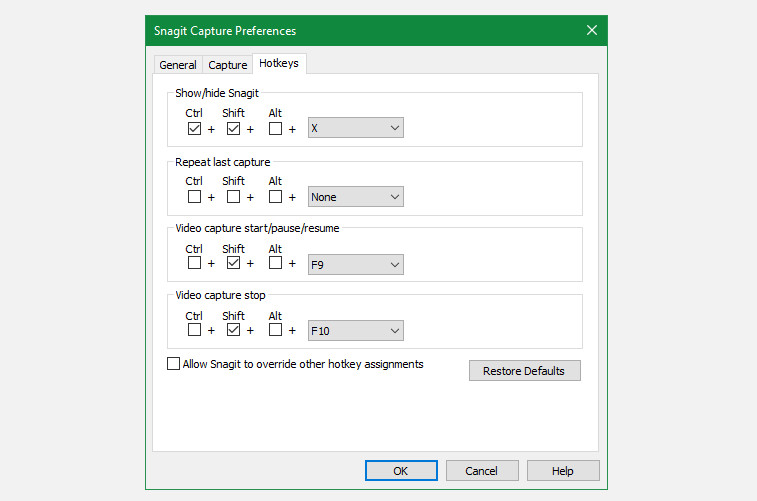 Screenshot of Snagit hotkey customization options for screen capture
Beyond capture methods, many third-party tools boast powerful built-in editors. These editors let you enhance your screenshots with arrows, text, blurring for sensitive information, and much more. Say goodbye to the limitations of editing screenshots in Paint forever.
If you are restricted from installing software on your current computer, there are still options. You can explore websites that enable web screenshots without relying on a keyboard.
3. Remap Another Key to Function as Print Screen
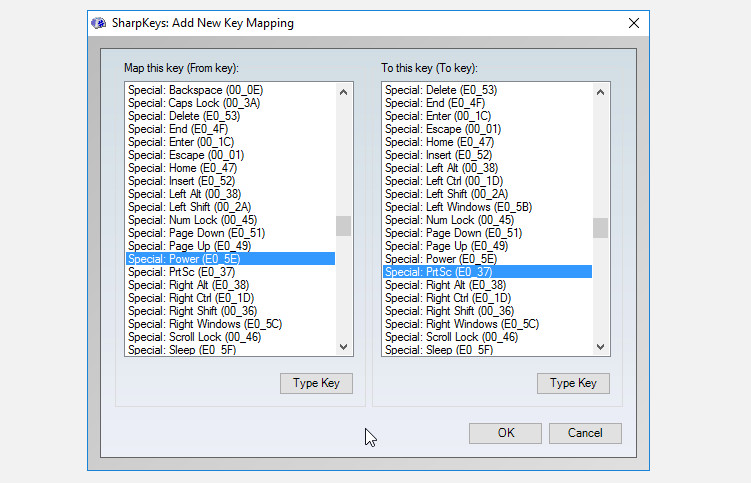 Screenshot of SharpKeys key remapping utility interface
Utilities like SharpKeys offer a unique solution: remapping keys on your keyboard. This means you can transform an infrequently used key – perhaps a Power button or a Media Stop key – into a functional Print Screen key. Learn more about how to remap a broken keyboard.
While remapping provides a dedicated screenshot key, it’s generally not the most recommended approach. Exercise caution and ensure the remapped key is truly expendable for its original purpose. For instance, remapping F12 will prevent you from using any shortcuts involving the F12 key.
The other methods detailed here offer greater convenience and flexibility. Key remapping is best reserved as a last-resort solution if you absolutely require a dedicated physical button for screenshots.
4. Utilize the On-Screen Keyboard for PrtScn Access
Windows accessibility features include a virtual On-Screen Keyboard. Designed for users with mobility challenges or situations where a physical keyboard is unavailable, it can also serve as an alternative way to access the Print Screen functionality.
To launch the On-Screen Keyboard, type “On-Screen Keyboard” or “osk” in the Start Menu. A virtual keyboard will appear on your screen. Click the PrtScn key, usually located on the right side. This action will function exactly as pressing the physical Print Screen button.
Following this, you can paste the captured screenshot into Paint or any other image editor for editing and saving. While this method is somewhat cumbersome due to the multiple steps involved, it serves as a reliable backup when other options are unavailable.
Ditch the Print Screen Dependency for Efficient Screenshots
These methods demonstrate that the Print Screen key is far from essential for taking screenshots on Windows. Alternative approaches are not only viable but often faster and more versatile than the traditional Print Screen and Paint workflow. Experiment with these techniques and revolutionize your screenshot process!
Once you’ve mastered capturing screenshots, explore ways to enhance them further and make them even more effective.