3d Print Dice Towers have become a fantastic accessory for tabletop gaming enthusiasts. Not only are they functional, ensuring fair dice rolls and adding a touch of flair to your game setup, but they also present a wonderful opportunity for customization and creative expression. If you’ve recently 3D printed a dice tower, or are considering it, painting it can elevate it from a simple print to a true centerpiece.
This guide will walk you through the process of painting your 3D printed dice tower, transforming it into a personalized and visually stunning gaming accessory. We’ll cover the essential steps, from preparation to finishing touches, ensuring your dice tower looks as amazing as your tabletop adventures.
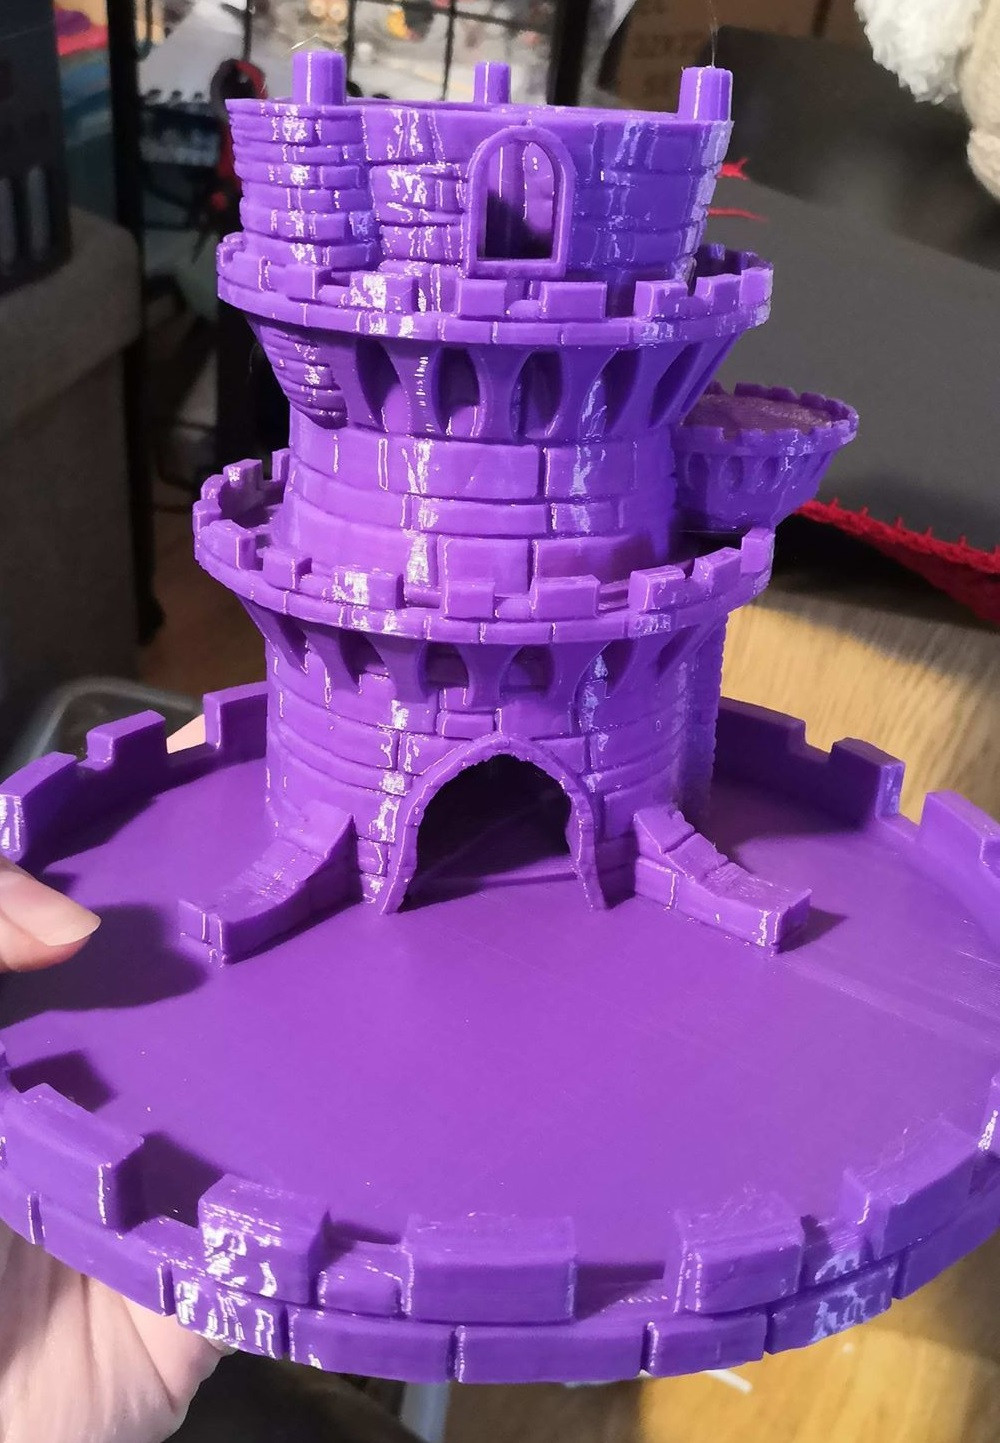
First, let’s take a look at the initial 3D printed model before any paint was applied.
 Unpainted 3D printed dice tower ready for customization
Preparing Your 3D Print Dice Tower for Painting
Before you pick up a brush, proper preparation is key to achieving a smooth and professional-looking paint job on your 3D print dice tower.
Cleaning and Smoothing: Start by carefully inspecting your 3D print for any imperfections. Remove any stray plastic strings or blobs that might have occurred during the printing process. A hobby knife or ফাইল can be helpful for gently cleaning up these areas. While this particular print was remarkably clean, taking this step ensures a flawless base for painting.
 Close-up of a cleaned 3D printed dice tower section, ready for primer
Priming: The Foundation for Great Color: Priming is an absolutely crucial step when painting 3D prints. It creates a uniform surface for your paints to adhere to, ensuring better color saturation and longevity. While you can use acrylic primer applied with a brush, spray primer offers a quick and even coat, especially beneficial for intricate details. Whether you choose spray or brush-on primer, ensure complete coverage and allow it to dry fully before moving on to painting.
Painting Your 3D Printed Dice Tower: Step-by-Step
With your 3D print dice tower prepped and primed, it’s time to bring it to life with color! Remember, patience is your ally in miniature painting – allow each layer to dry completely before applying the next for the best results.
Base Coating: Establishing Your Color Palette: Begin by applying your base coats. These are the foundational colors for your dice tower. For a stone tower look, consider grey for the stone sections, brown for wooden elements like the roof, and perhaps a darker brown for earth or ground areas. Don’t worry about intricate details at this stage; focus on solid, even coverage of your base colors. Remember, affordable hobby acrylic paints are perfectly suitable for this project. Technique matters far more than expensive paints!
Shading: Adding Depth and Dimension: Shading is what gives your 3D print dice tower depth and realism. Using darker shades of your base colors, or even diluted black or brown paint, carefully apply washes into the recesses and crevices of the model. This technique, often called “wash” or “lining,” emphasizes details like mortar lines between bricks or the texture of roof tiles, creating shadows and visual interest.
Highlighting: Bringing Out the Details: Once your shading is complete and dry, it’s time for highlights. Highlighting brings the raised areas and edges of your 3D print dice tower forward, making them catch the light and pop. Dry brushing is an excellent technique for highlighting stone and textured surfaces. Using a dry brush with a small amount of lighter paint, gently brush across the edges and raised areas. This will deposit paint only on the raised surfaces, creating a natural highlight effect.
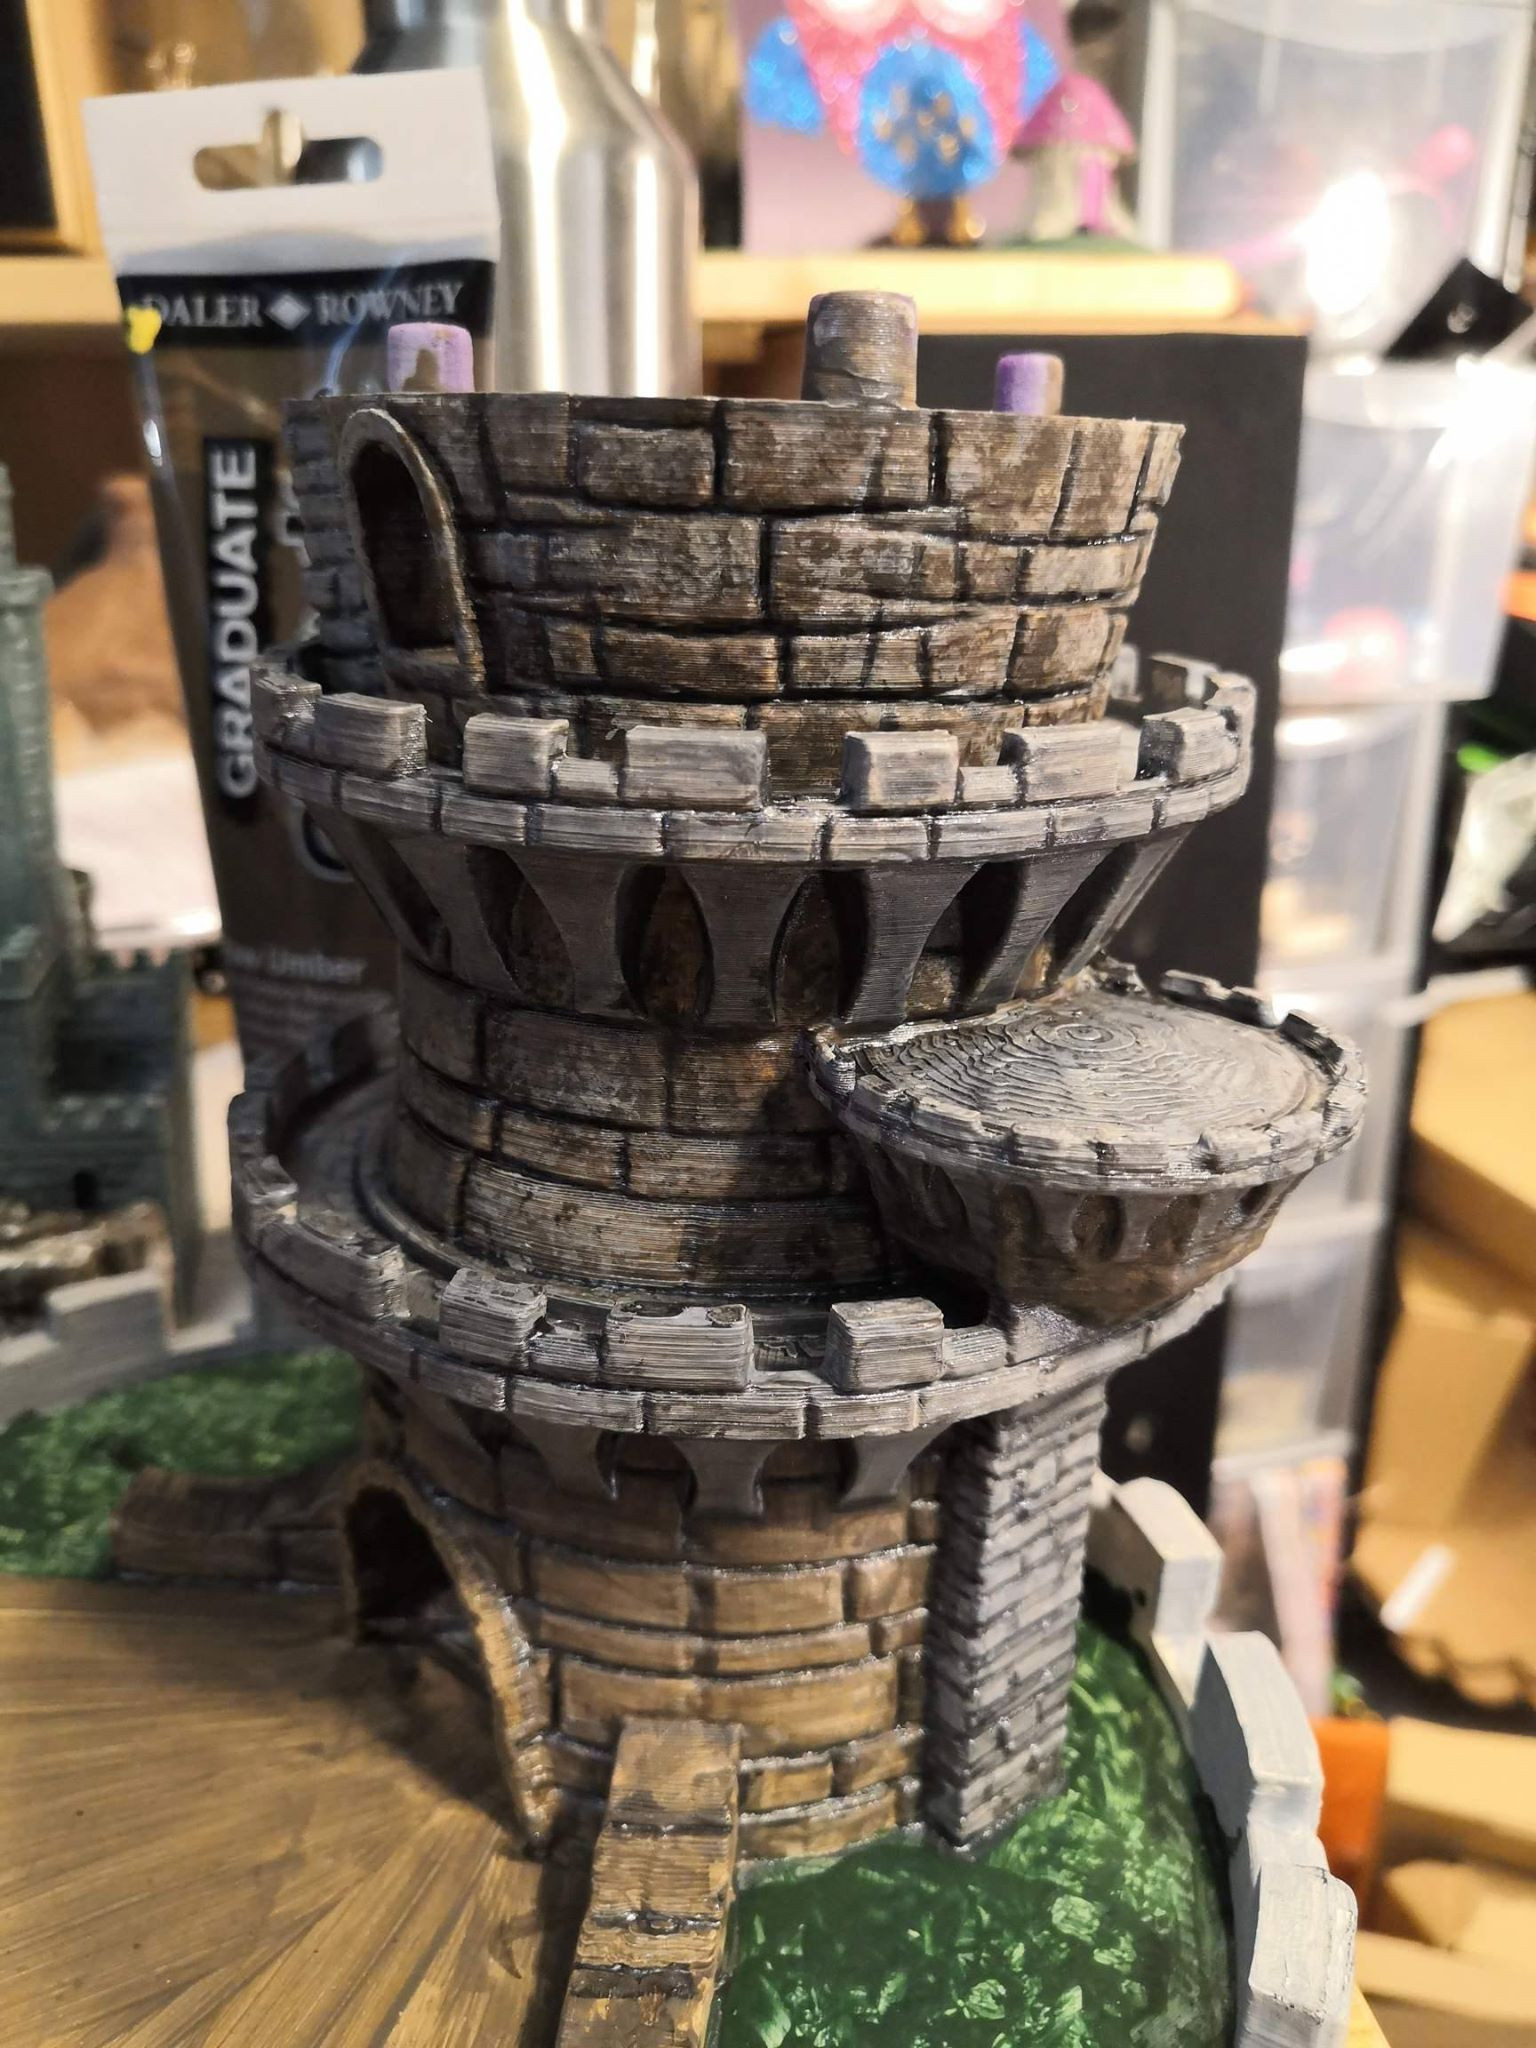 Dice tower painting process showing shading and highlighting techniques
This image showcases the progression of painting, from base colors to shading and finally, highlighting, demonstrating how each stage builds upon the previous one to create depth and visual appeal.
Basing and Embellishments: Adding the Finishing Touches: To truly complete your 3D print dice tower and integrate it into your gaming world, consider adding basing and embellishments. PVA glue can be used to apply sand to areas around the base, creating a realistic ground texture. Once dry, this sand can be painted and shaded to blend seamlessly with the tower. Static grass, model bushes, flocking powder, and even small pebbles can further enhance the base, adding miniature scenic elements to your dice tower.
Final Assembly: If you chose to keep parts separate for easier painting, like the roof in this example, now is the time to carefully assemble your 3D print dice tower. Many 3D models are designed with interlocking parts or pegs to ensure a snug and seamless fit.
The Finished Masterpiece: Your Painted 3D Print Dice Tower
With patience and these painting techniques, you can transform a simple 3D print into a stunning, personalized dice tower that will enhance your game nights for years to come.
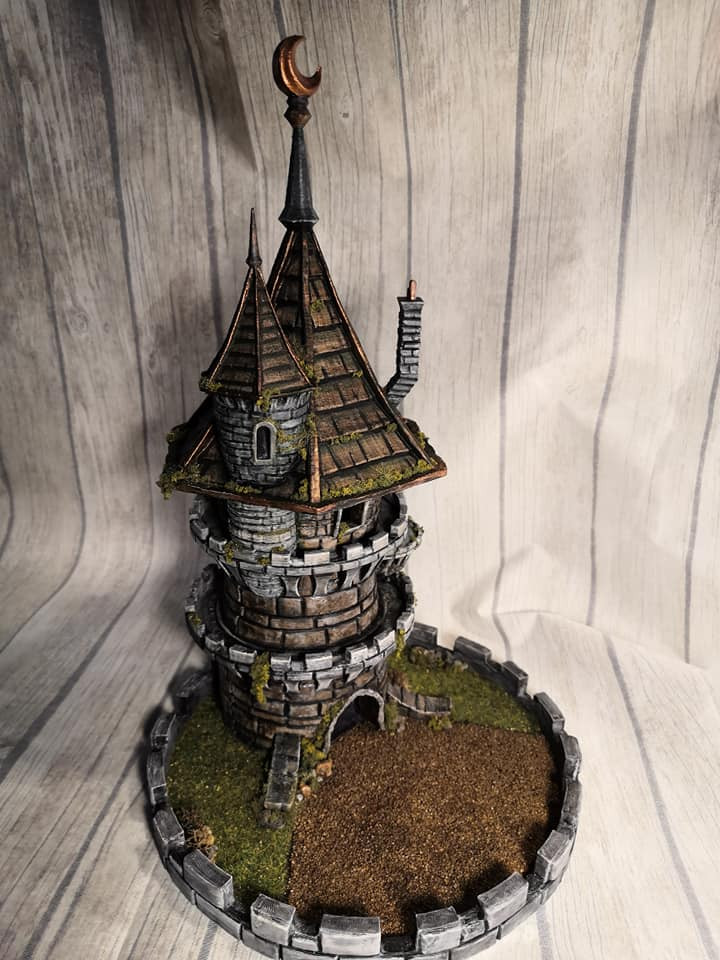 Showcase of a fully painted and detailed 3D printed dice tower
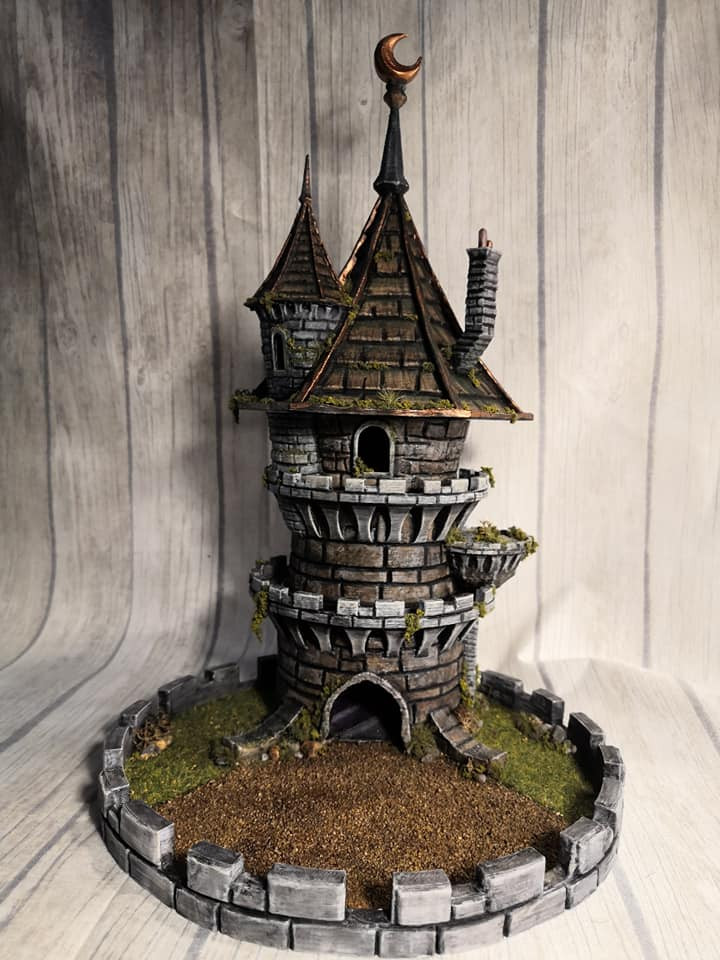 Another angle of the completed custom painted 3D dice tower
Embrace the creative process, experiment with colors and techniques, and most importantly, enjoy the journey of painting your own 3D print dice tower. Happy gaming!